WARBIRDS.IO
blocky team dogfights over the Brick Sea
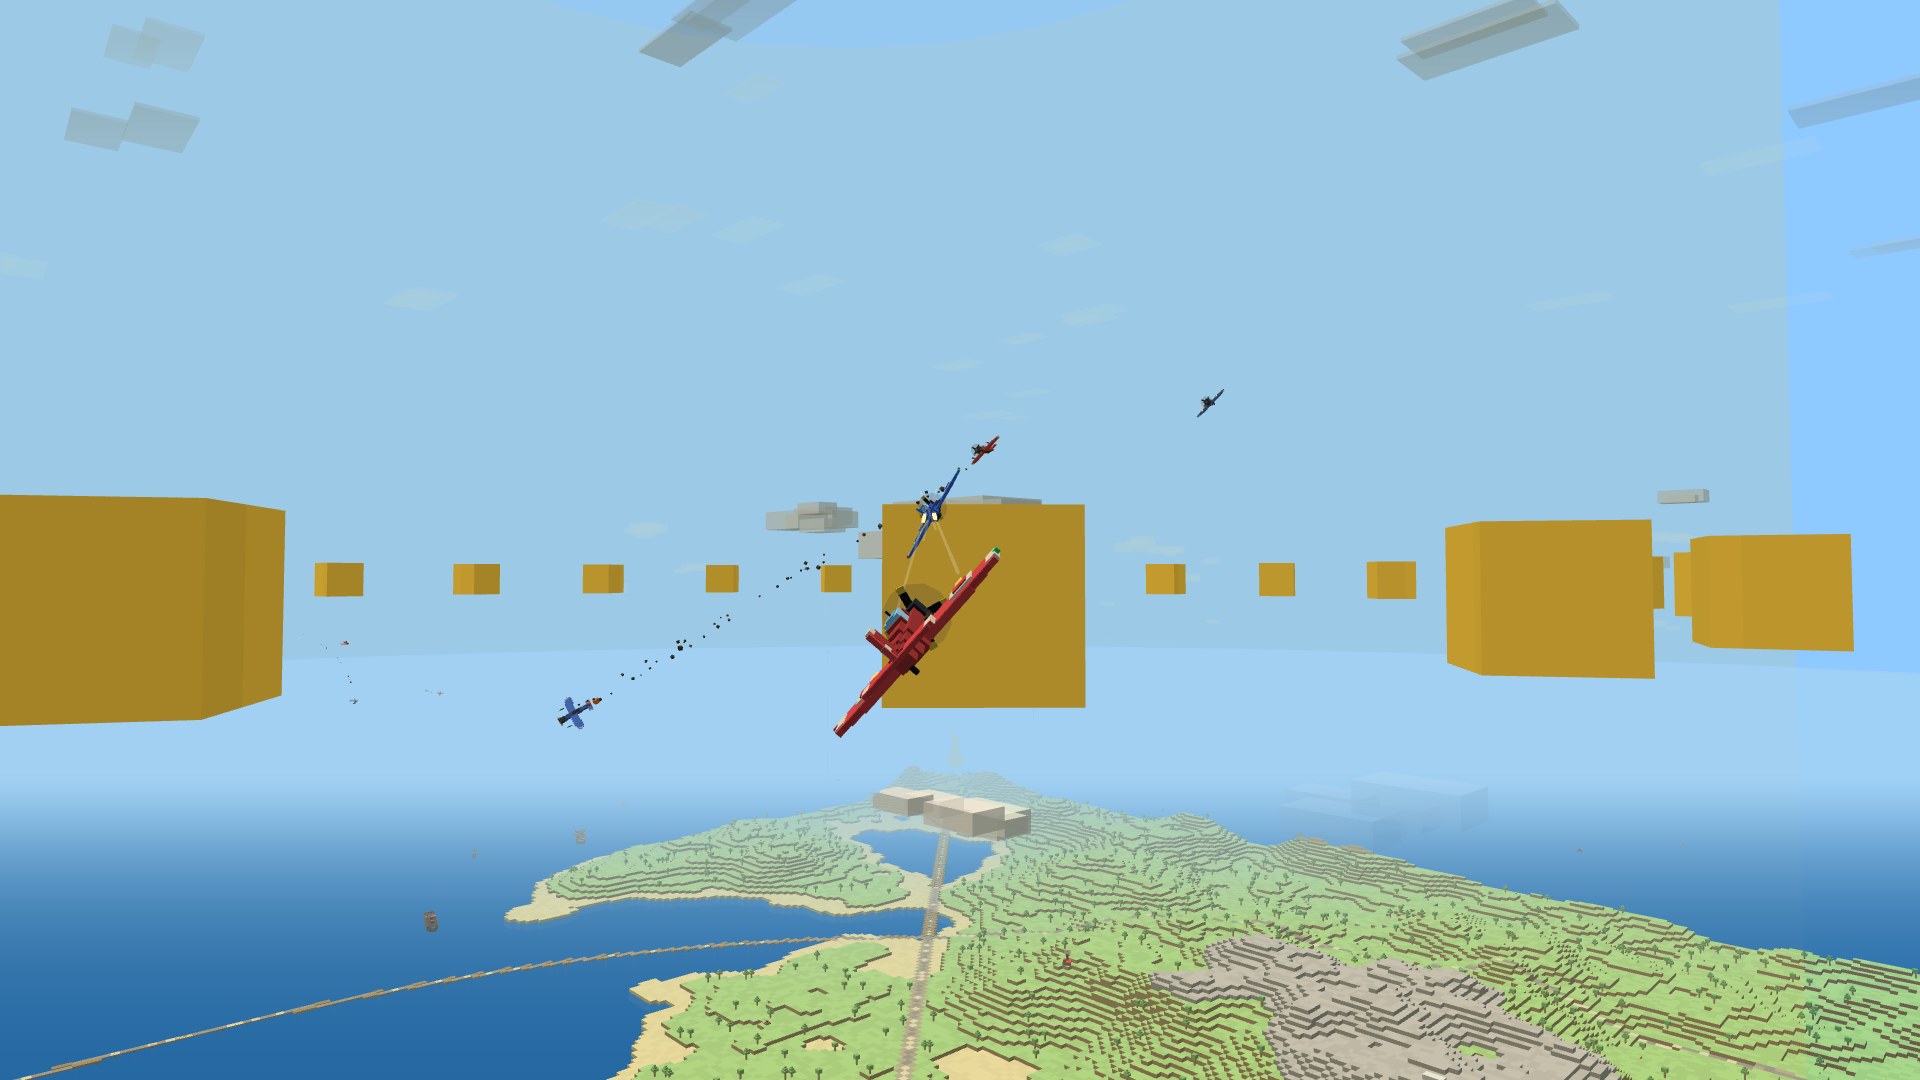
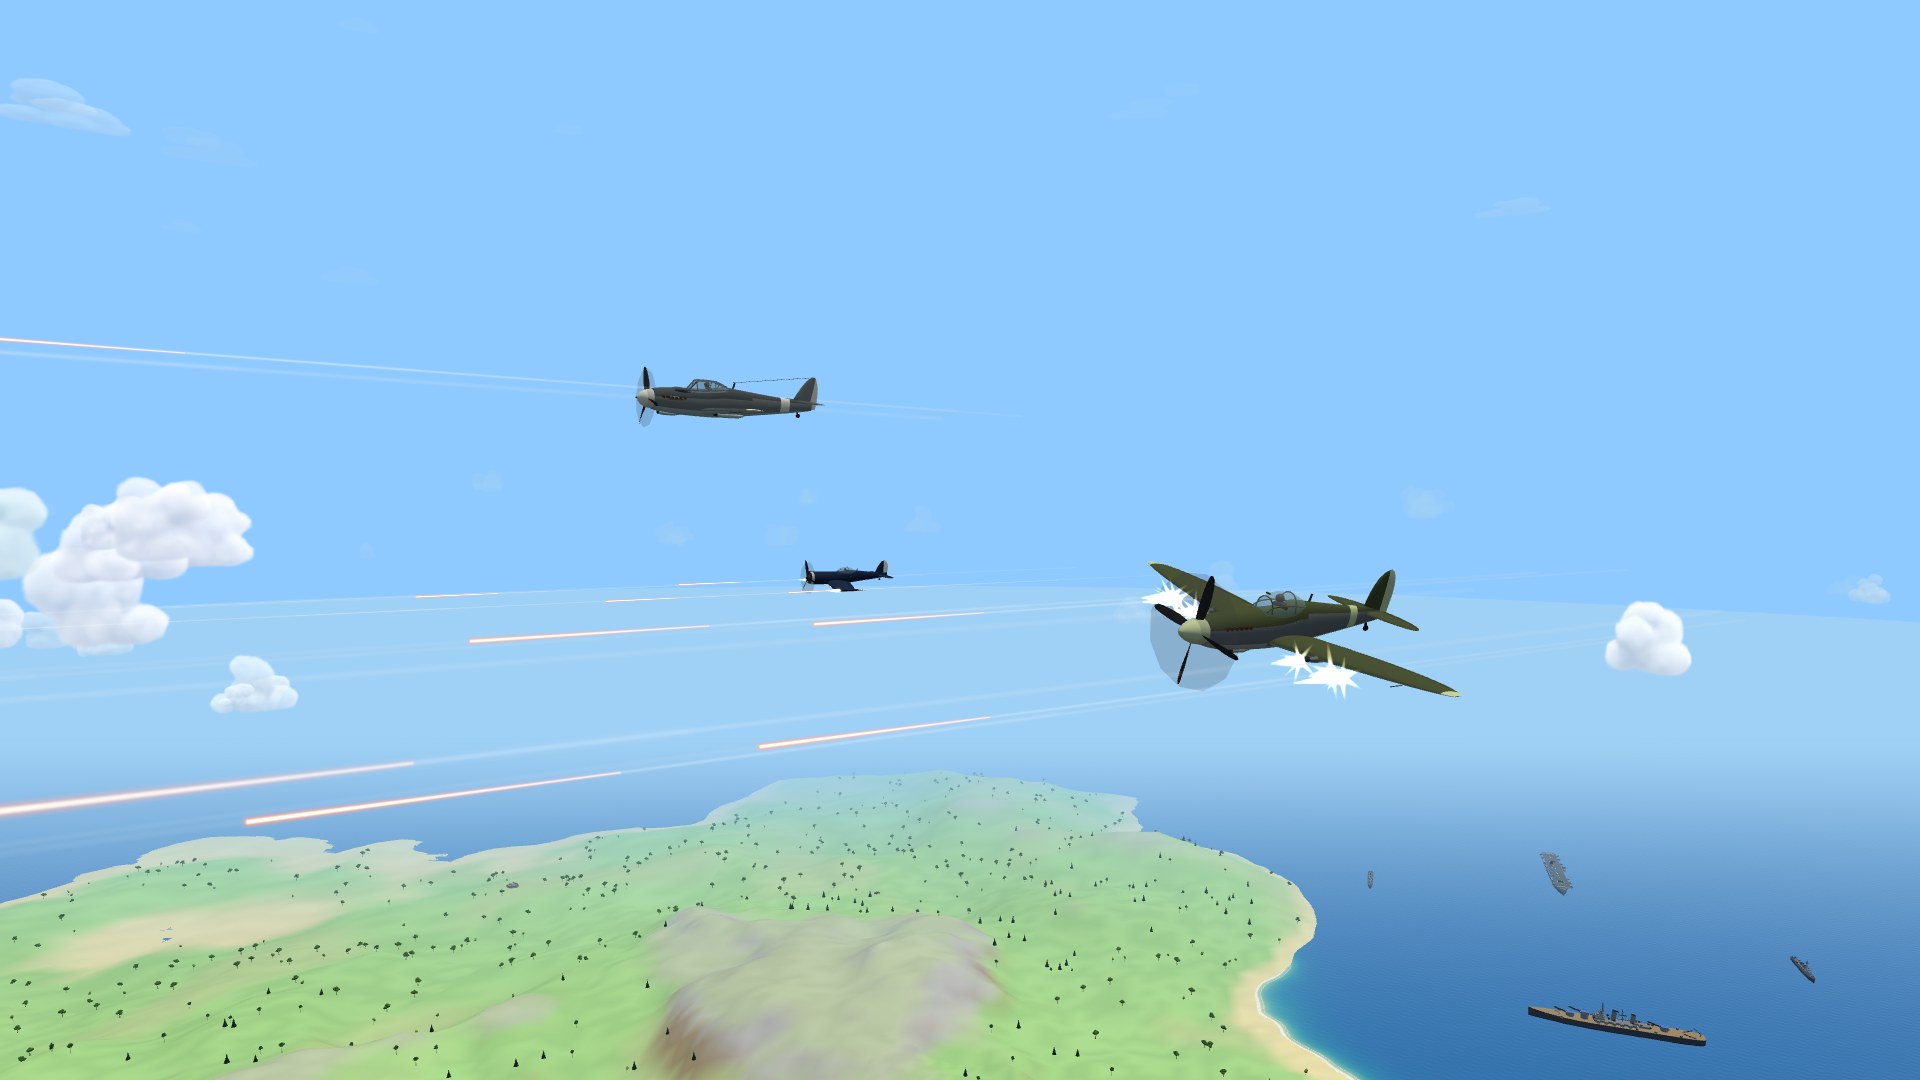
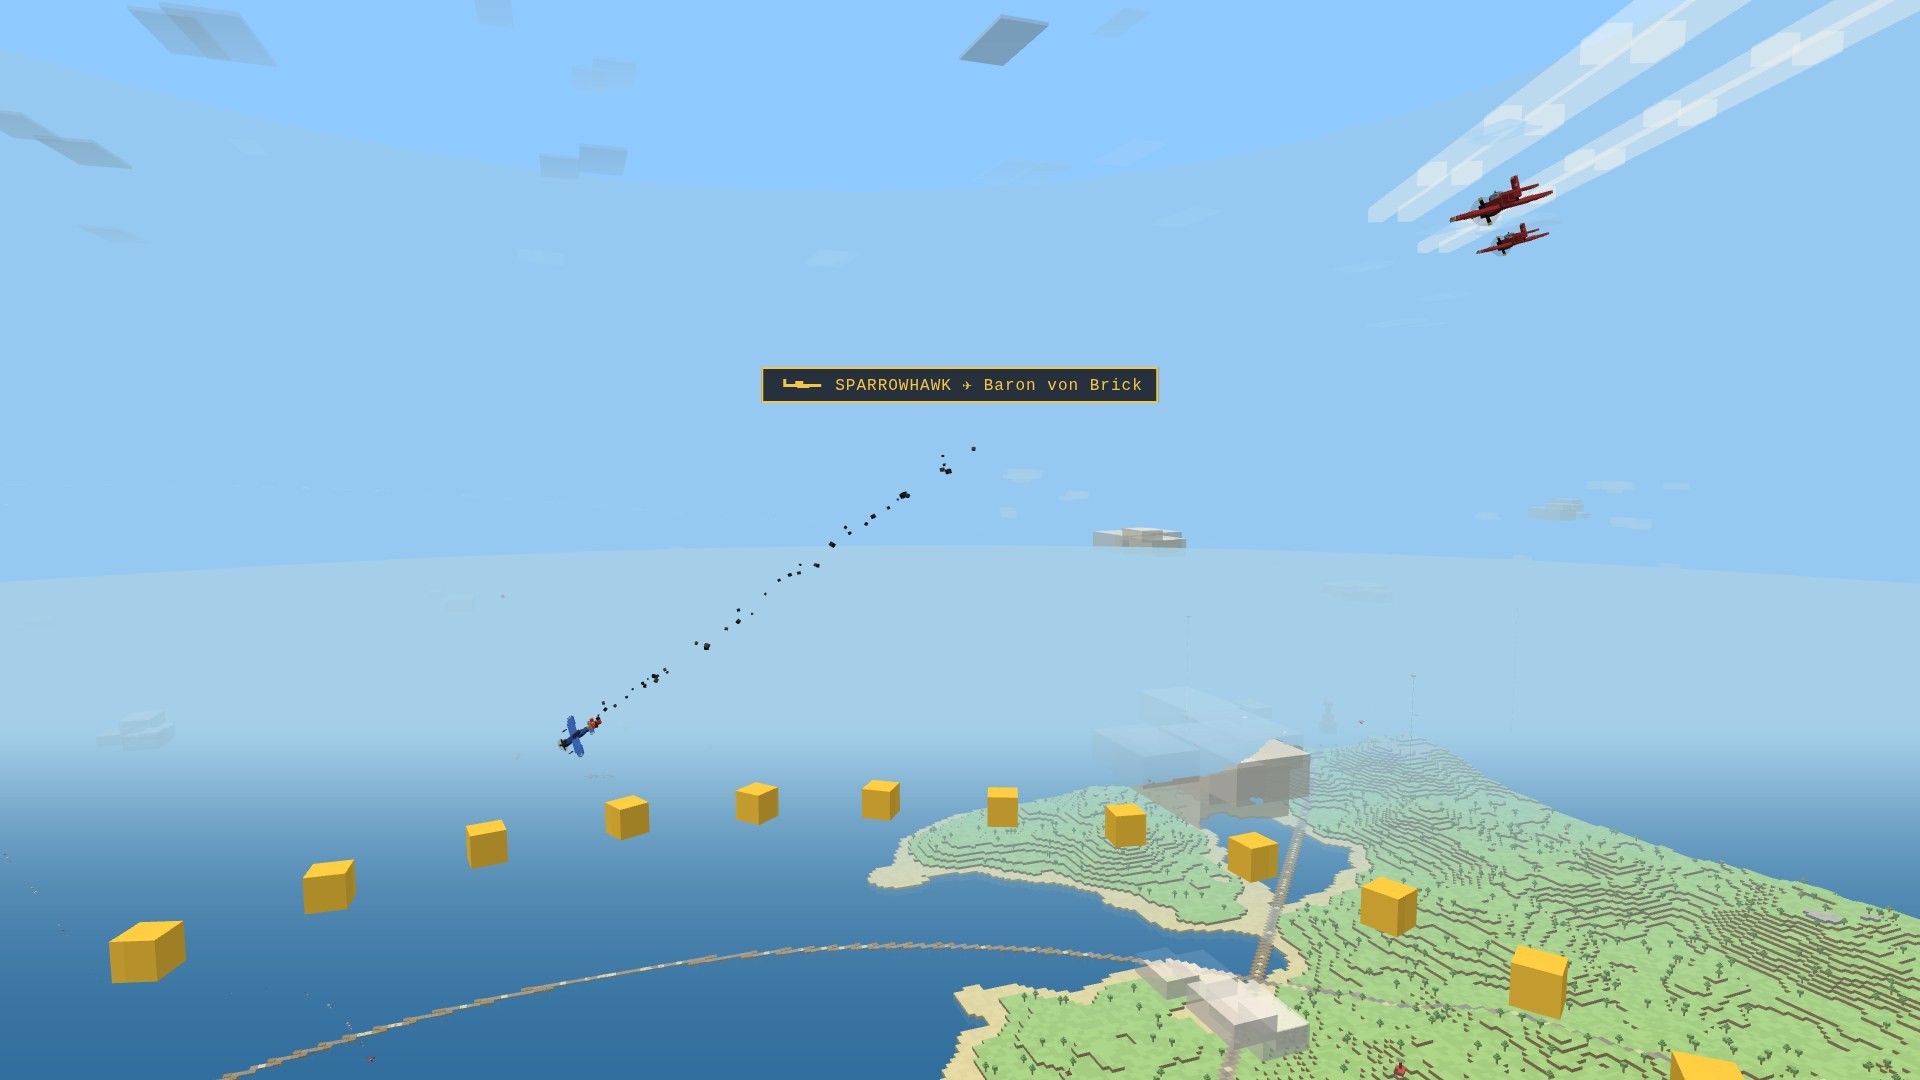
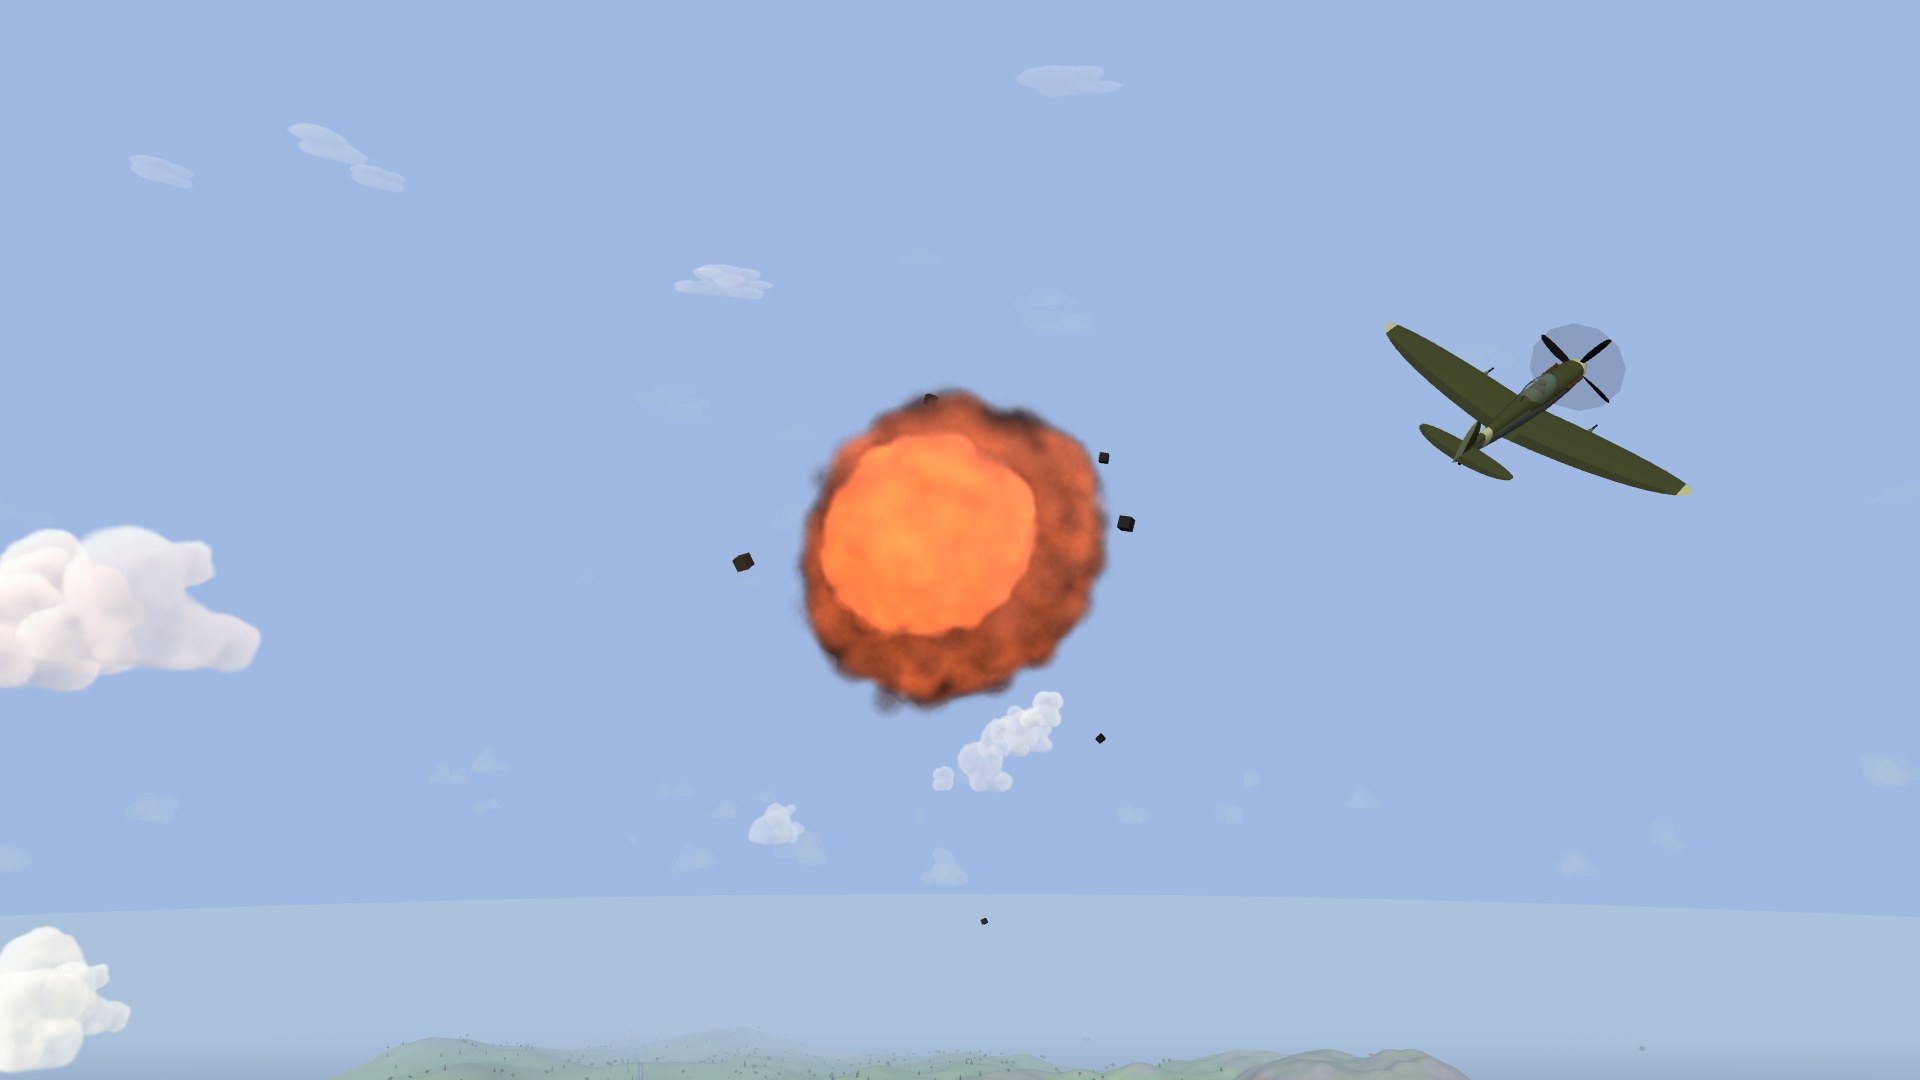
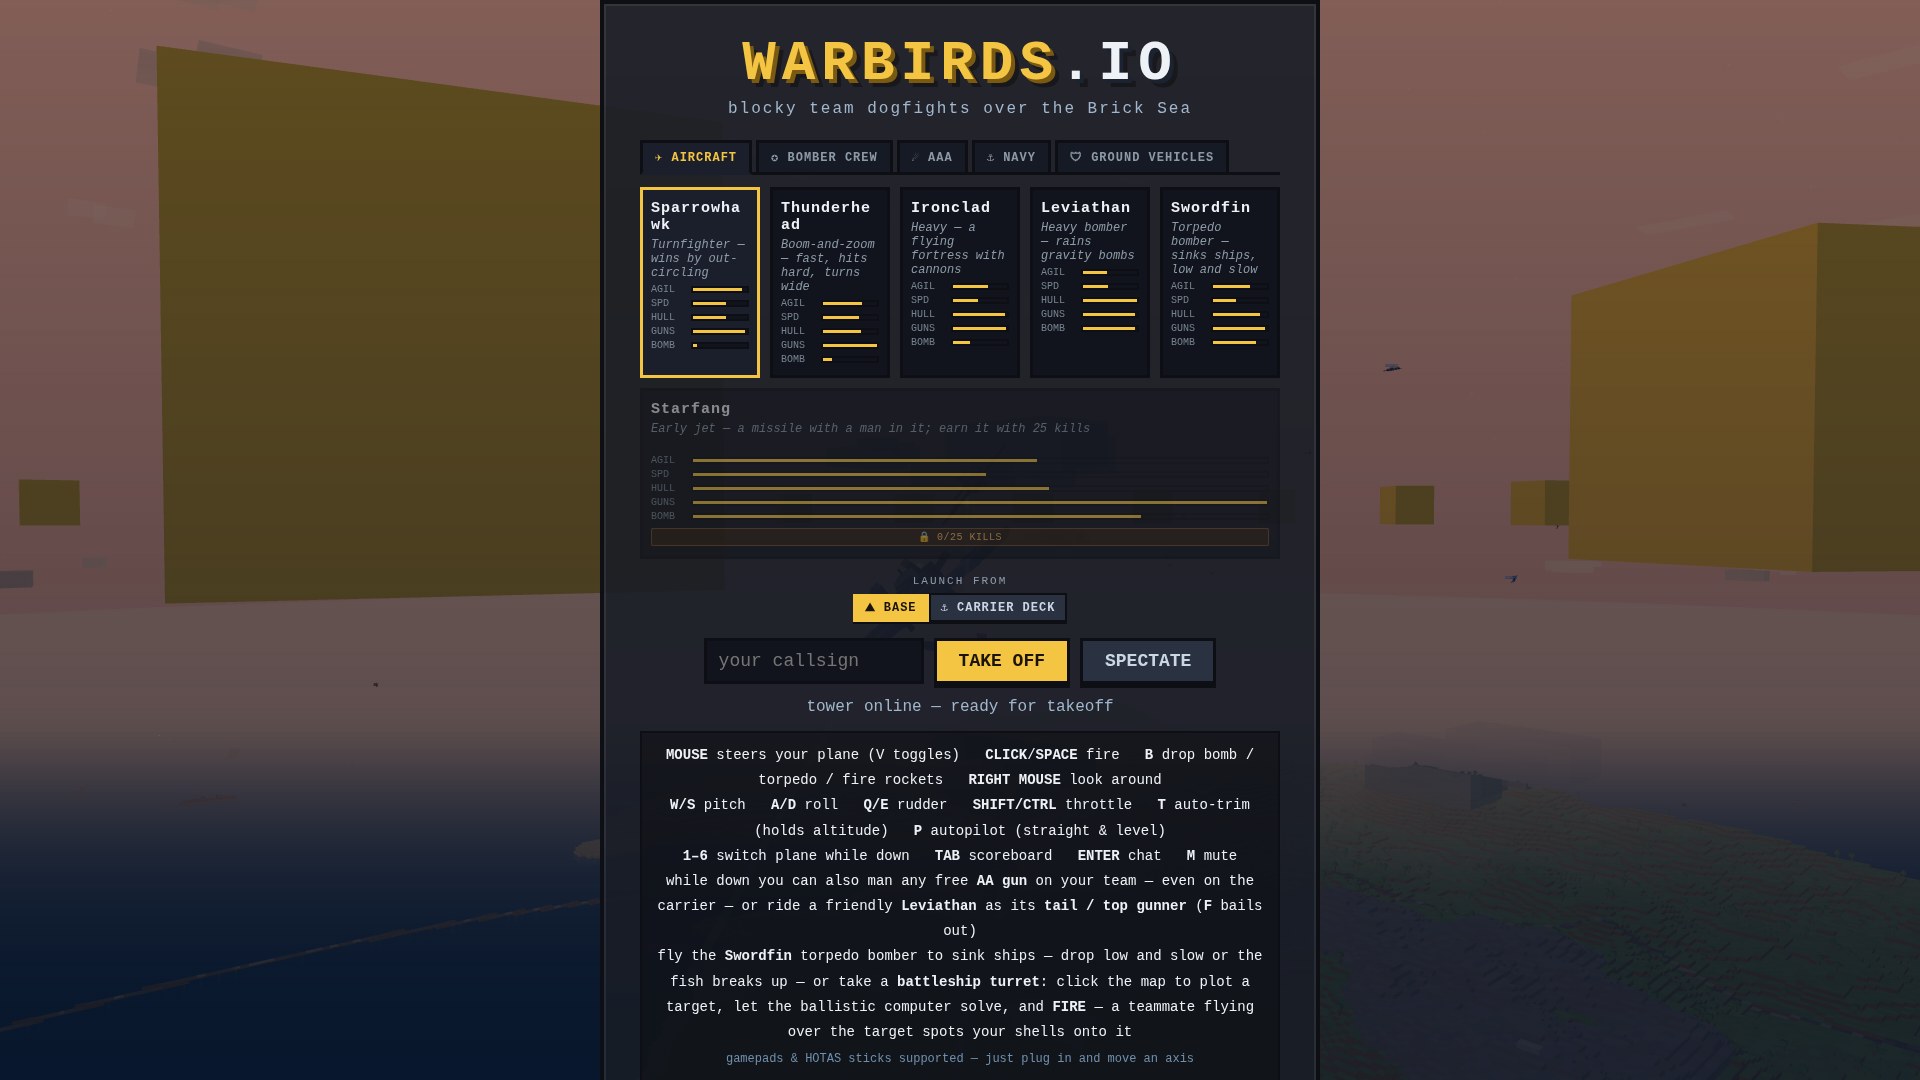
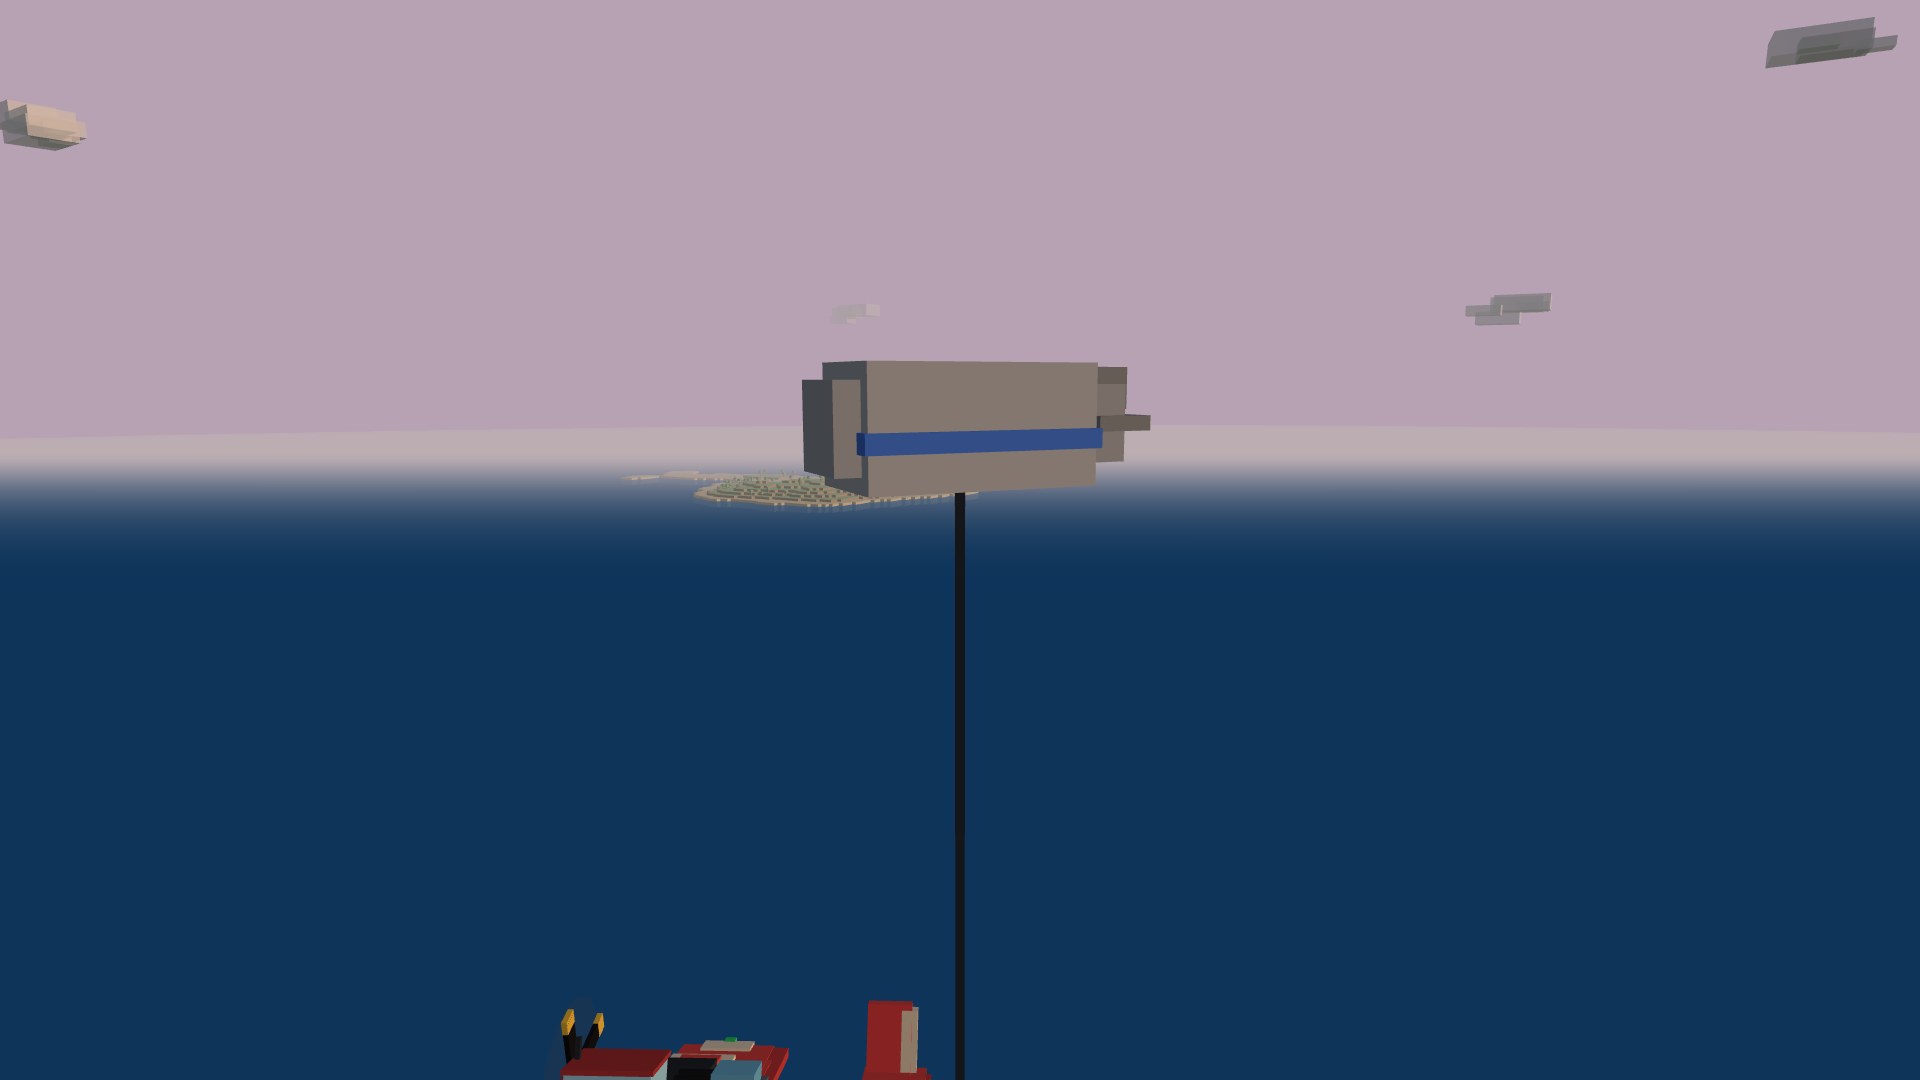
A free, browser-based multiplayer dogfighter set in a Minecraft-inspired voxel world. Two teams, planes and ships, one golden ring to fight over. Here's how it all fits together — tap any screenshot to view it full size.
The war
The fight
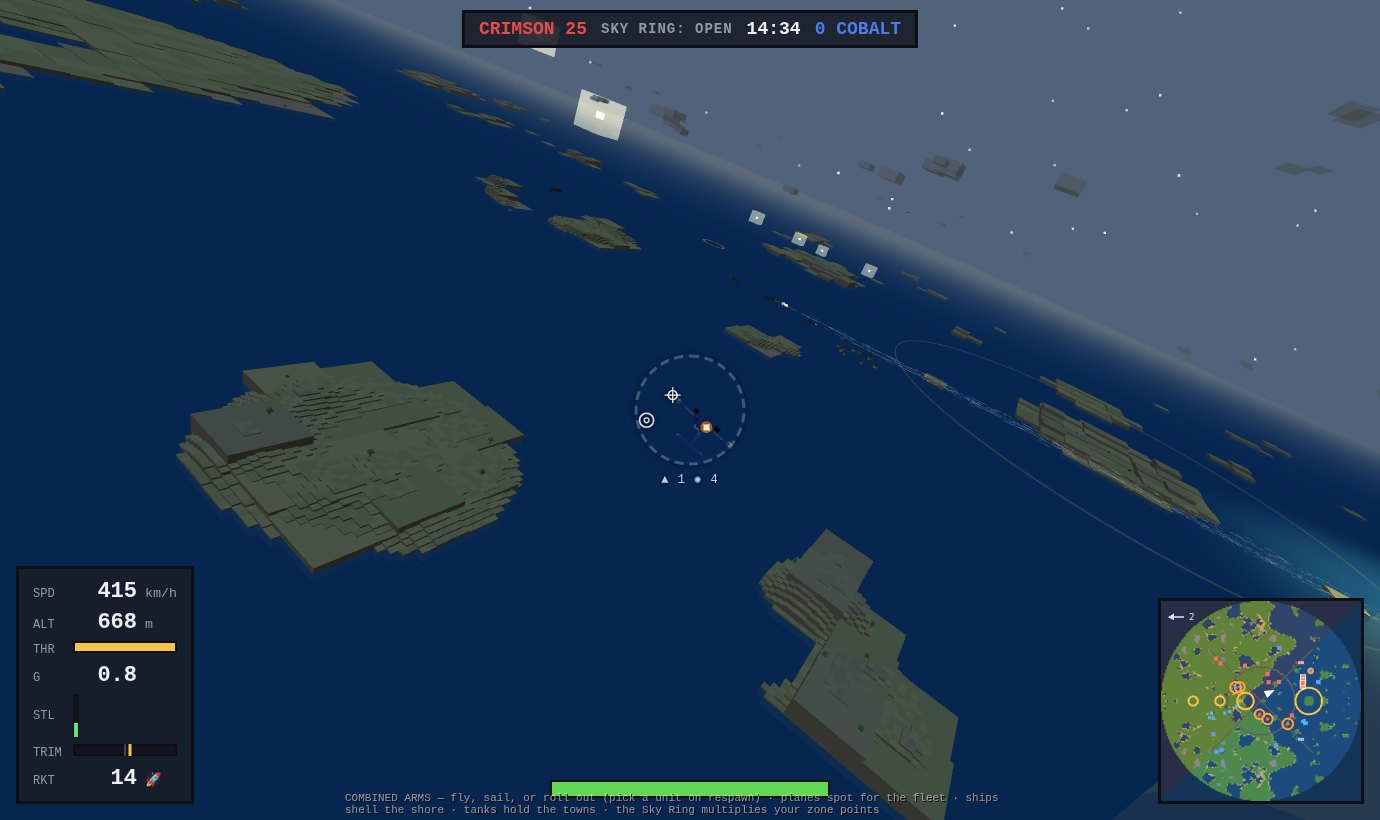
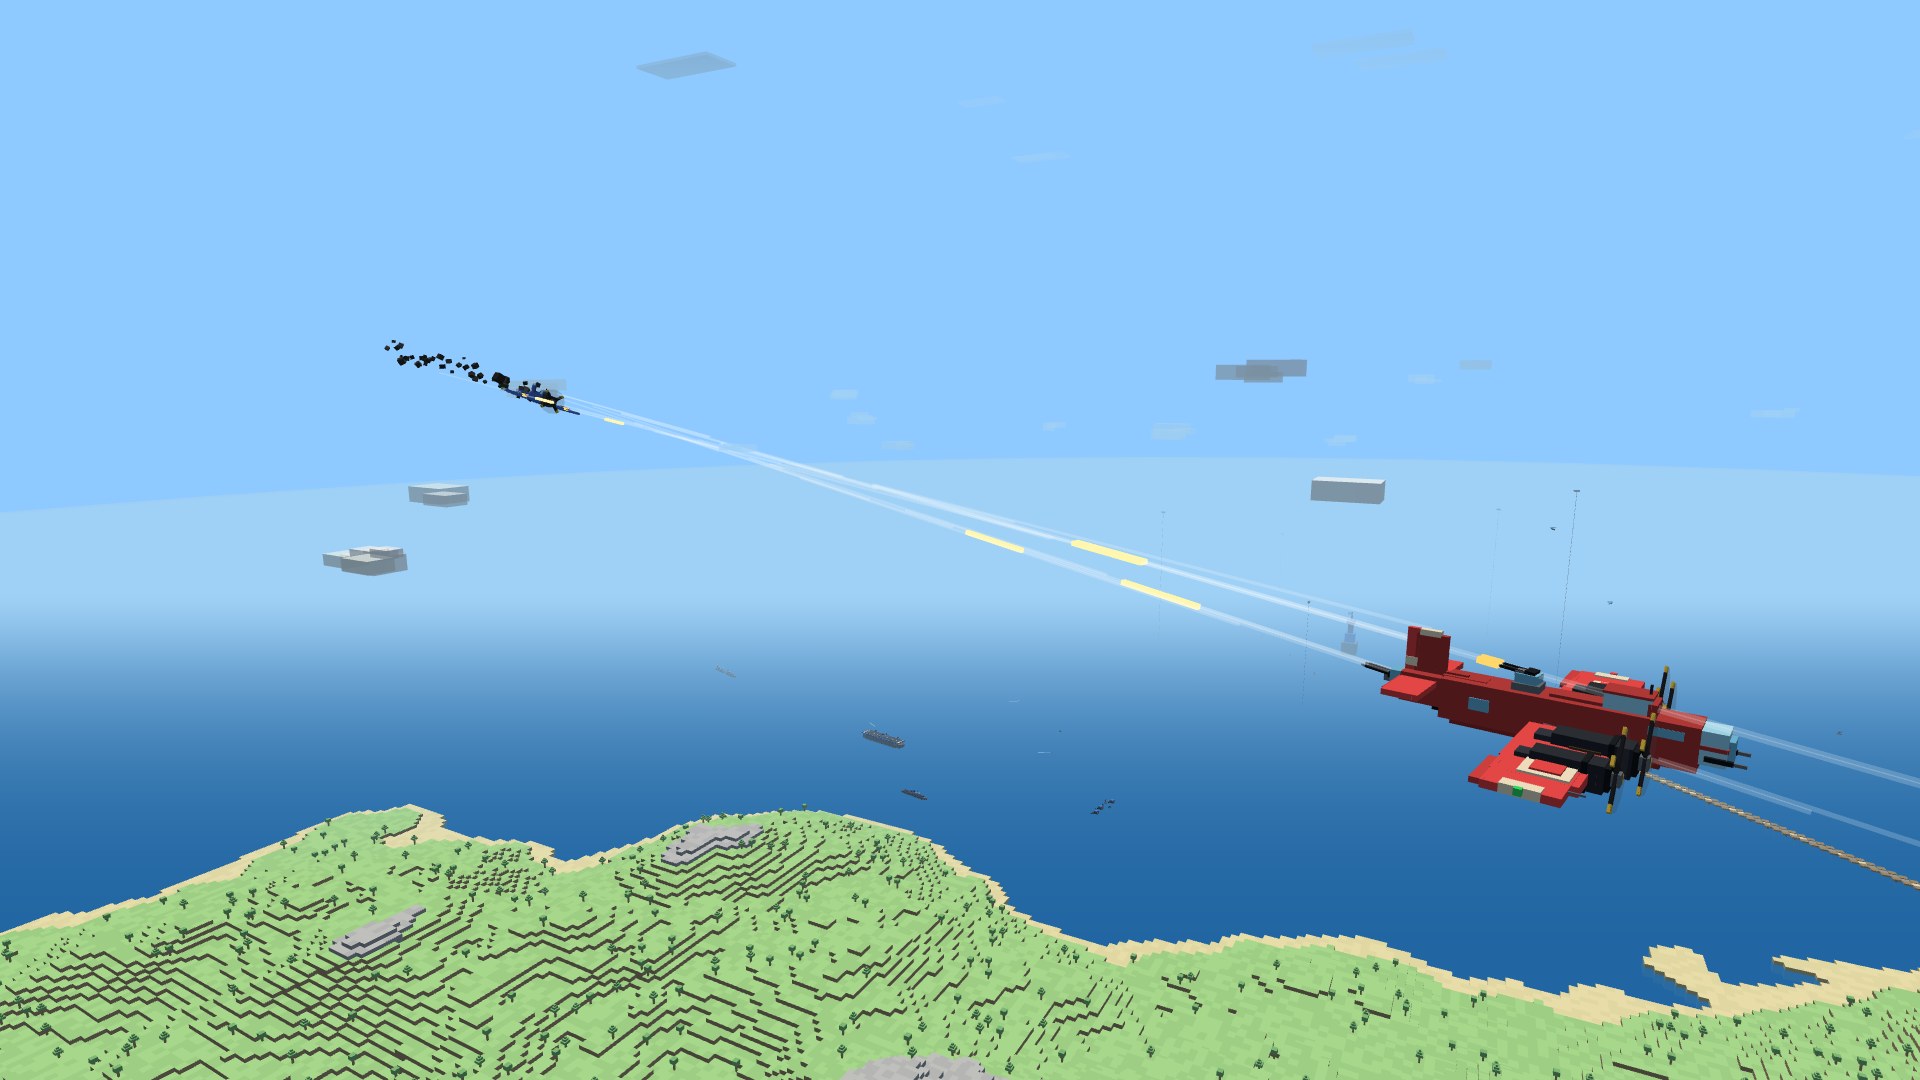
Two squadrons — CRIMSON and COBALT — battle for the golden SKY RING floating above the central island. Hold the ring to bleed points out of the sky, shoot down enemy planes for bounties, strafe the flak guns ringing the enemy base, and reach 1500 points before the round clock runs out. Crashing into the scenery is canon.
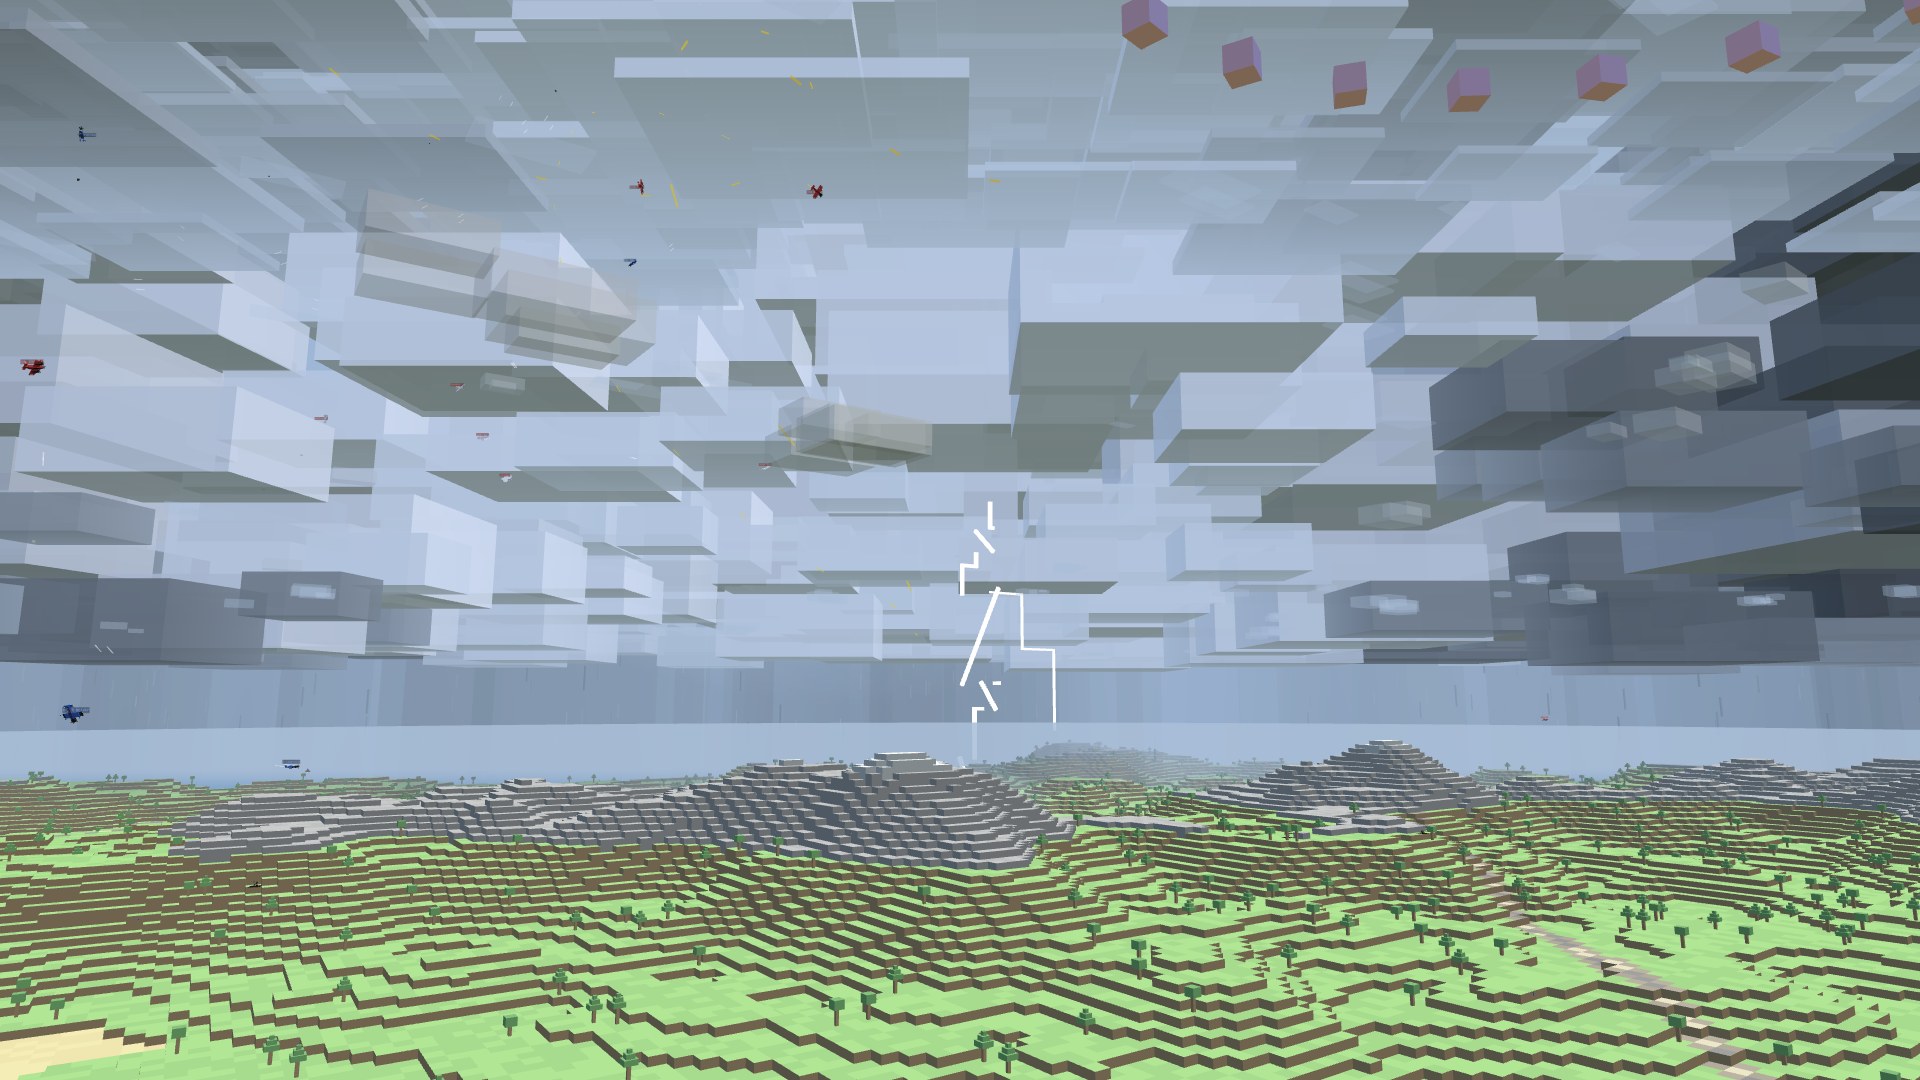
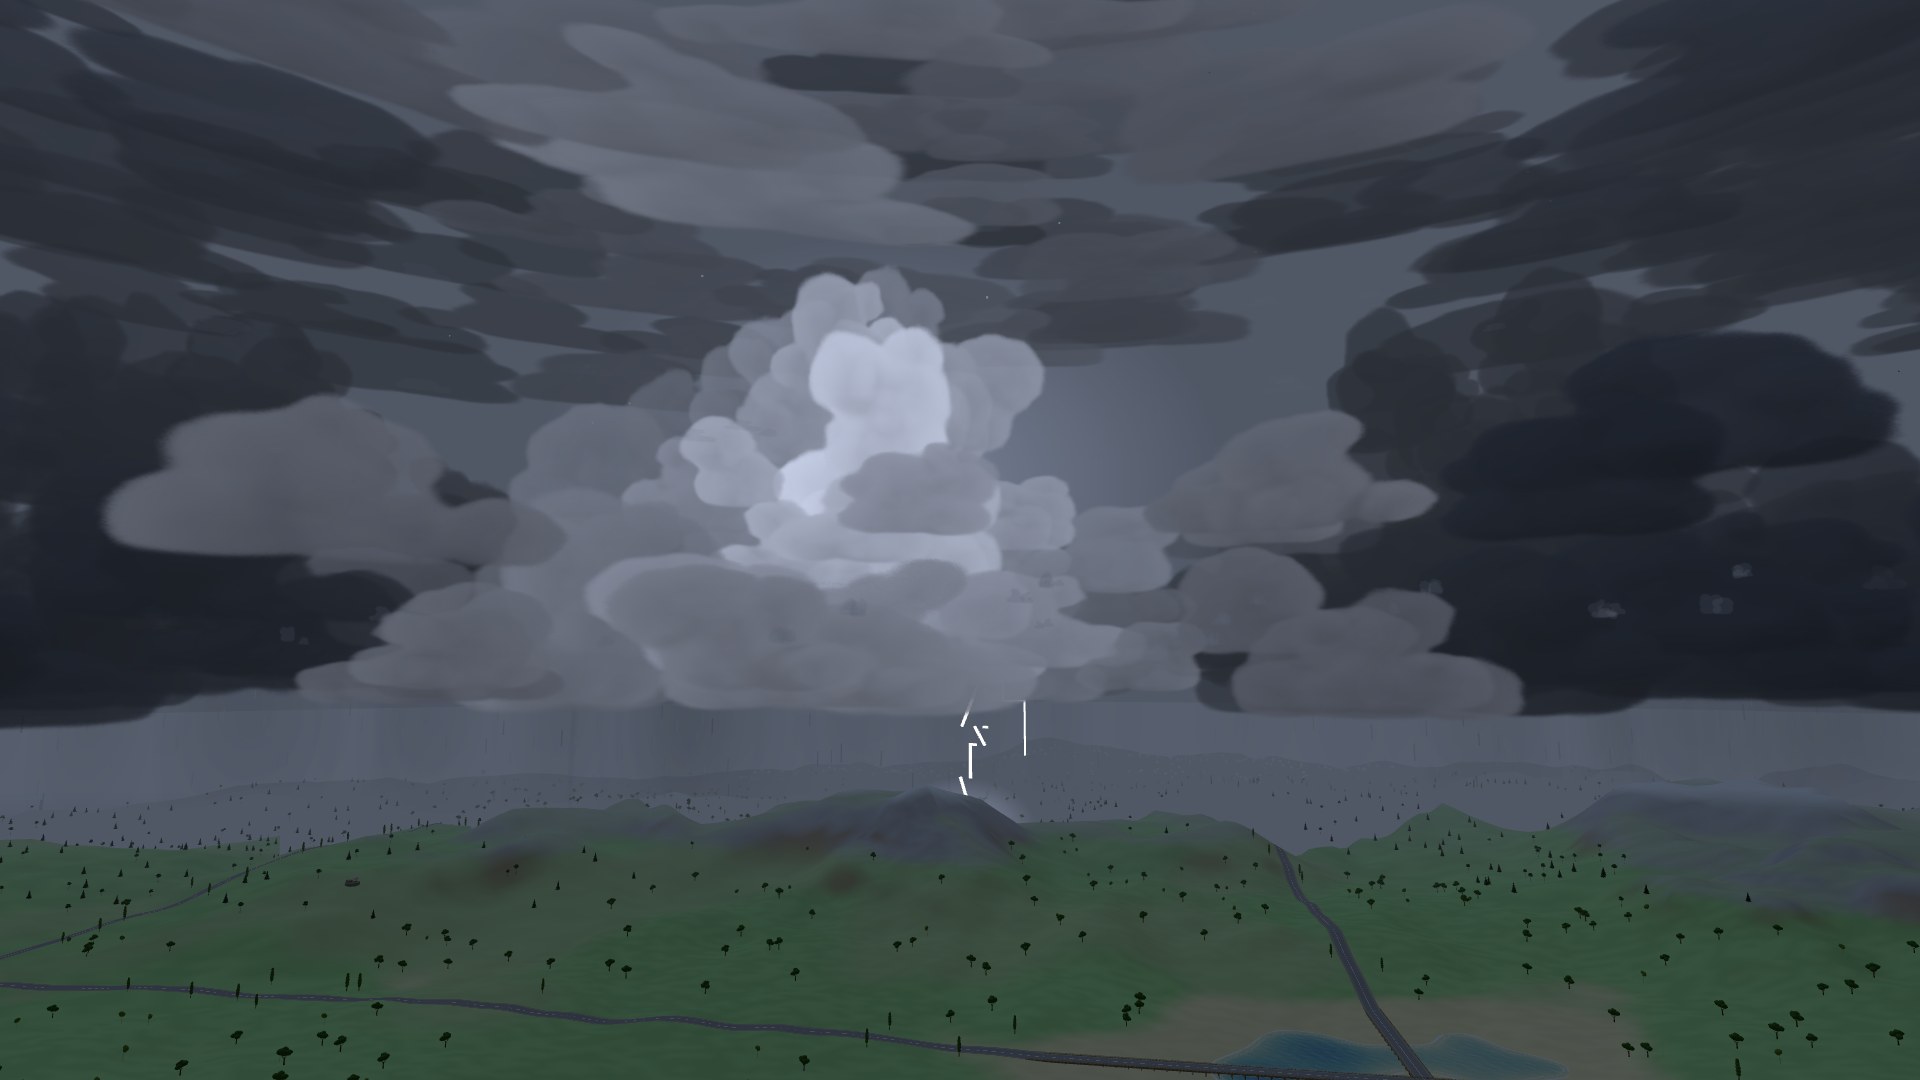
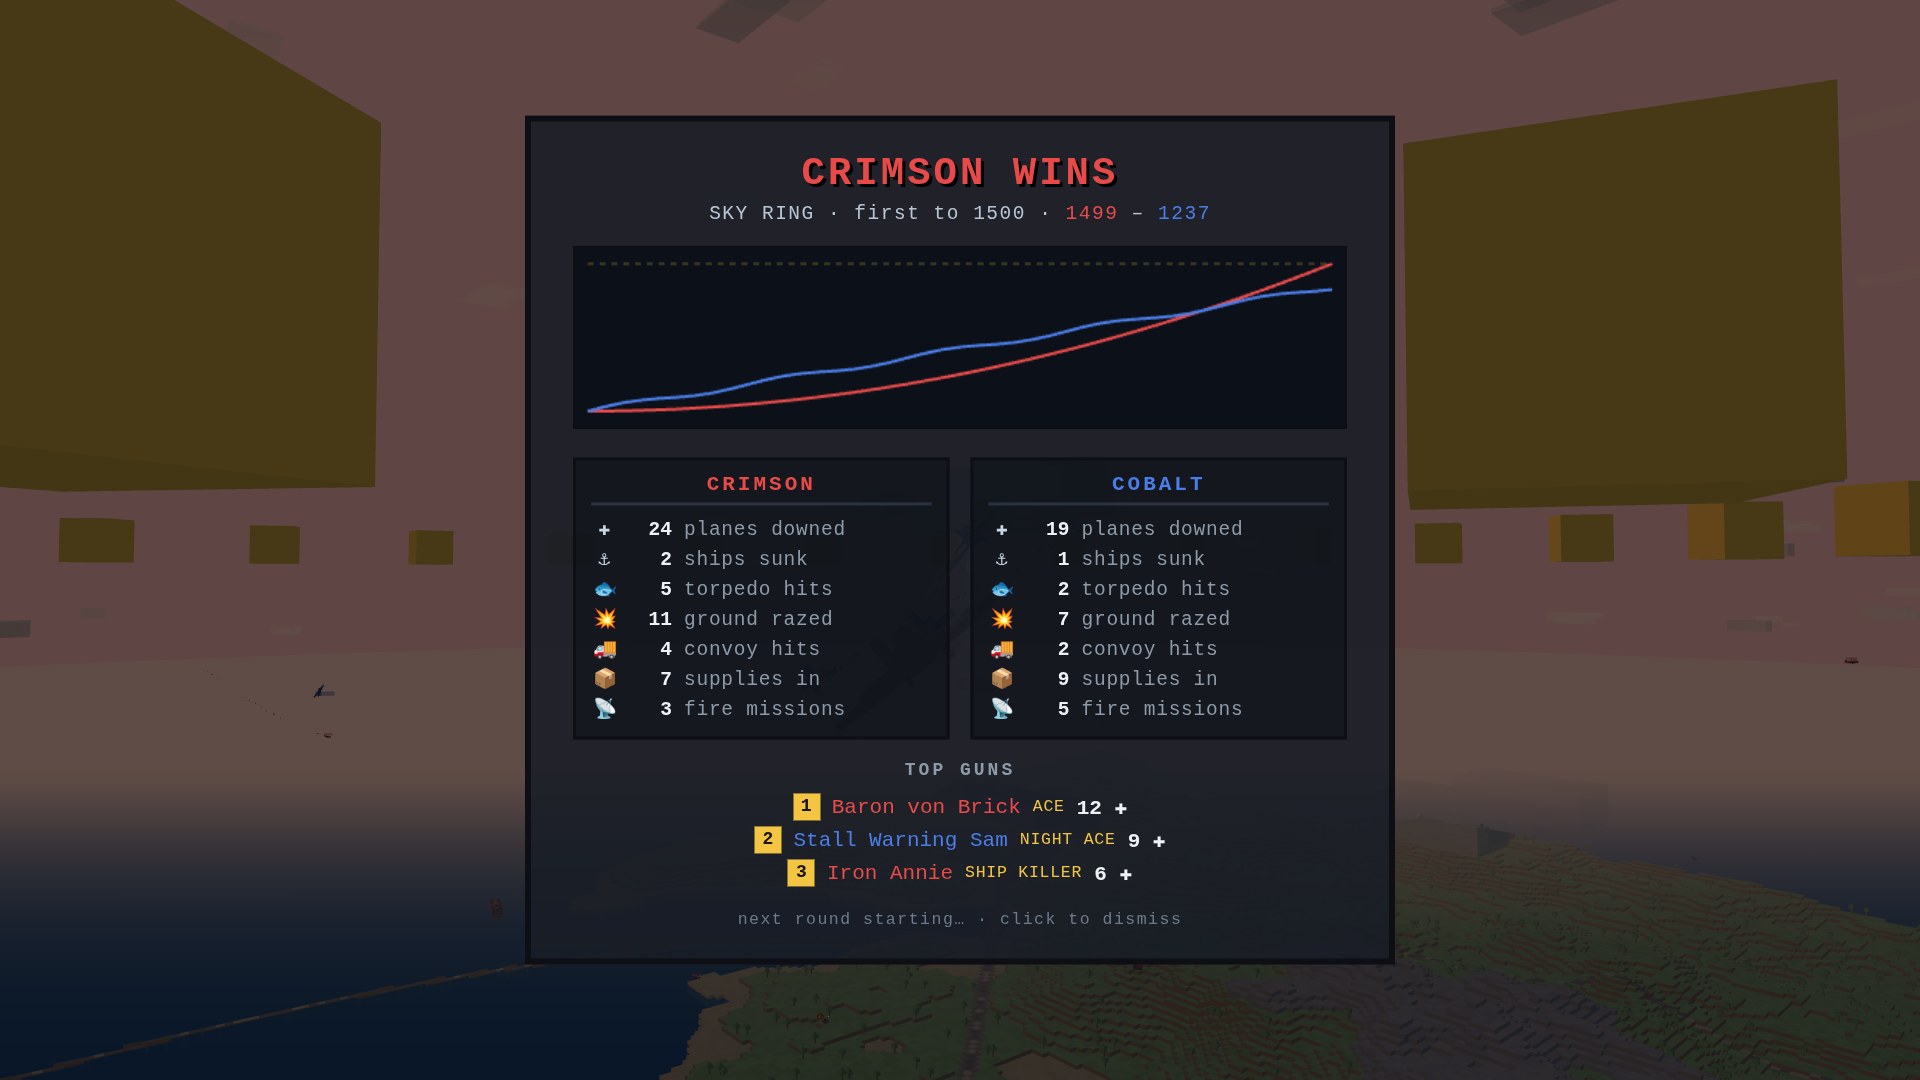
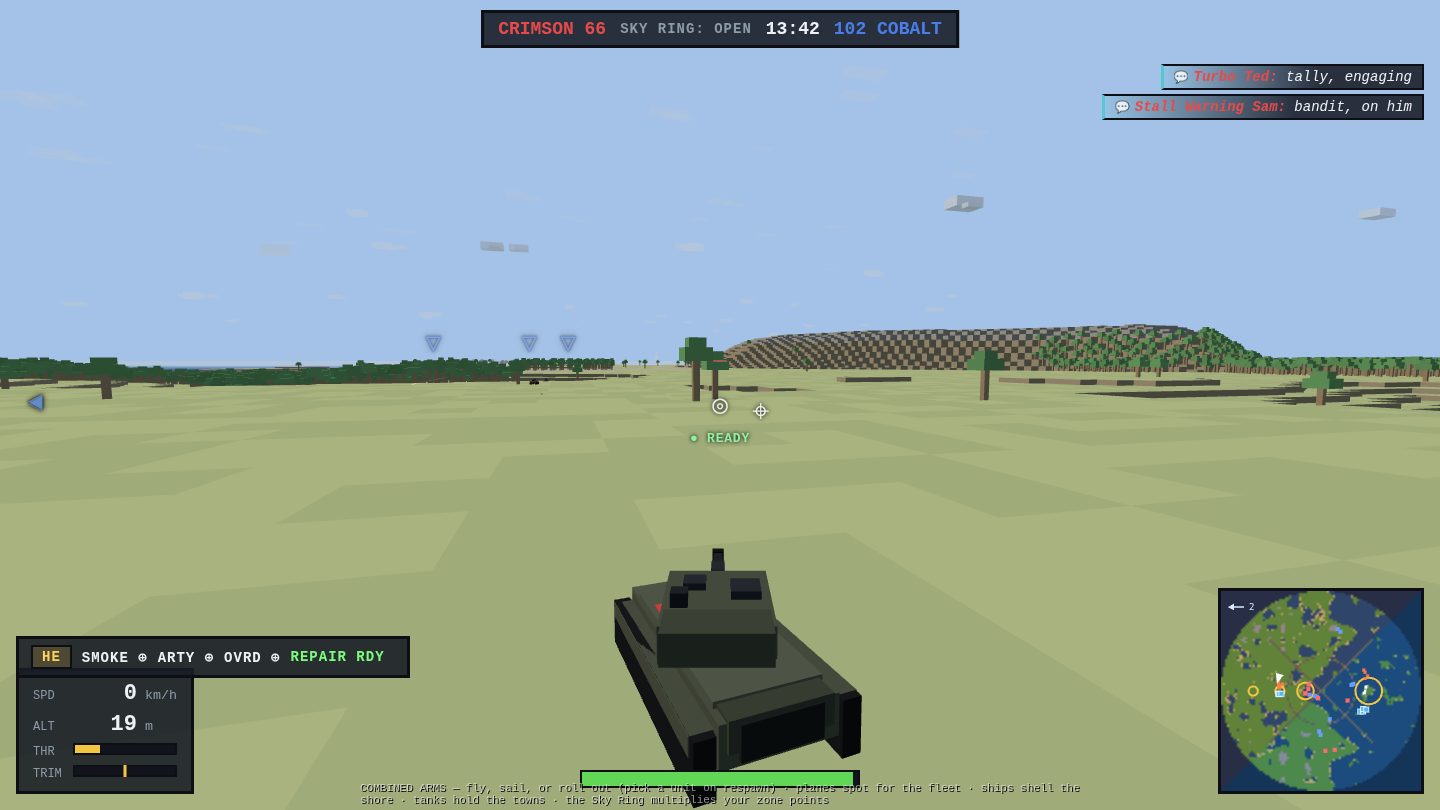
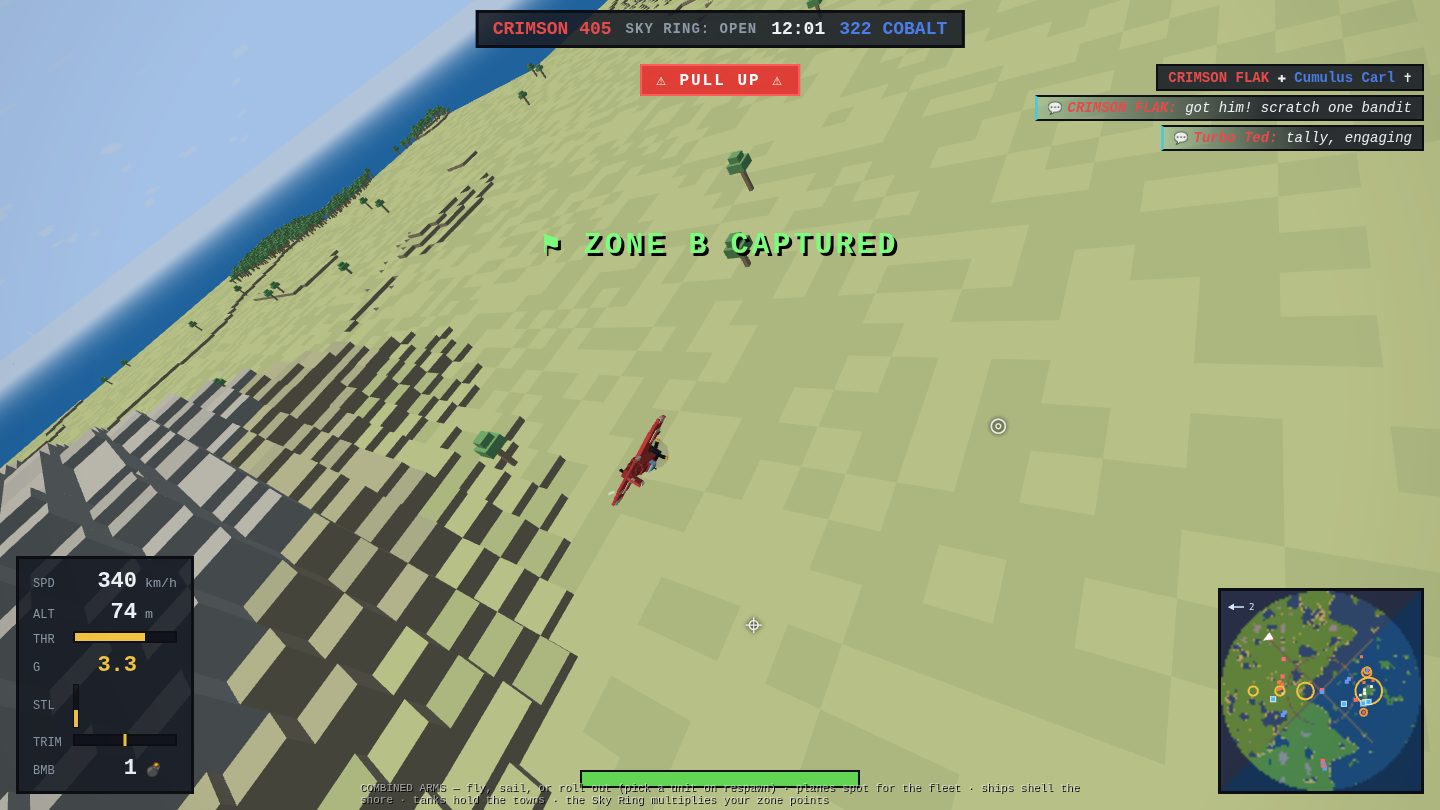
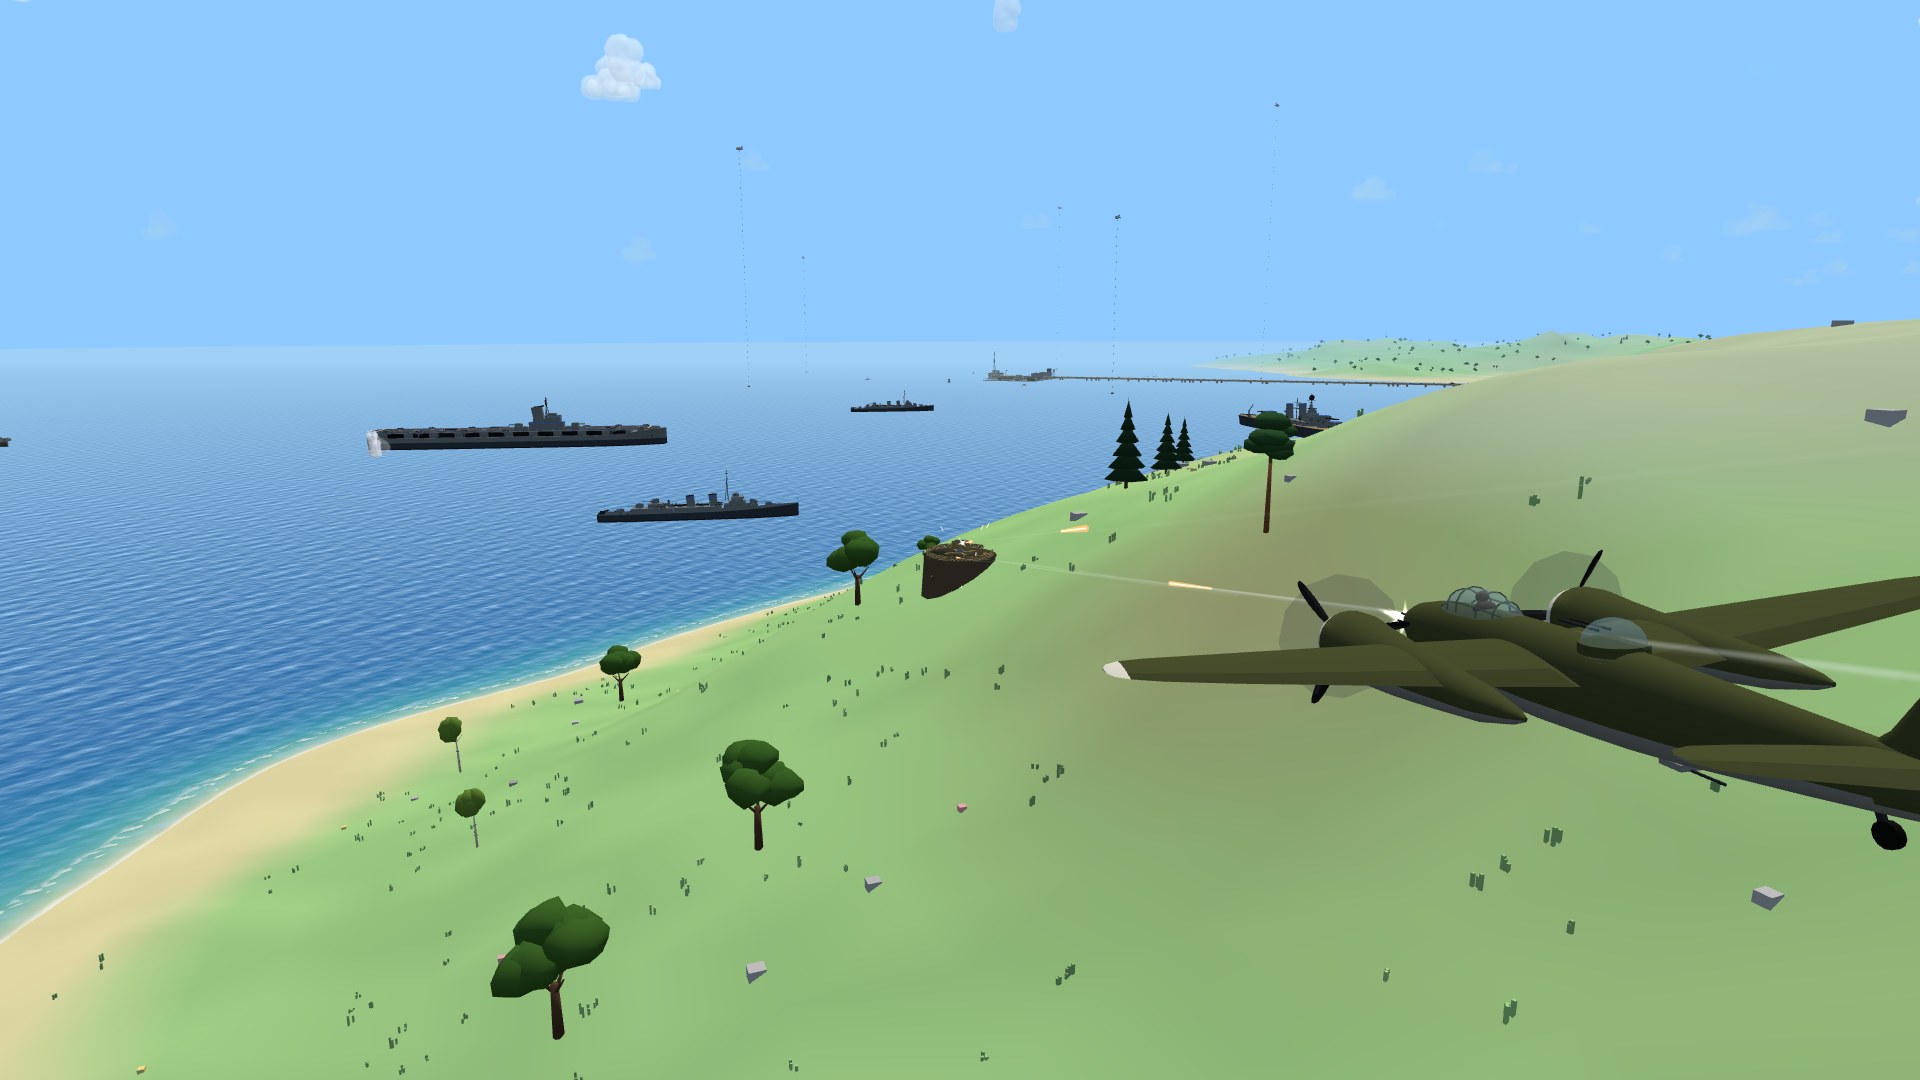
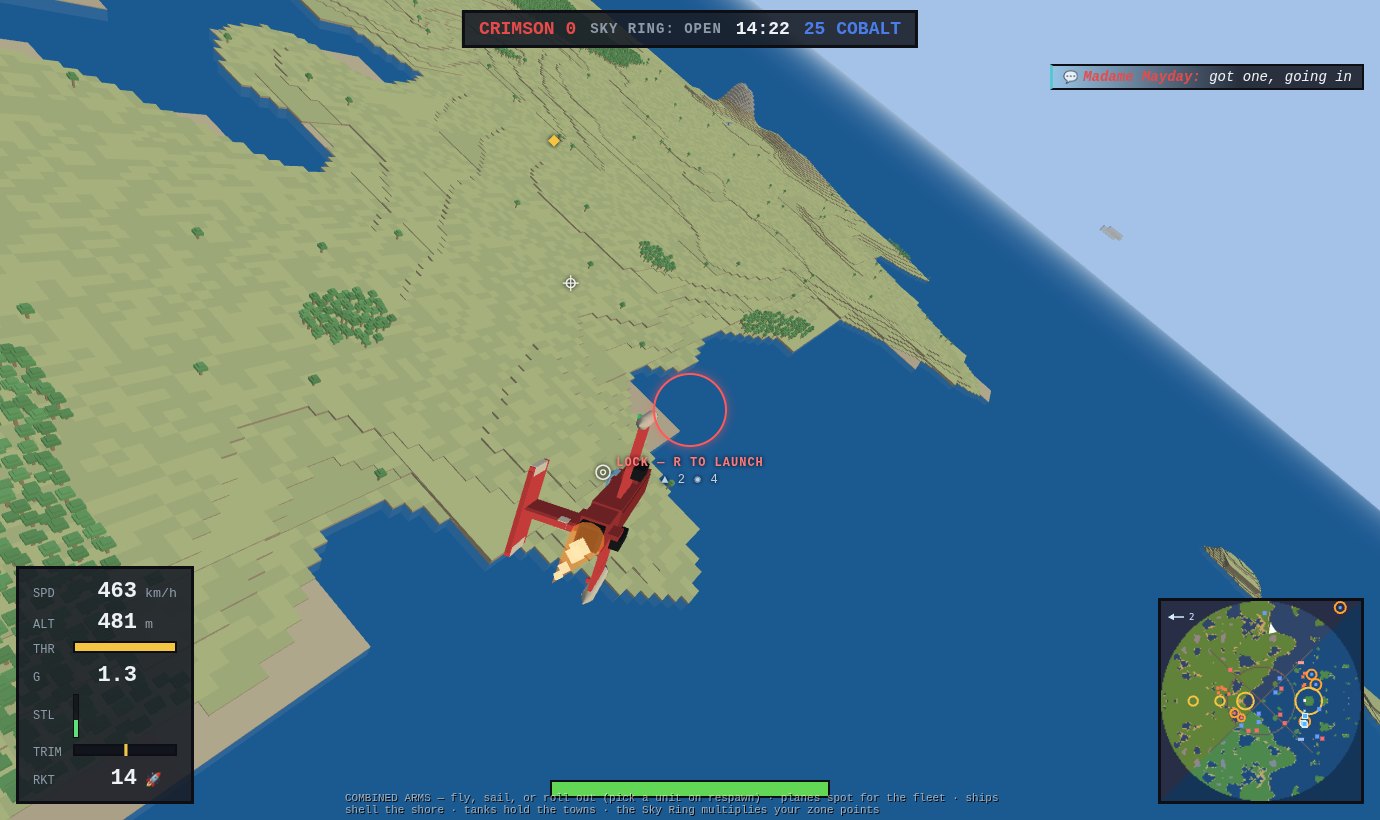
Combined arms: the Brick Gulf (new)
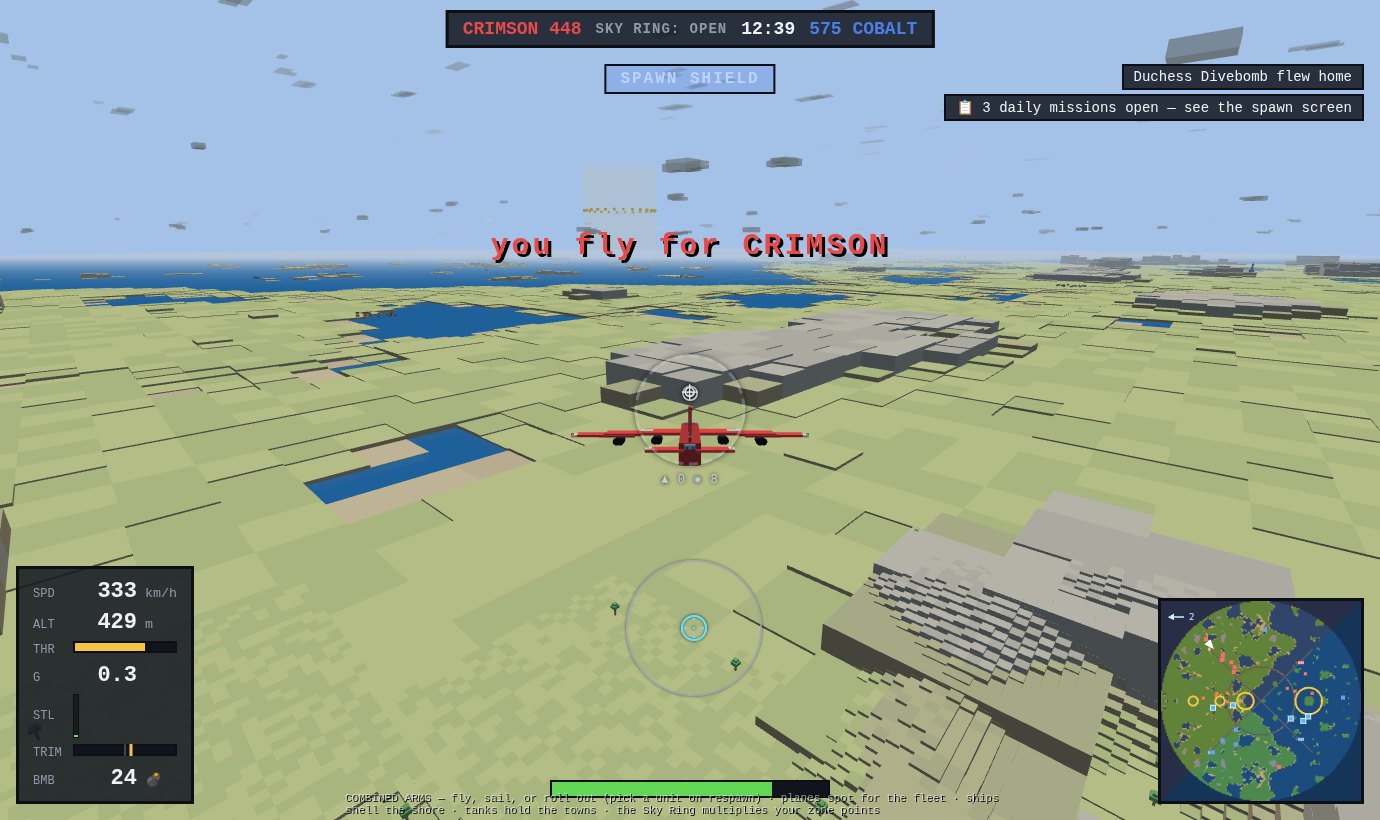
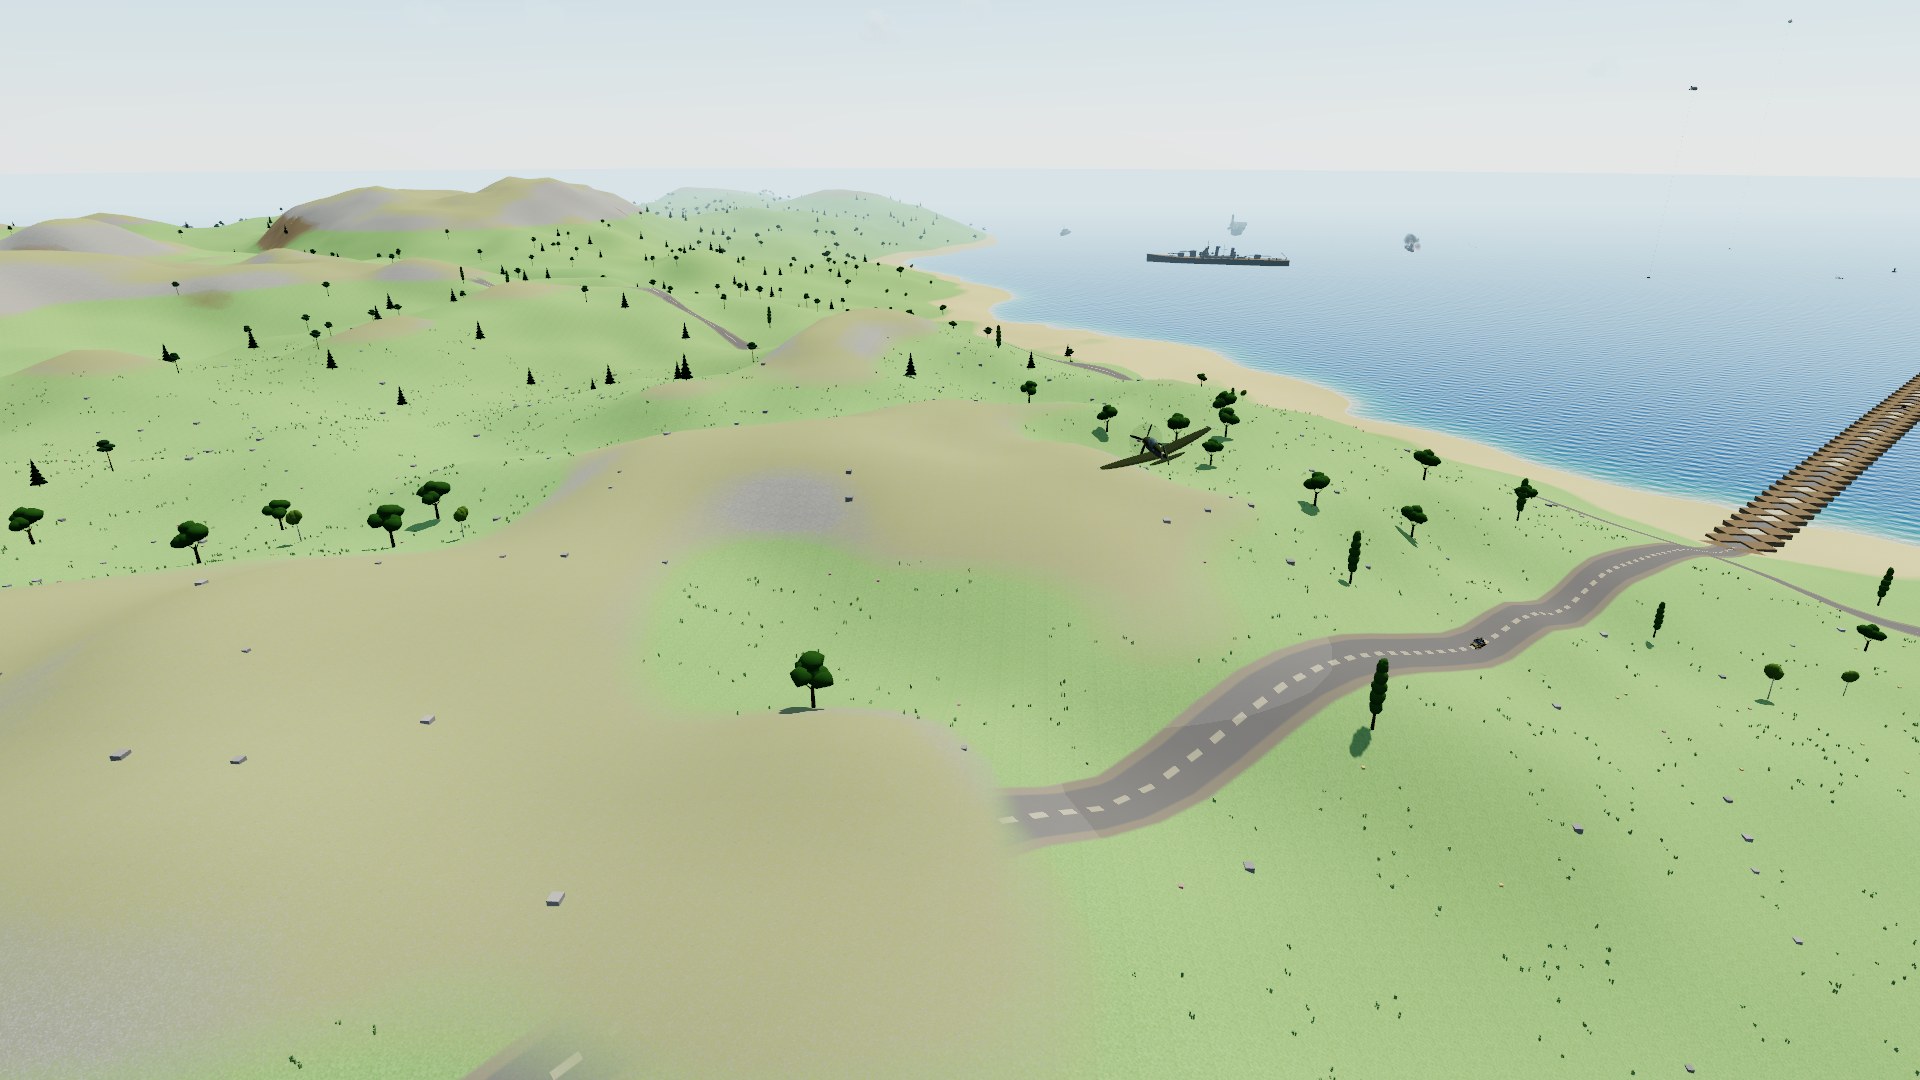
The fourth theater puts all three wars on one front. The
Brick Gulf is the land theater's steppe west of an authored
coastline and the naval theater's open sea east of it — four
capture zones run along the front line between them, and the
harbor at Brickhaven falls to whichever arm reaches it first:
a tank platoon in the streets or a destroyer alongside the quay.
Planes are the glue — the fleet's guns can only reach armor
somebody has spotted, so a fighter orbiting the steppe is a
battleship's rangefinder, and the Sky Ring over the Gulf
mouth multiplies your side's zone points instead of paying its own.
Pick any unit from one spawn screen: fly, sail, or roll out
(-combined-arms server flag).
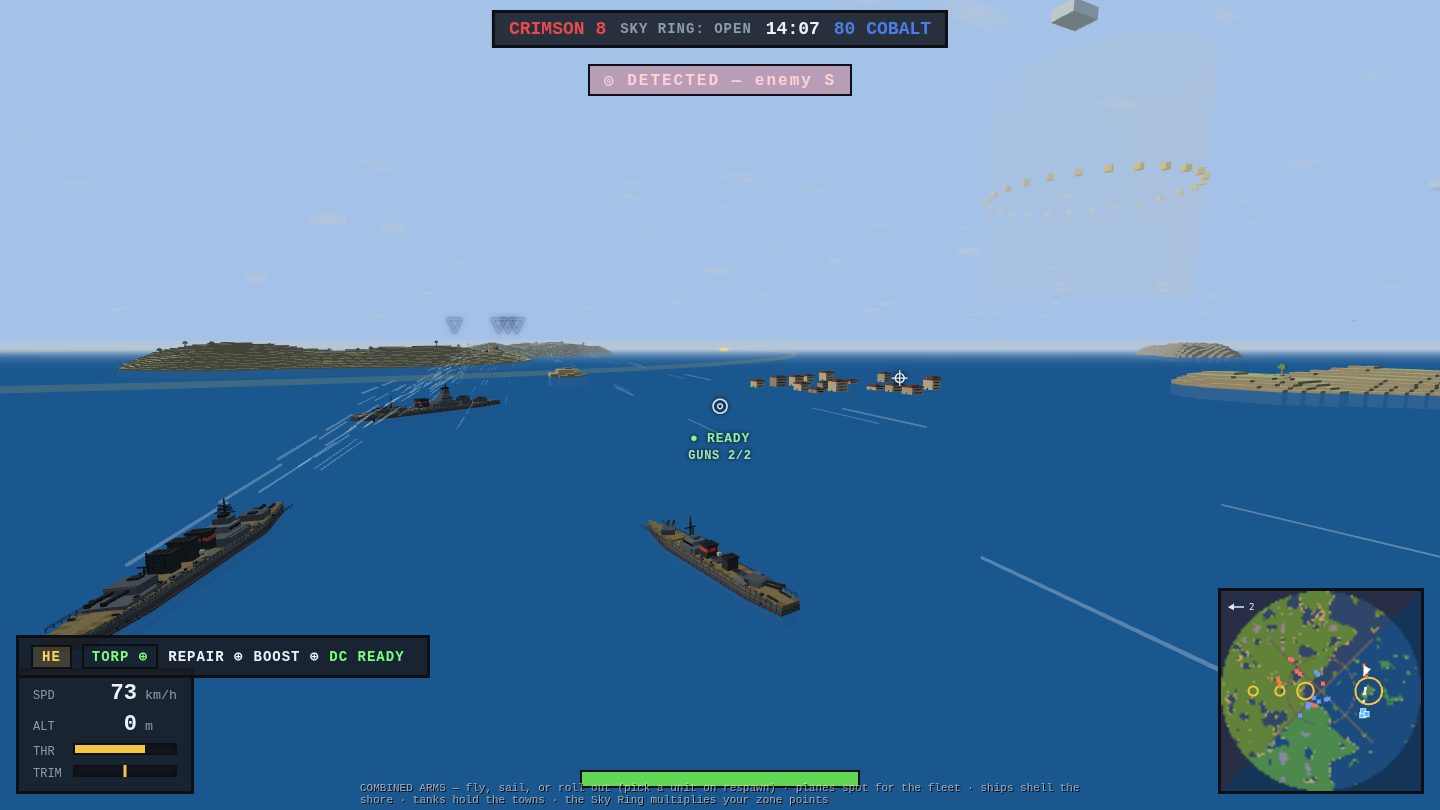
The land theater (new)
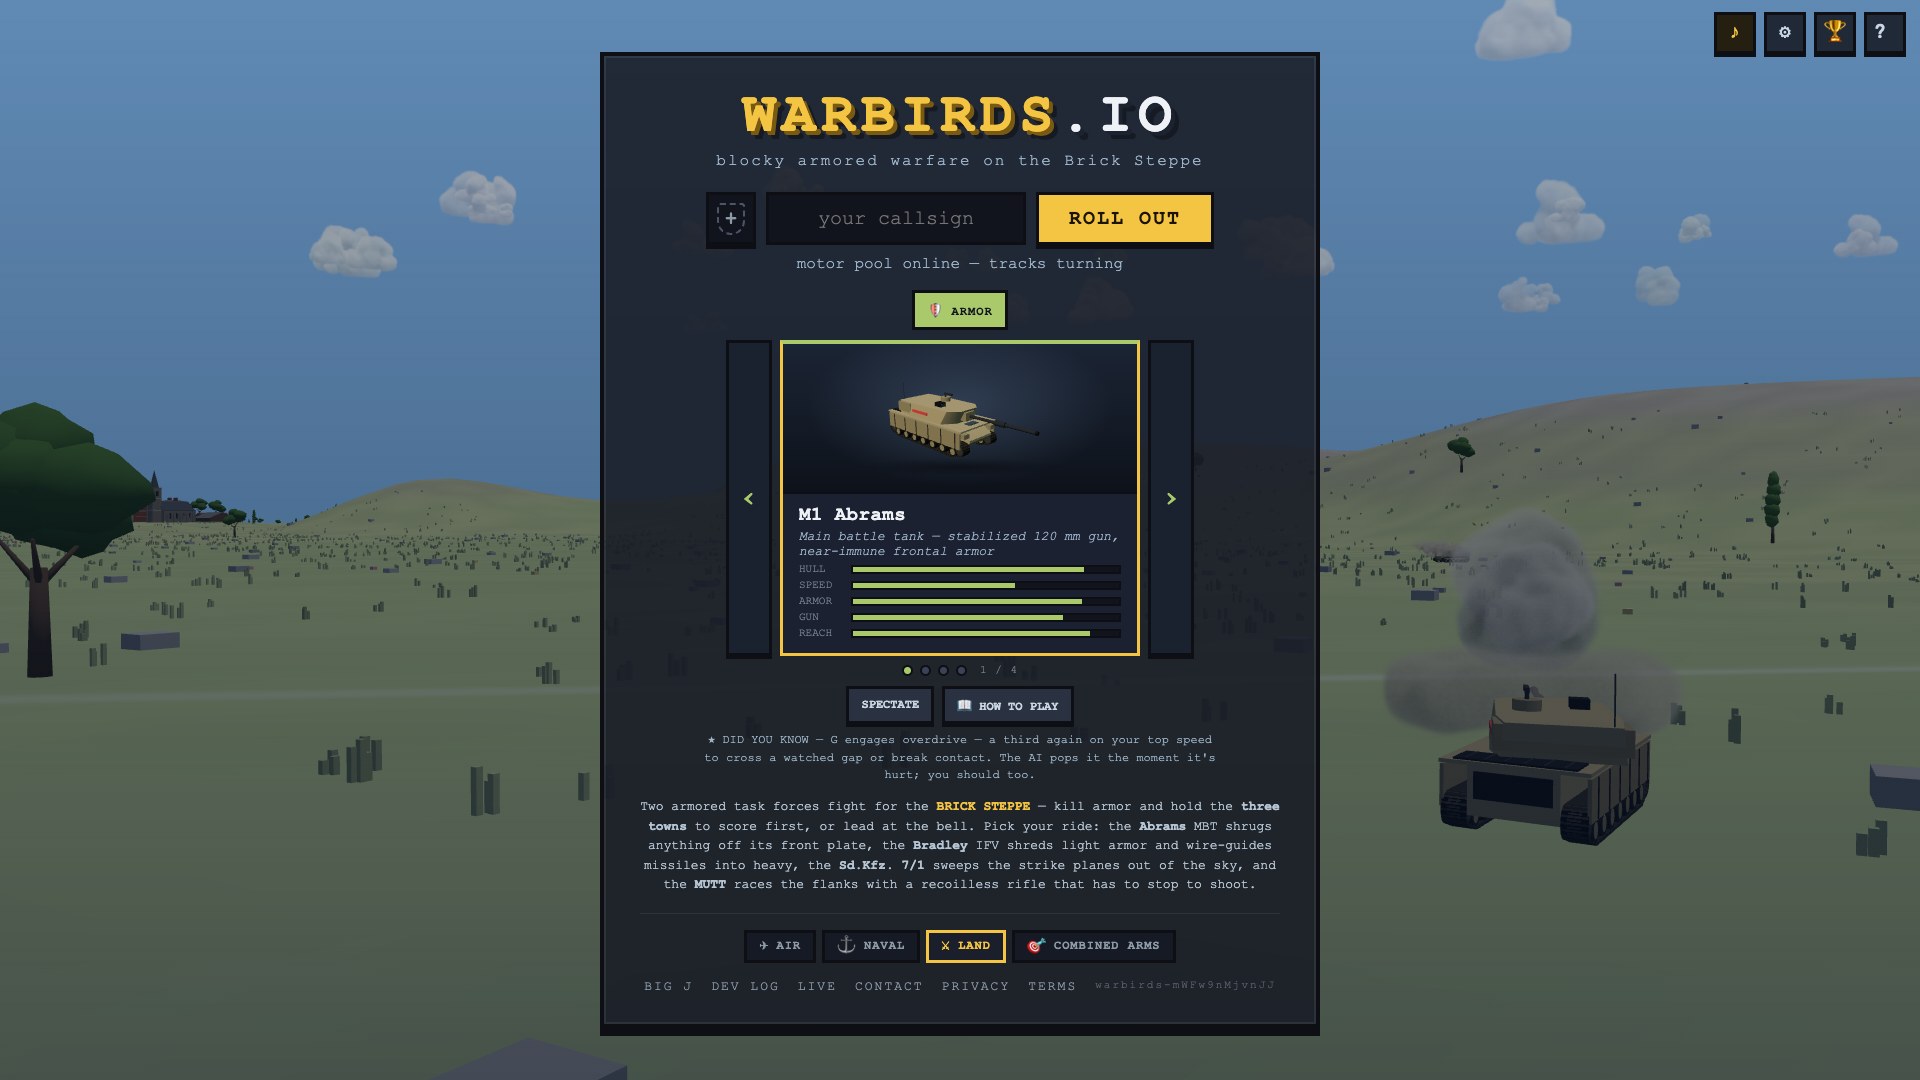
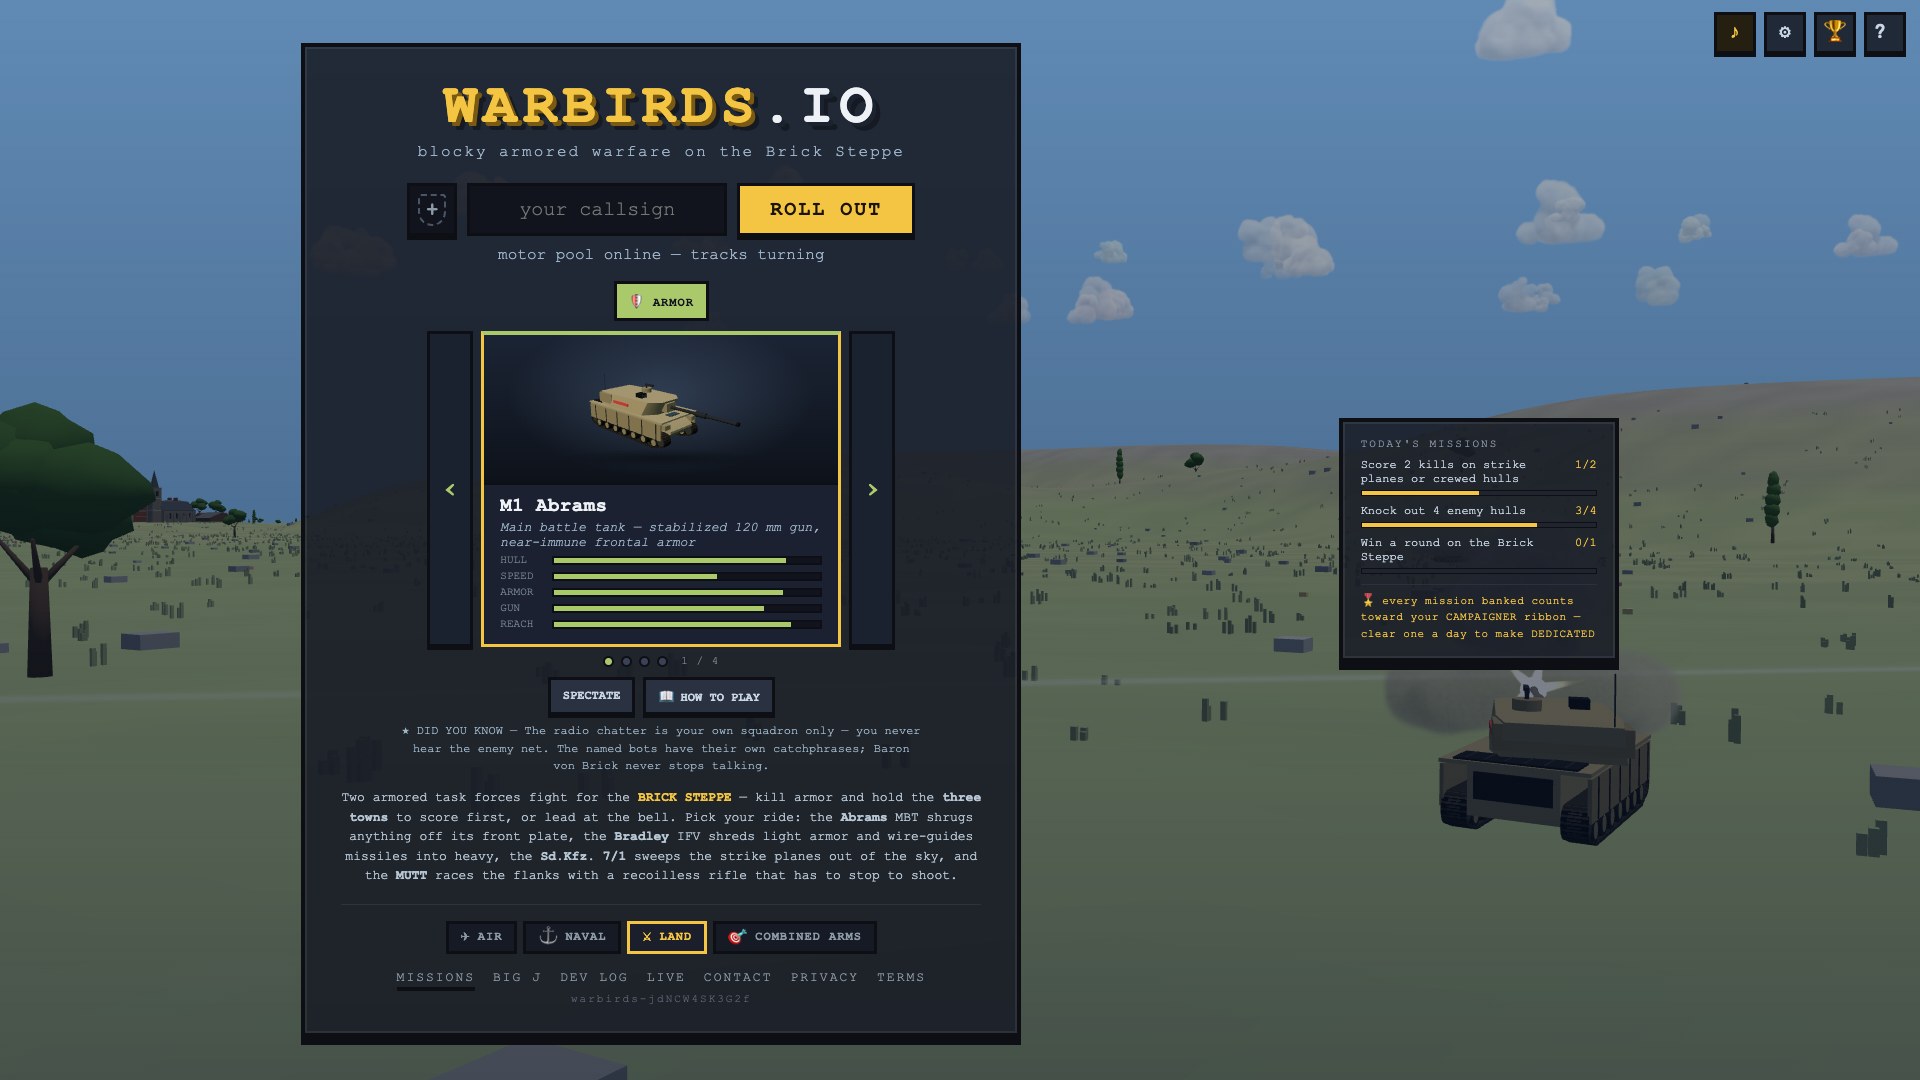
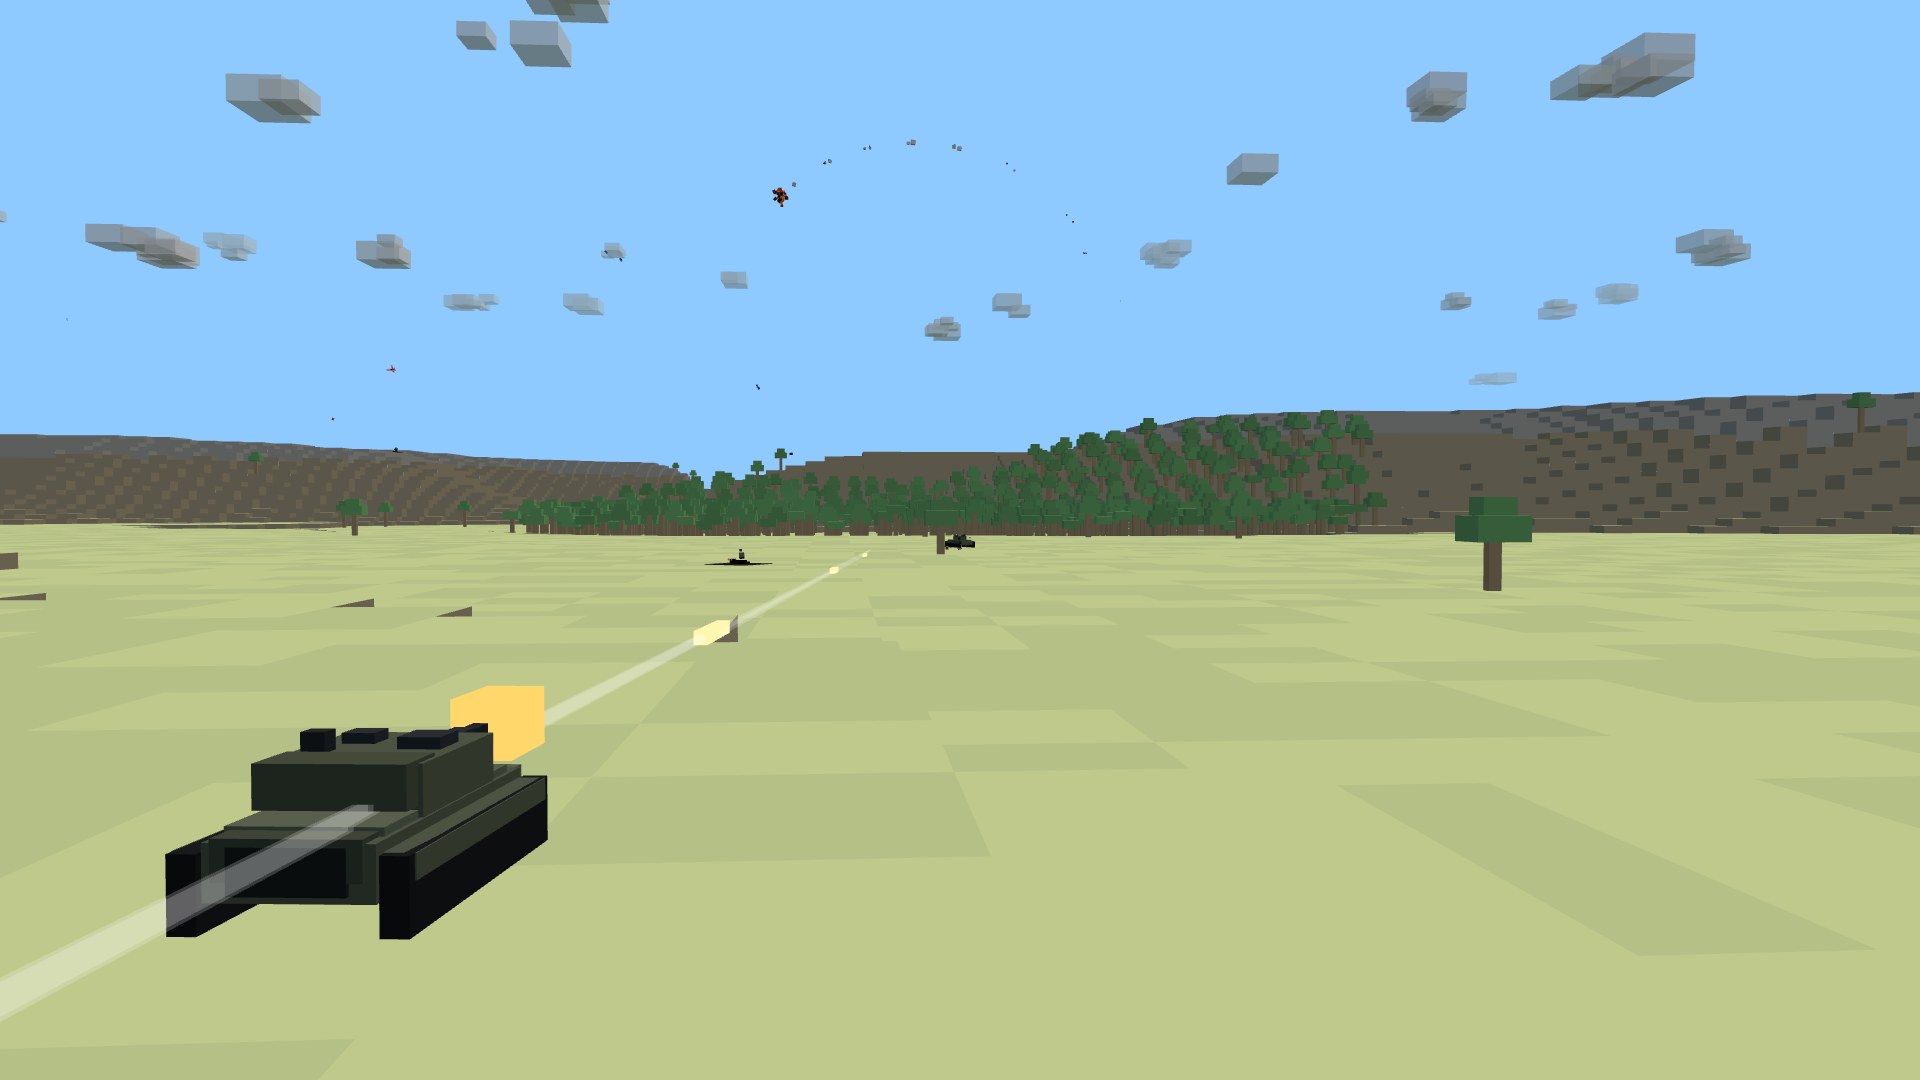
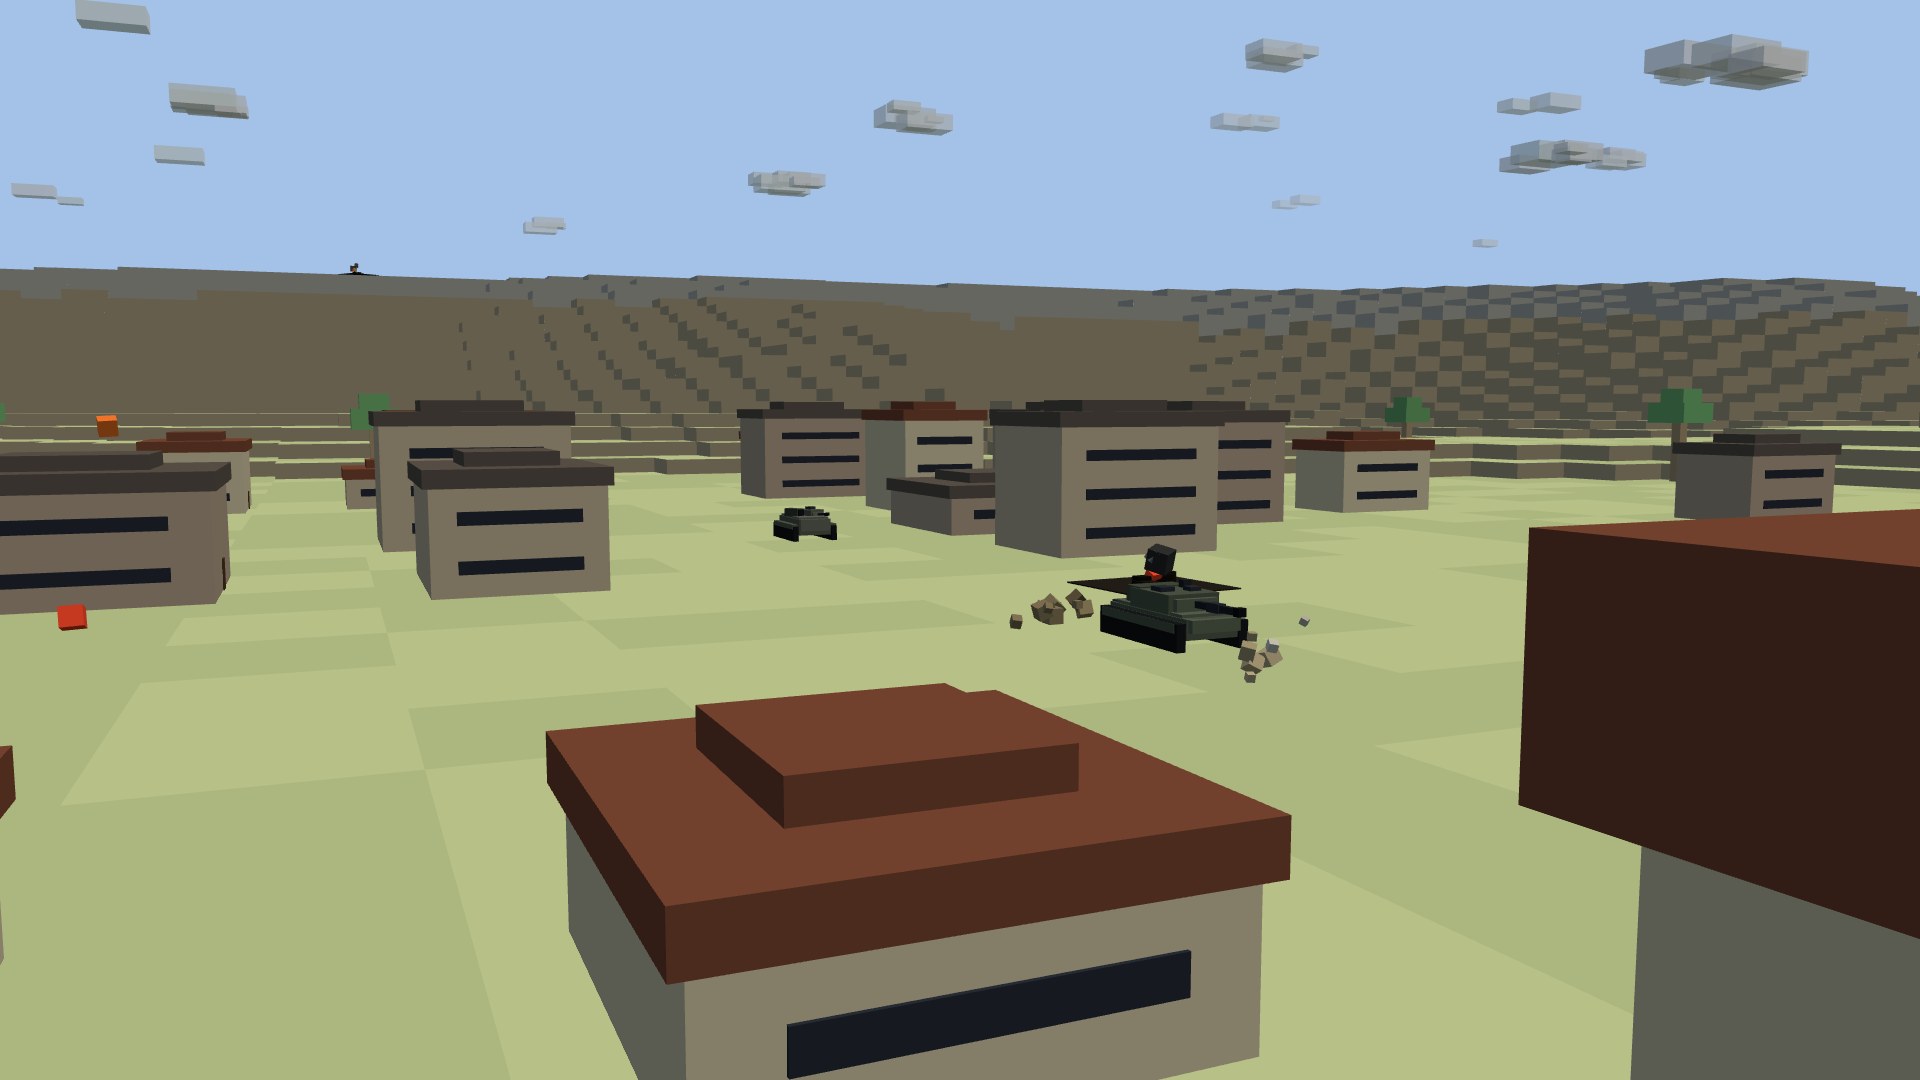
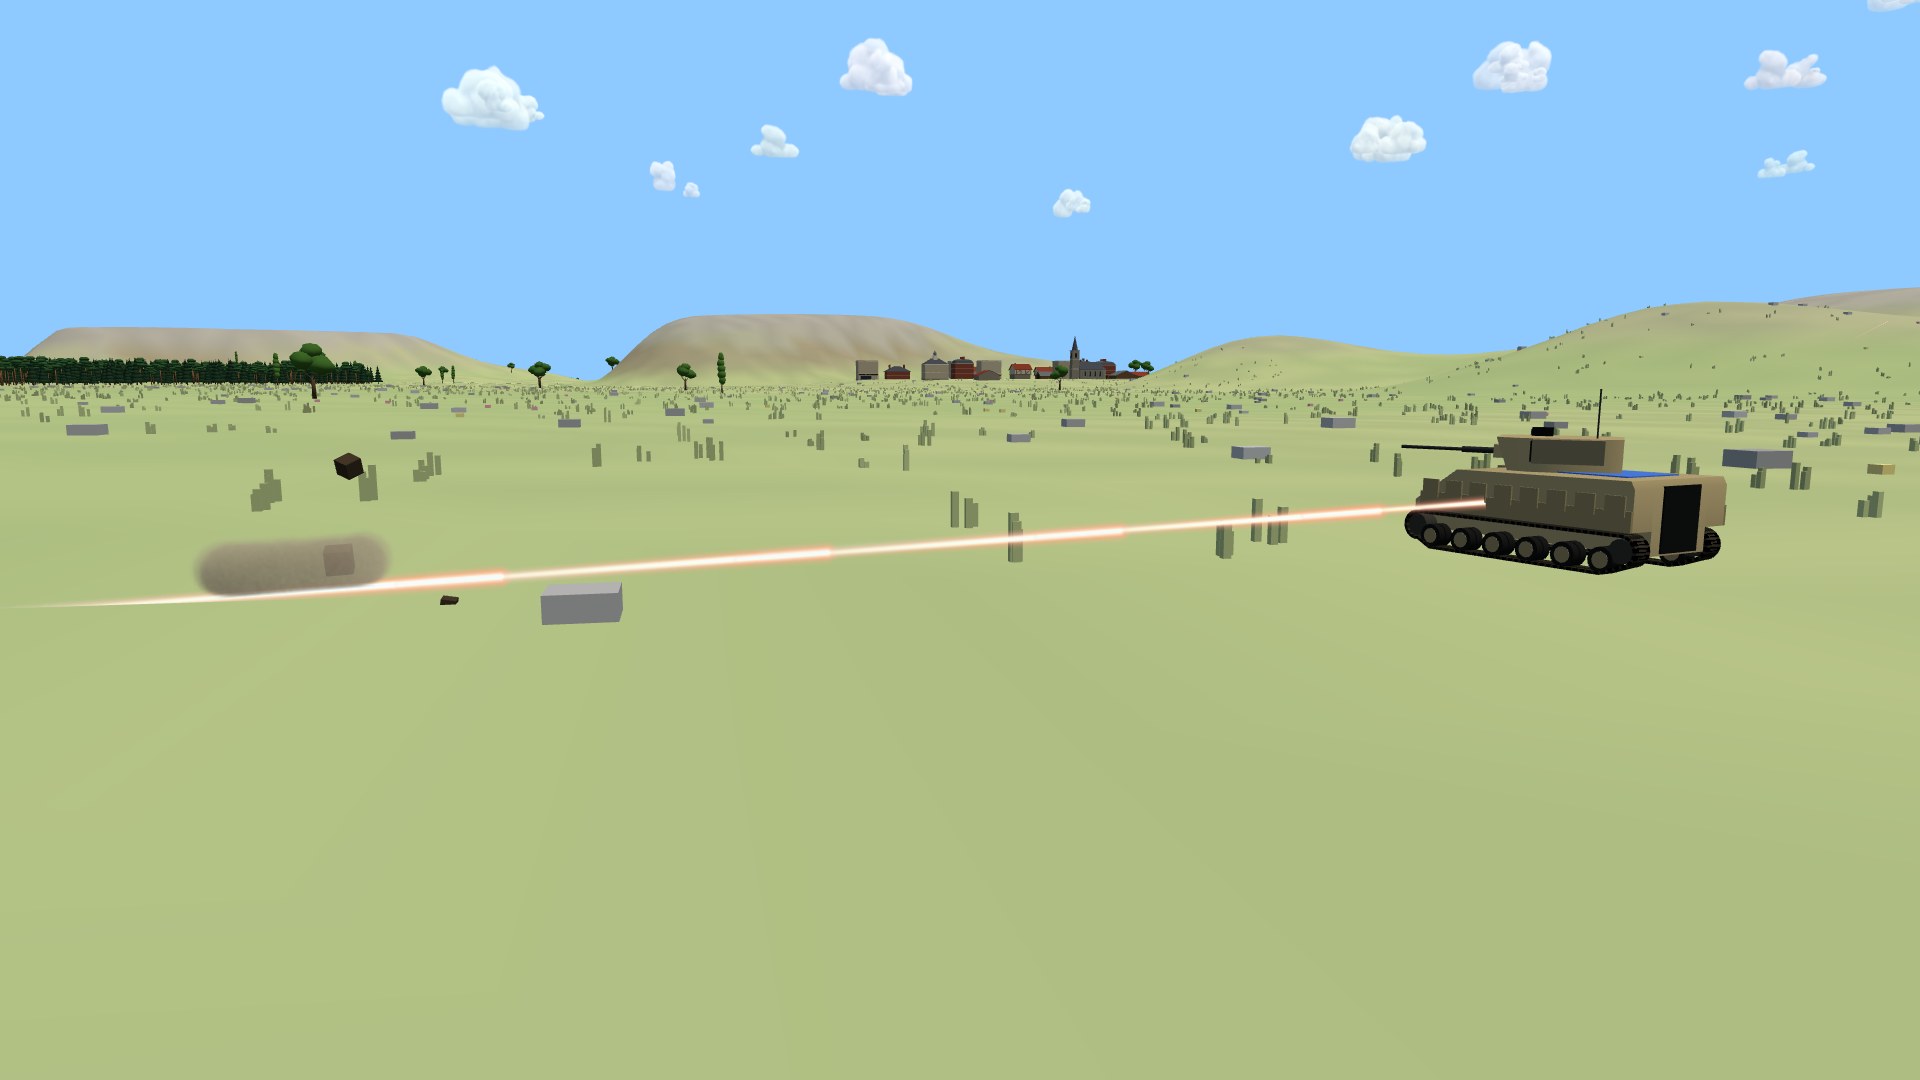
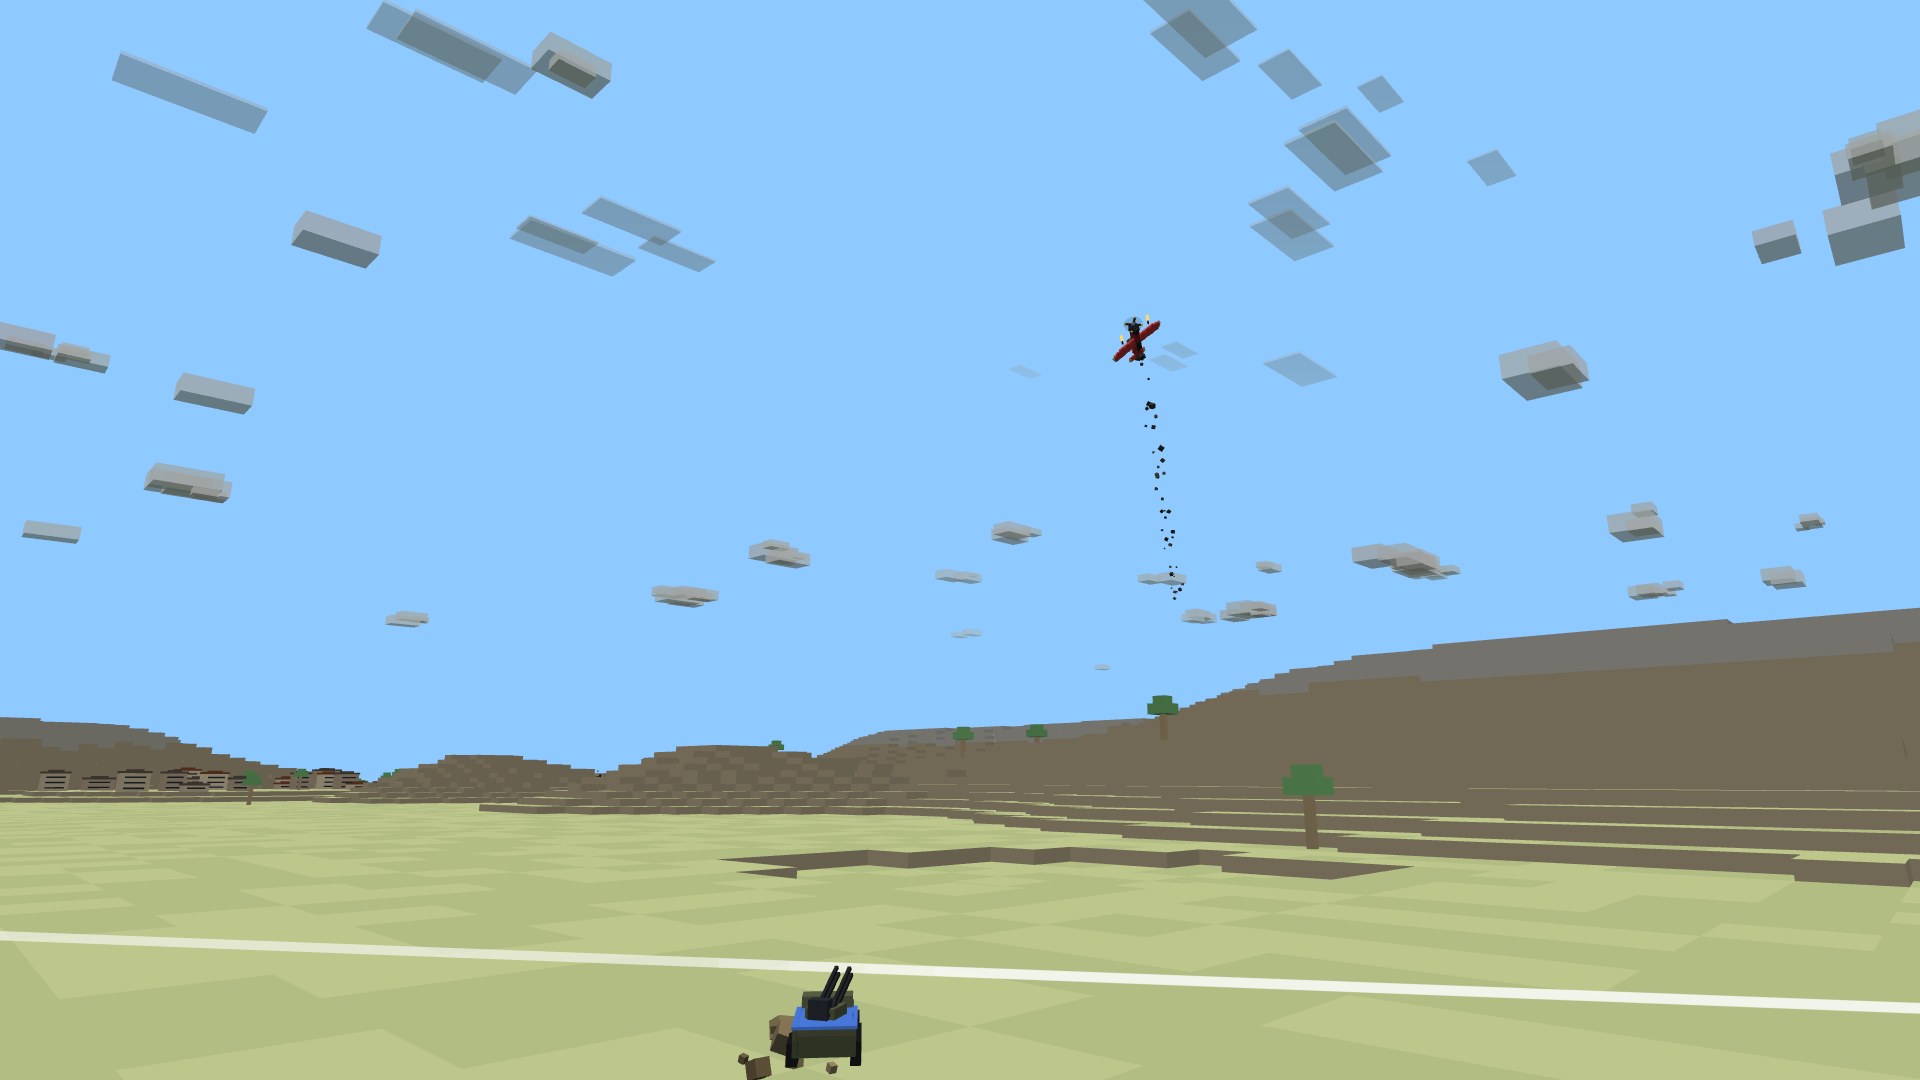
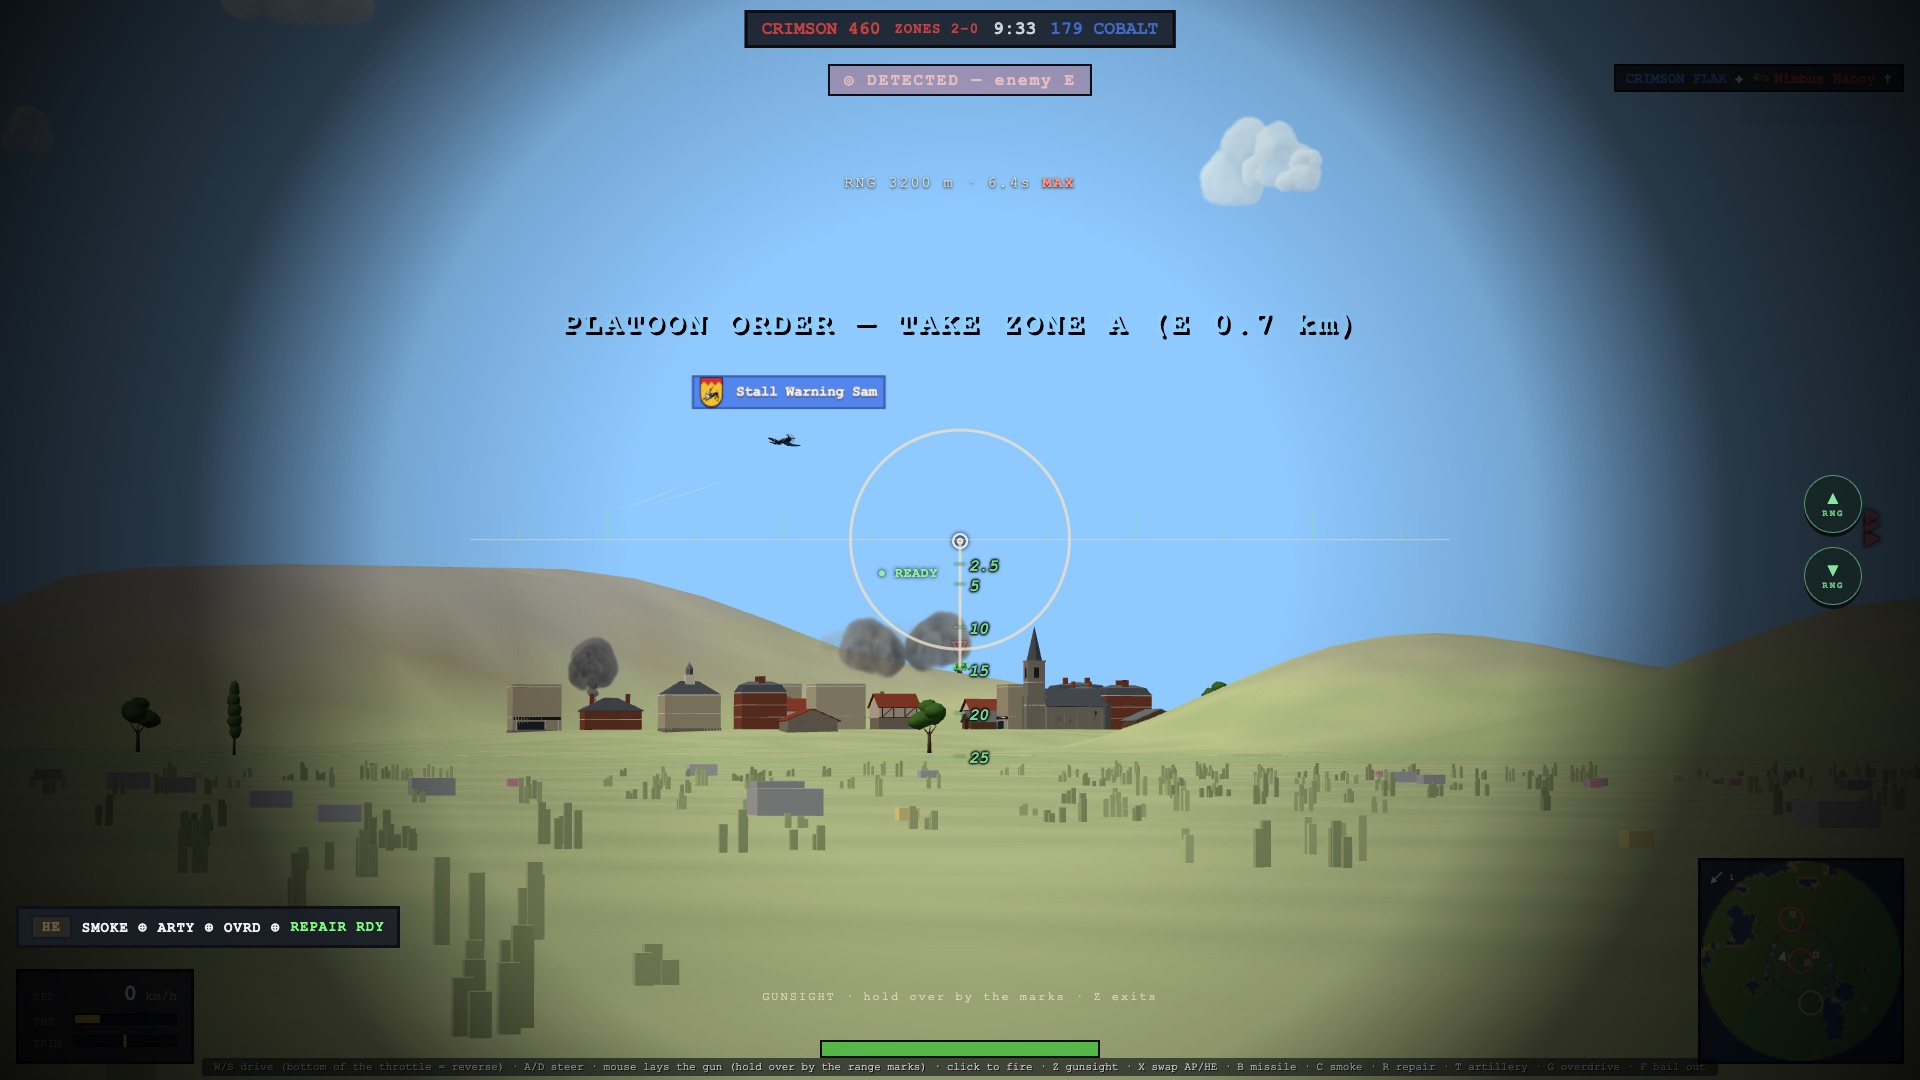
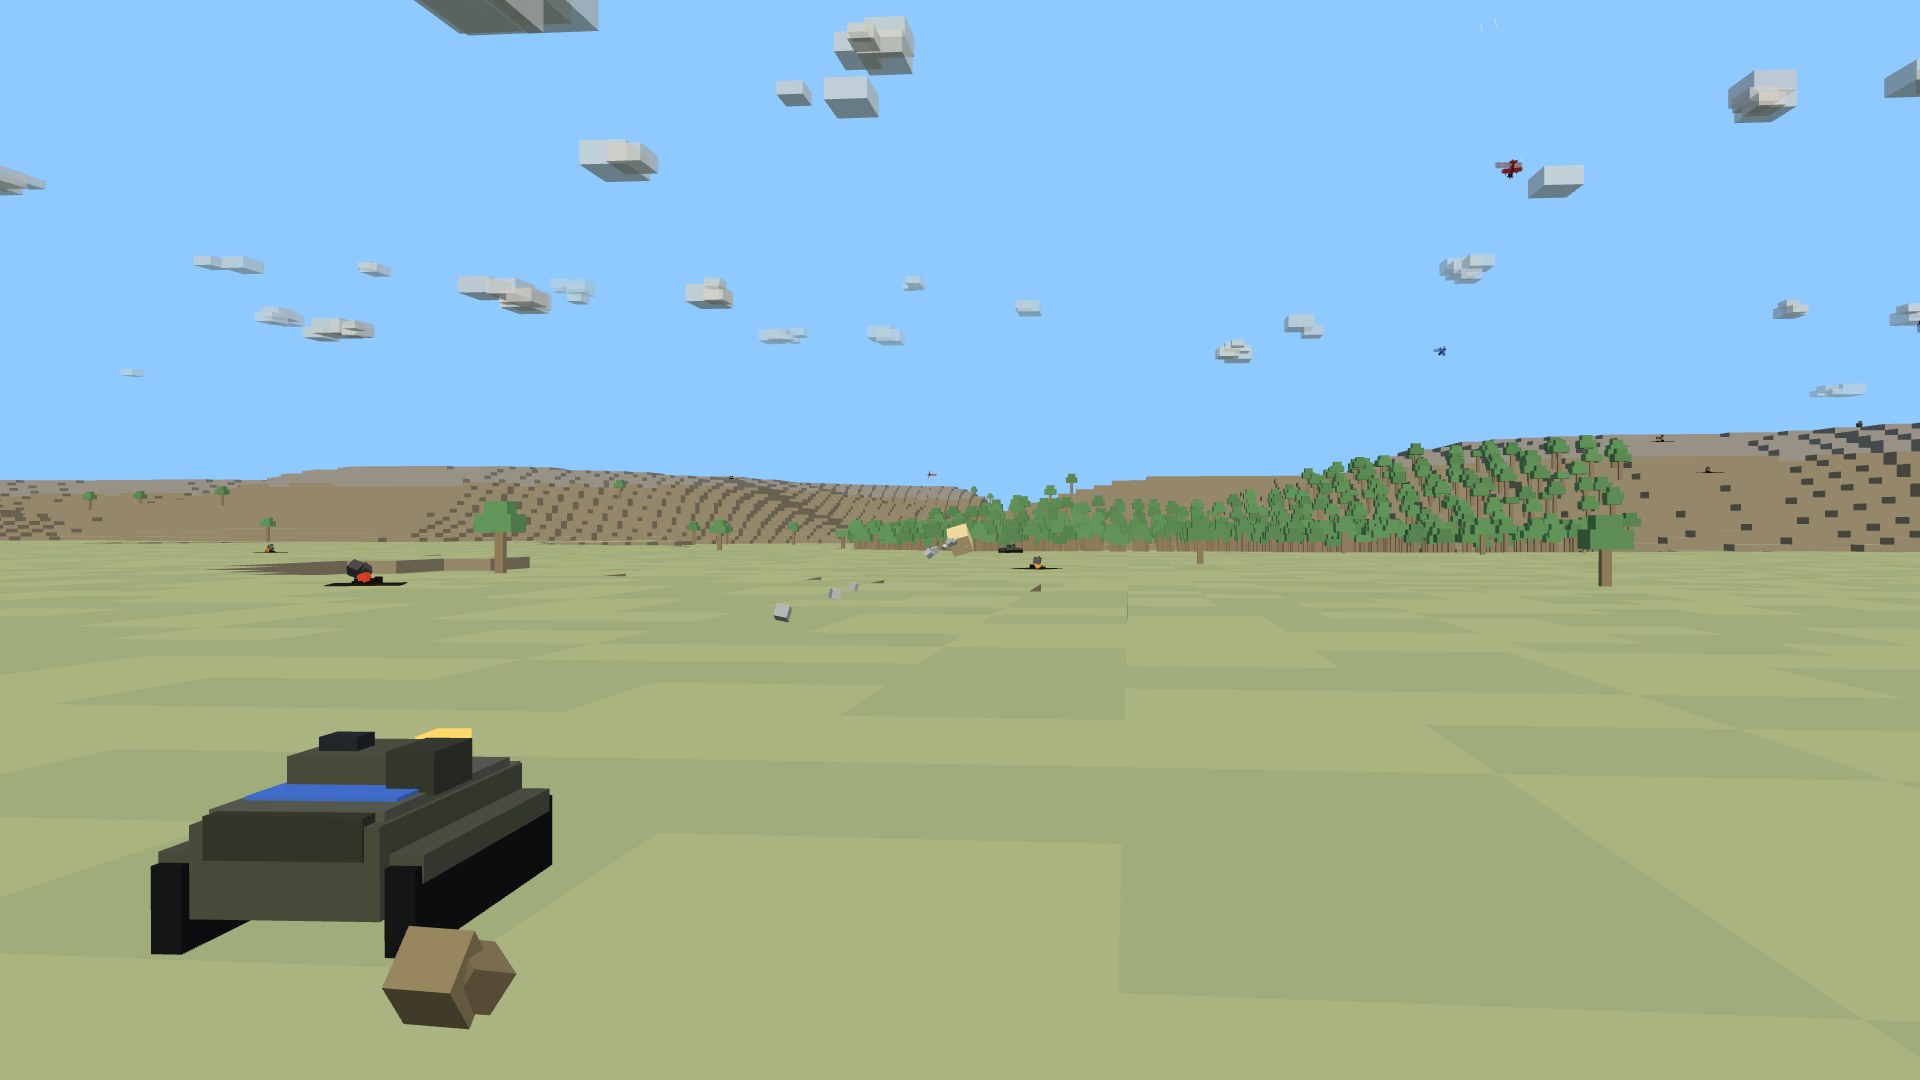
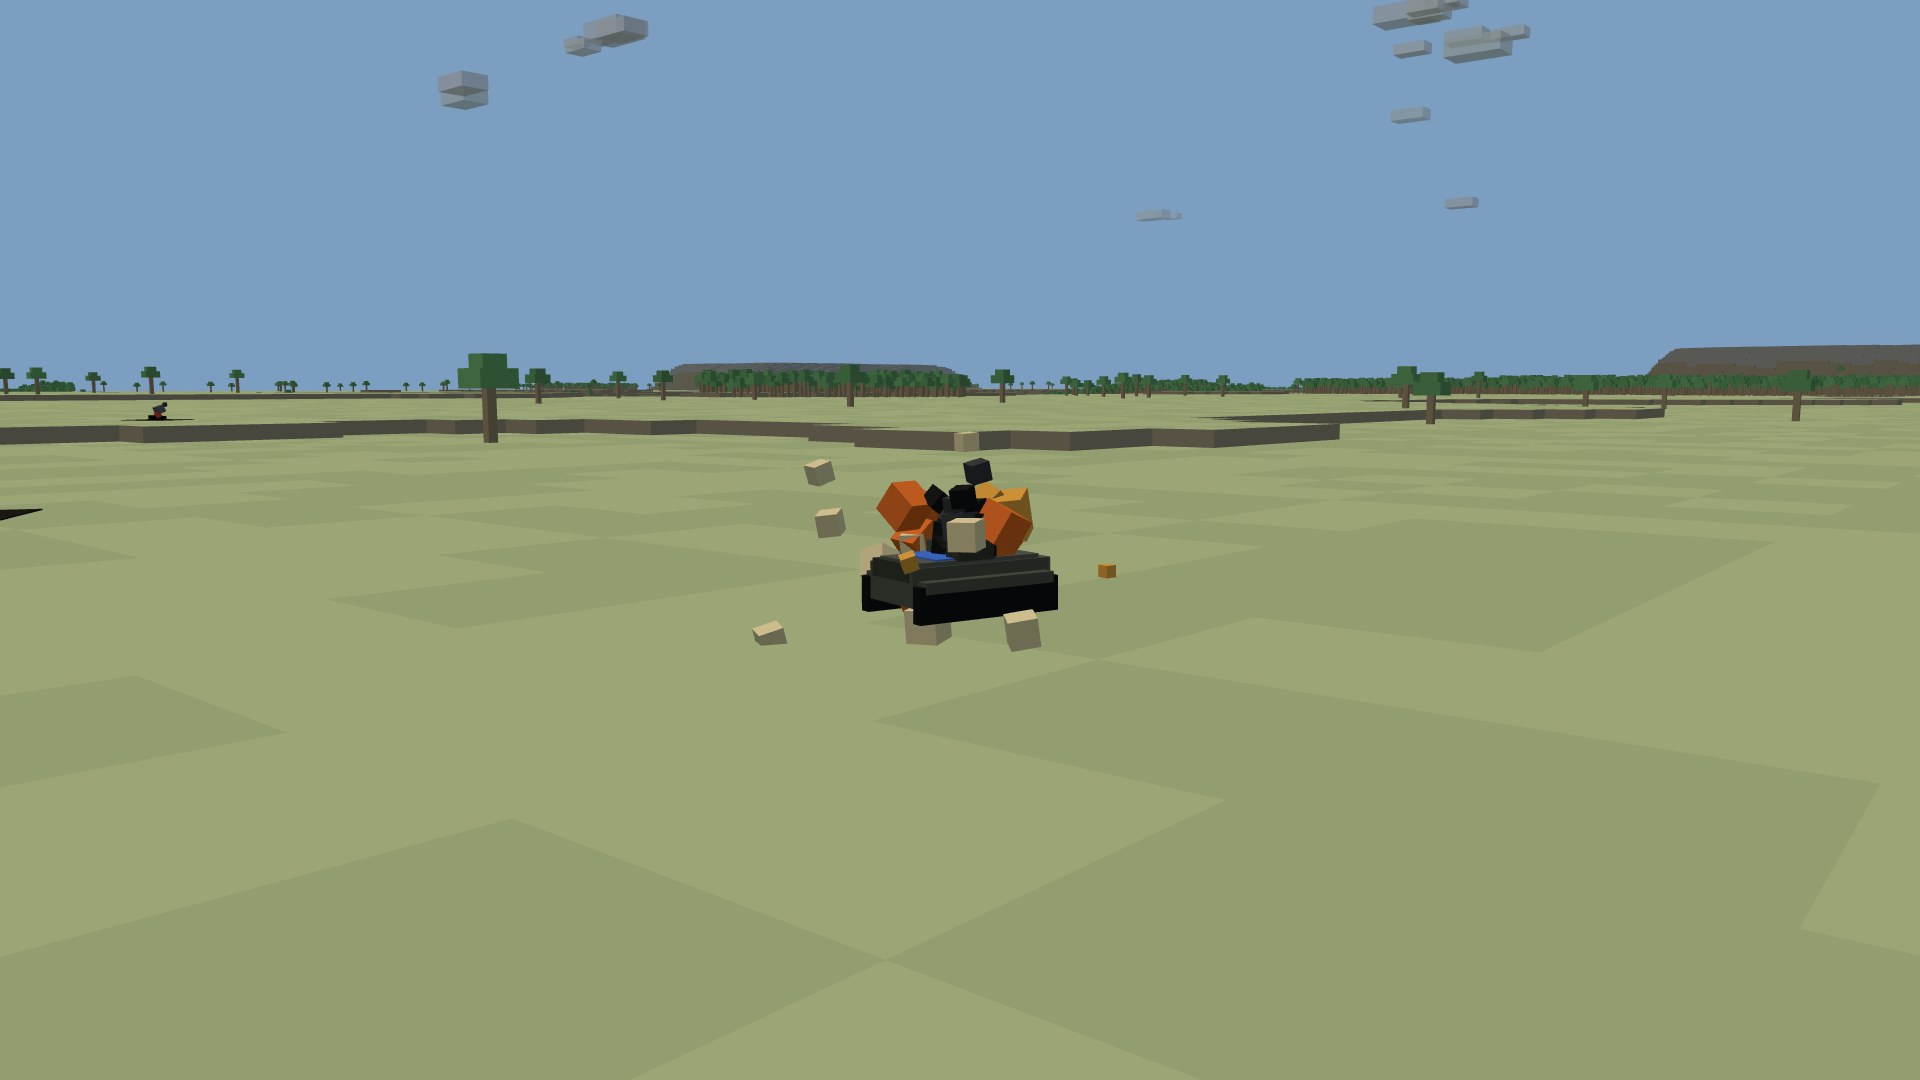
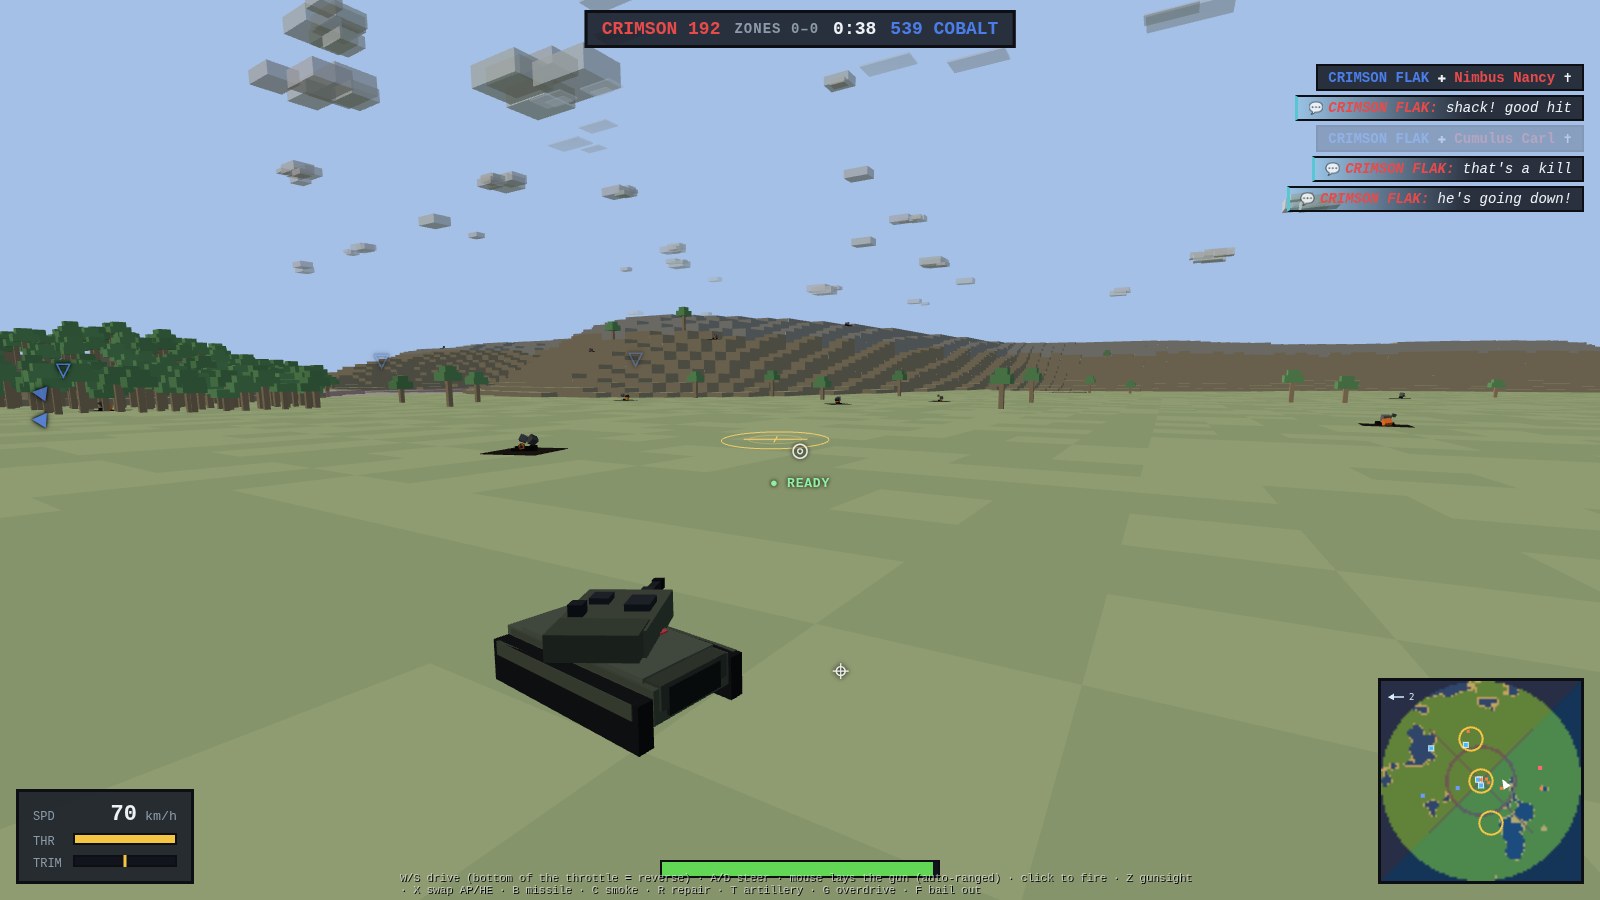
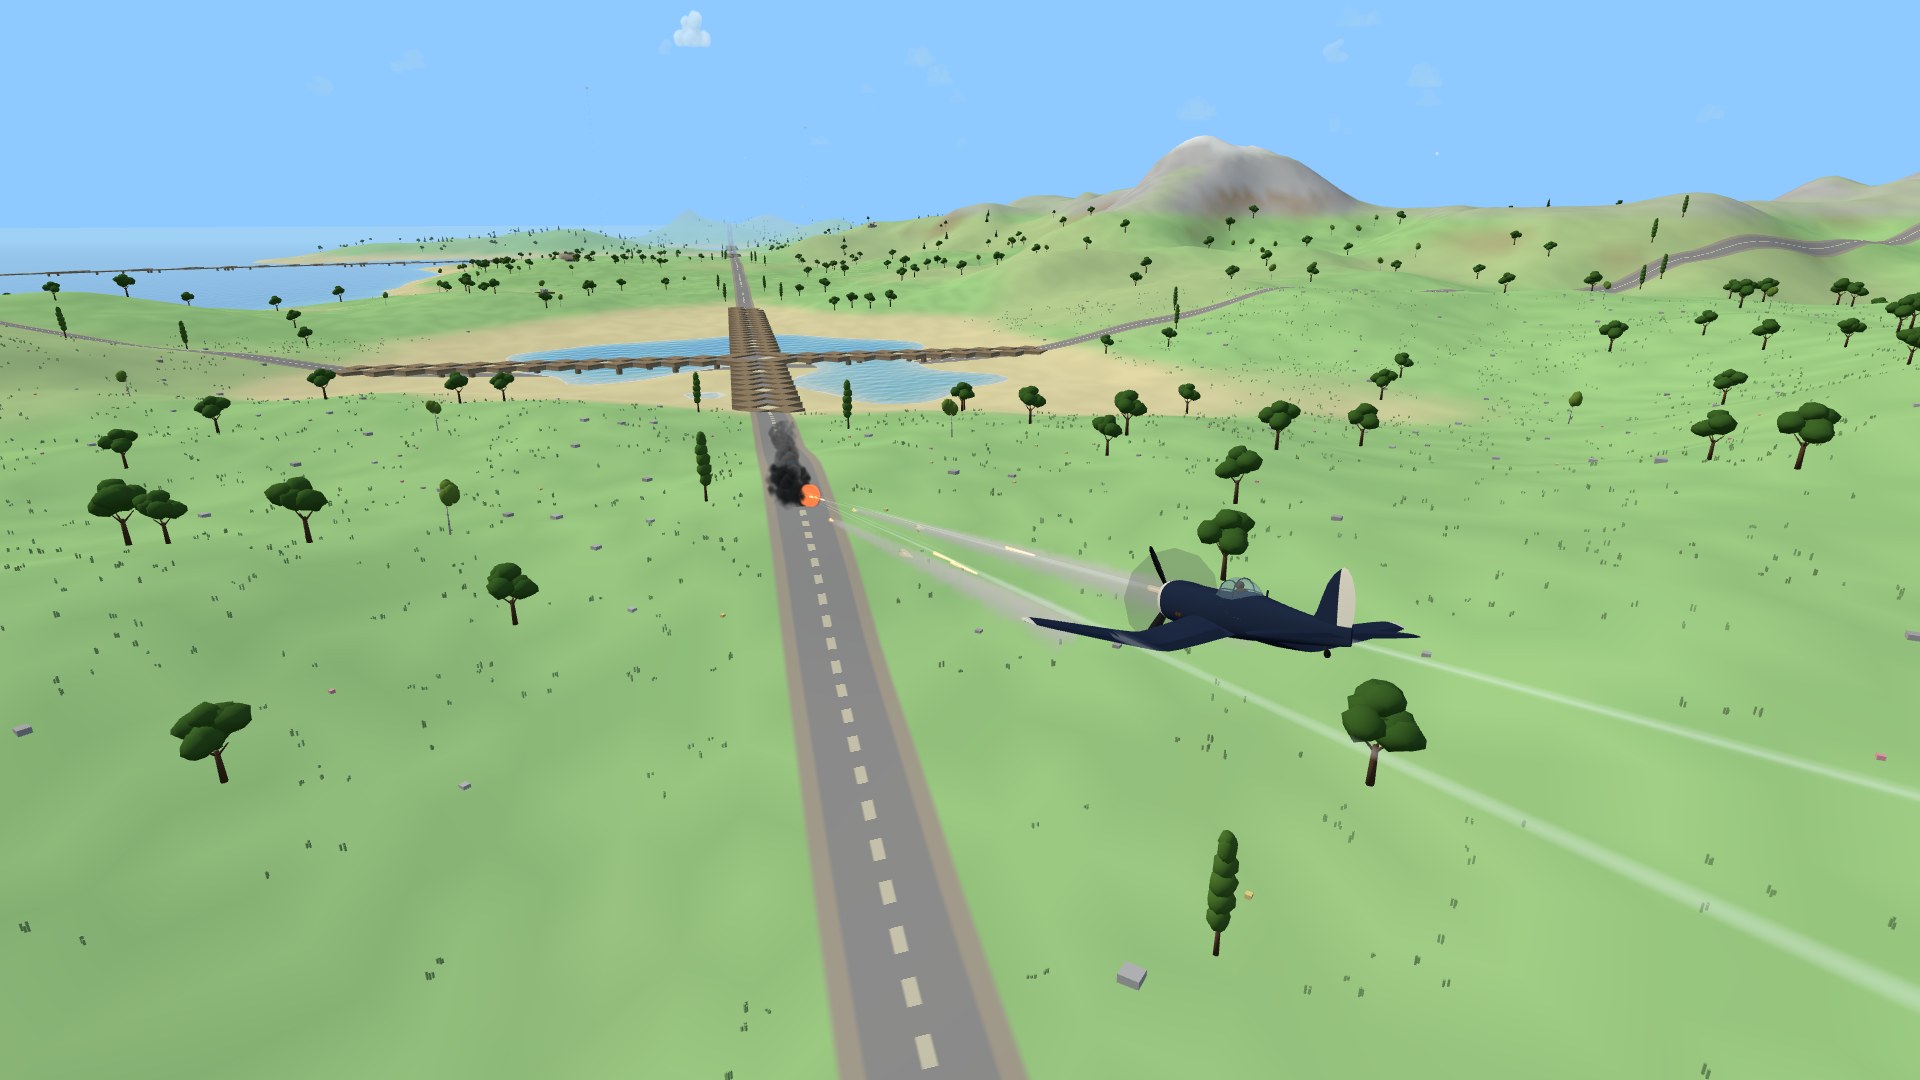
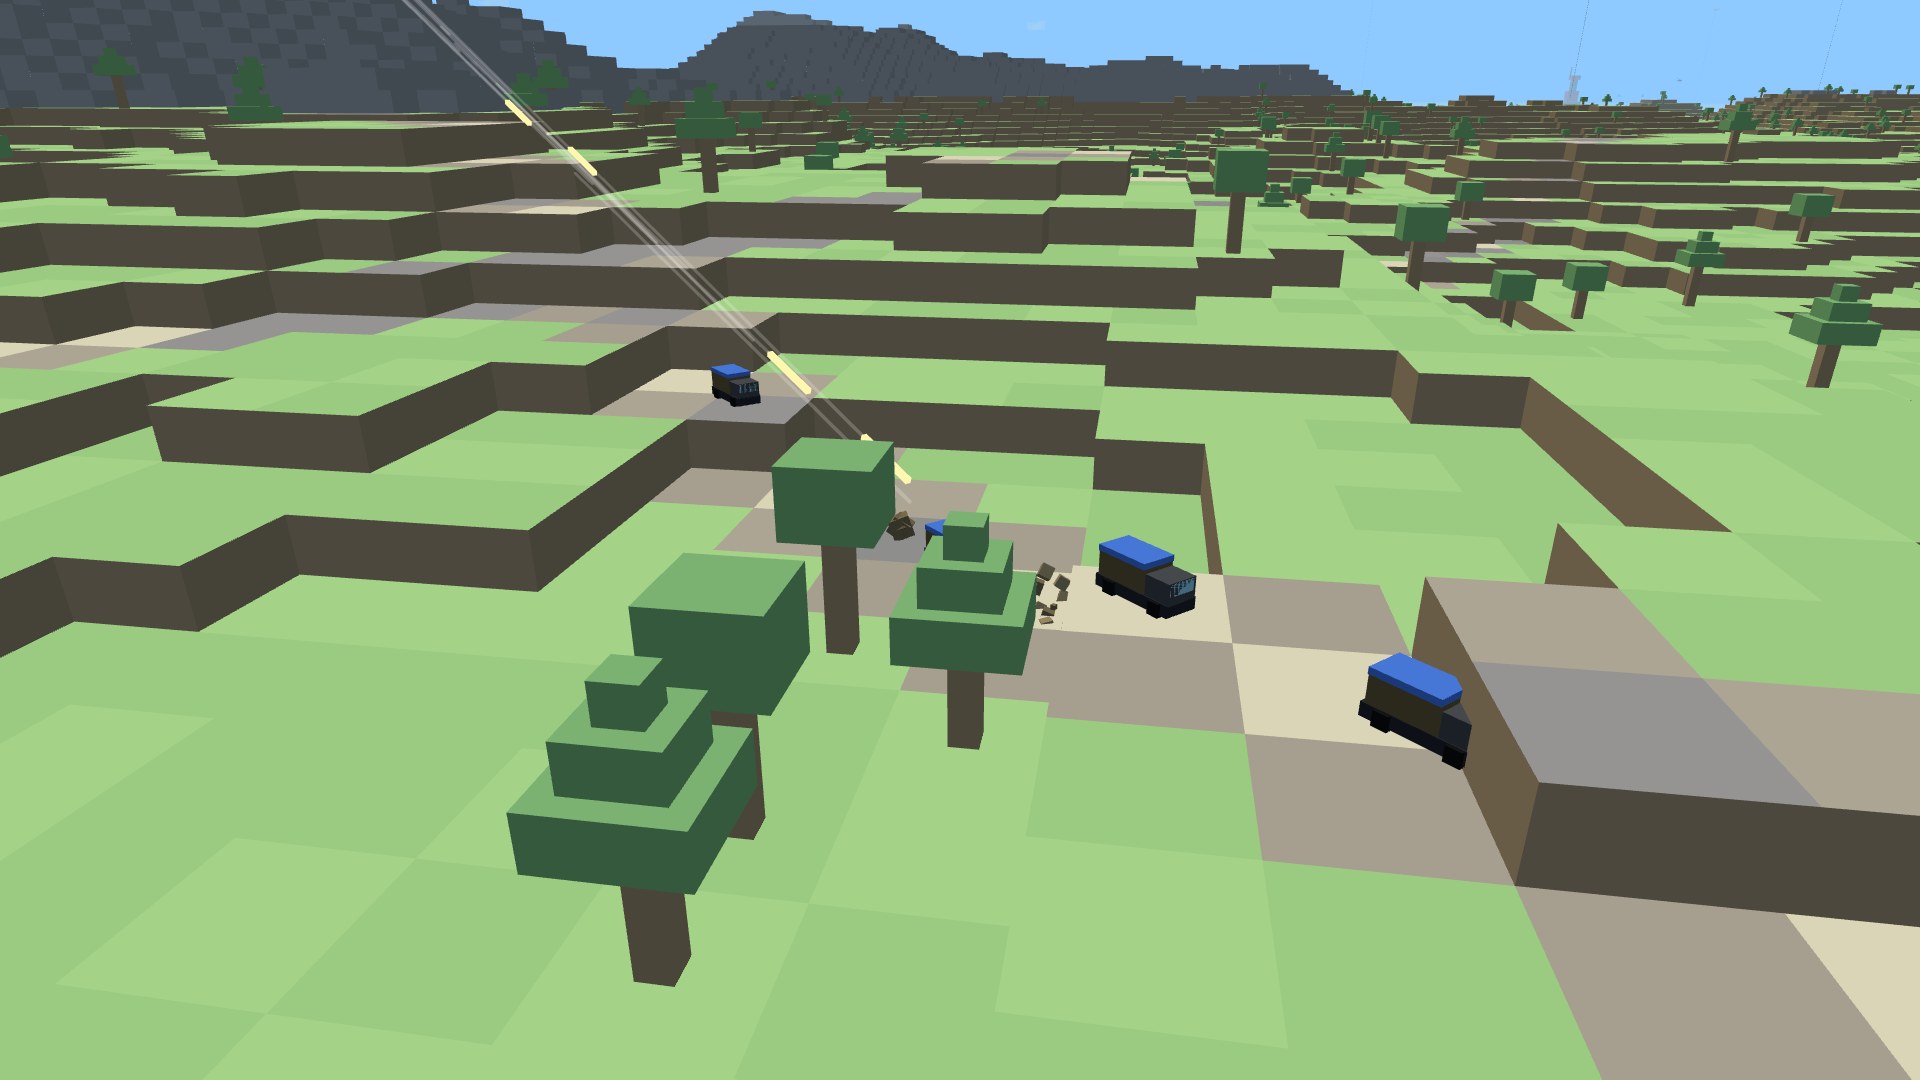
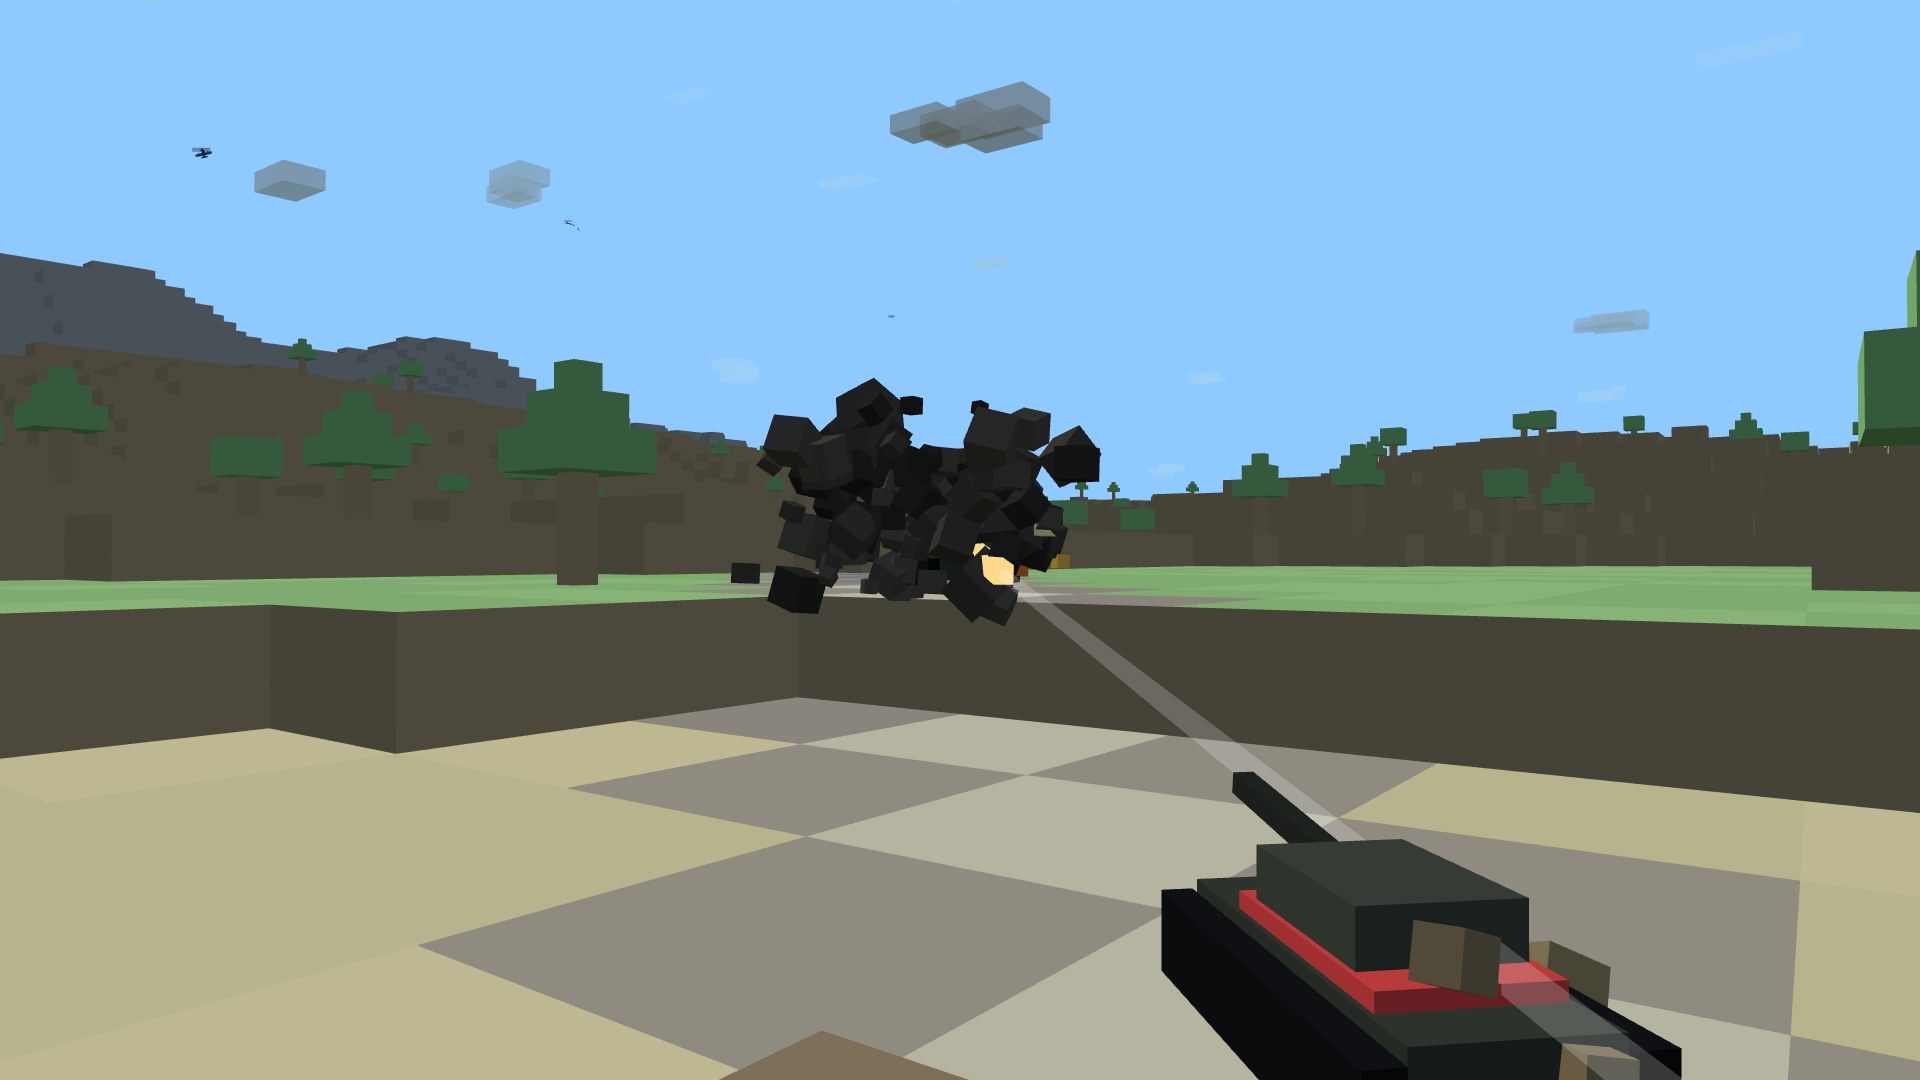
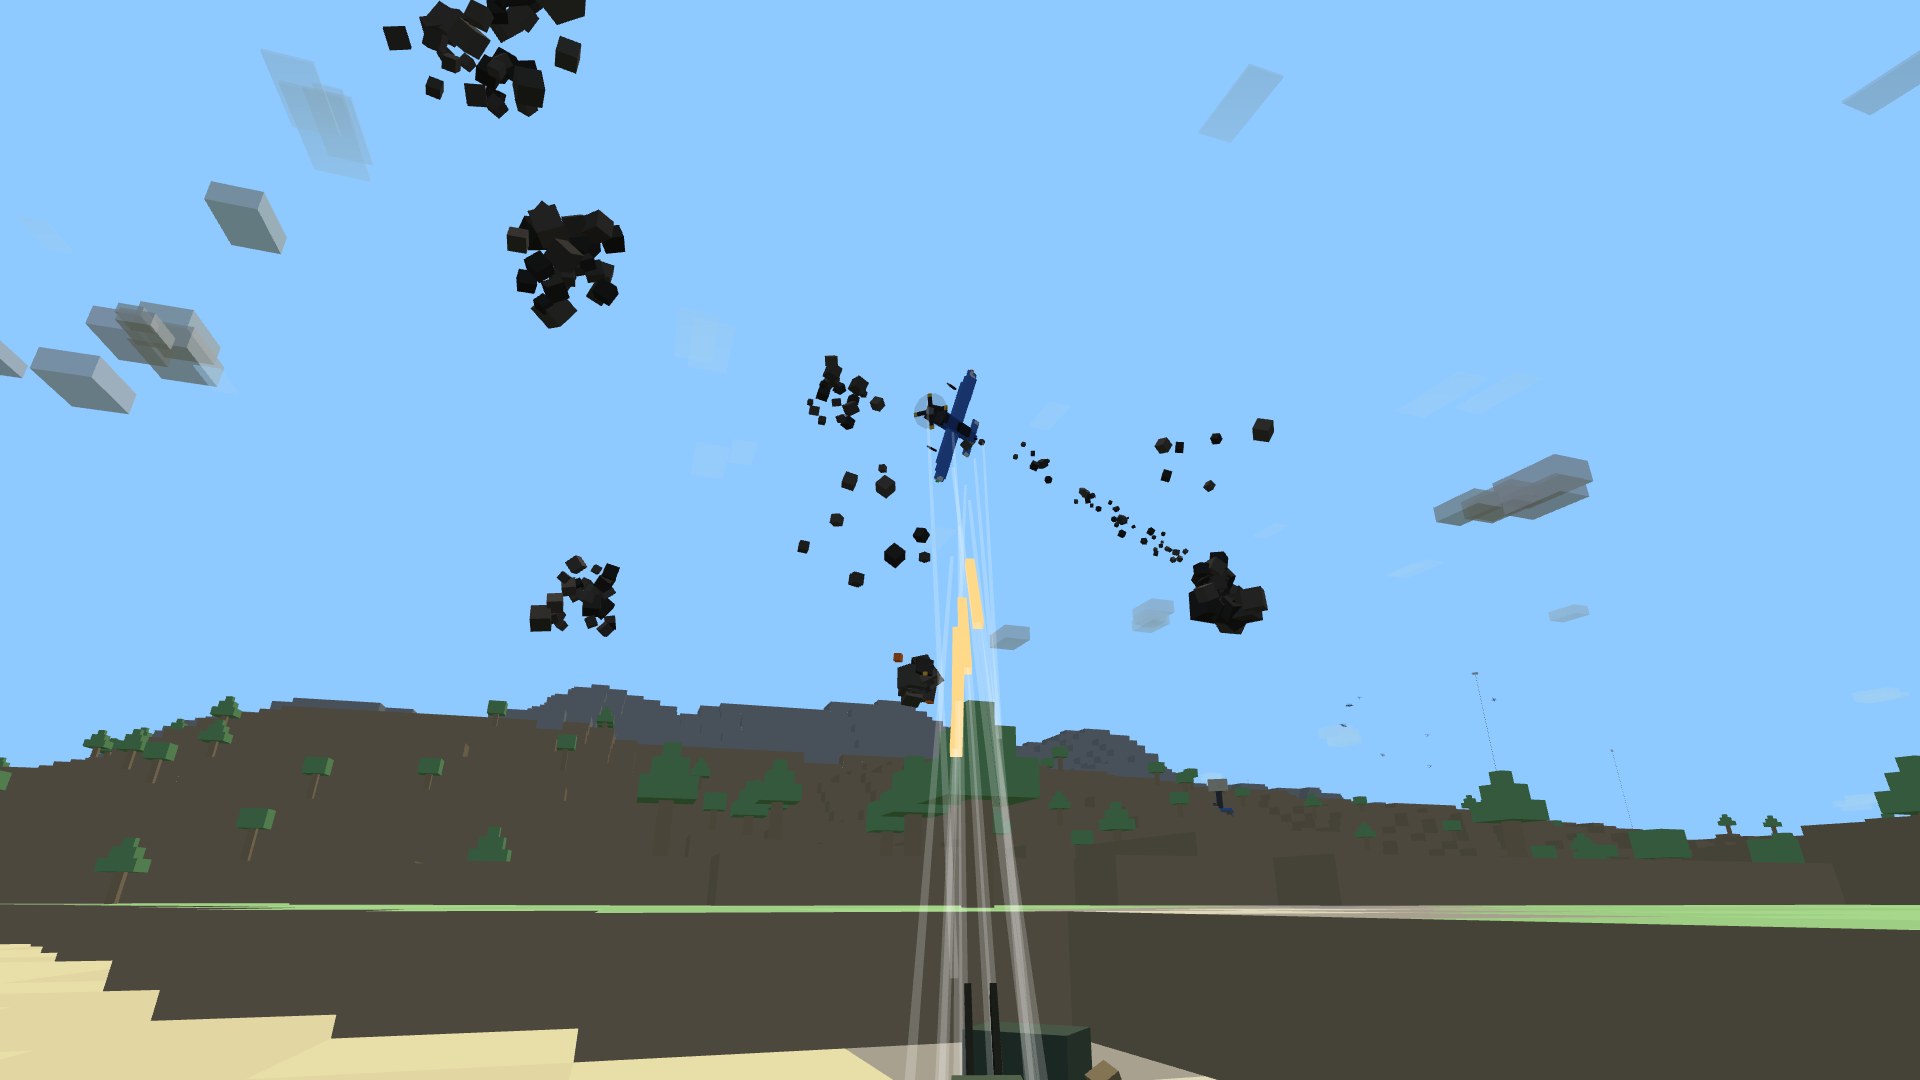
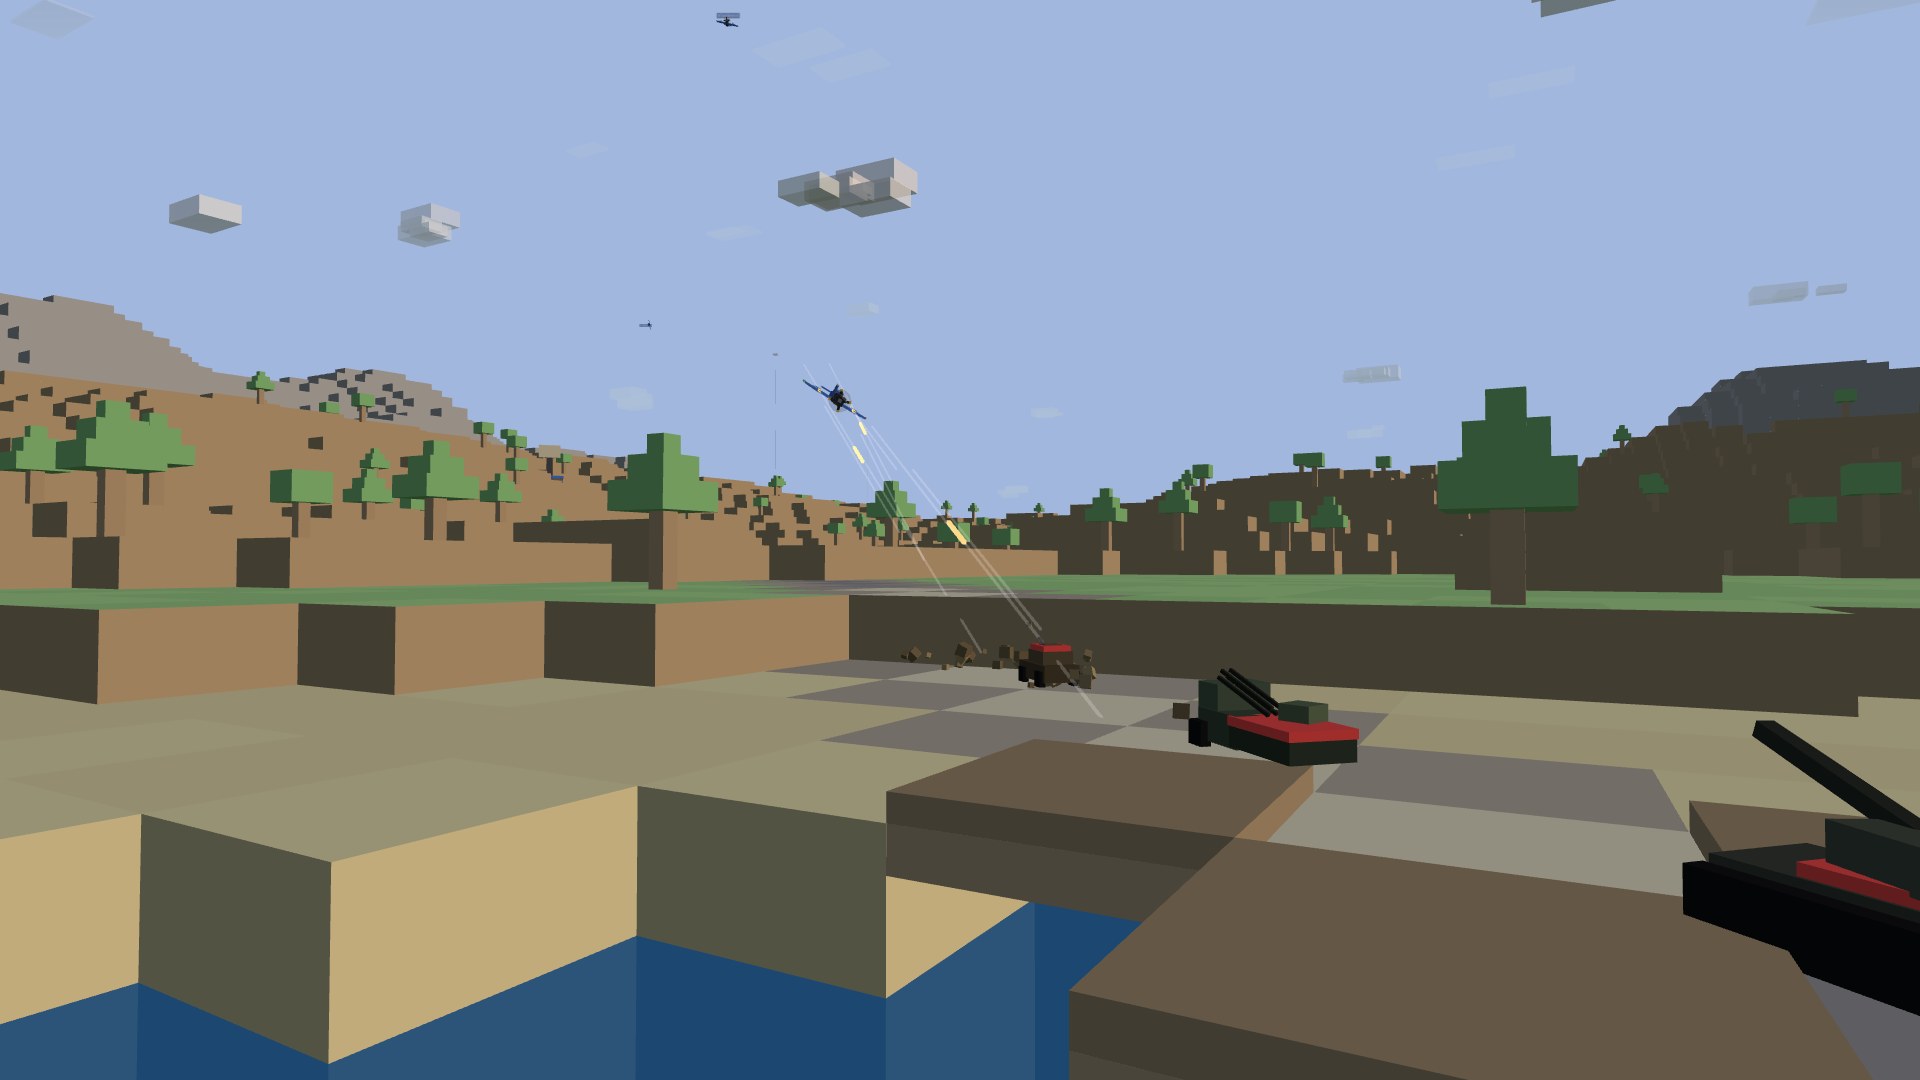
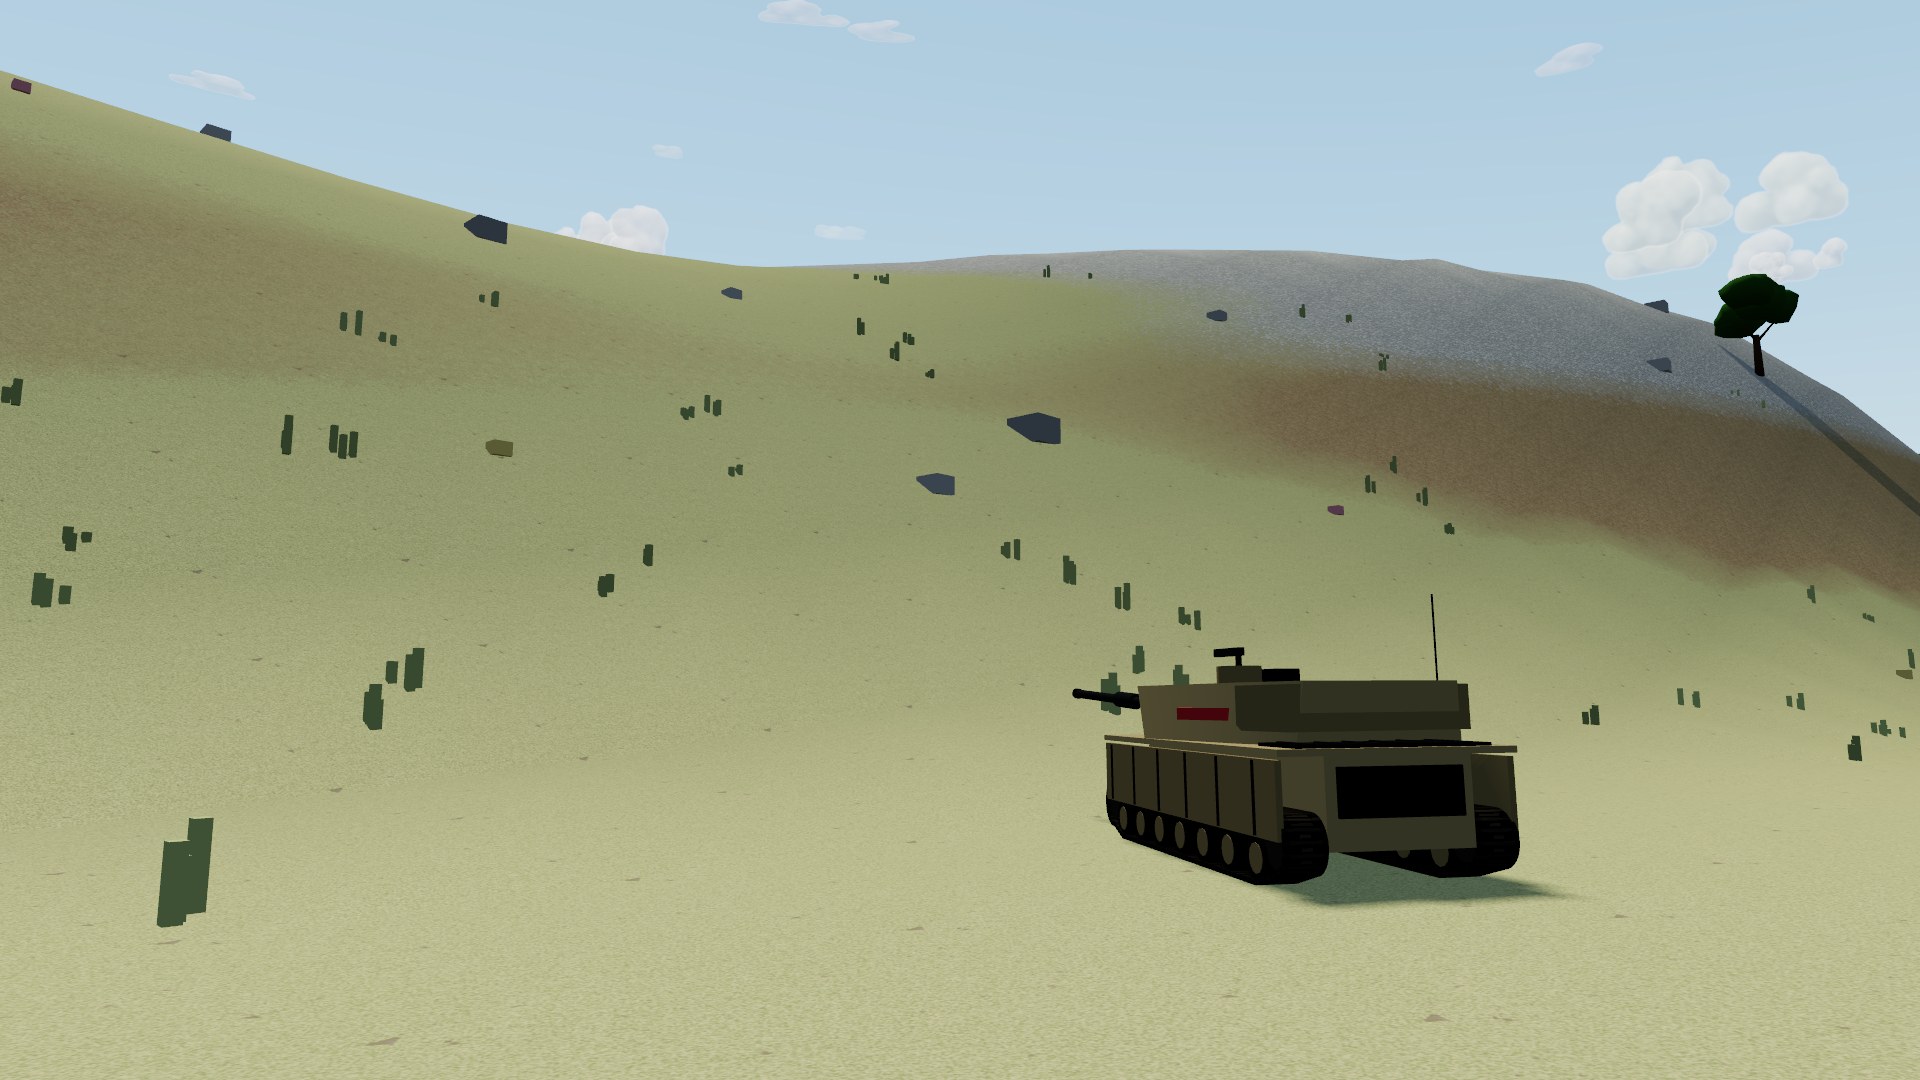
The third theater takes the war onto the ground. The land theater is a rolling steppe built for tank country: long grassy sightlines folded just enough to hide a hull, steep-flanked hill masses that funnel movement into passes, lakes in the valley floors, impenetrable forest blocks that stop both hulls and sightlines, and five towns whose street grids are the map's choke points — three of them are the domination zones. You crew one of four vehicles, Gunner-HEAT-PC style: the Abrams main battle tank carries a stabilized 120 mm gun behind a front plate almost nothing defeats; the Bradley IFV shreds light armor with its 25 mm autocannon and wire-guides anti-tank missiles into heavy; the Sd.Kfz. 7/1 quad-20 half-track sweeps the strike planes out of the sky; and the MUTT gun truck races the flanks with a recoilless rifle that has to halt to shoot.
Every round is modeled the way treadheads want it modeled. A shell strikes a specific plate — front, side, rear, or turret — thickened by the angle it arrives at. Glancing kinetic hits ricochet; rounds that can't beat the plate shatter; penetrations roll behind-armor damage through the fighting compartment (tracks, engine, gun, crew — or the ammo rack, and the whole hull goes up); and a dart that vastly overmatches thin armor punches through and through, flying on out the far side with what's left of its energy to find whatever parked behind. Sabot penetration decays with range; HEAT doesn't care. Angle your armor, learn the weak points, and swap AP/HE (X) for the target in front of you. You're hidden until an enemy has a sightline inside your spotting range — ridgelines, treelines and town walls are real concealment — and the crew carries a full kit: field repair (R), smoke launchers (C), an artillery fire mission called on your crosshair (T), and an engine overdrive (G). Each vehicle looks through its own gunsight (Z): the Abrams' fine day sight, the Bradley's amber missile optic, the Sd.Kfz. 7/1's flak reflector rings, the MUTT's iron ring — and an unstabilized mount bounces with the hull, so the MUTT shoots from a standstill or not at all. Nothing ranges the gun for you: the round drops, so read the target's range and hold over by the range marks hanging under the crosshair (10 is a kilometre).

The naval theater
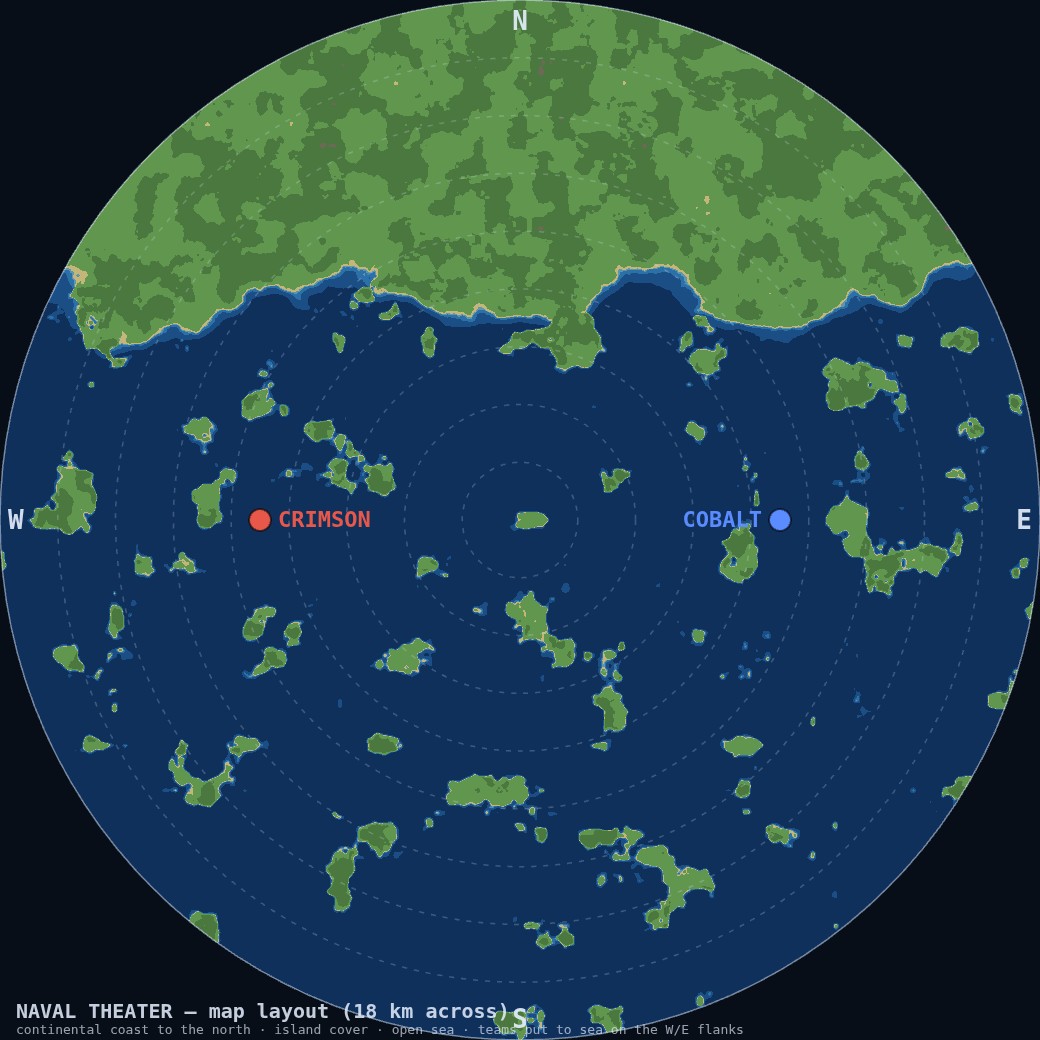
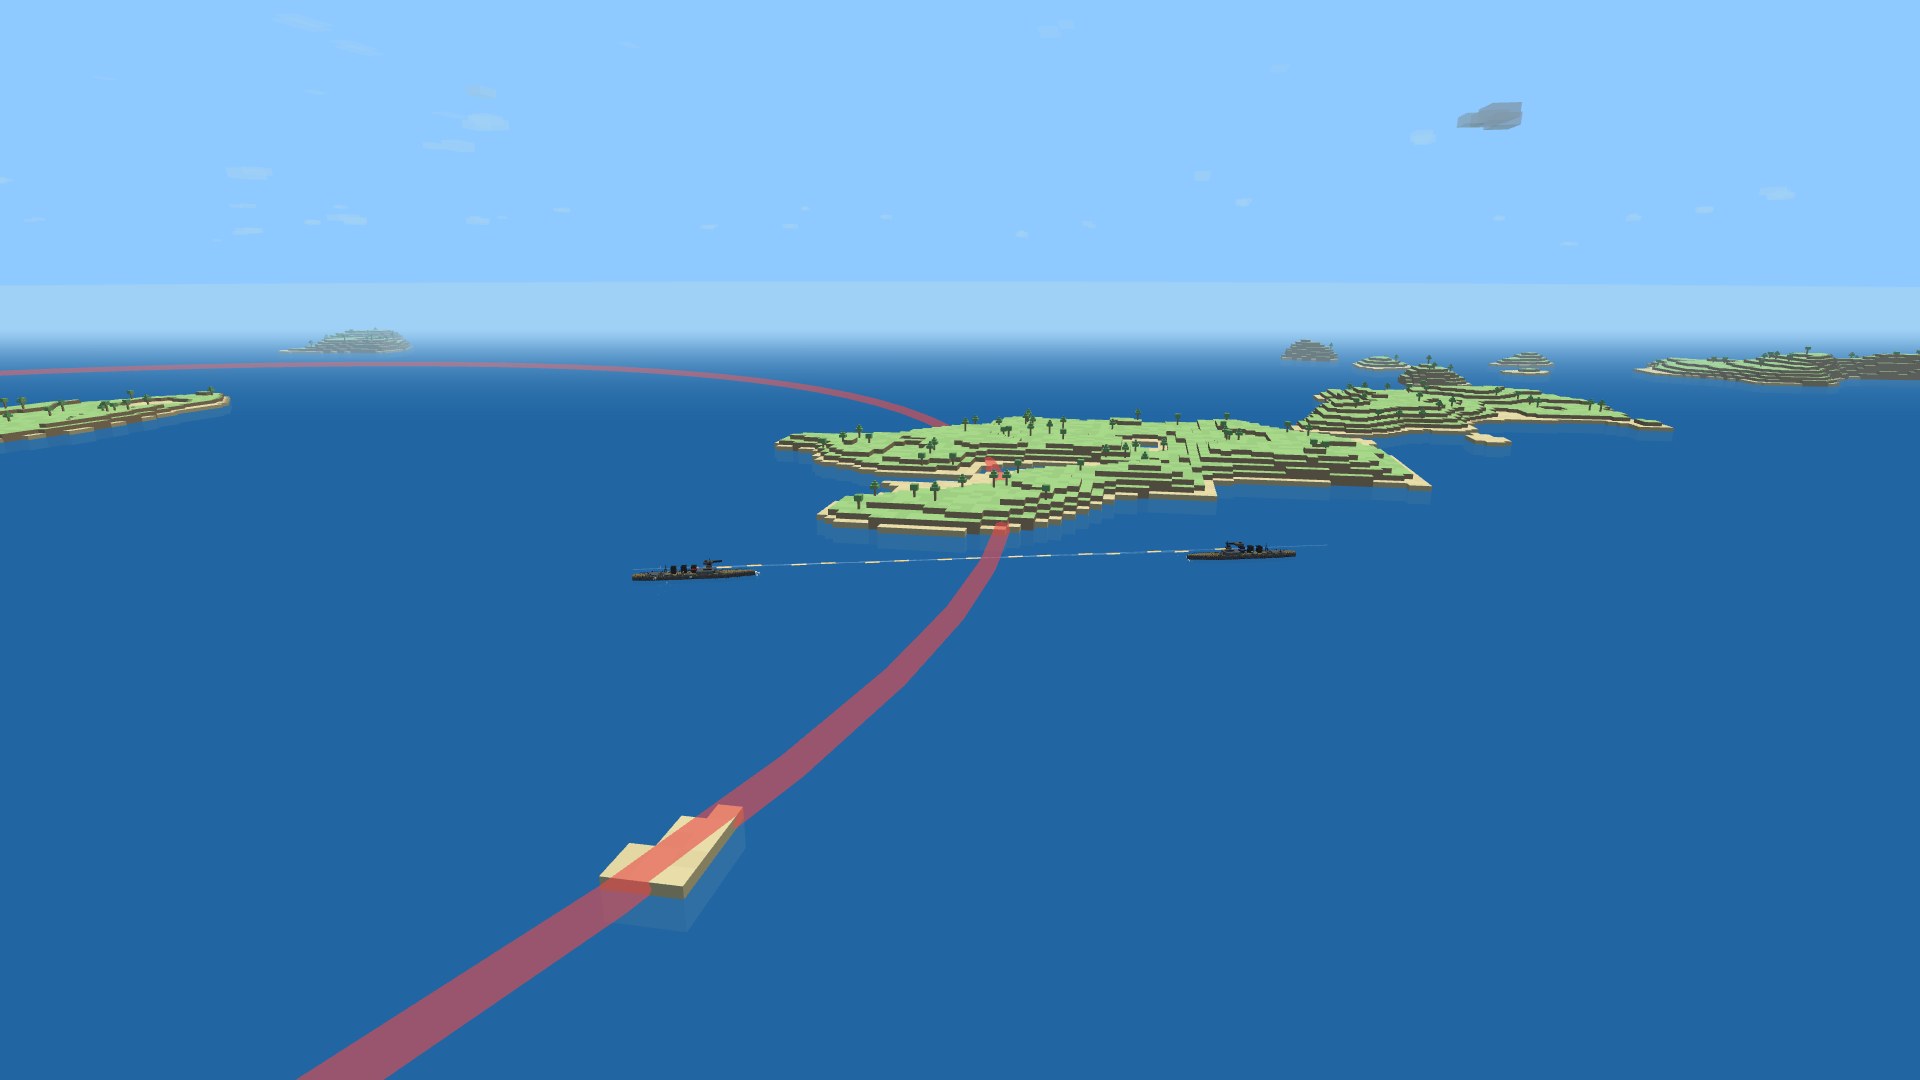
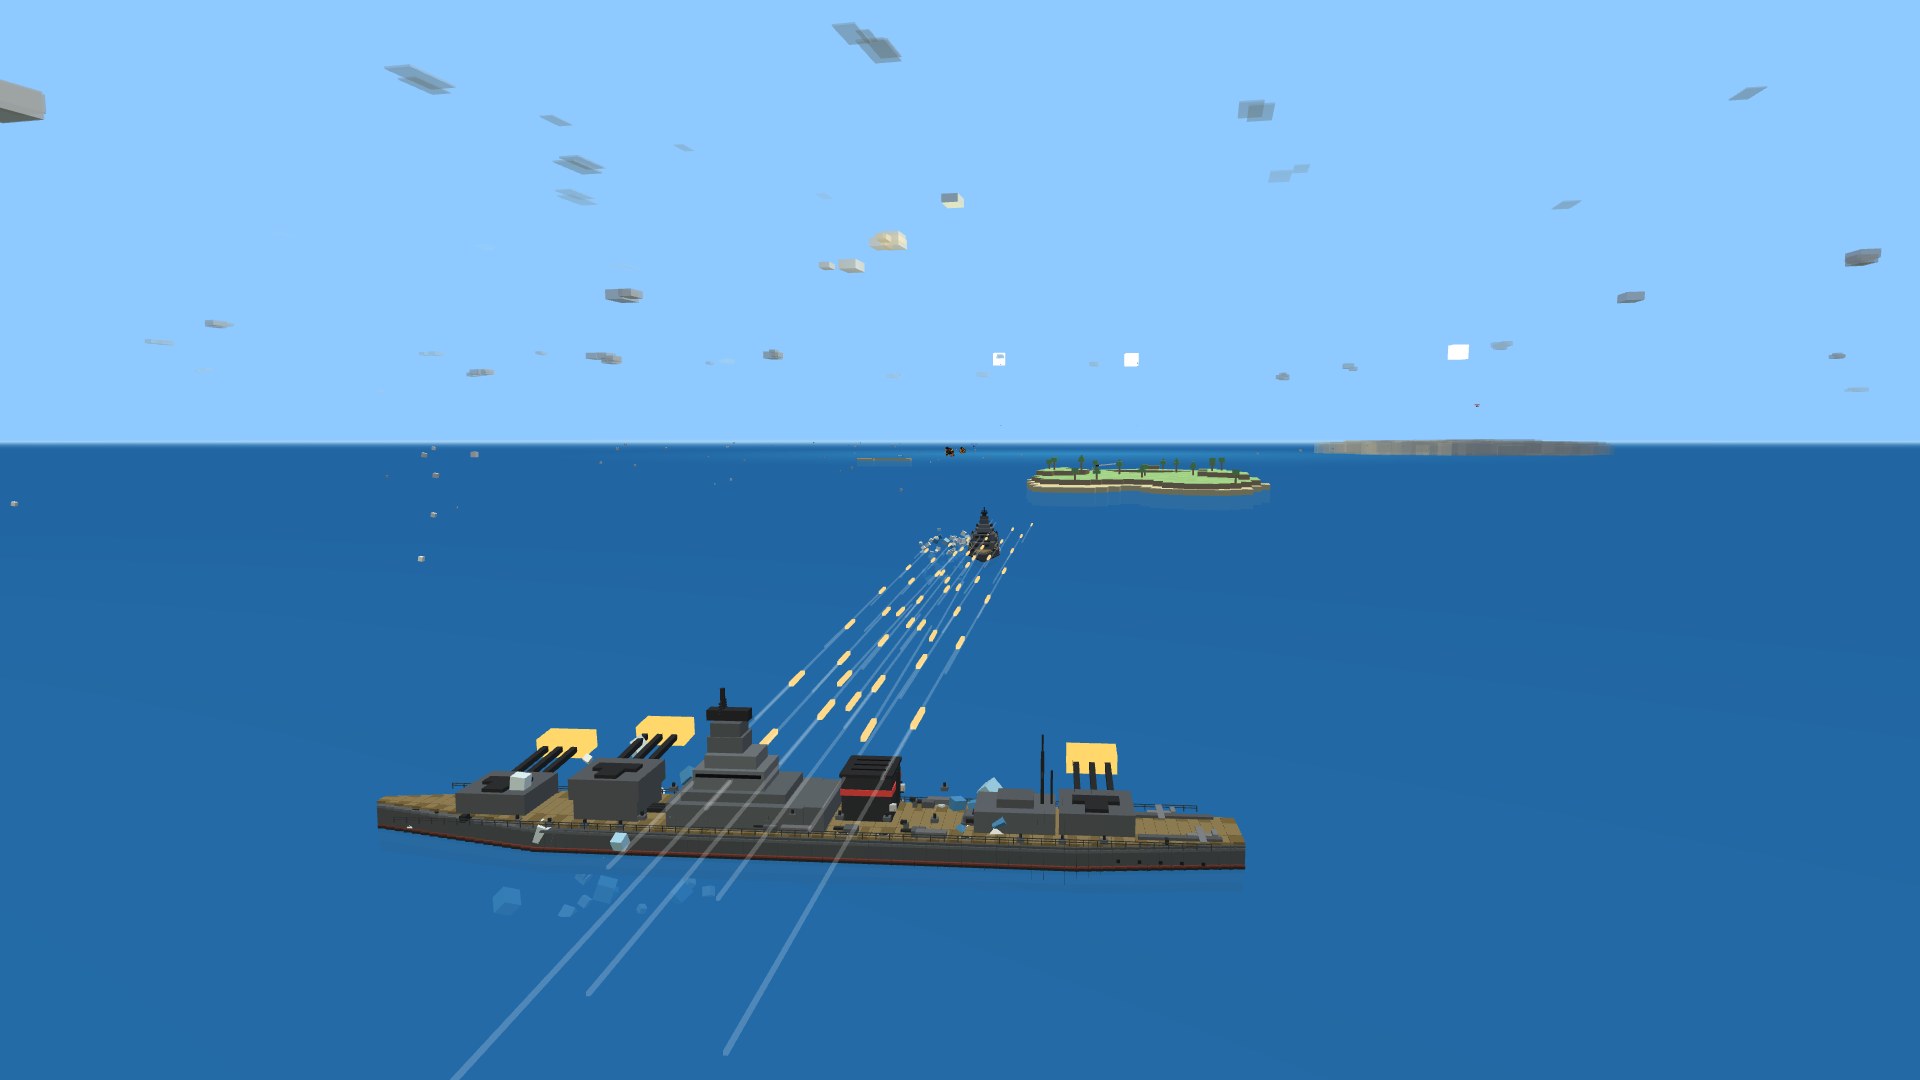
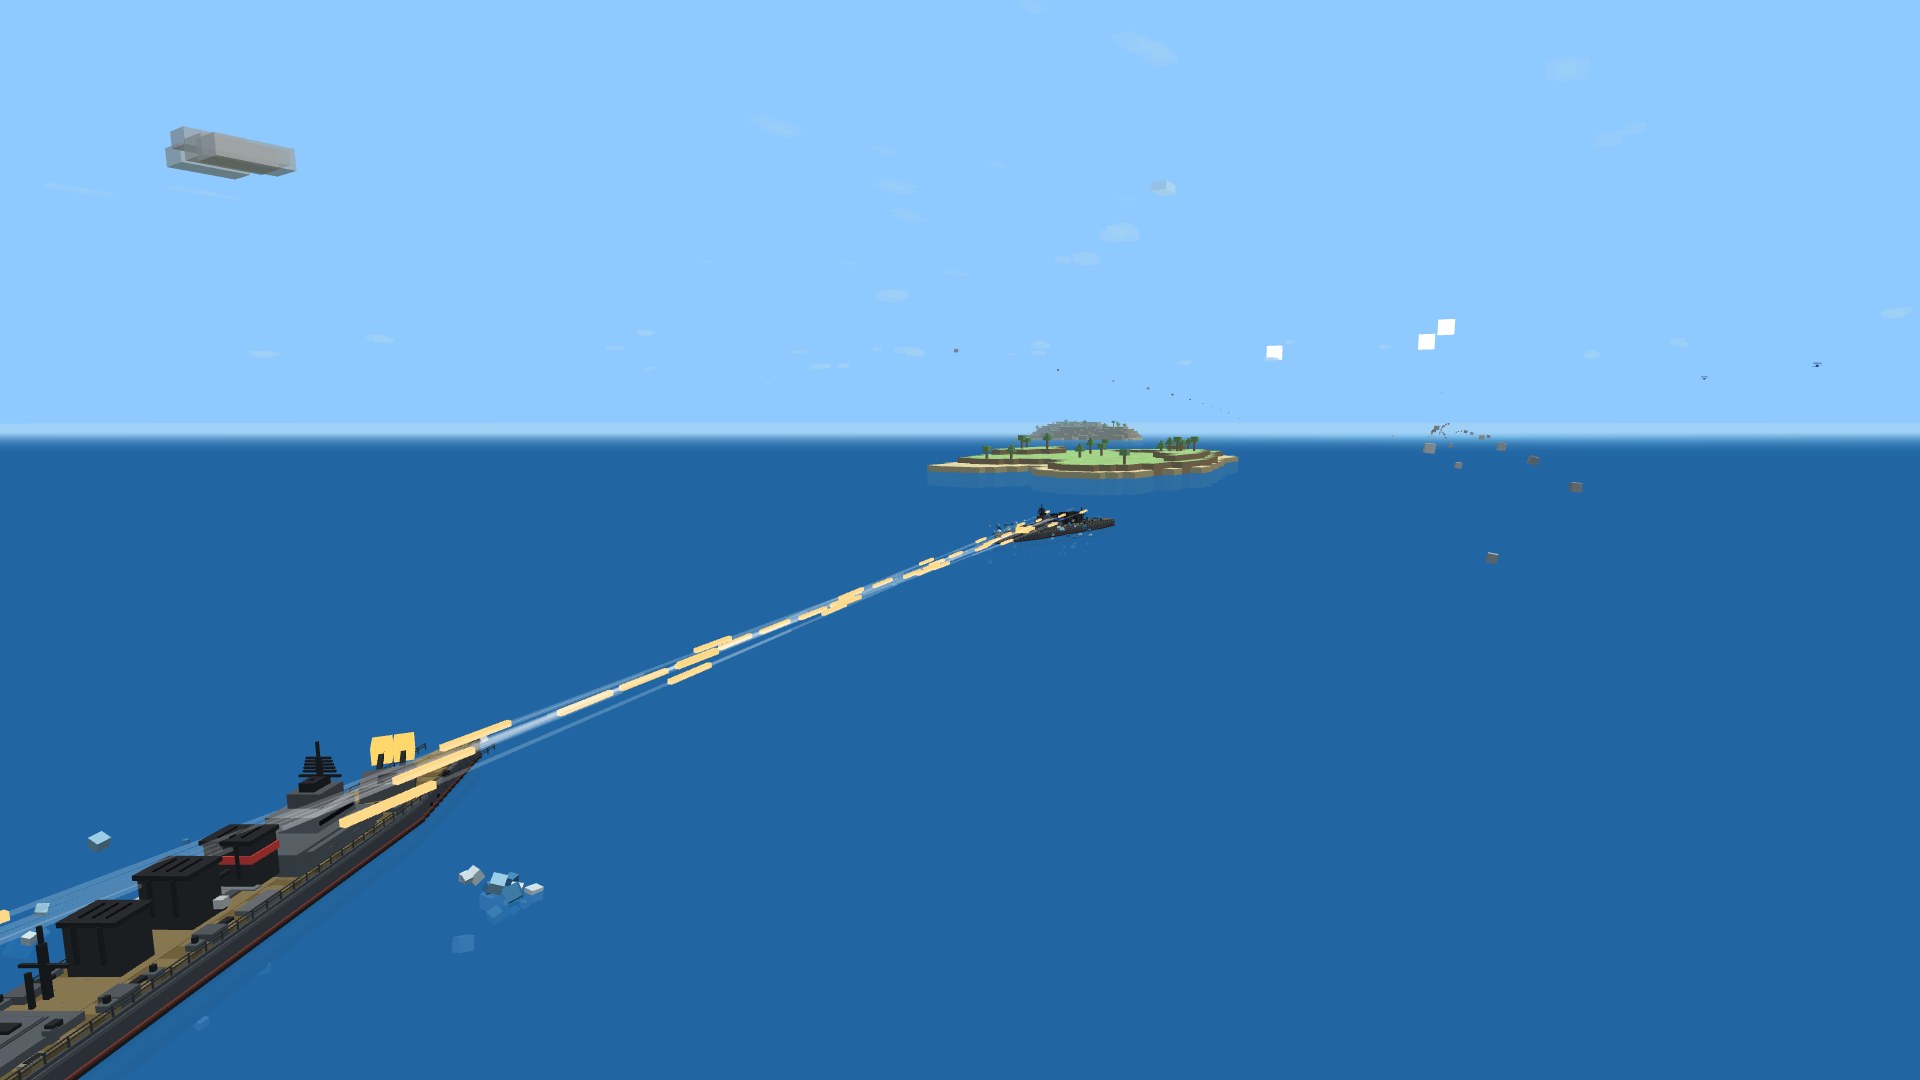
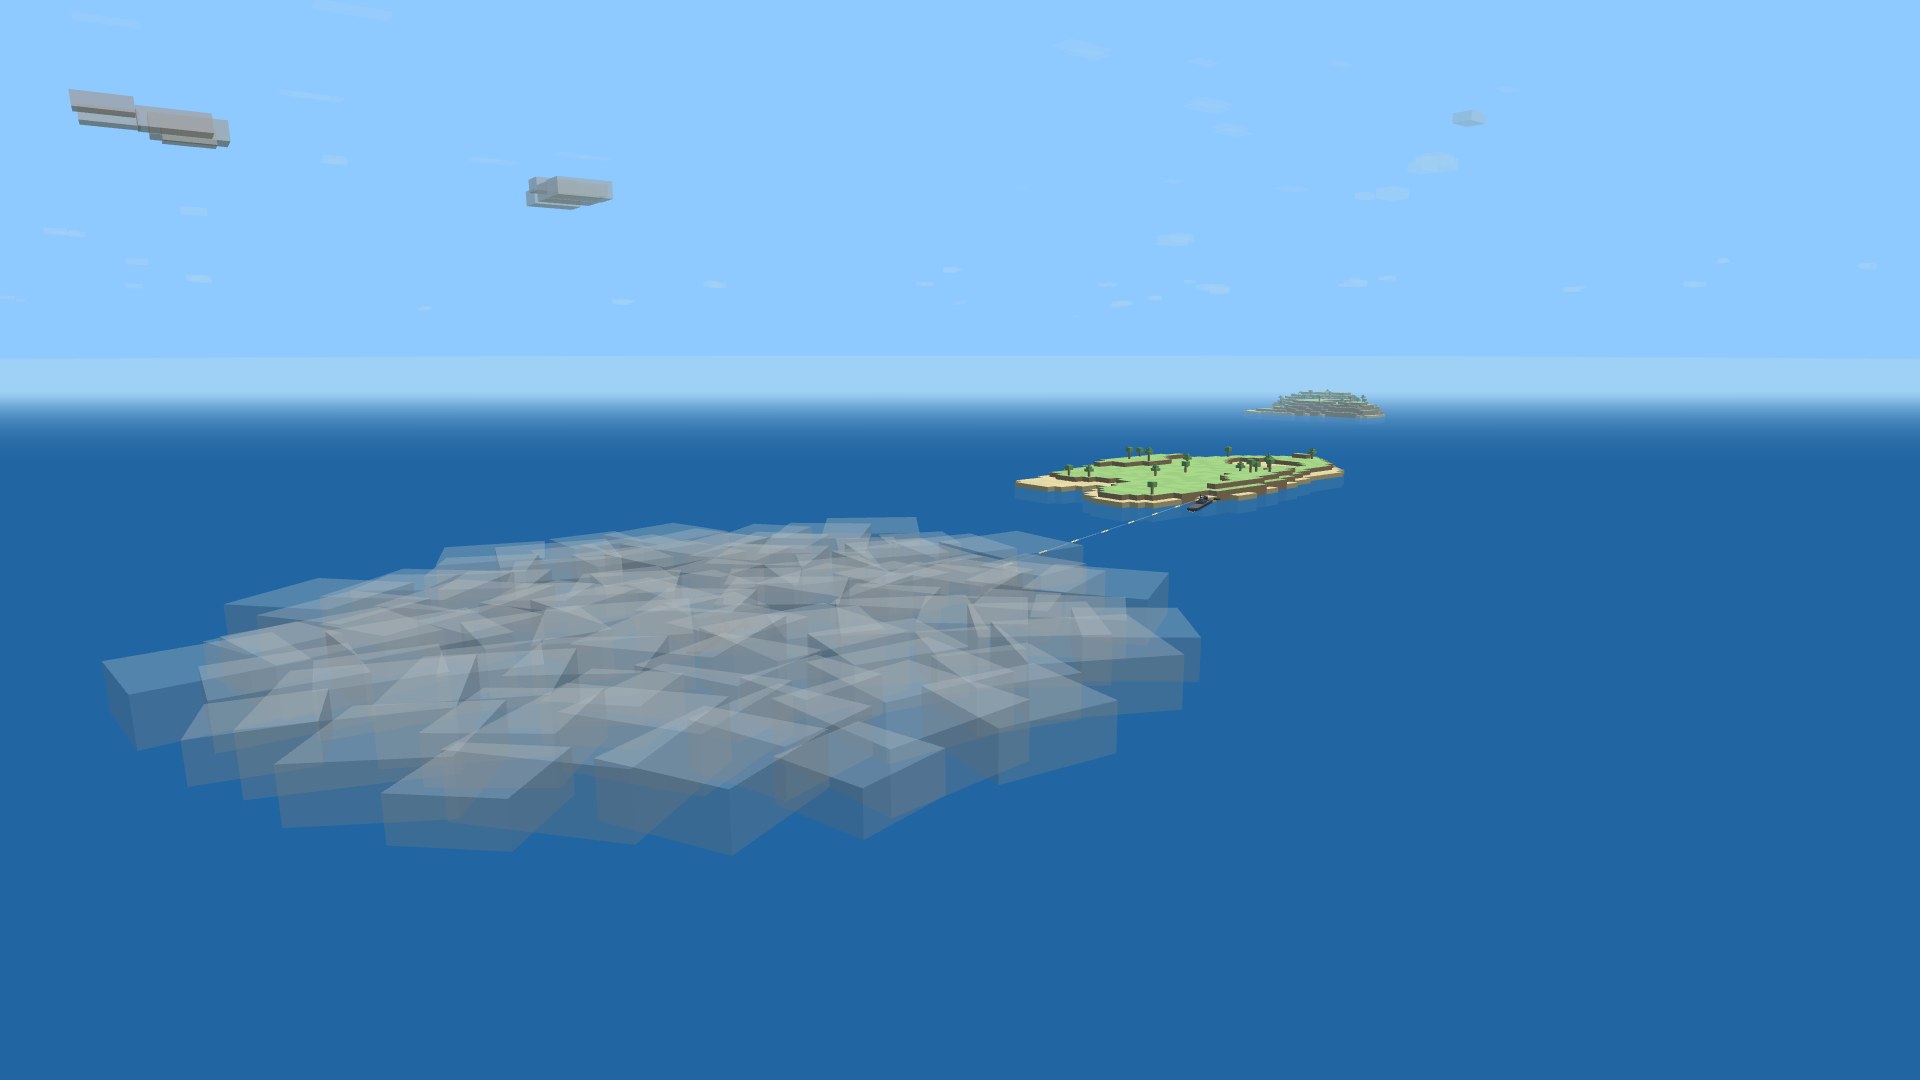
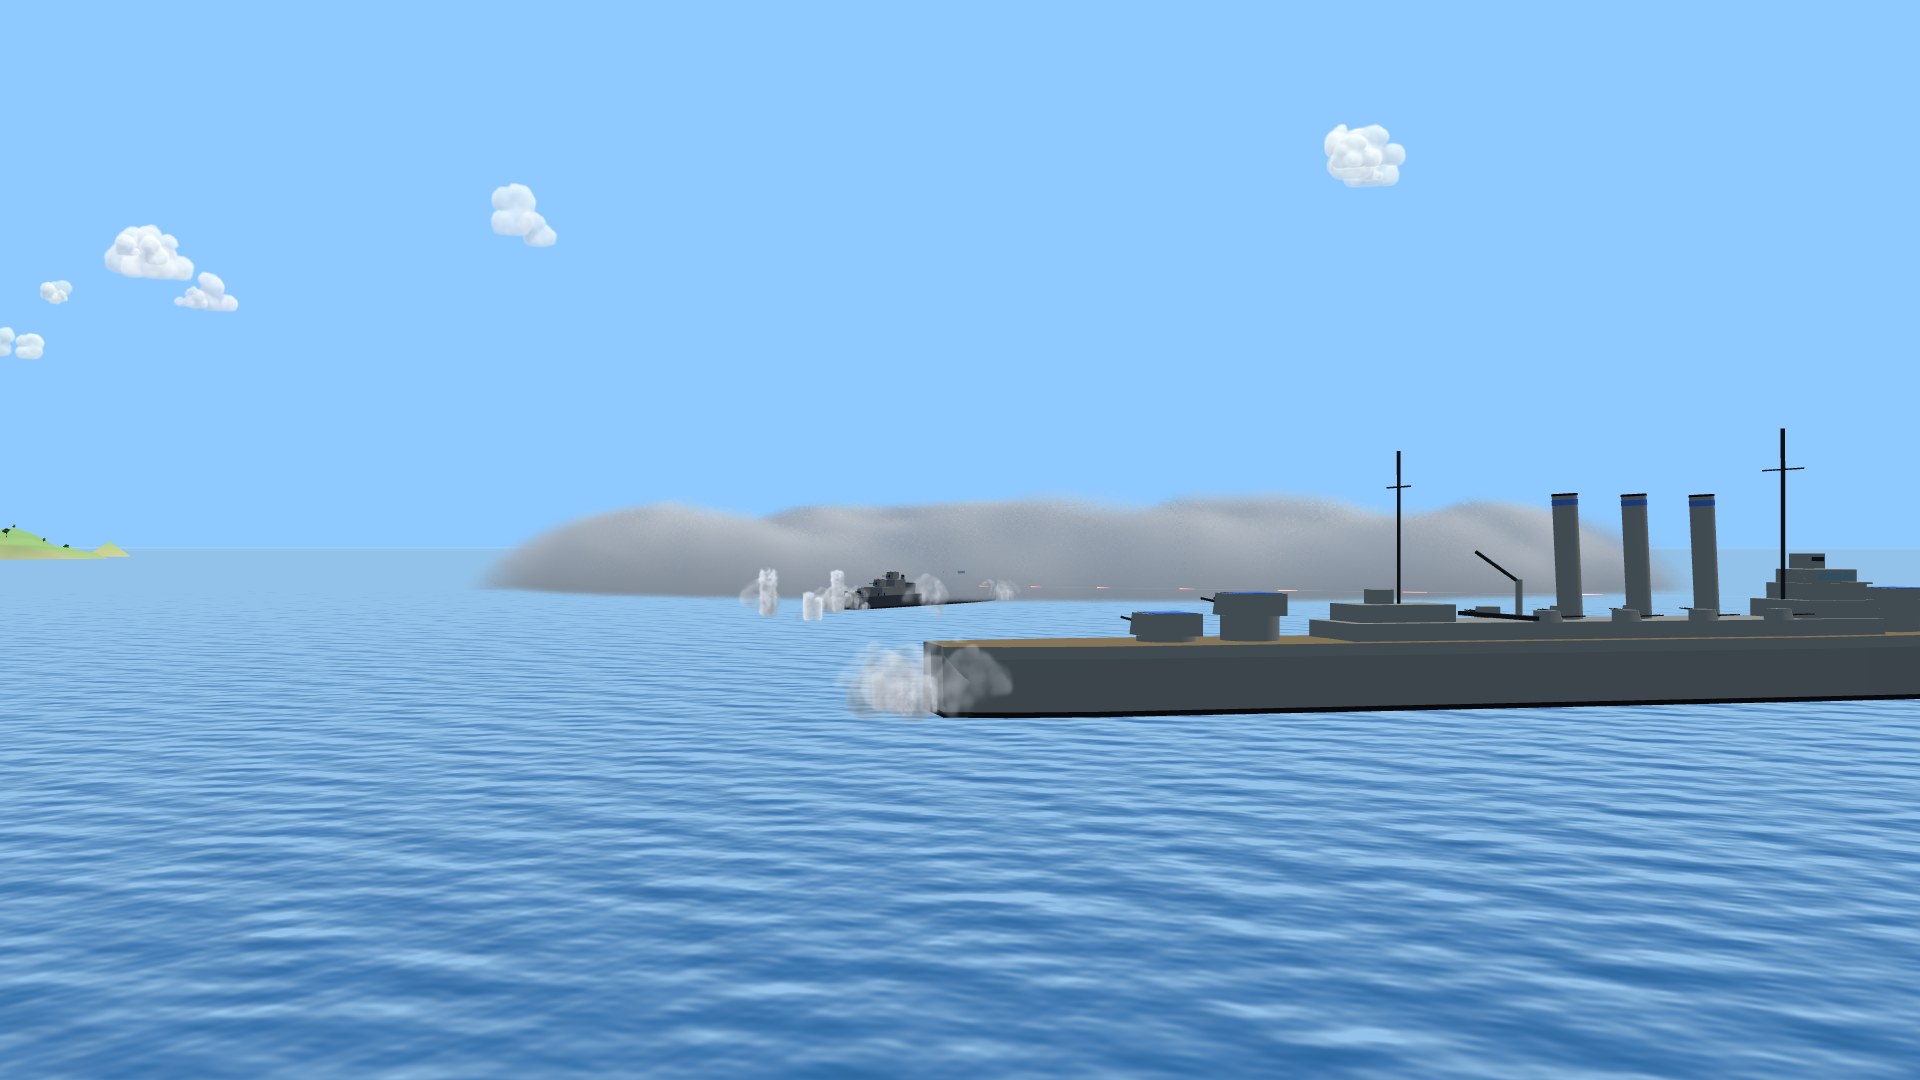
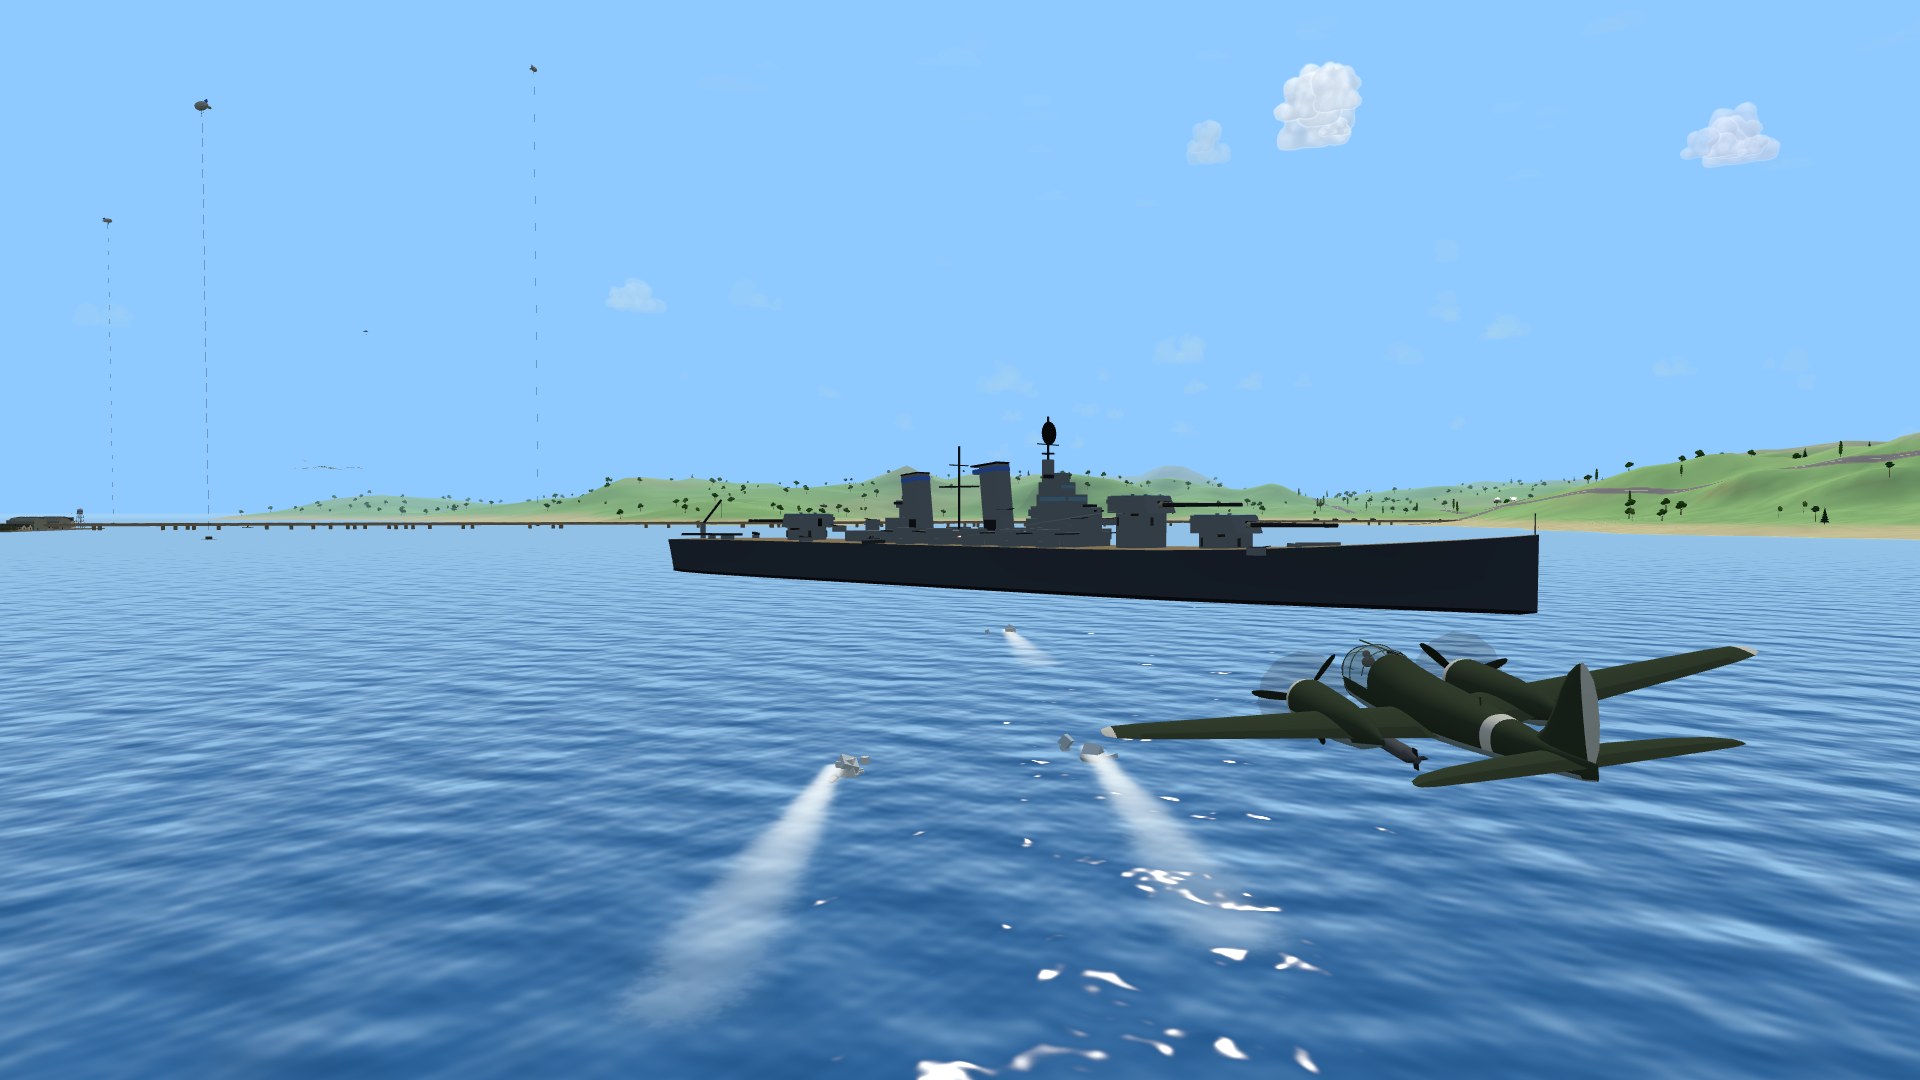
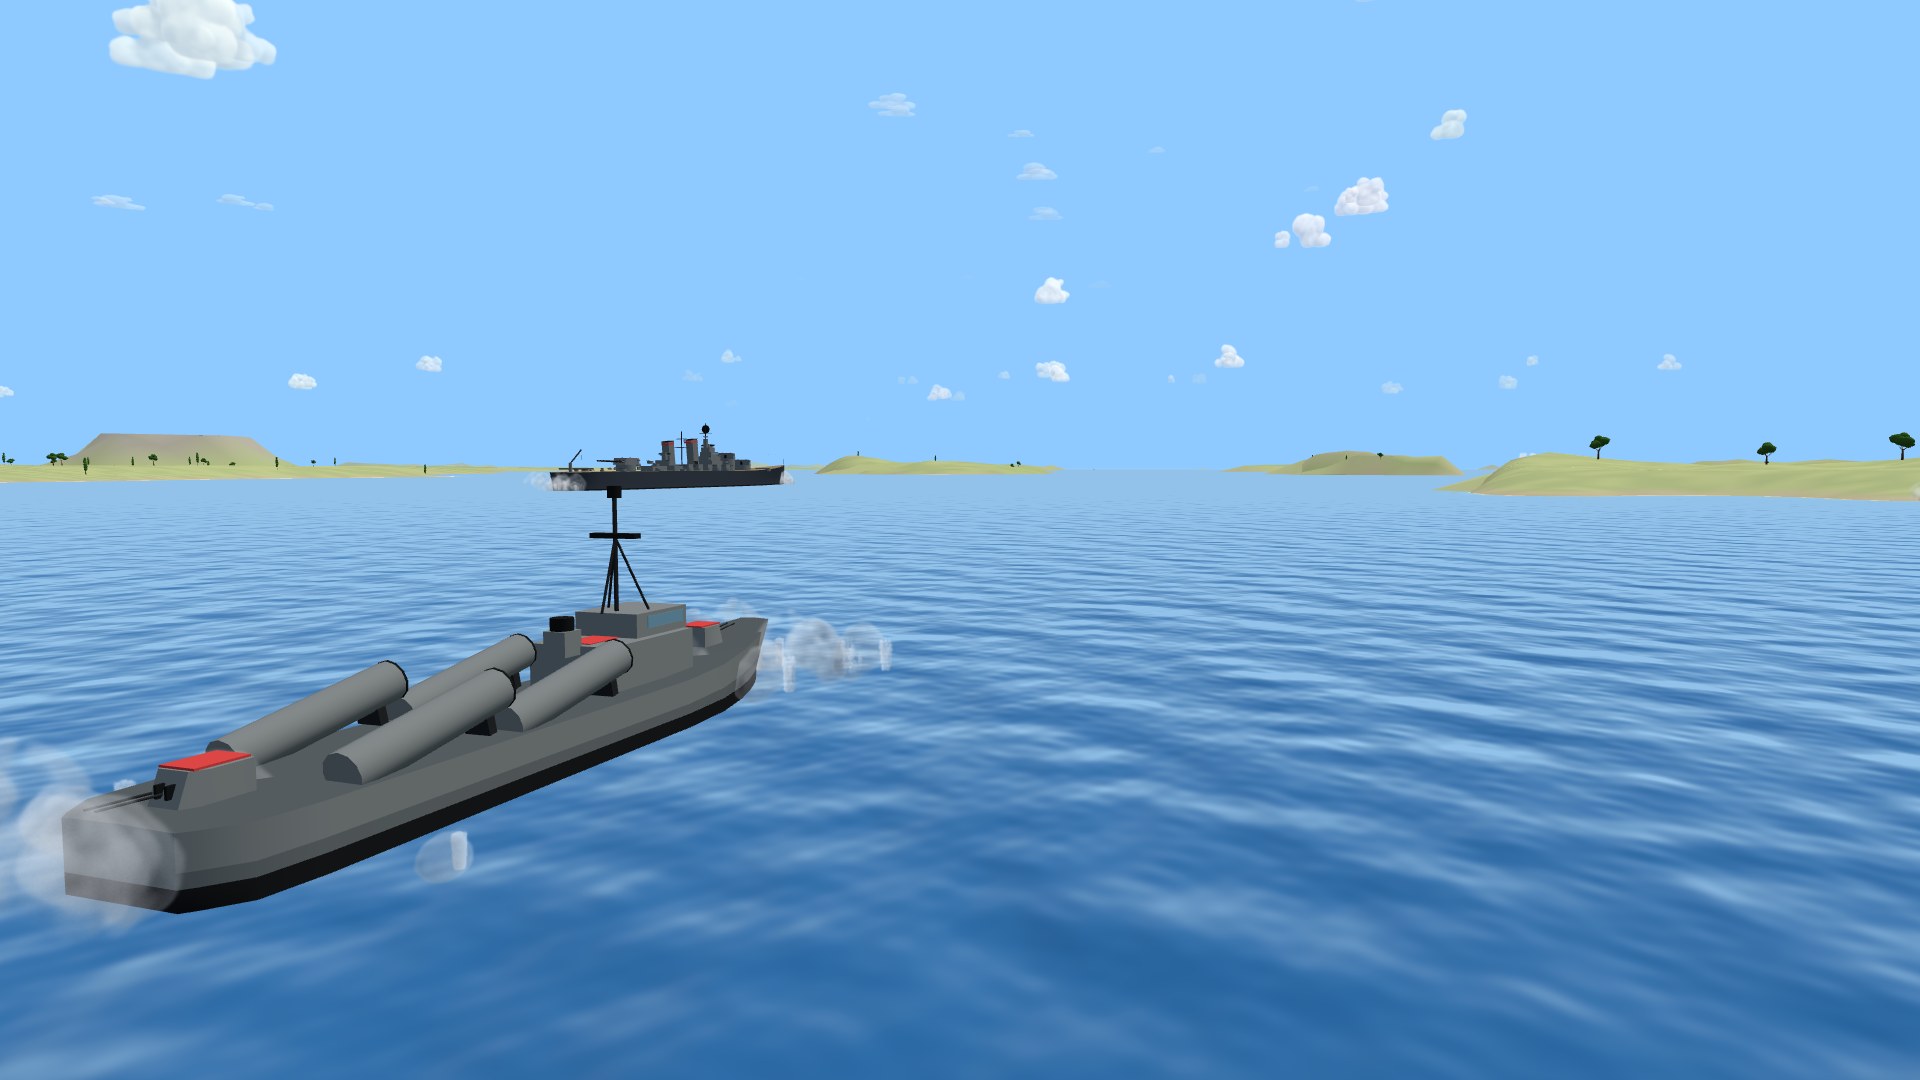
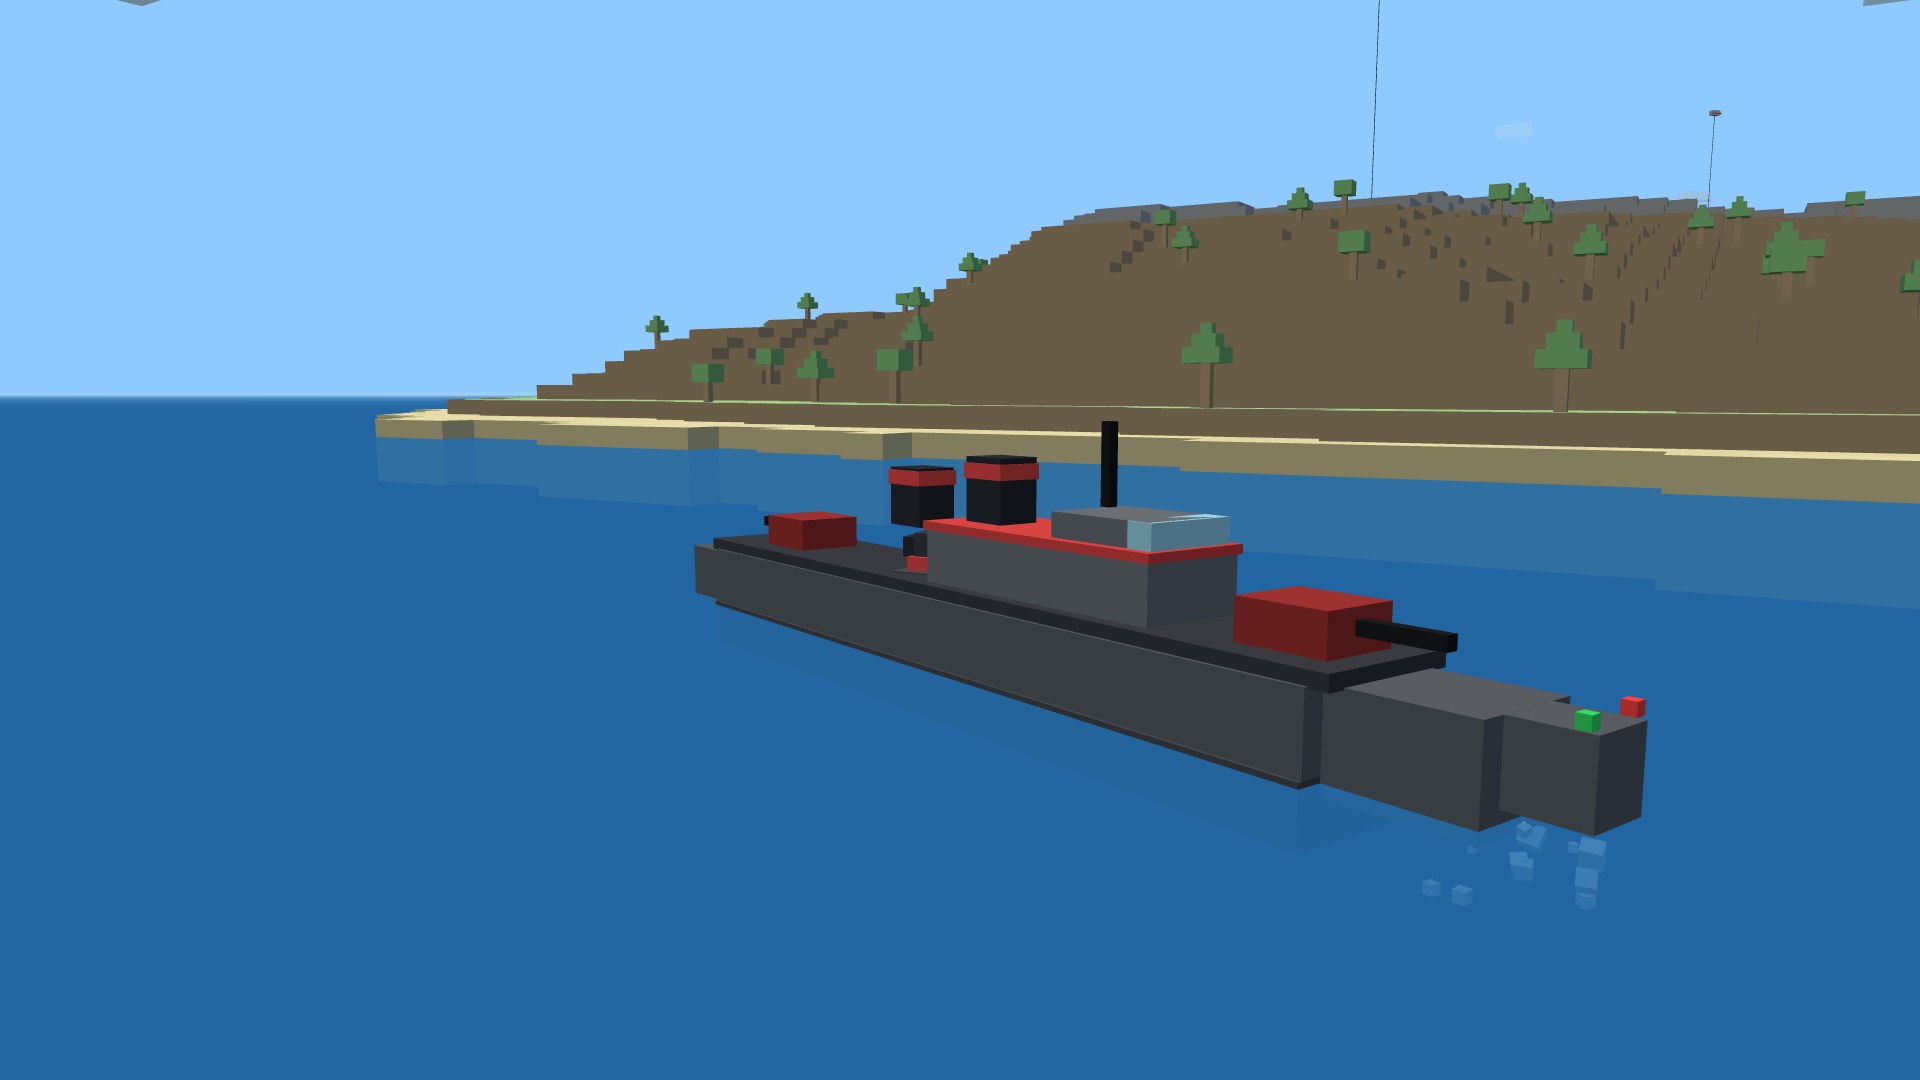
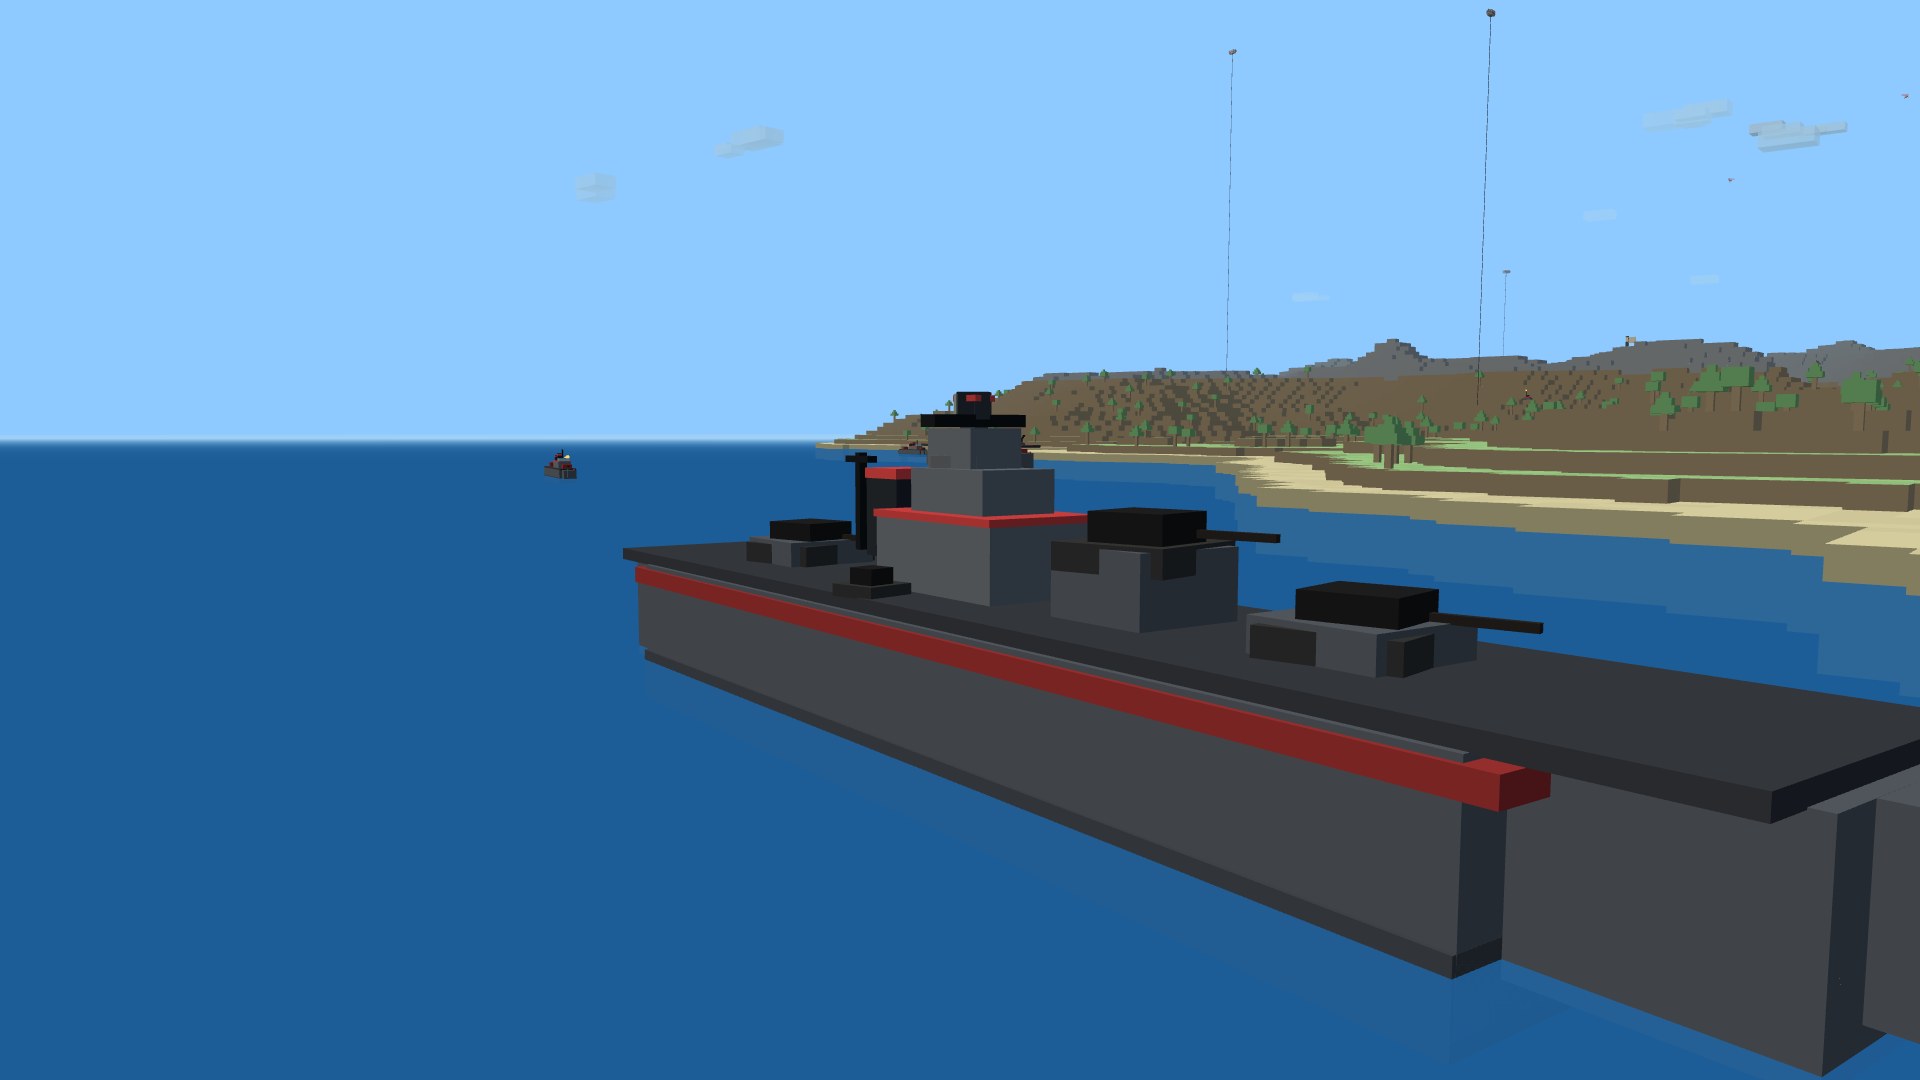
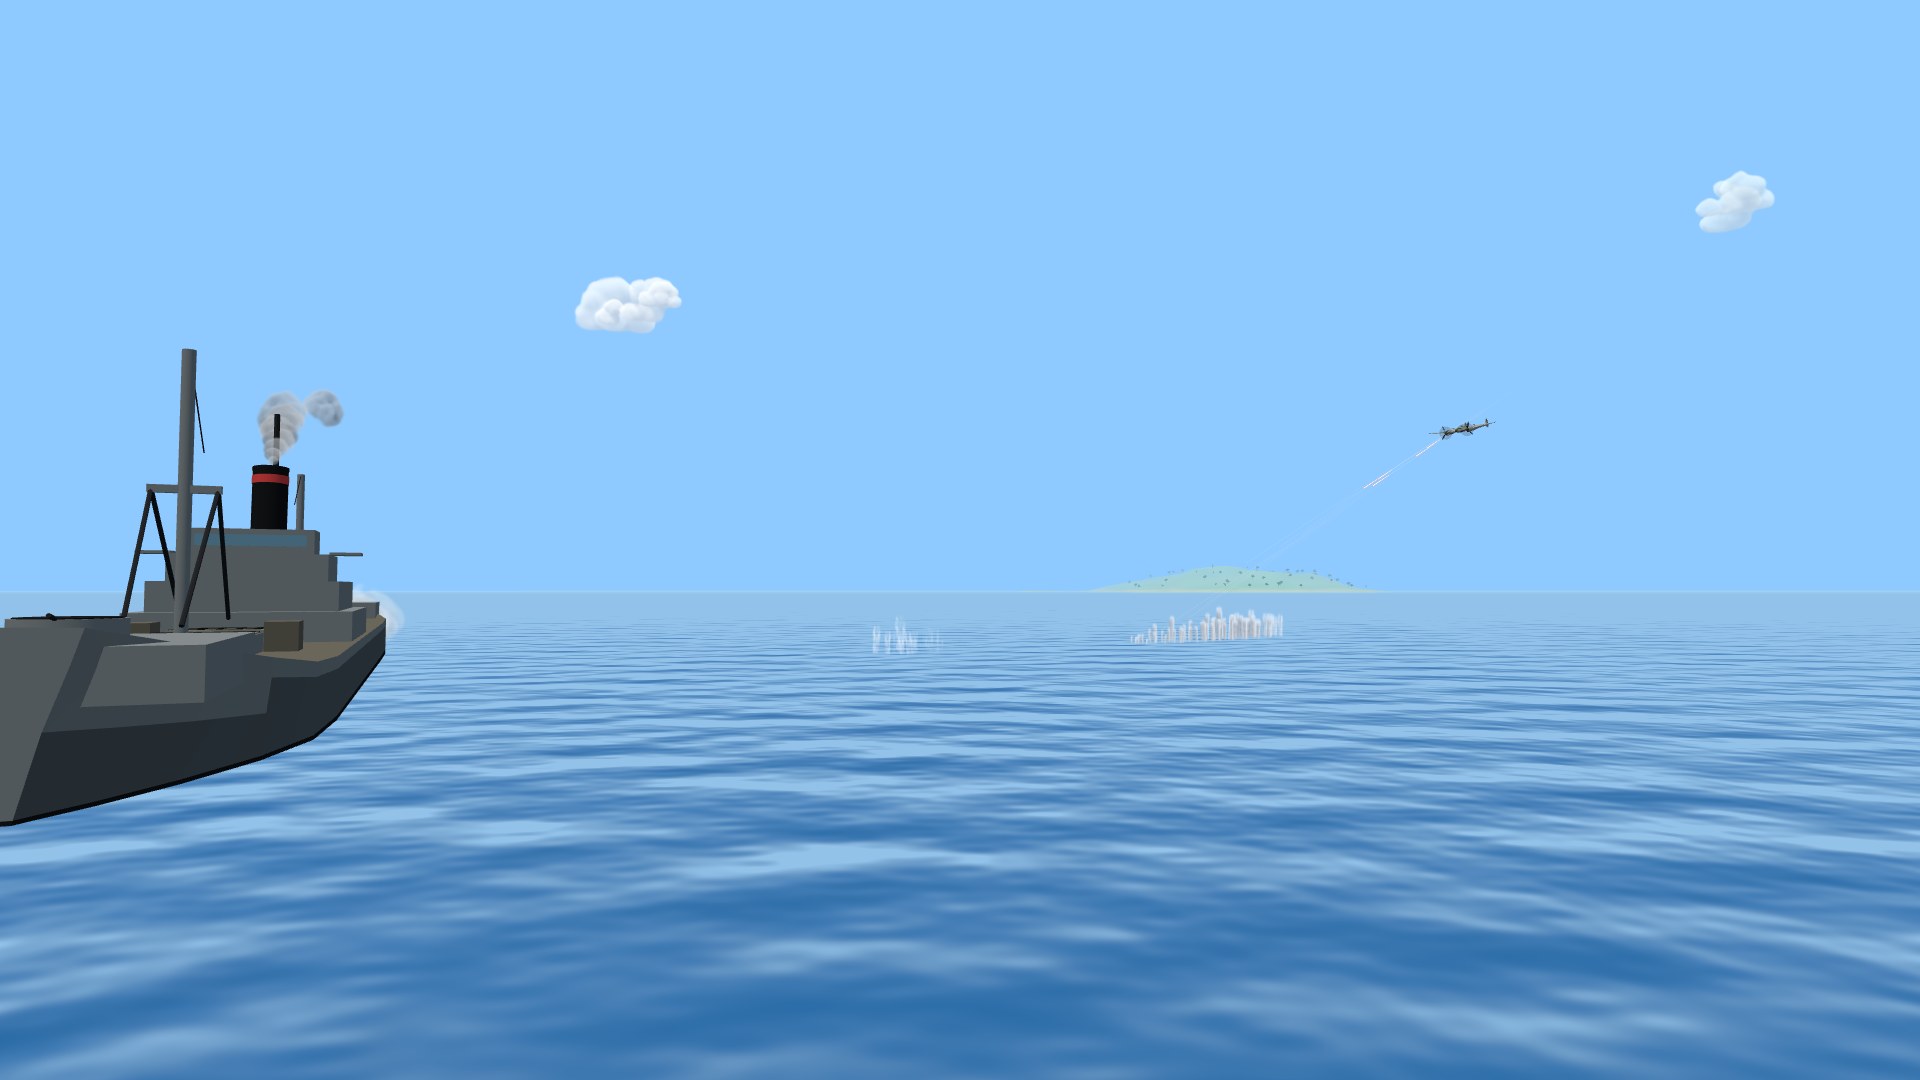
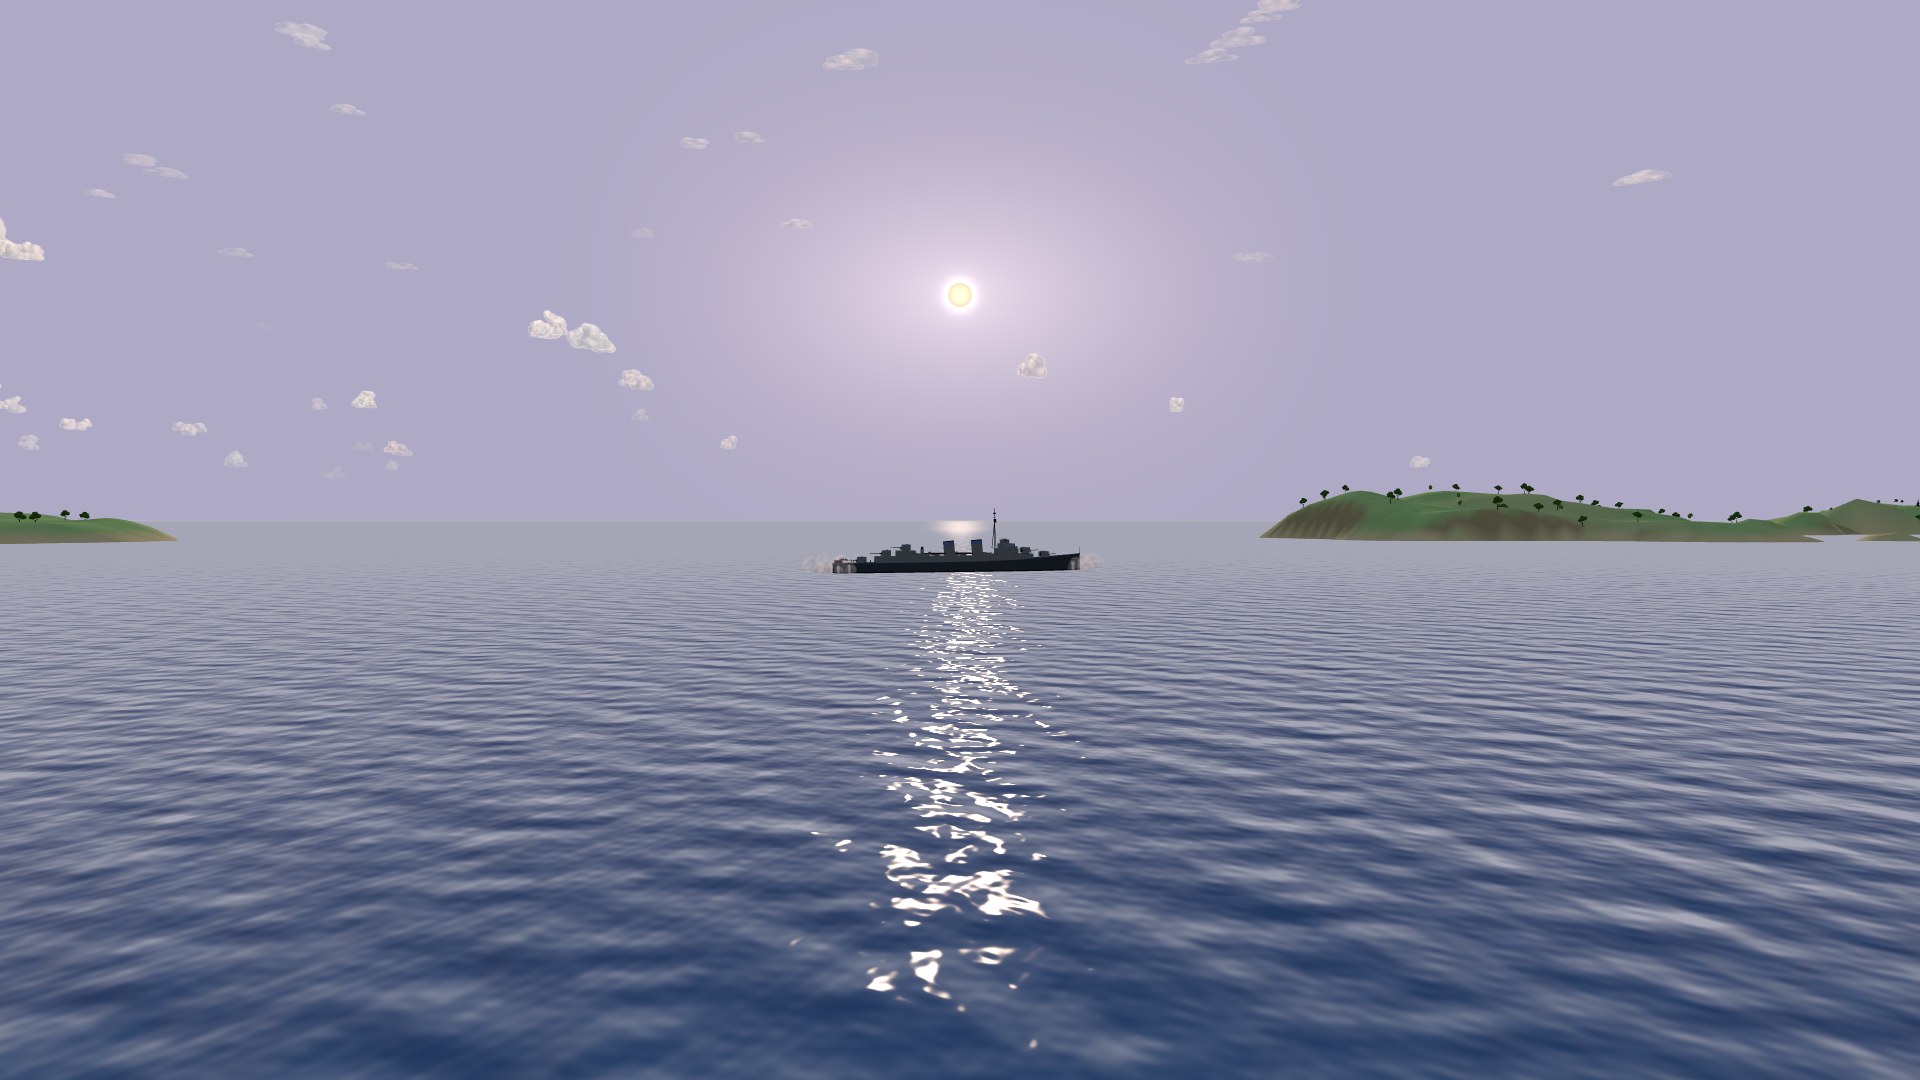
The fleet war is splitting off into its own game on its own map. The naval theater is open ocean — mostly sea for maneuver, strewn with low islands to fight around, and a continental coastline along the north edge. You don't fly here; you take command of a warship and sail it, World-of-Warships style. A destroyer is fast and nimble; a cruiser trades agility for armor and heavier guns; a battleship is slow and ponderous but wrapped in thick belt armor that shrugs off cruiser shells, with devastating main guns that reload at their leisure. Hulls handle like real ships: the throttle is an engine telegraph you spool up and down (no stopping on a dime), and the rudder lags and bites harder with speed — a near-stopped ship barely answers her helm, so you learn to think a ship's length ahead. The guns train independently of the bow, so you line a target up with the mouse while the hull holds its course.
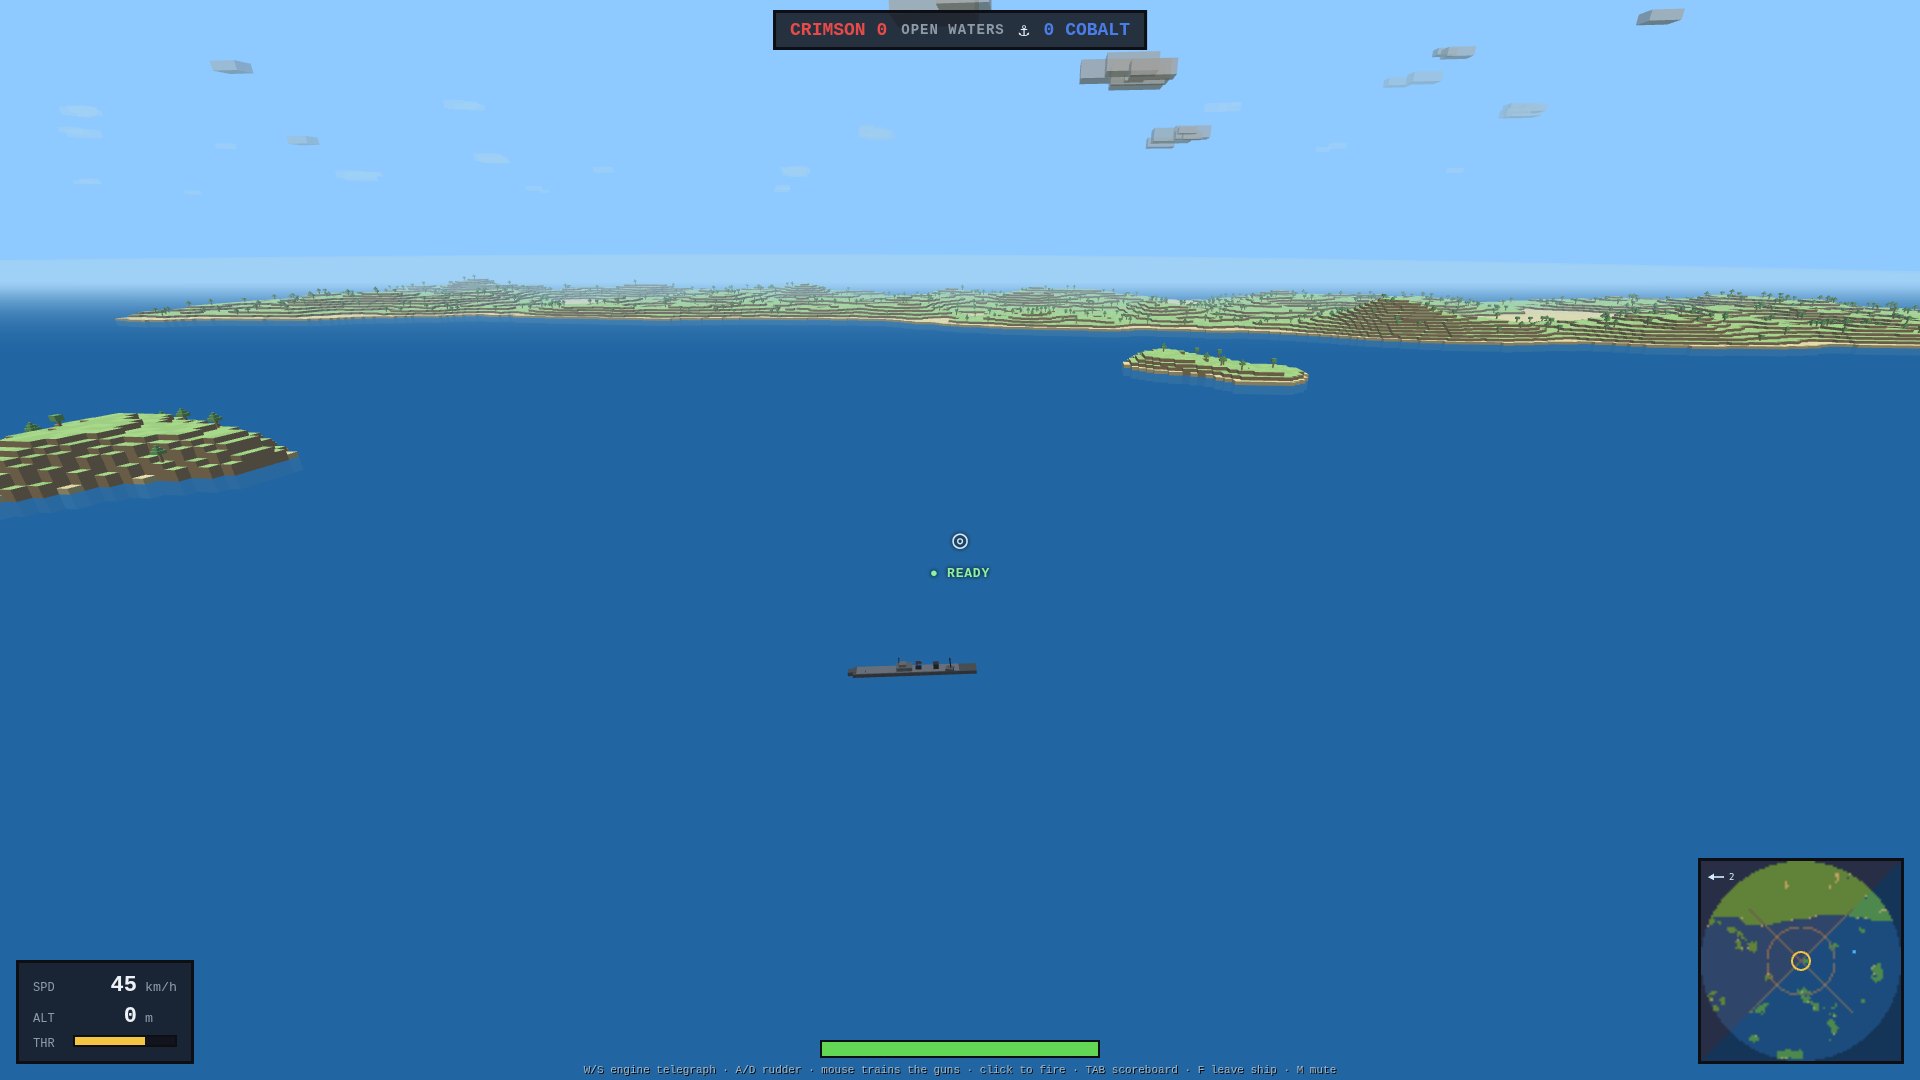
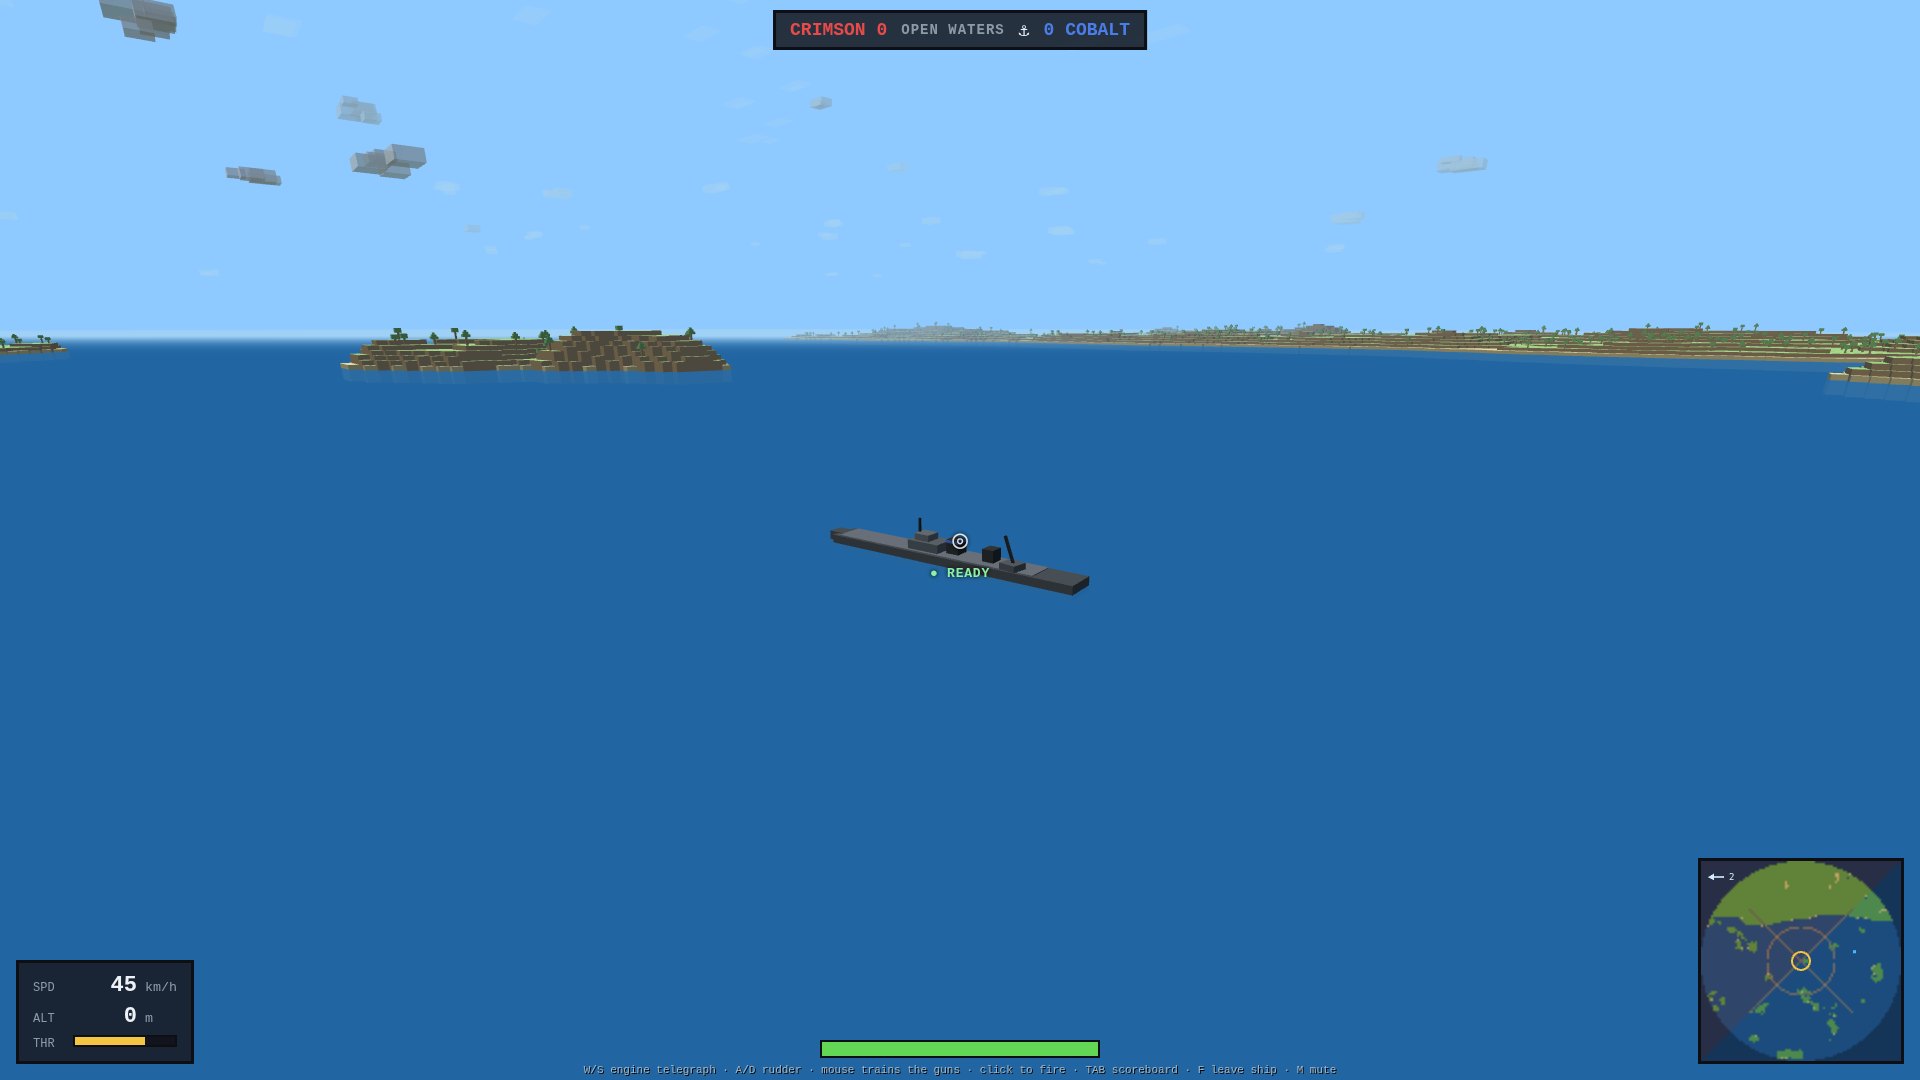
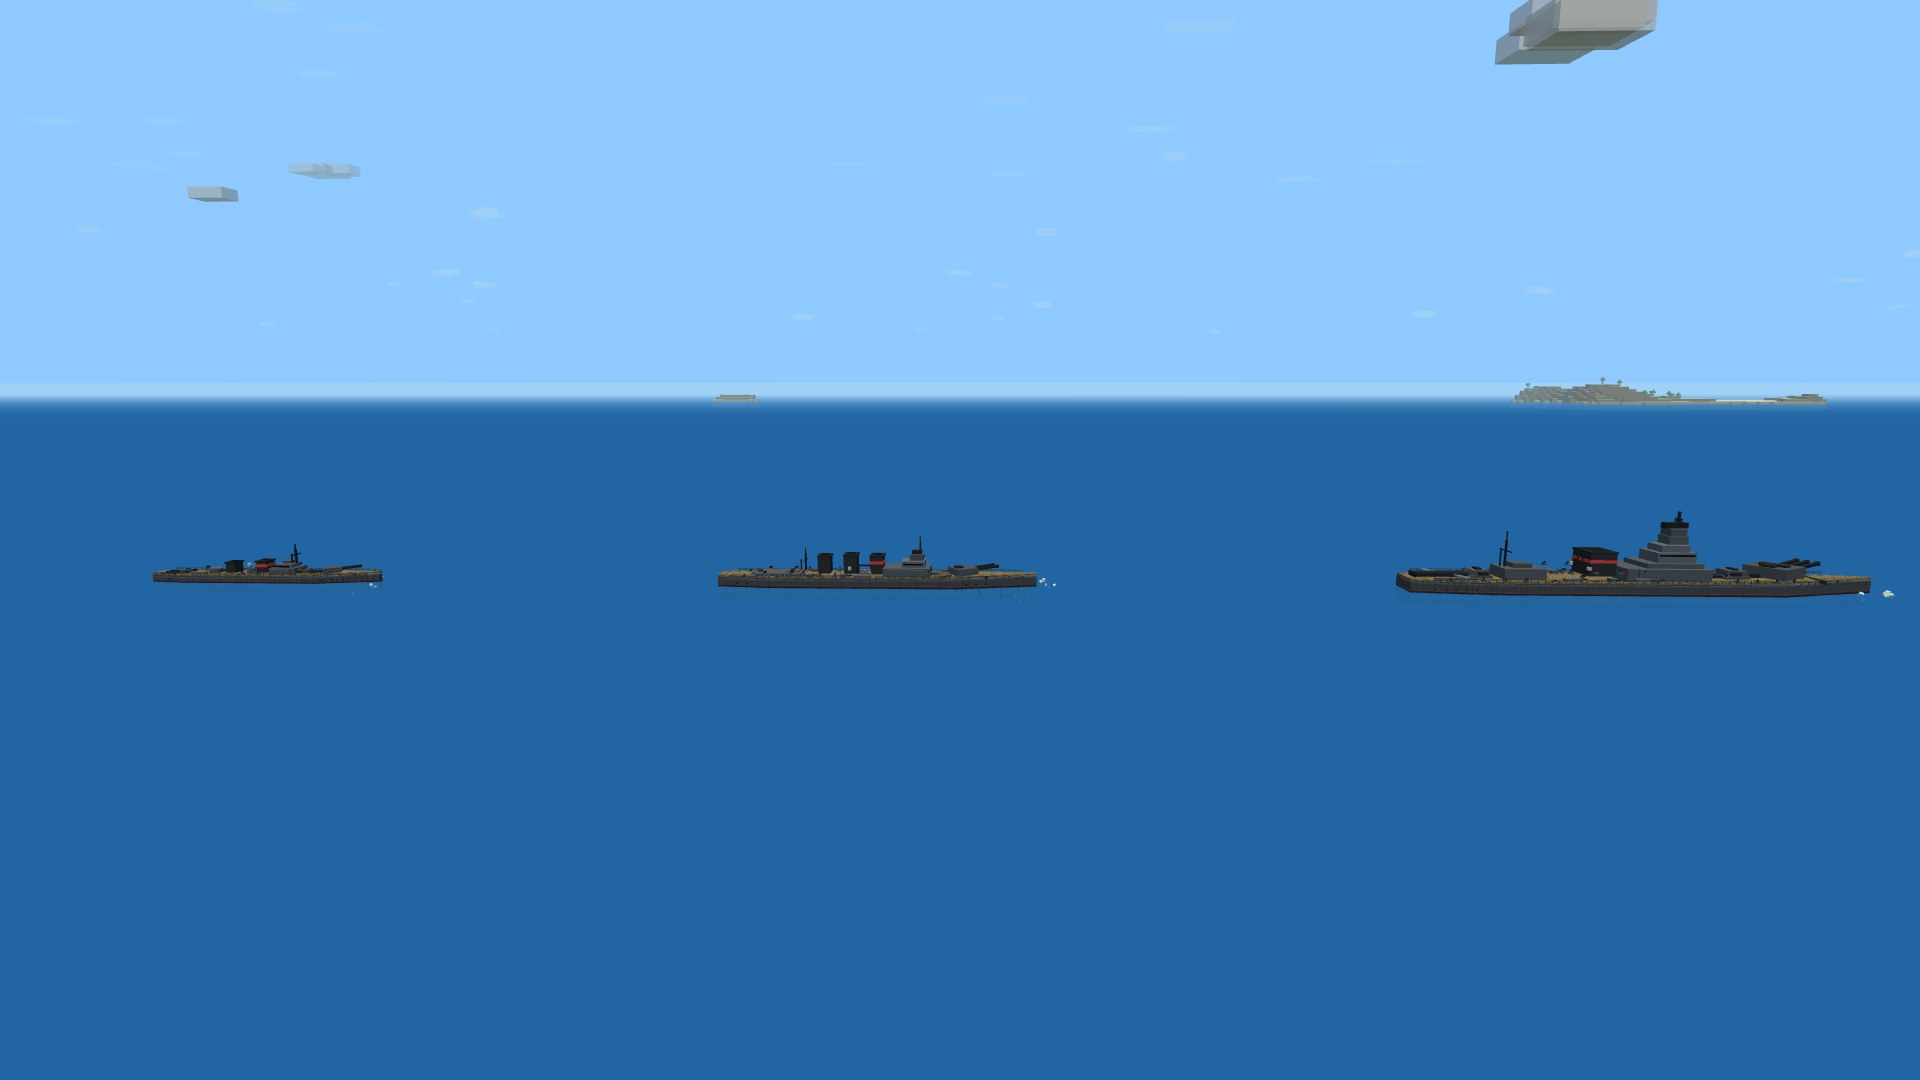
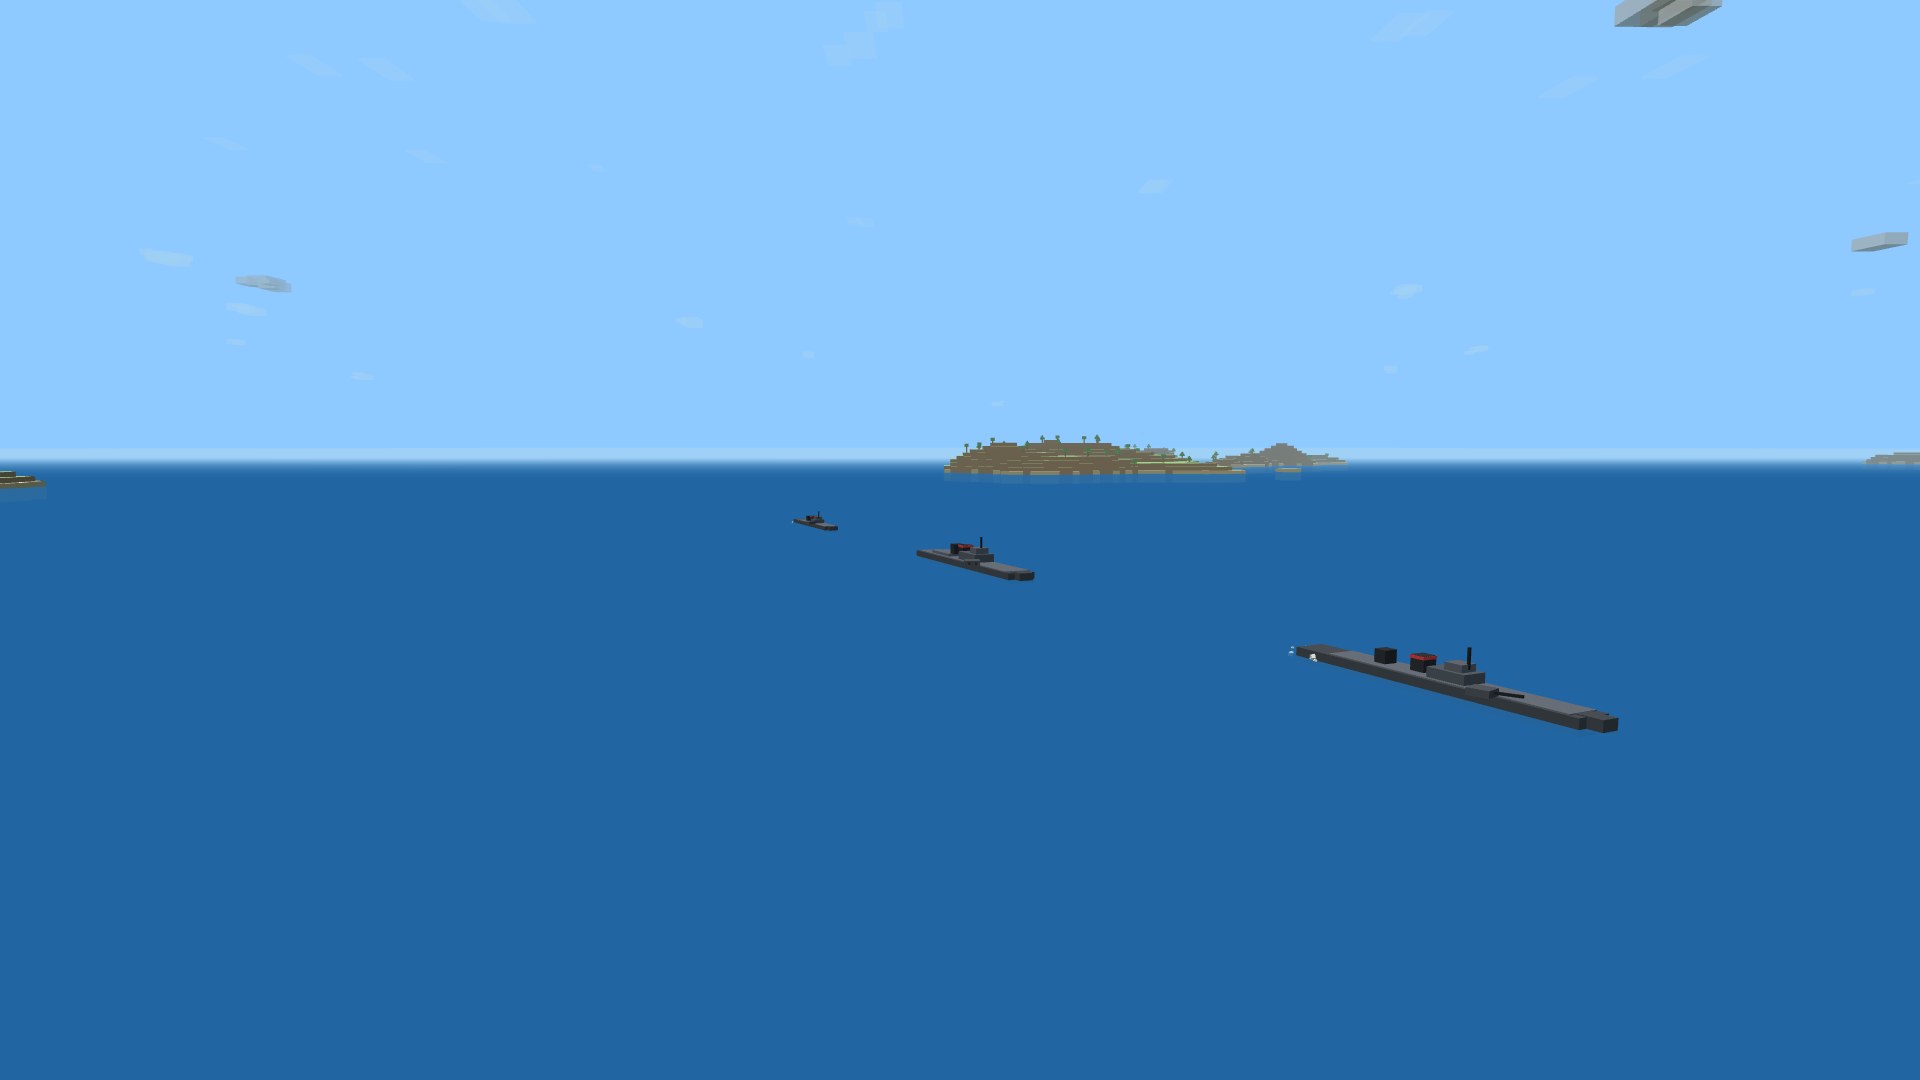
The whole fighting line is yours from your first sortie: pick the Fletcher destroyer, the County cruiser or the Iowa battleship straight off the hangar wall and put to sea — no grind between you and the big guns, just three honest trade-offs of speed, armor and firepower.
Two hulls are earned. Forty ships sent under wins the Des Moines, a premium heavy cruiser with autoloading guns. Where a normal cruiser works up to a salvo every few seconds, the Des Moines' three triple turrets cycle in barely over one — the highest sustained rate of fire in the fleet, a relentless storm of shells and fires. Your tally rides your pilot record between sessions, a callout fires the moment she's yours — and she's a player's reward alone: you'll only ever meet a Des Moines in another captain's hands, never the AI's.
Seventy-five wins the Yamato, the second premium and the top of the ladder: 263 metres of super-battleship carrying the biggest guns ever put to sea. Her nine 18.1-inch rifles fire the Type 91, a shell of her own — it hits harder and punches deeper than anything the Iowa throws, flies visibly bigger, and raises a fall-of-shot column a third taller than any other ship's. She pays for it in handling: the slowest reload in the line, the widest turn and a hull that takes a long time to get moving. Line her up broadside, and every ship on the Brick Sea knows where she is.
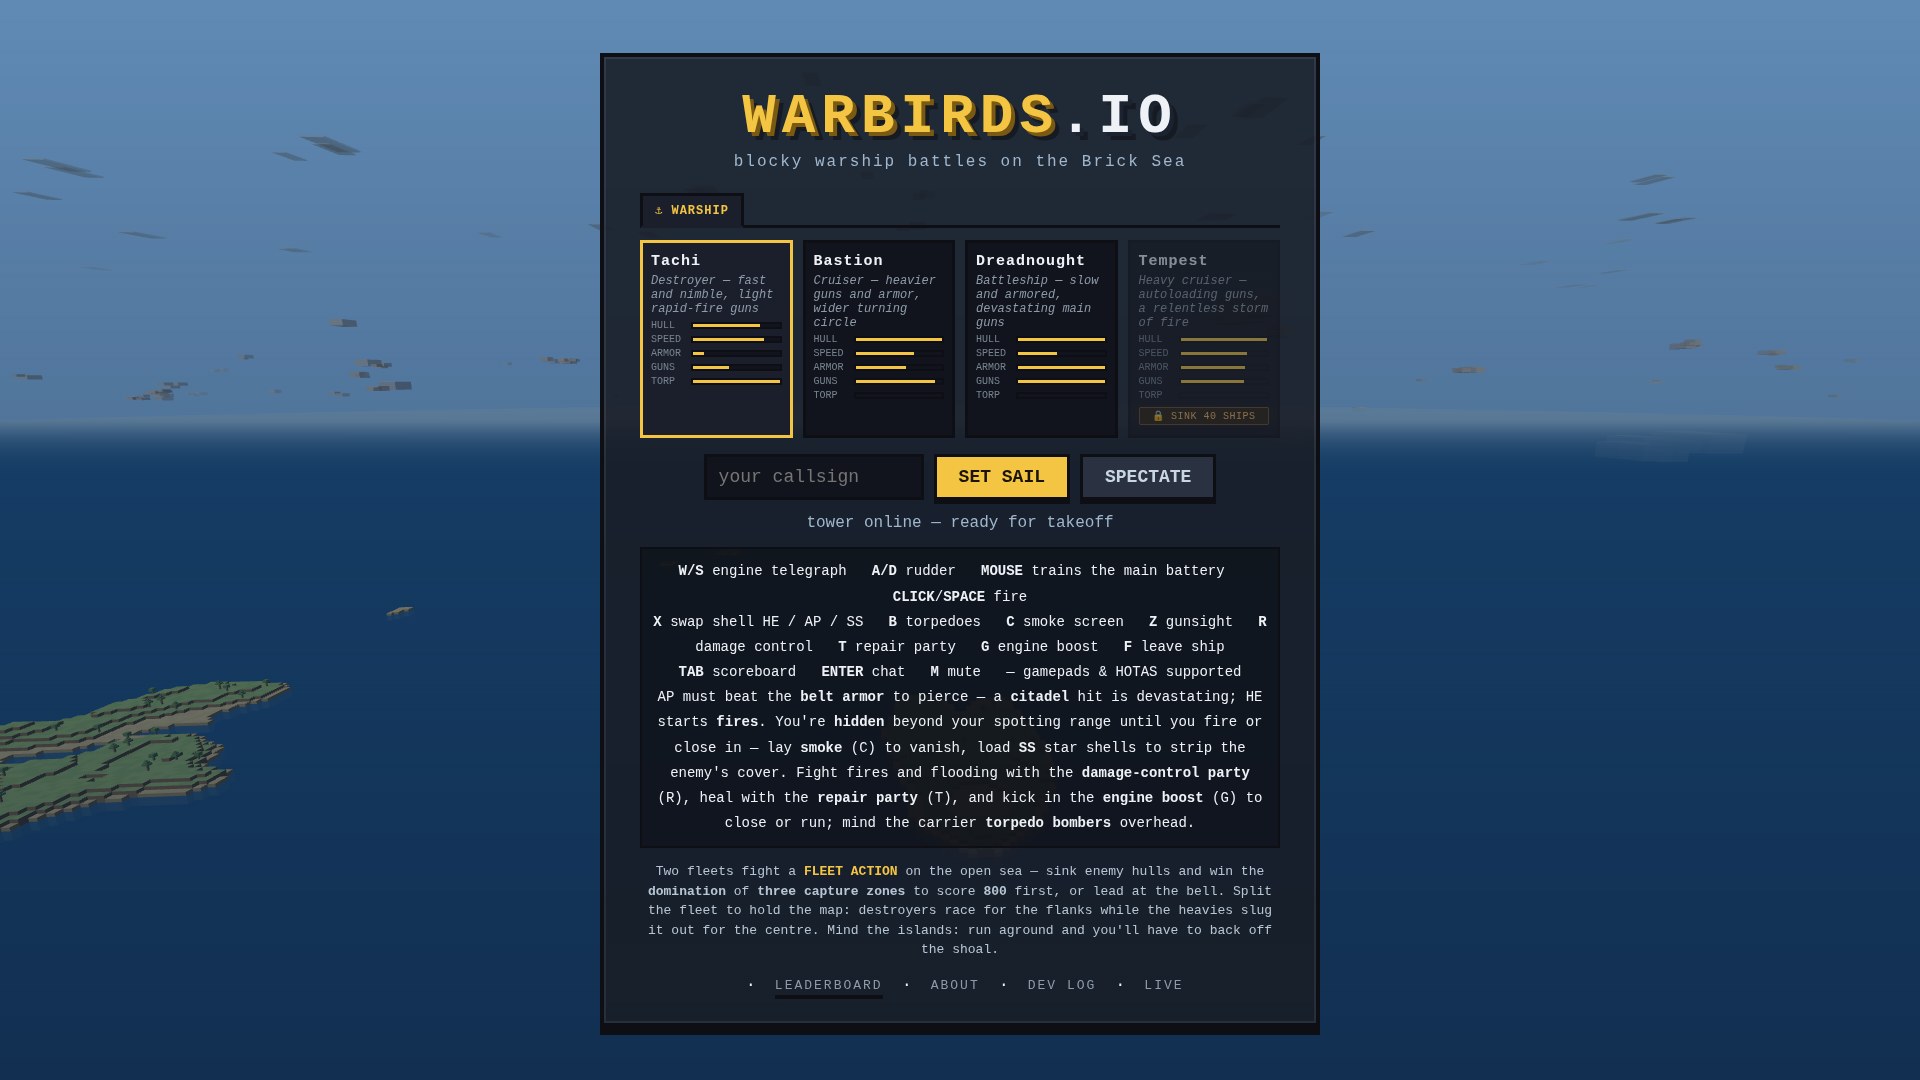
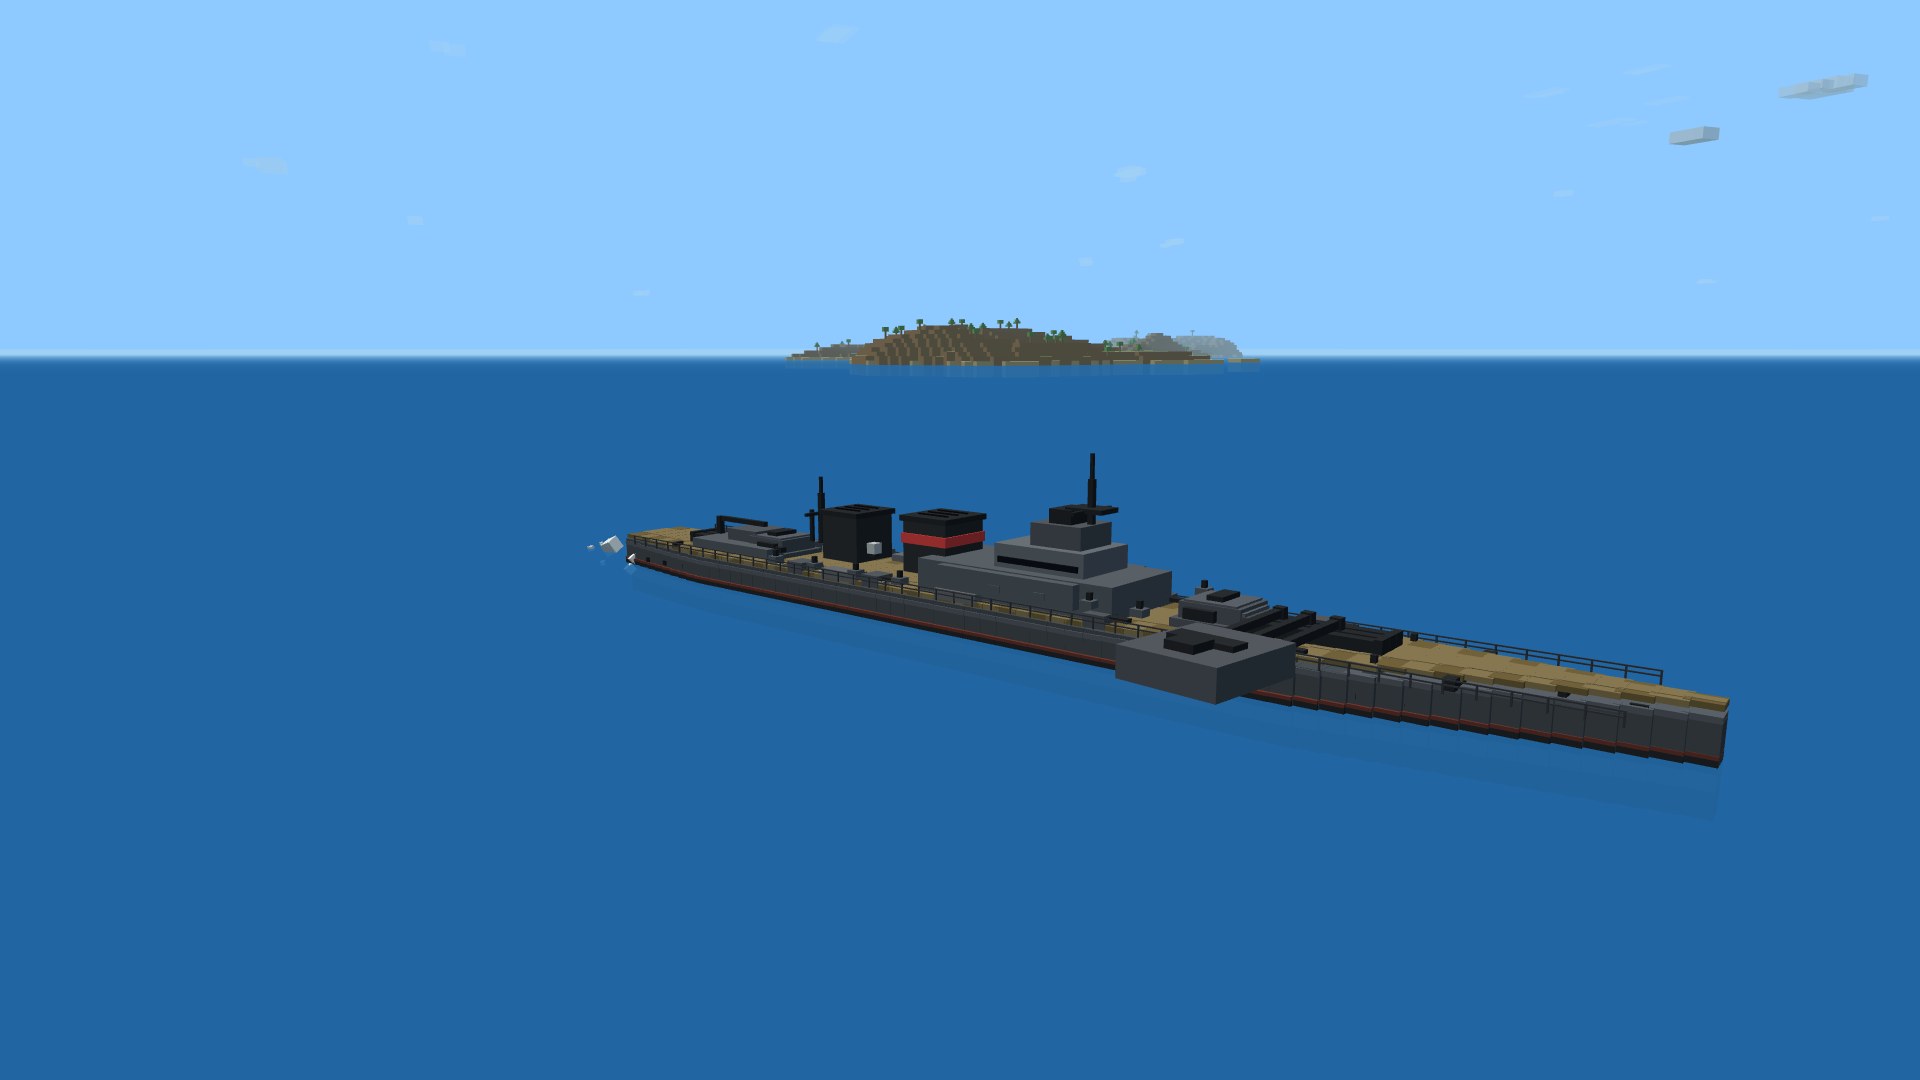
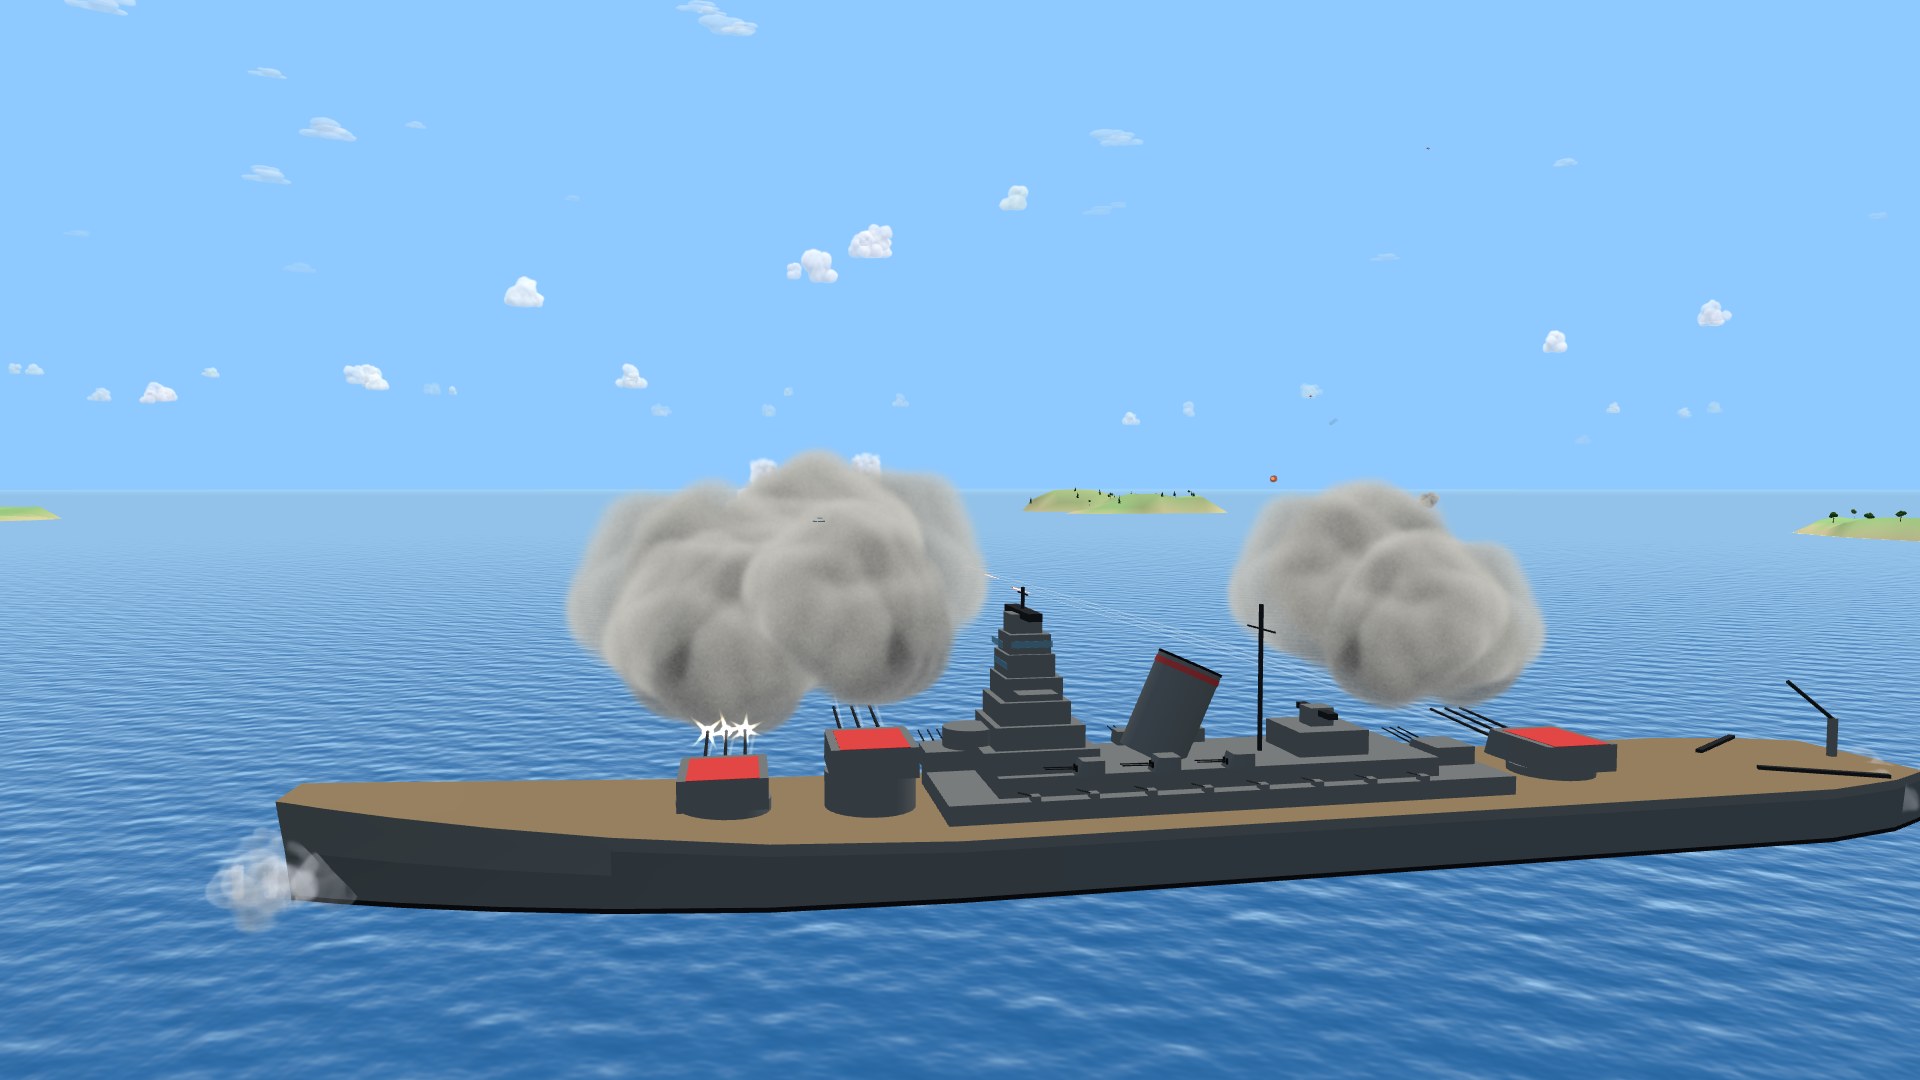
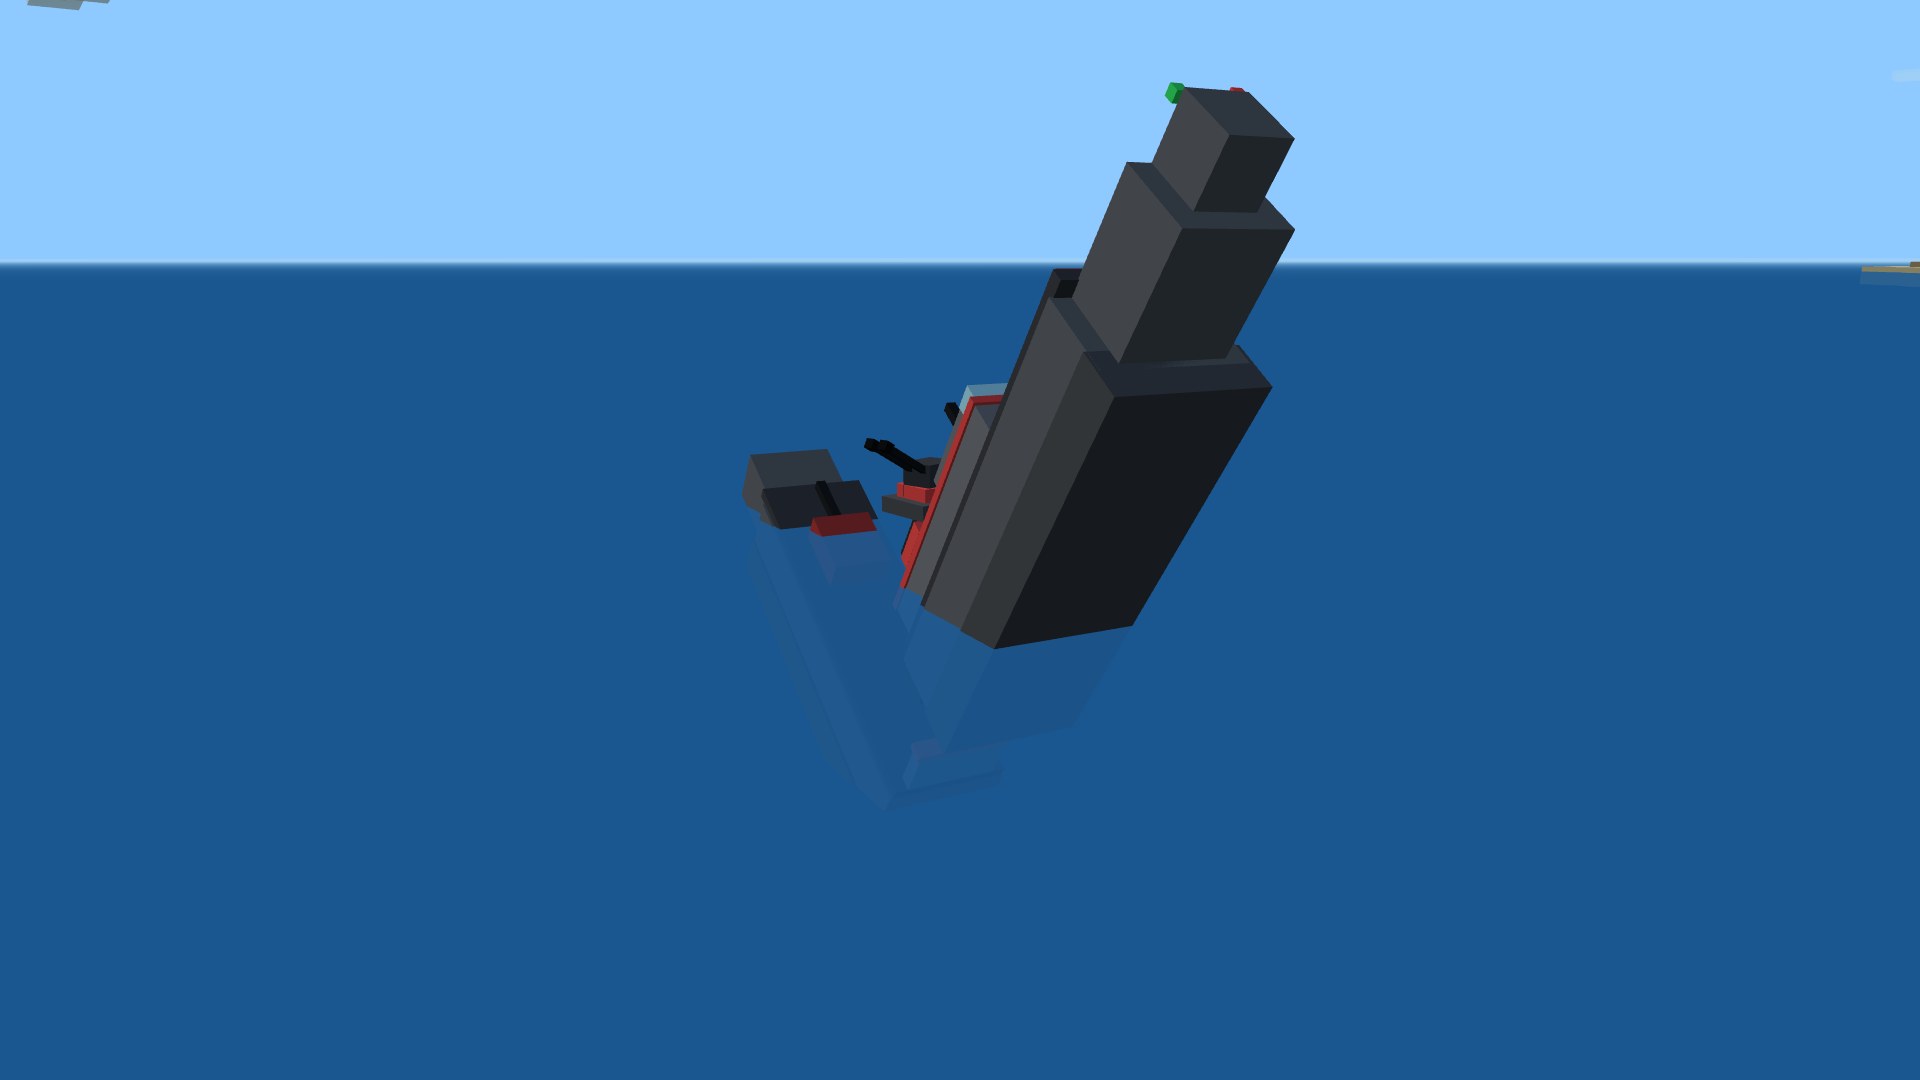
And they fight like ships. The main battery loads armor-piercing or high-explosive (swap with a key), and the choice is the whole duel: AP has to beat the target's belt armor to penetrate, and a hit on the citadel amidships is devastating — but AP shatters on armor it can't crack and over-penetrates a thin destroyer, so you load HE to start fires instead. Fires and flooding then bleed the hull until you spend your damage-control party to put them out — on a long cooldown, so timing it is its own decision. Two more consumables ride alongside: a repair party (T) that heals the hull back over a few seconds, and an engine boost (G) for a burst of flank speed to close, kite, or run from a torpedo spread — each on its own cooldown, so a captain is always juggling when to spend them. The destroyer also carries torpedoes (press B): a fan of fish that run dead straight and flood a hull they hit, so closing the range is a real threat. An AI warship patrol puts to sea on each side and fights as a fleet, not a loose mob: the hulls form into a division around their heaviest ship as flagship — the cruisers and battleship in the line, the destroyers thrown out ahead as a screen. They thread the islands to make for the capture zone together, concentrate fire on the one target the flagship picks, and fight to each class's strength: the battleship standing off at long range, the destroyers boring in to torpedo water and laying smoke to cover a hard-pressed heavy. Every captain has their own gunnery skill, so a division is no wall of identical marksmen — and a hull that's badly hurt slips behind an island to break contact, repairs, and rejoins the line.
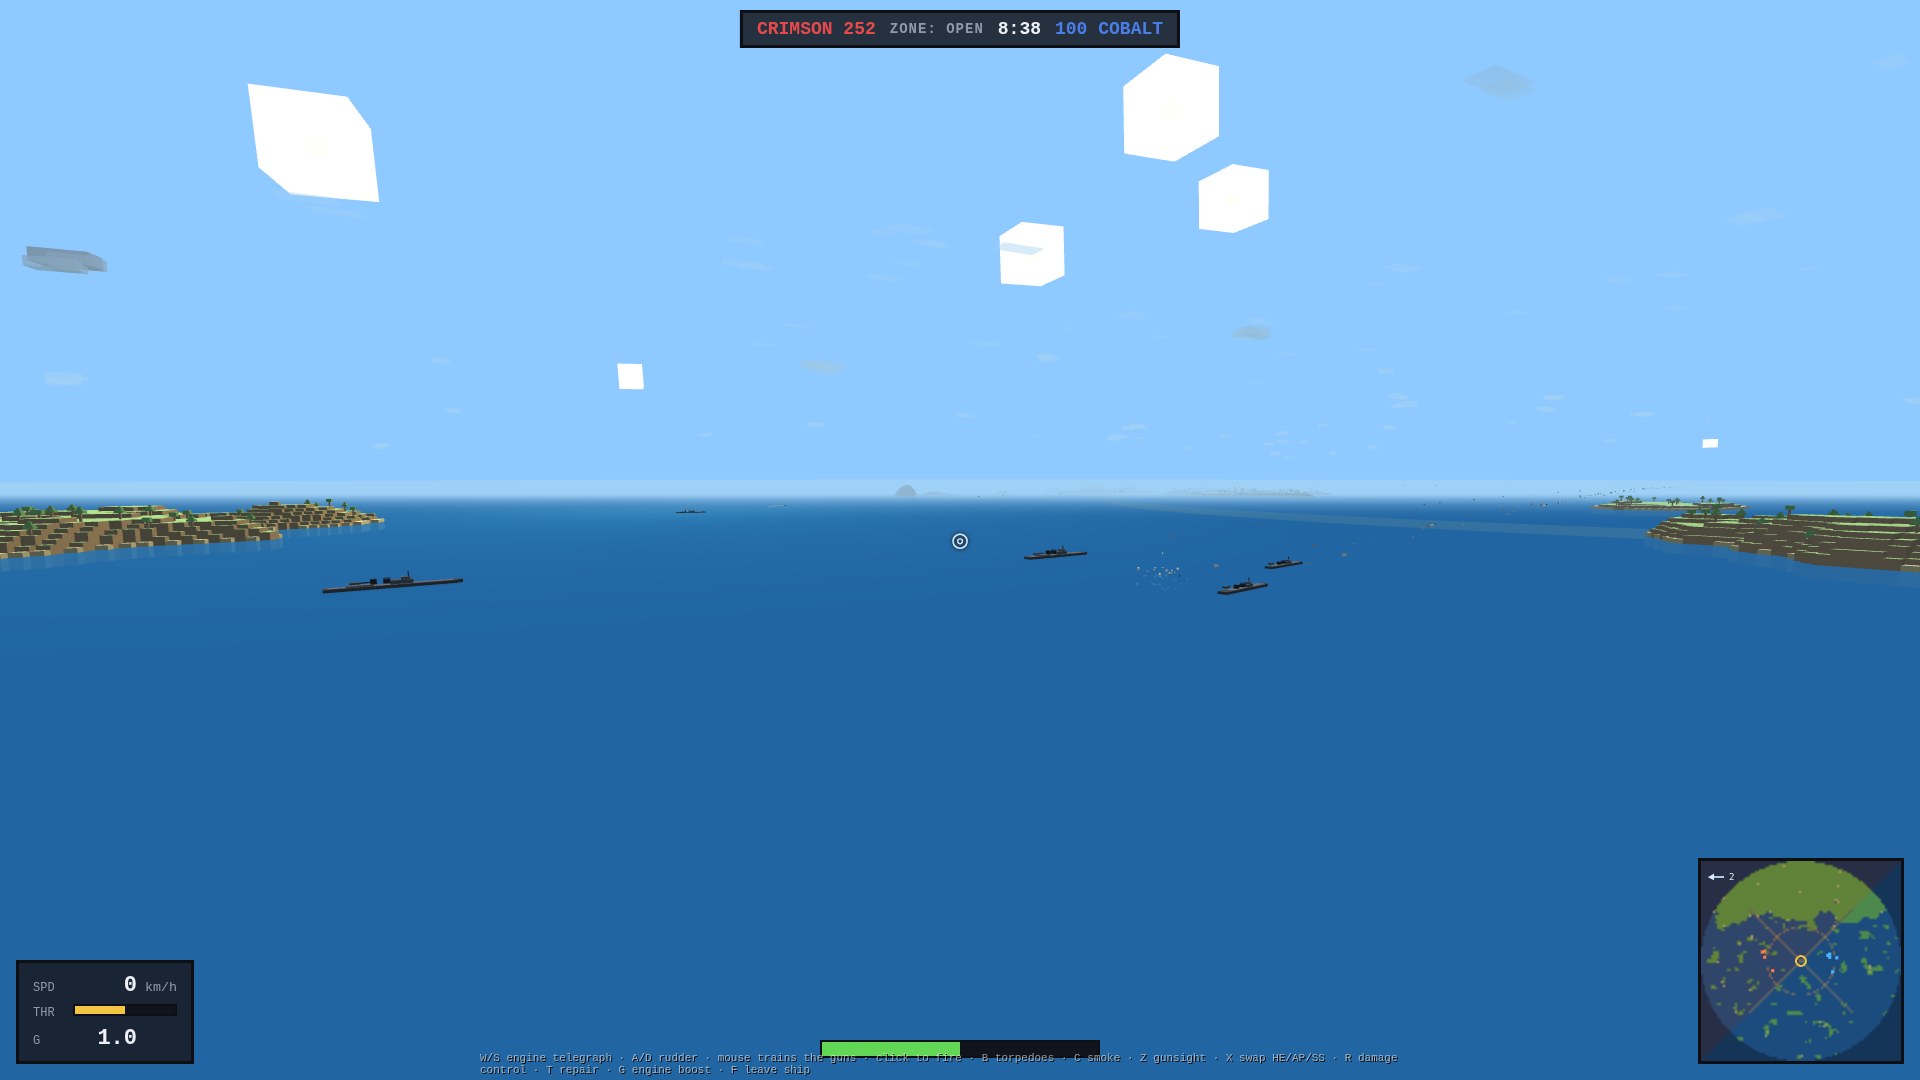
And it isn't only about sinking. Three capture zones — rings of gold light laid flat on the open sea, a contested one at the centre with a flank zone north and south of it — score points for whoever holds them: park a hull inside with no enemy contesting and the points tick your way, and holding more zones ticks faster, so a team can win on map control as well as kills. This is domination, and it forces a fleet to split — you can't hold the whole map with one massed line, so the destroyers race out to the flanks to grab and garrison those caps while the heavies fight for the centre. Each ring glows your colour when you hold it, the enemy's when they do, and gold when it's neutral or contested; the zones spread north–south so neither side has a nearer cap. A ZONES readout on the HUD counts who holds how many, the minimap rings show the whole picture at a glance, and a callout fires the moment a zone changes hands.
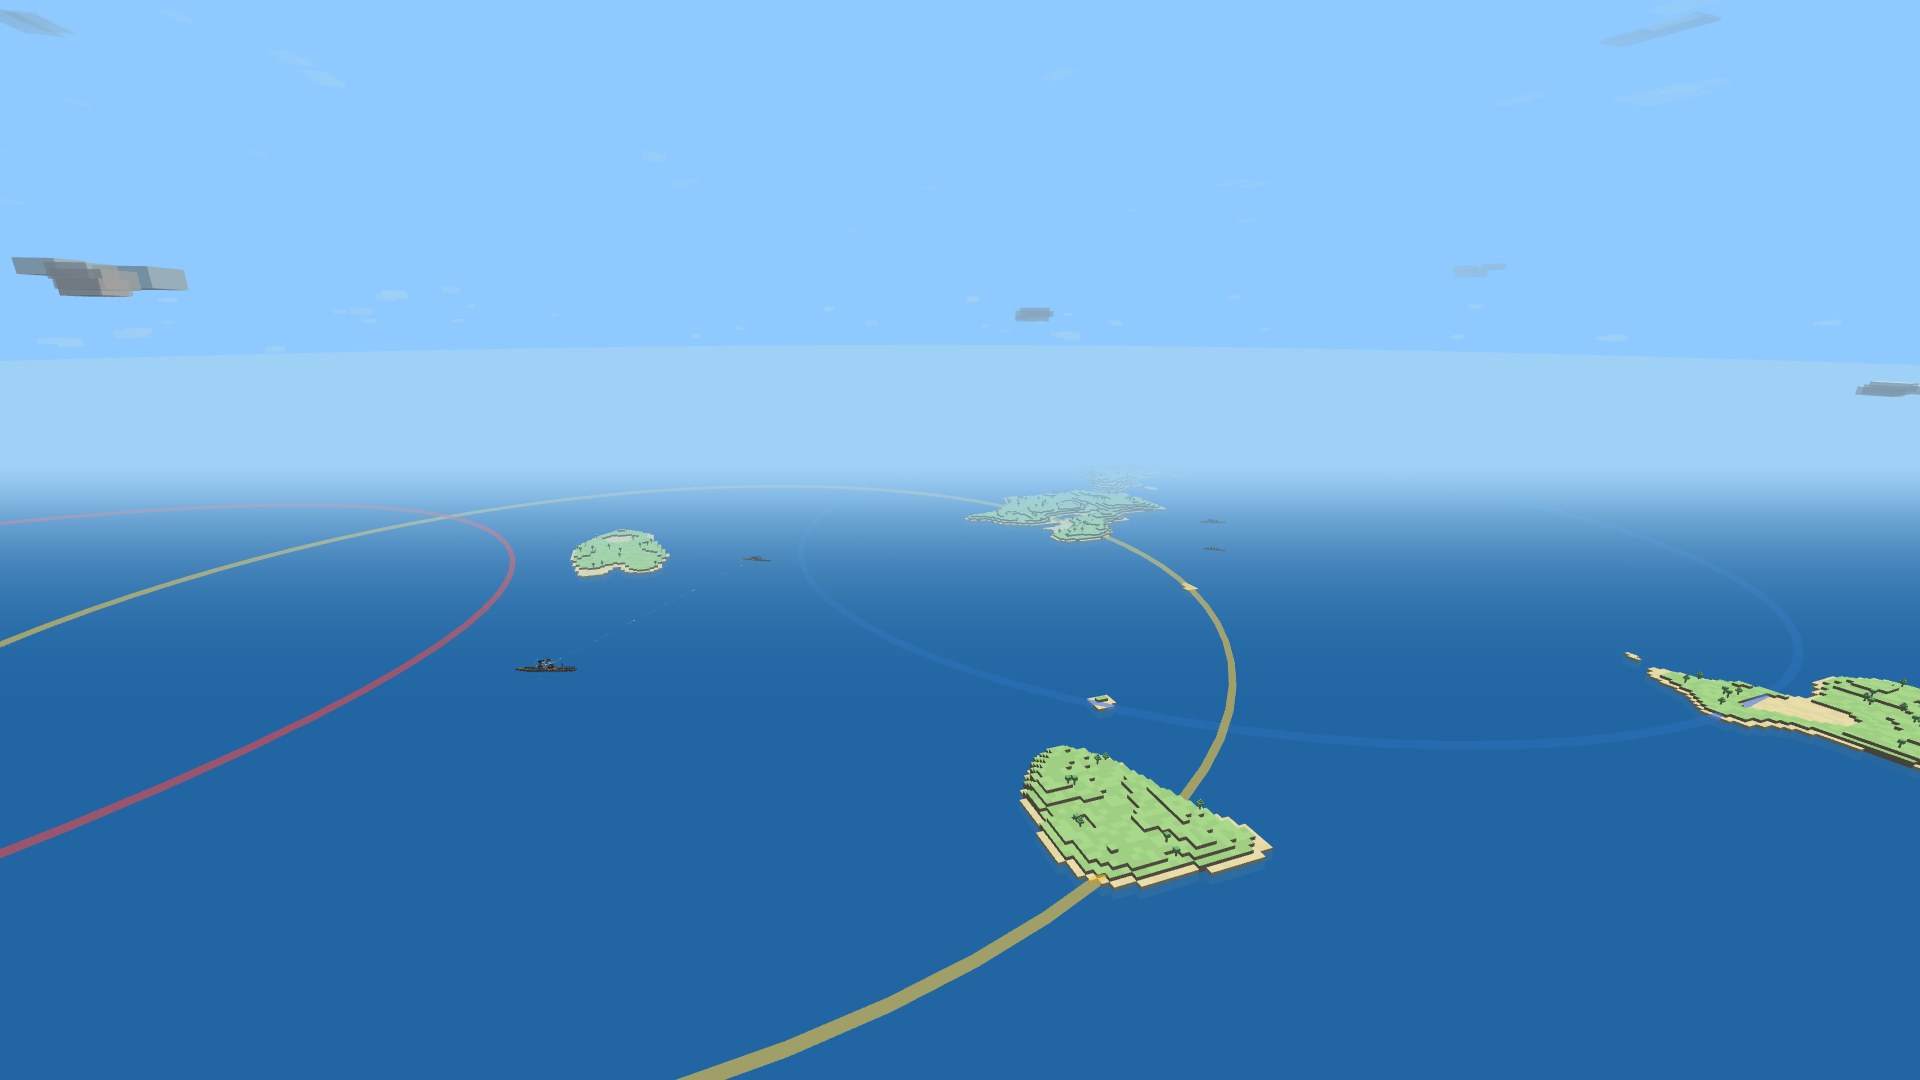
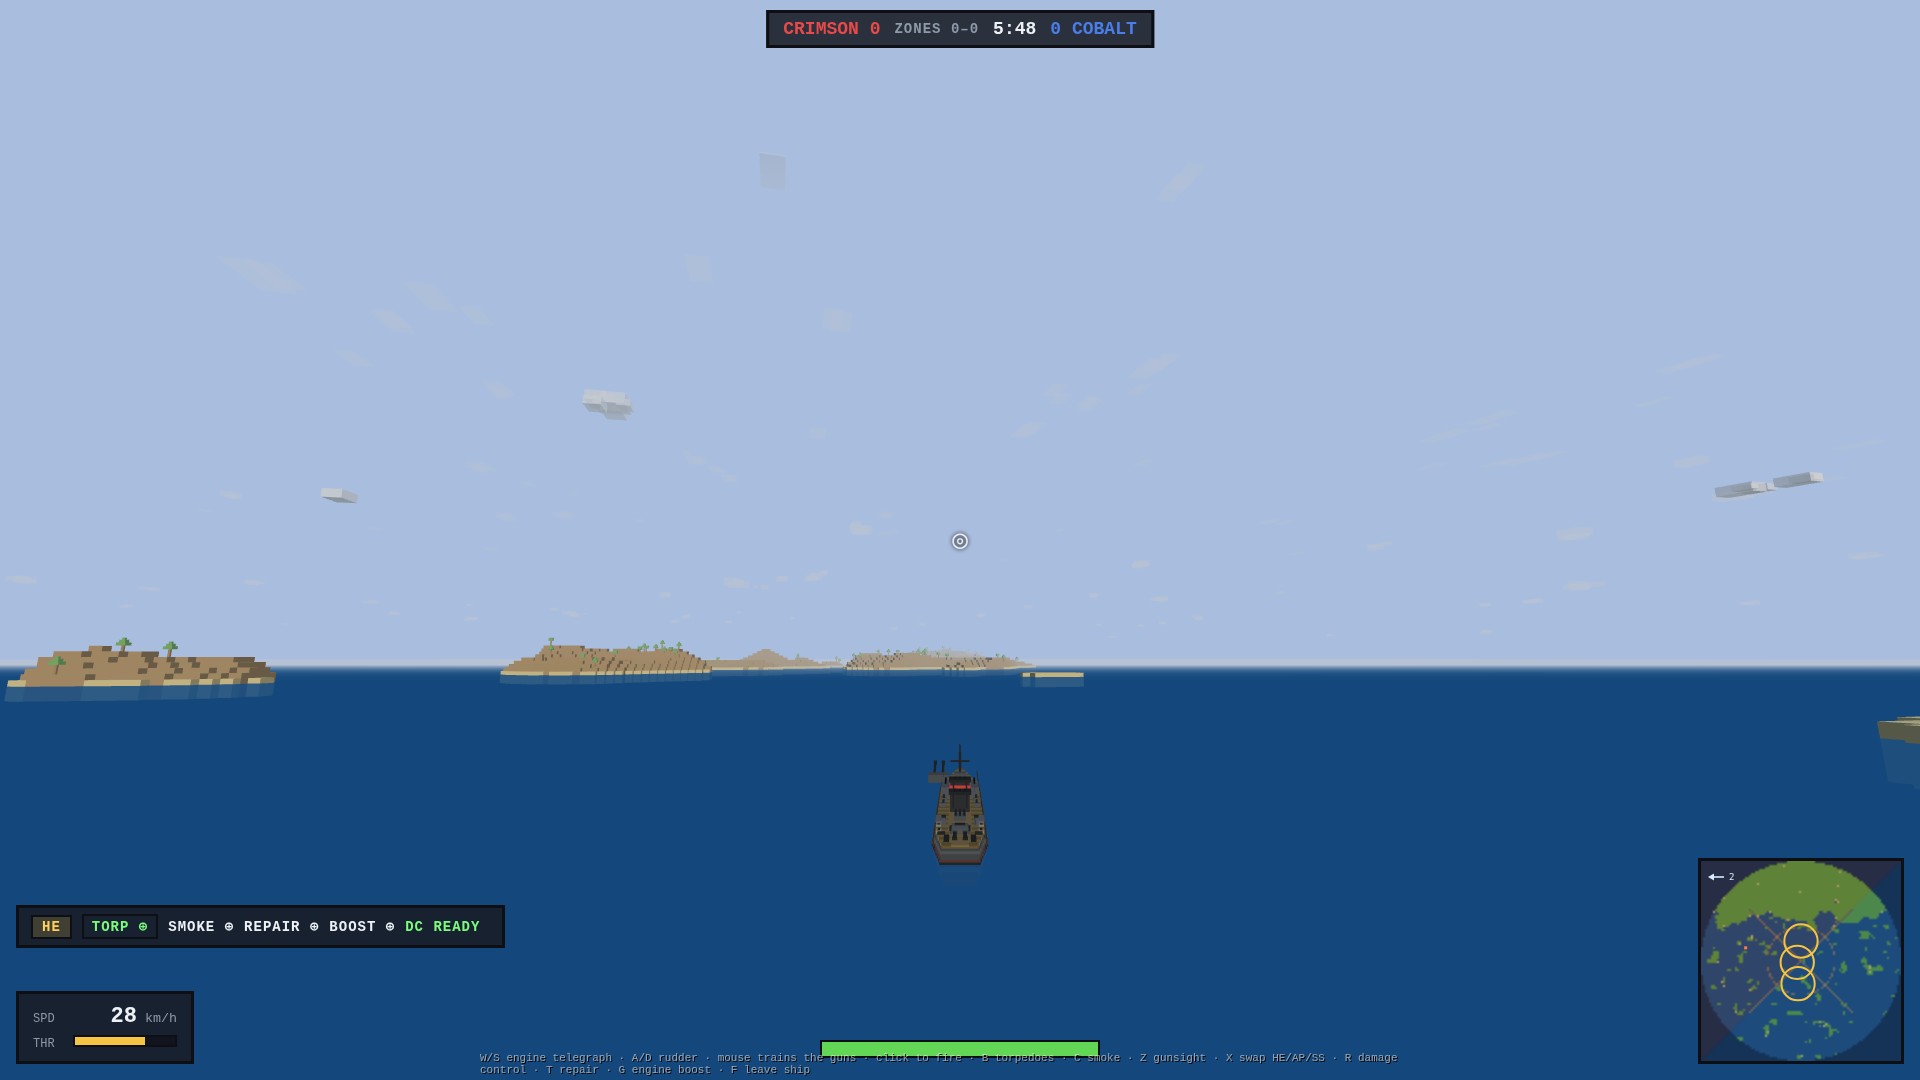
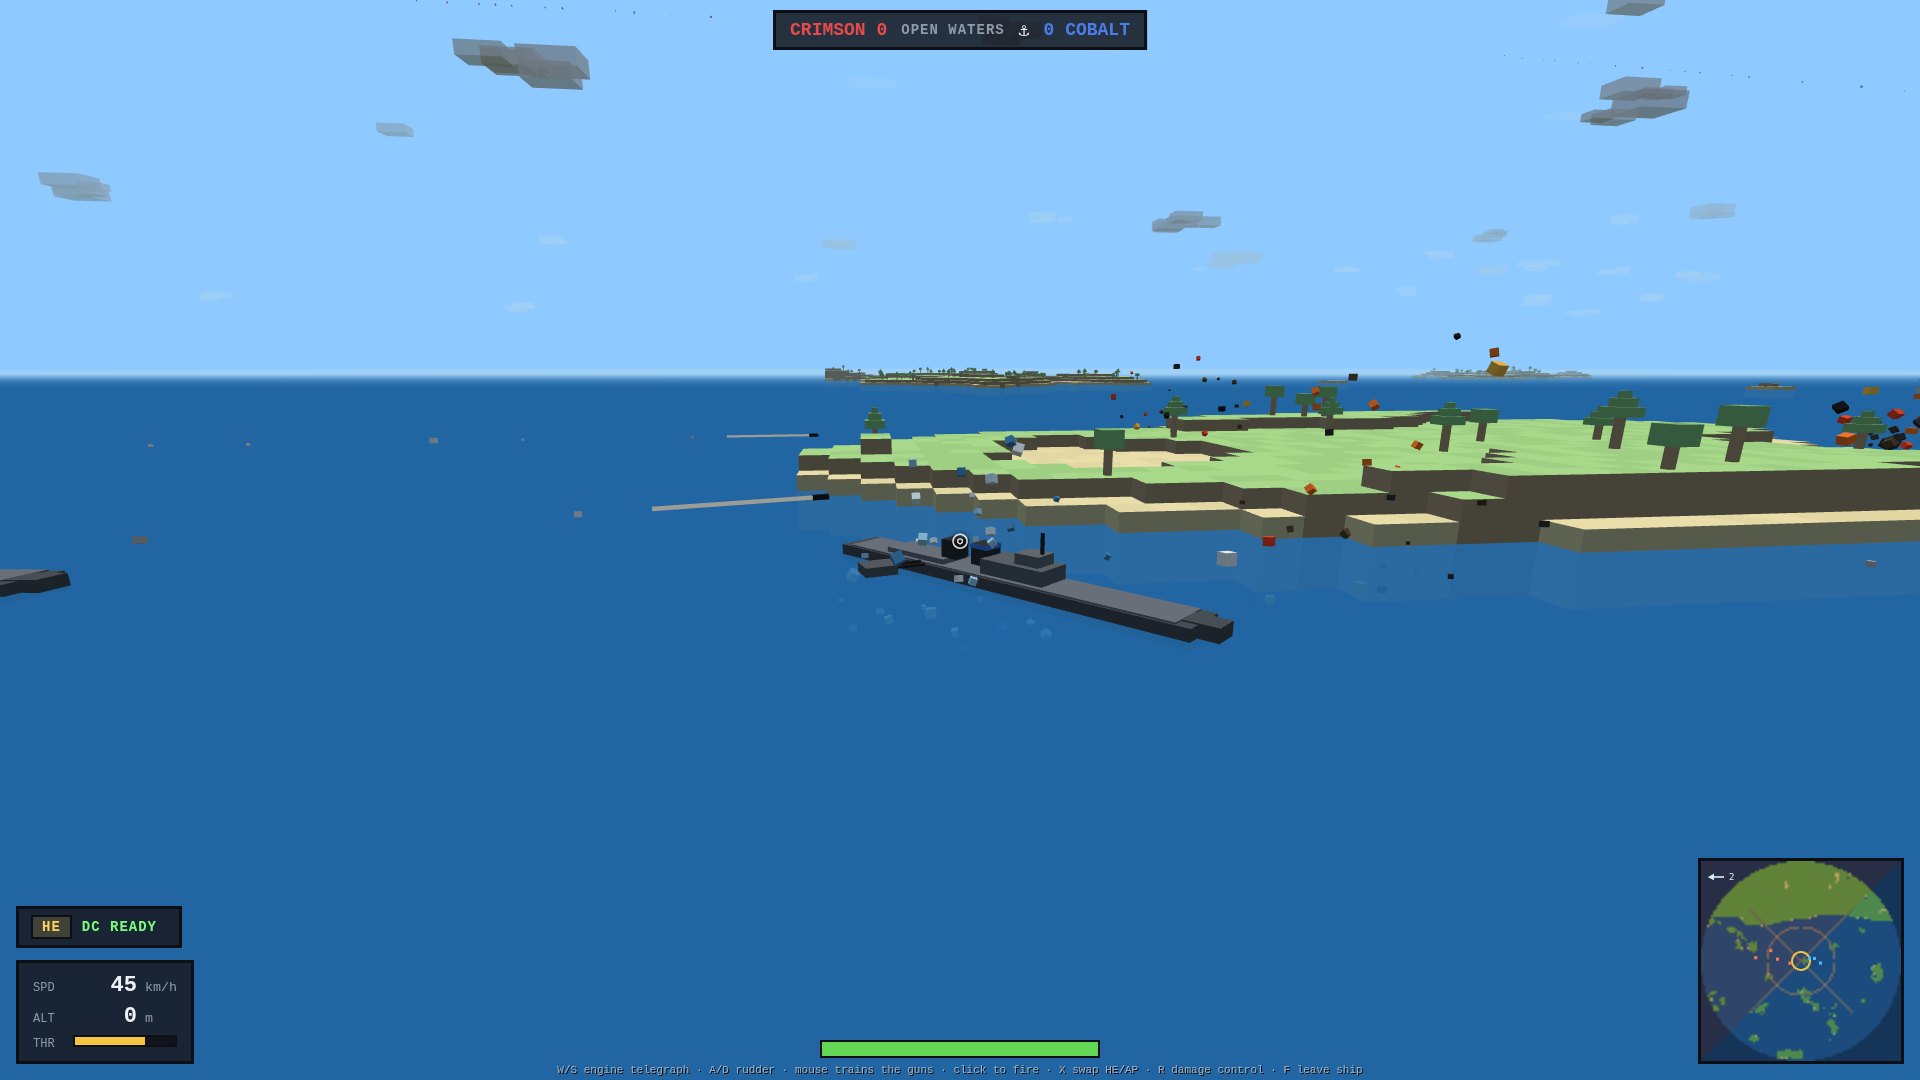
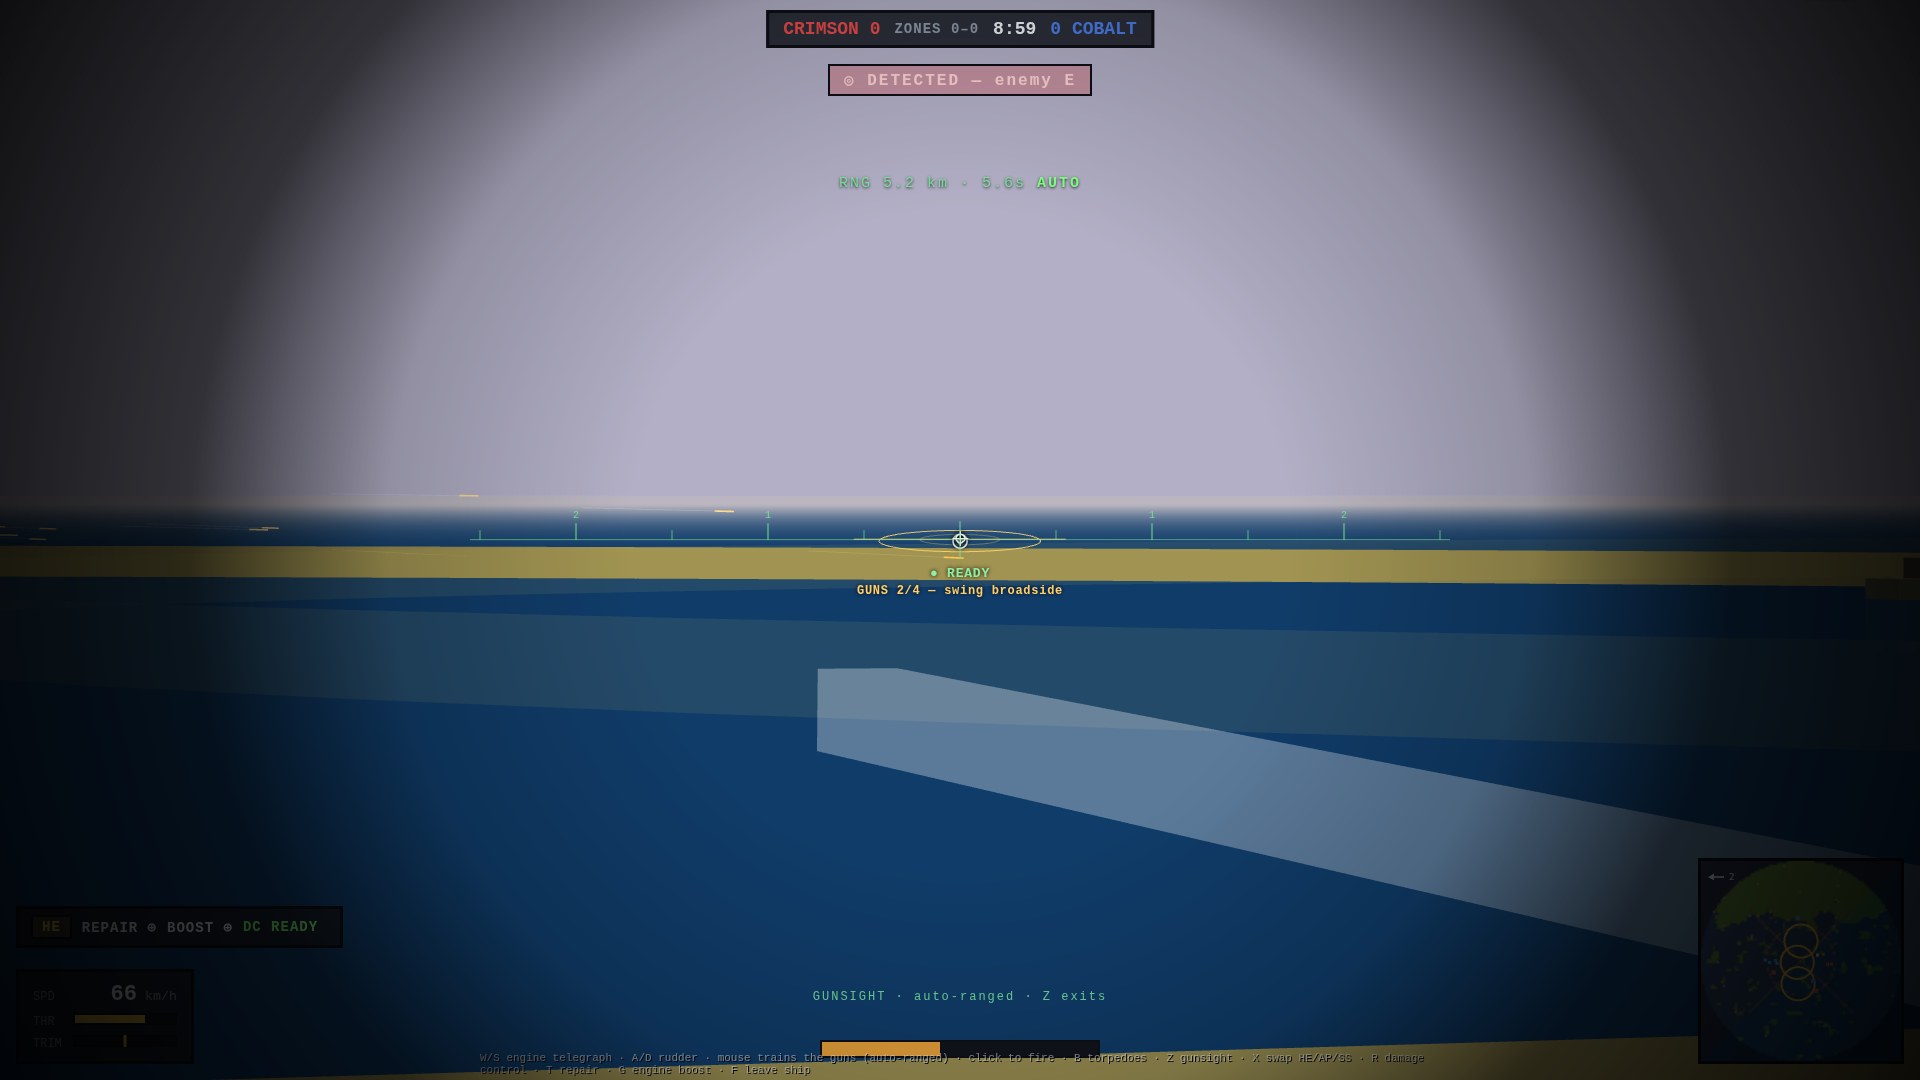
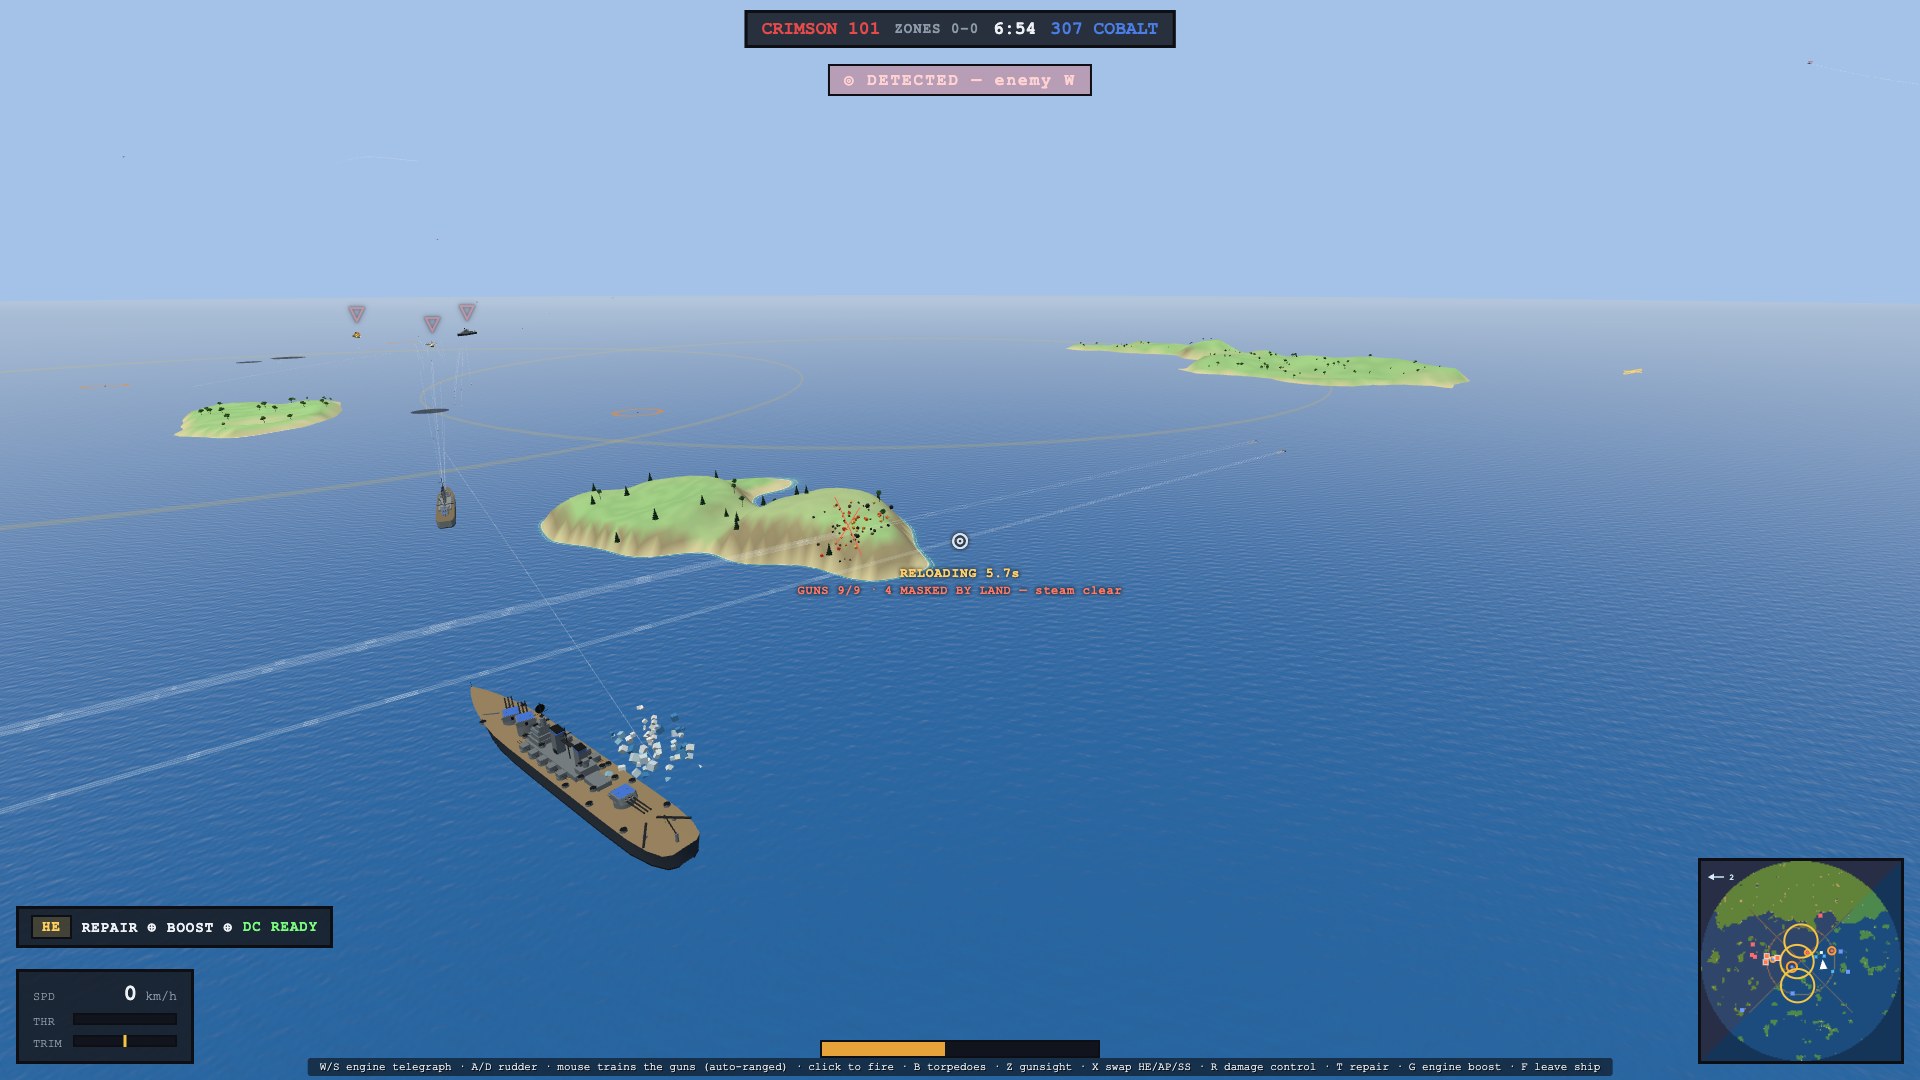
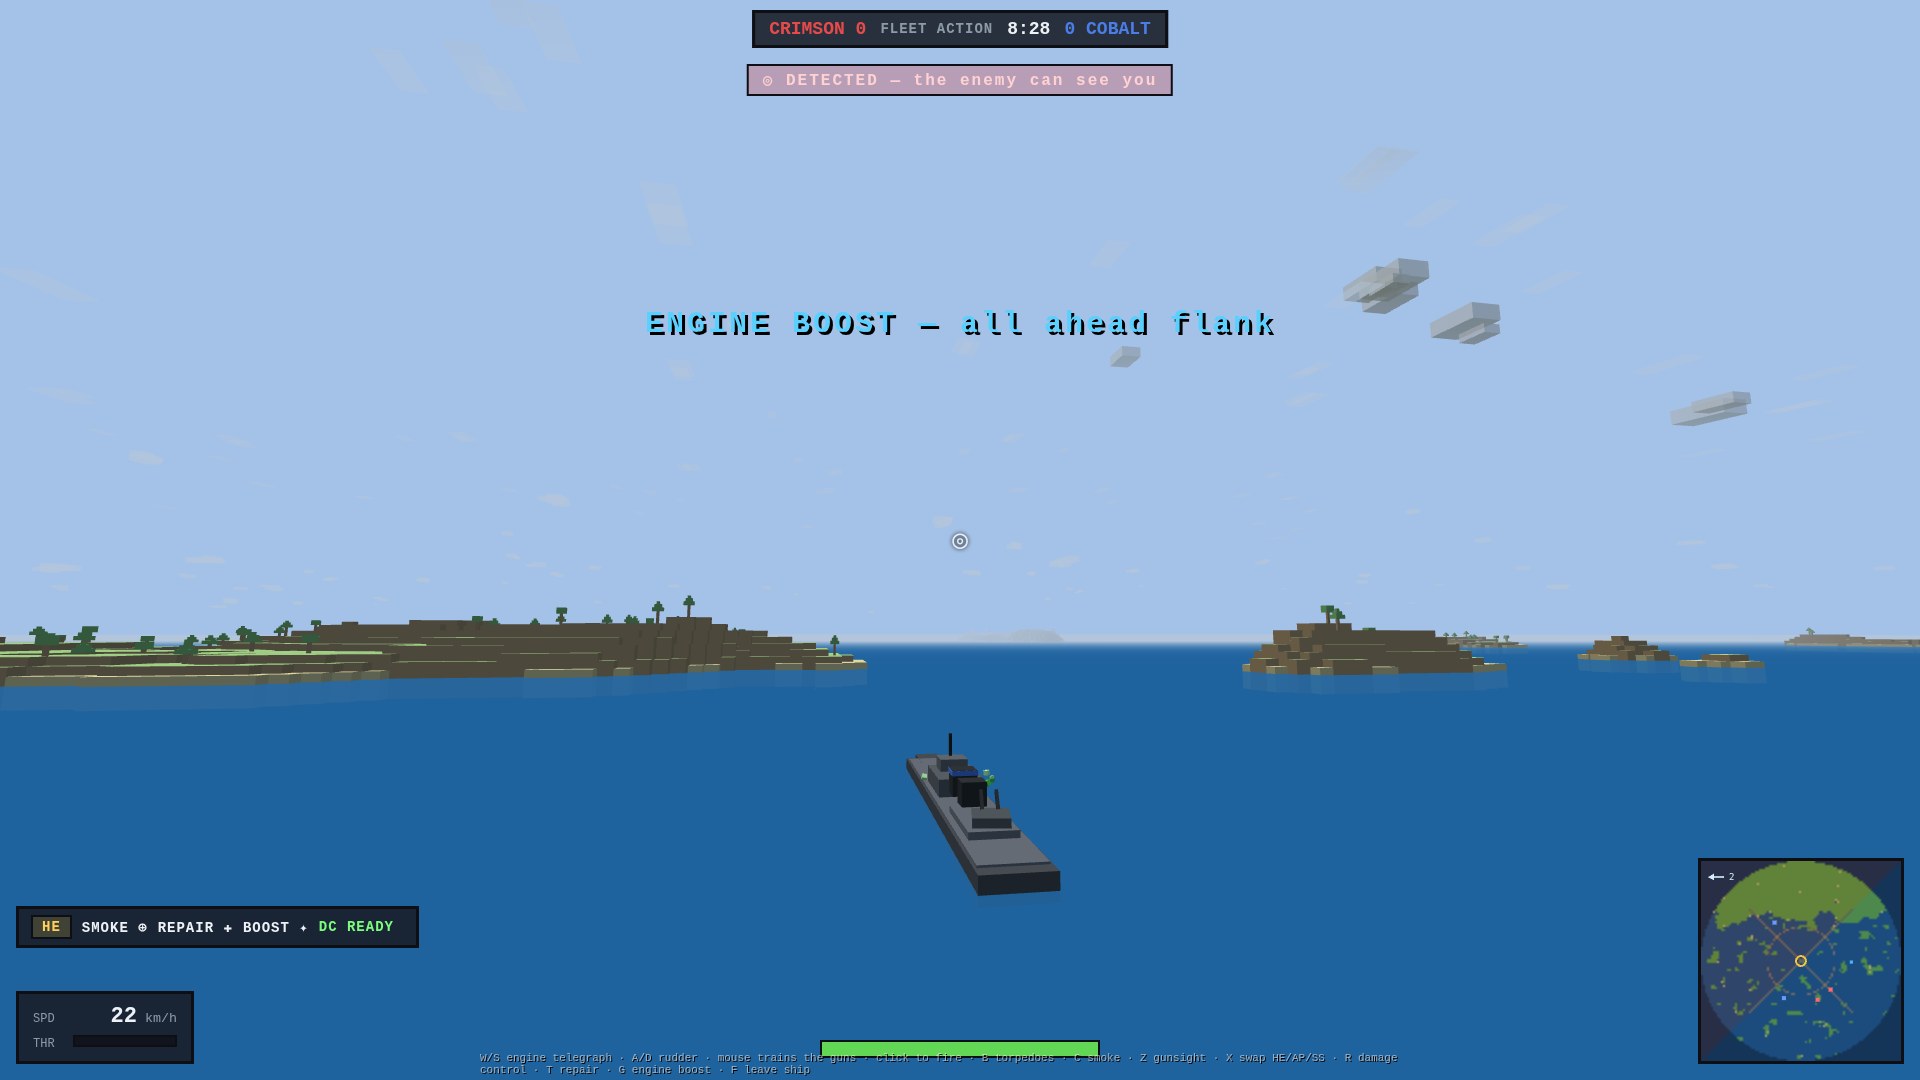
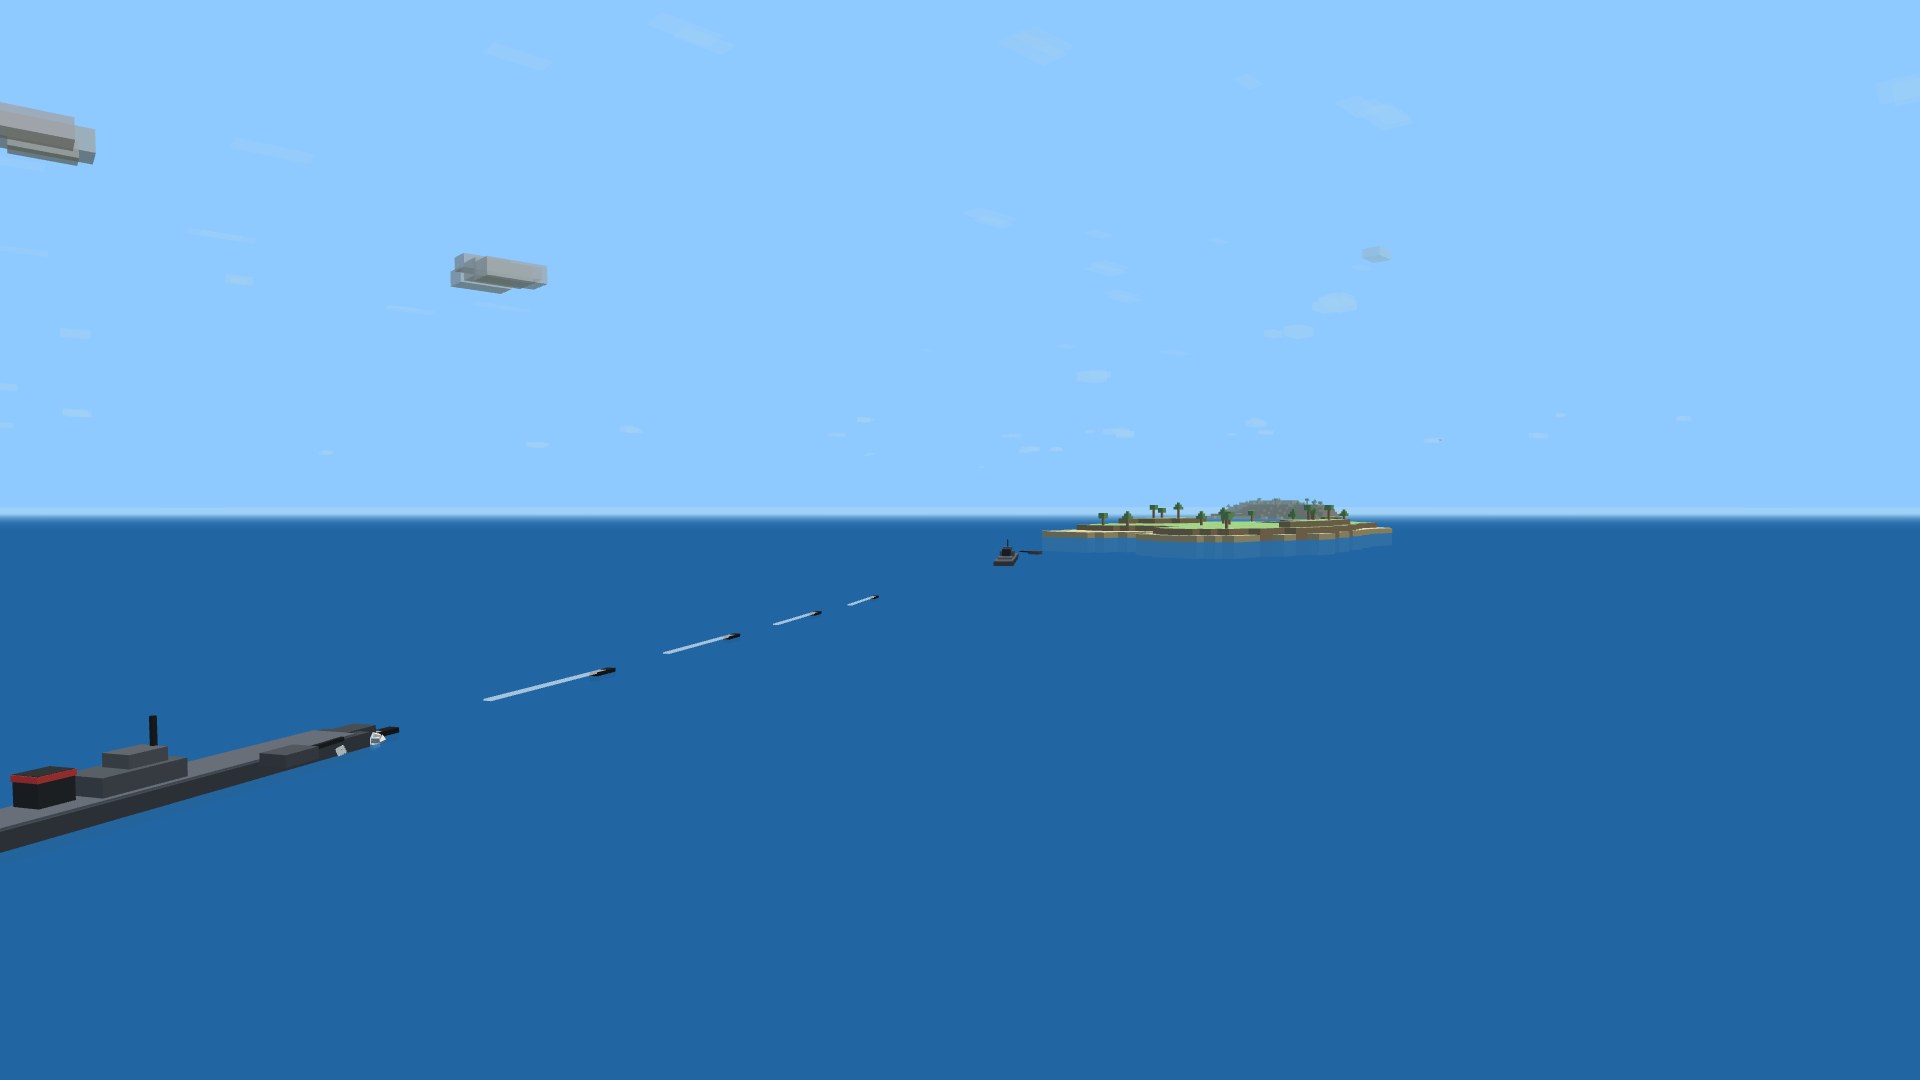
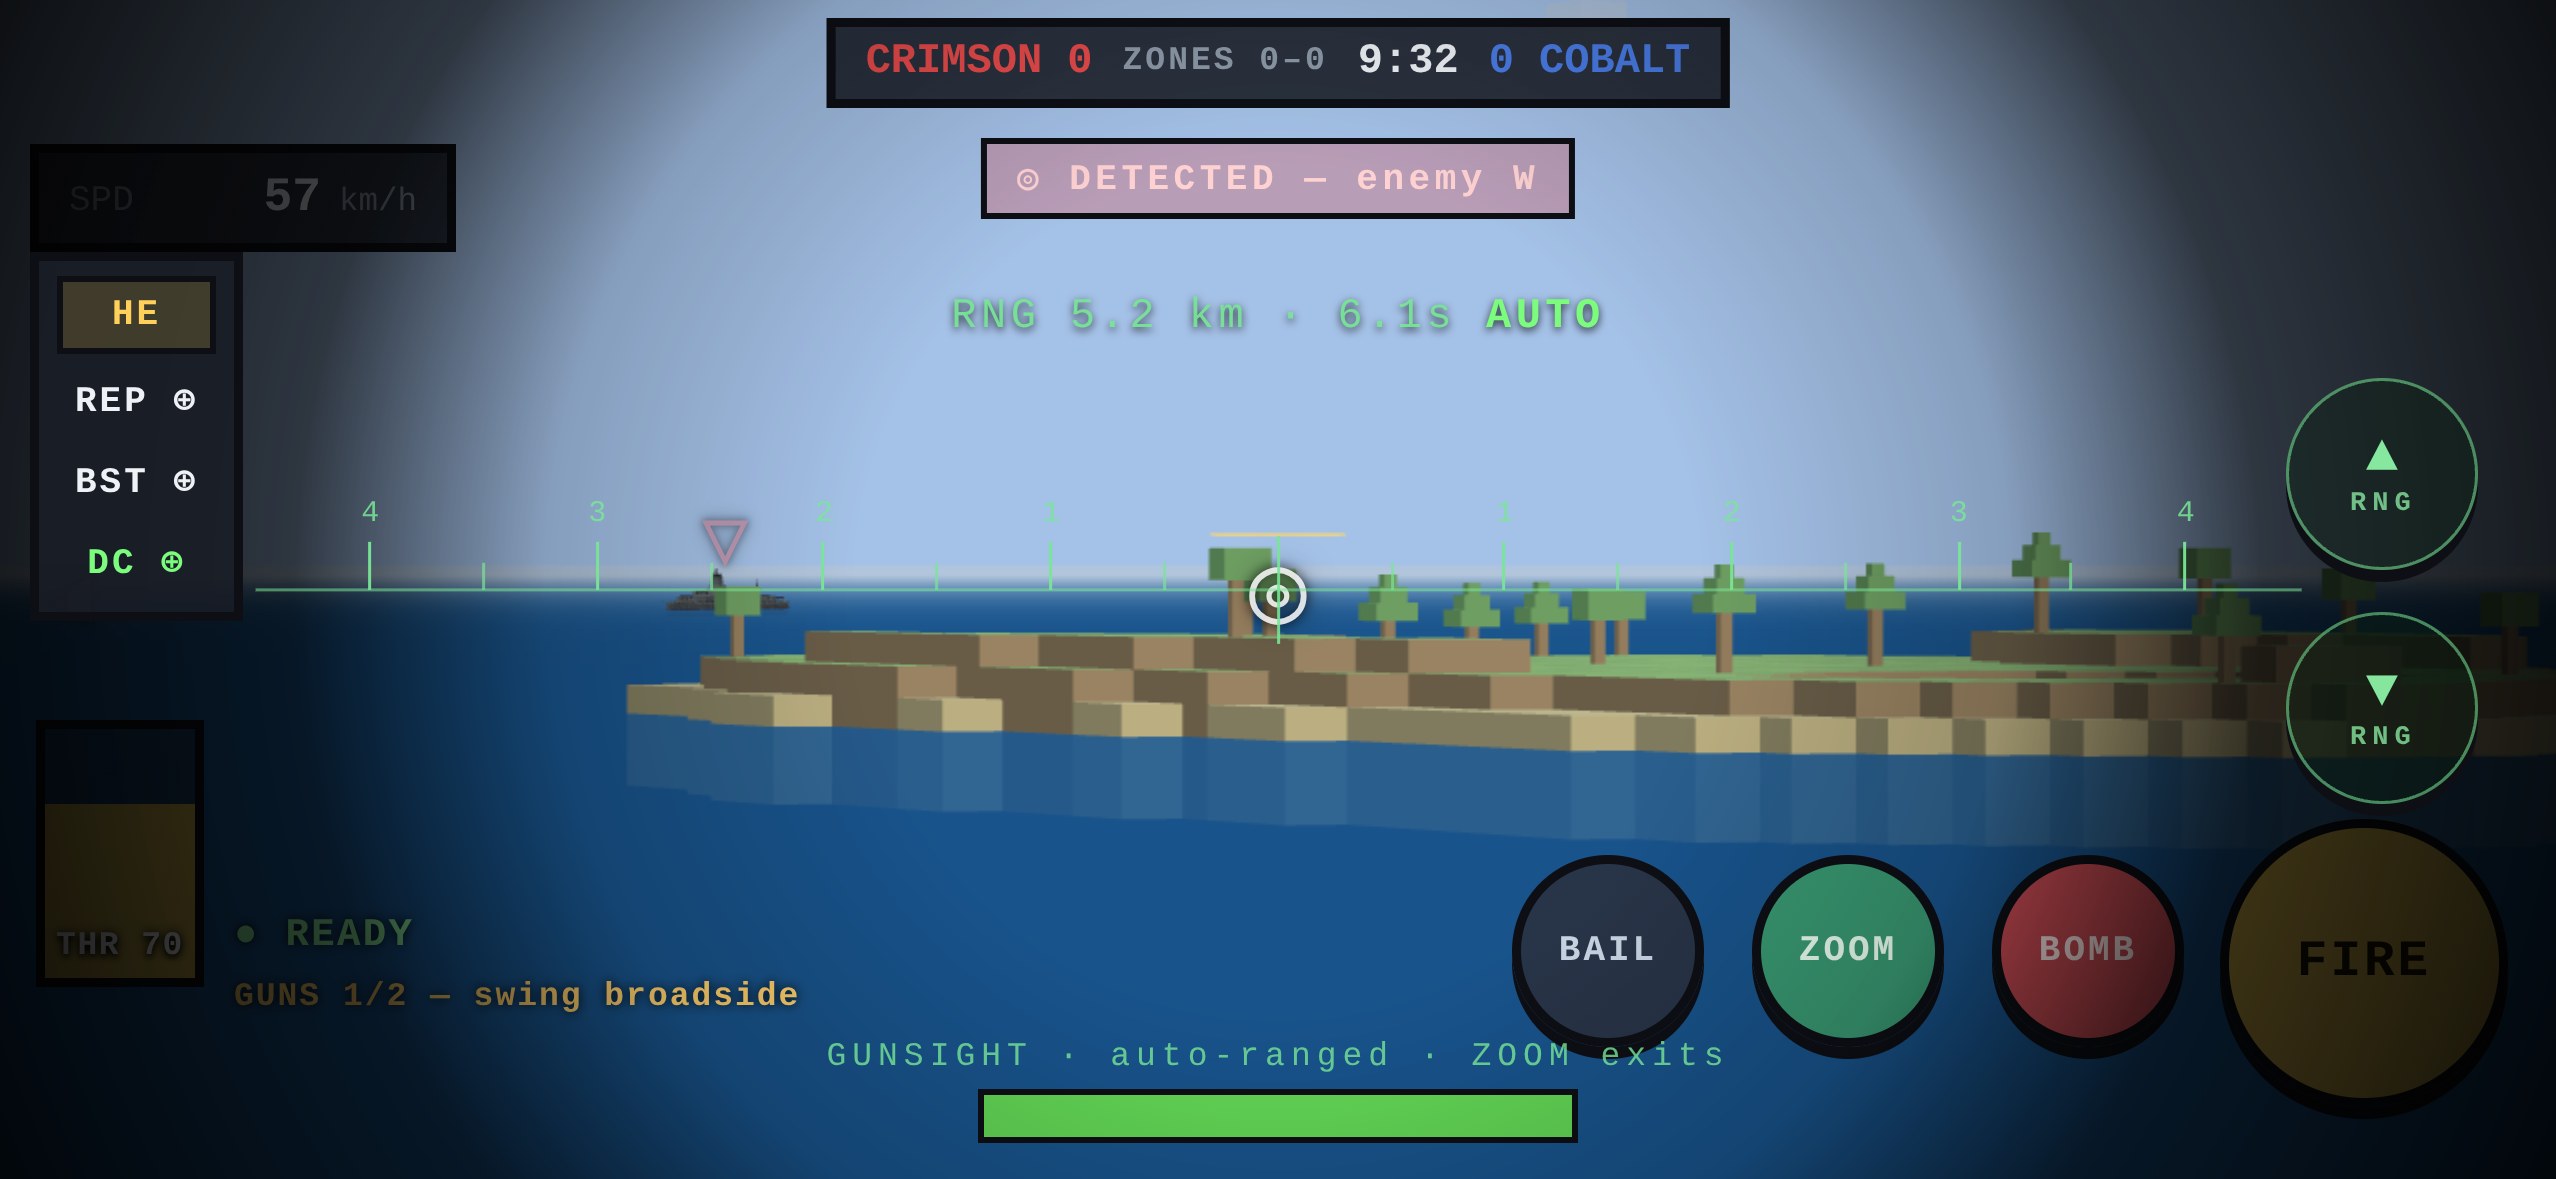
It all fits in two thumbs. On a phone the left thumb works the rudder and a drag on the right trains the guns, the sight stopping wherever your thumb stops. The naval HUD keeps the sea as glass: the conning chips stack in a slim column on the left rail between the speed readout and the engine telegraph, torpedo readiness rides the BOMB button itself, and the DETECTED banner, fleet orders and gunnery status each get their own lane instead of stacking on the horizon. Raise the gunsight and the range dial takes the top-right corner while the minimap steps aside — every control a labelled, thumb-sized target, and the whole battle band stays clear.
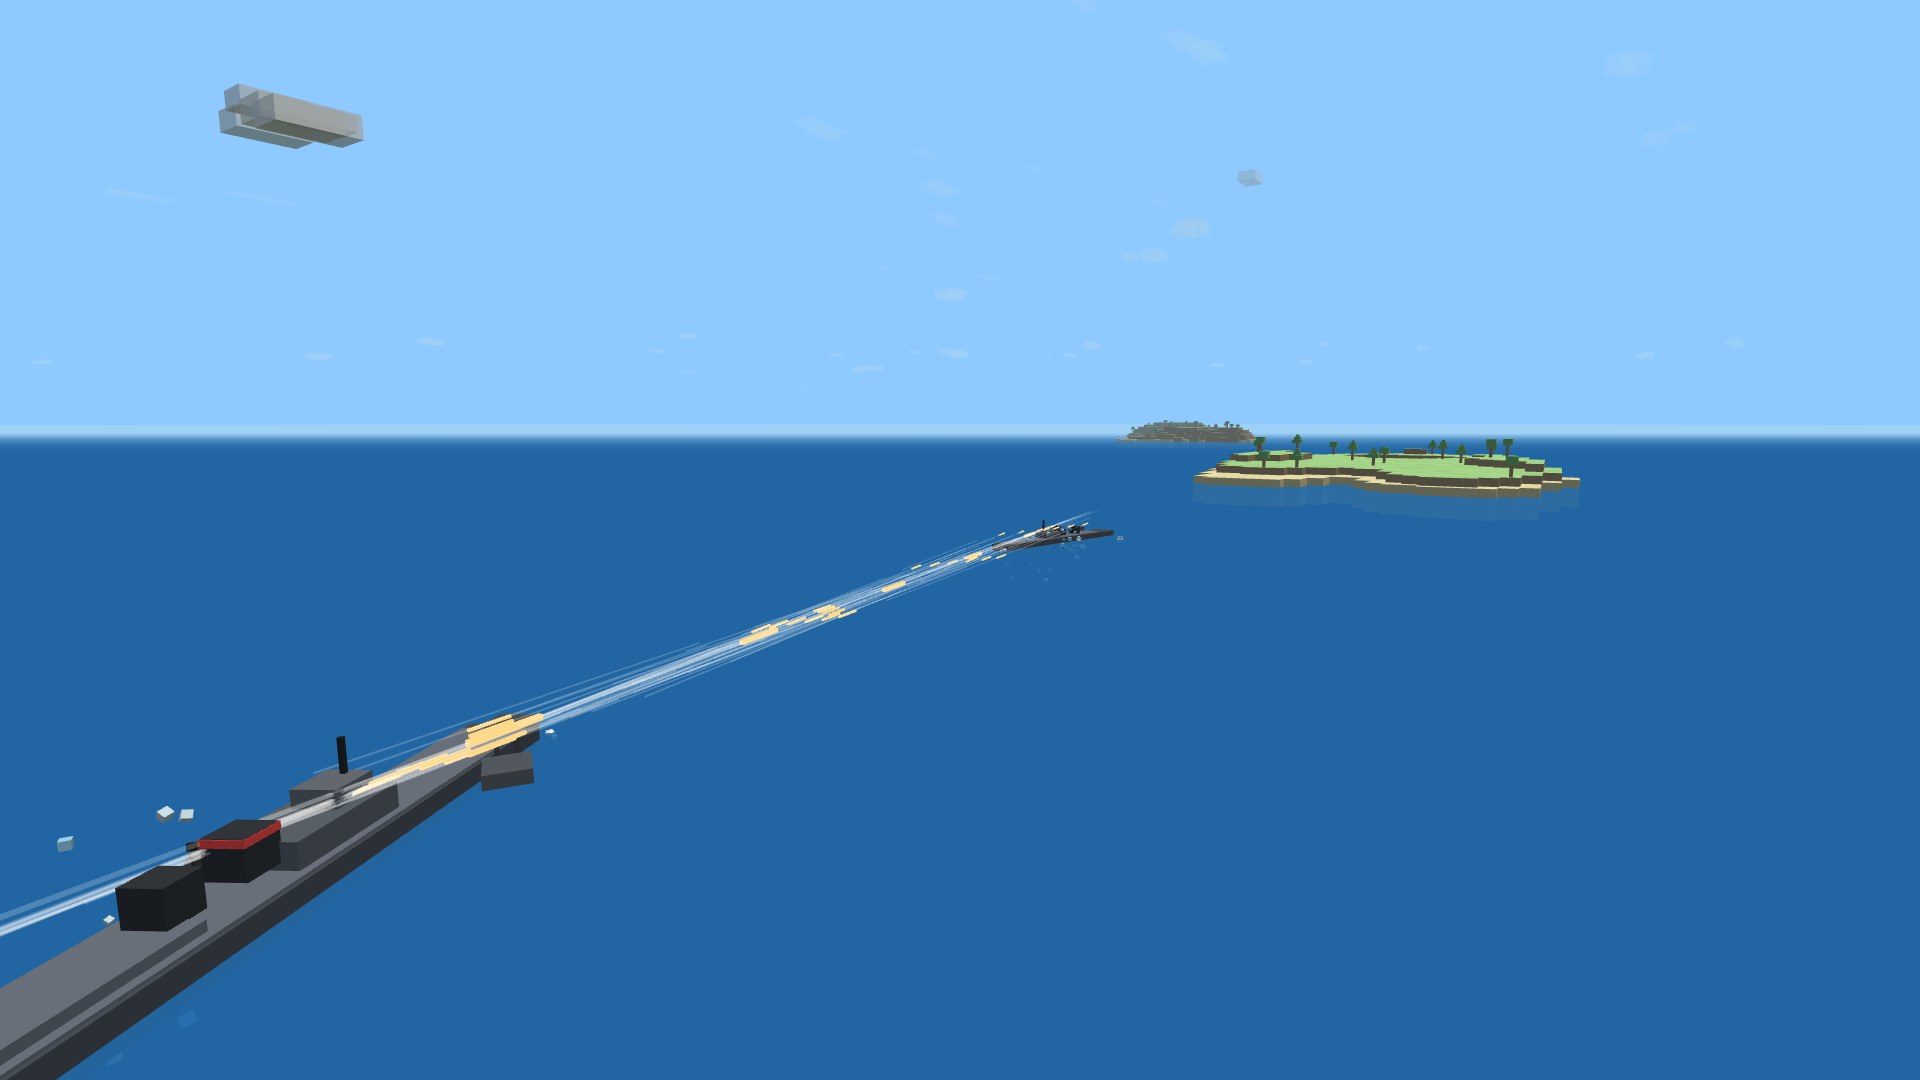
Not every gun is yours to aim. Around the main turrets, the crew works a secondary battery on its own — once an enemy ship closes inside range, it throws a hail of rapid-fire HE at it without you, each round with a chance to start a fire. It's shorter-ranged than the main guns, so it only speaks in a brawl: closing for the kill (or a torpedo run) means eating a stream of small shells the whole way in. Every hull also carries an anti-air battery — a twin flak mount that tracks and leads aircraft exactly like the airfield and battleship flak, standing ready for when the sea war gets planes of its own.
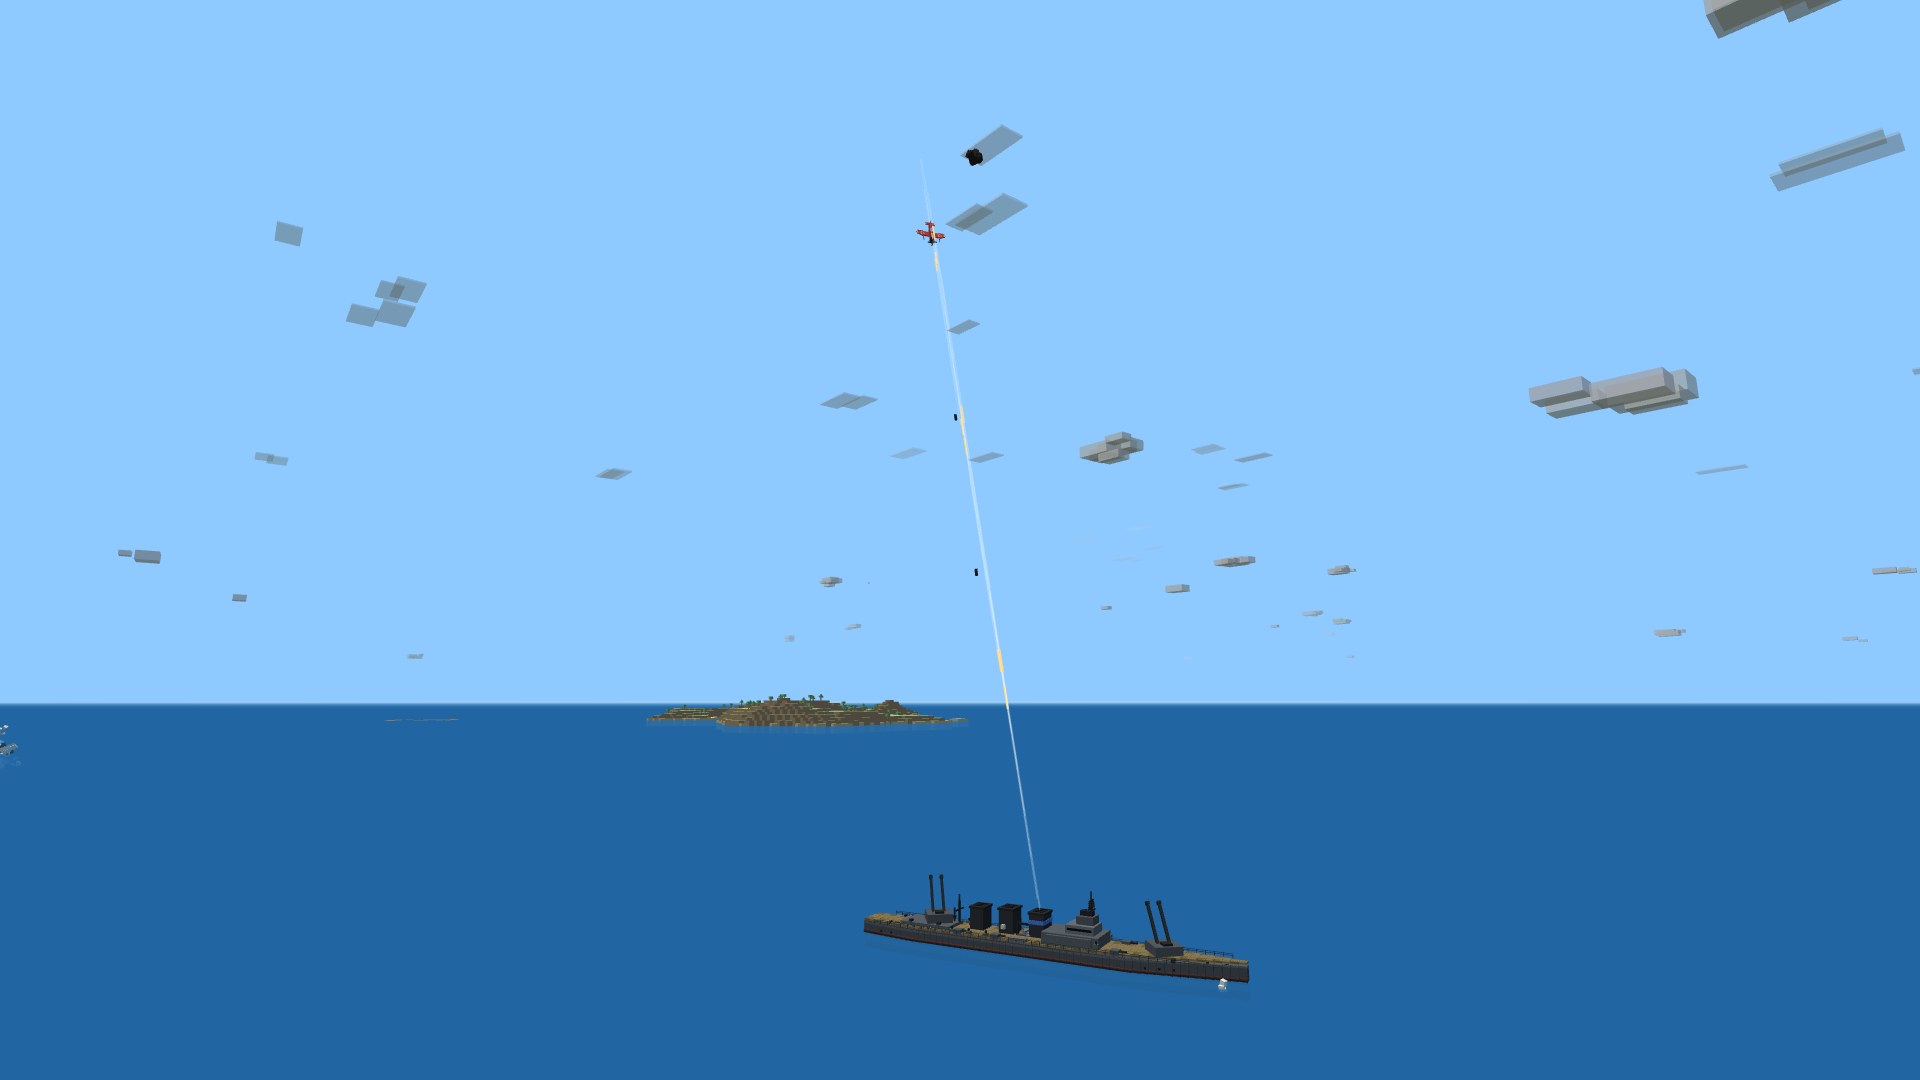
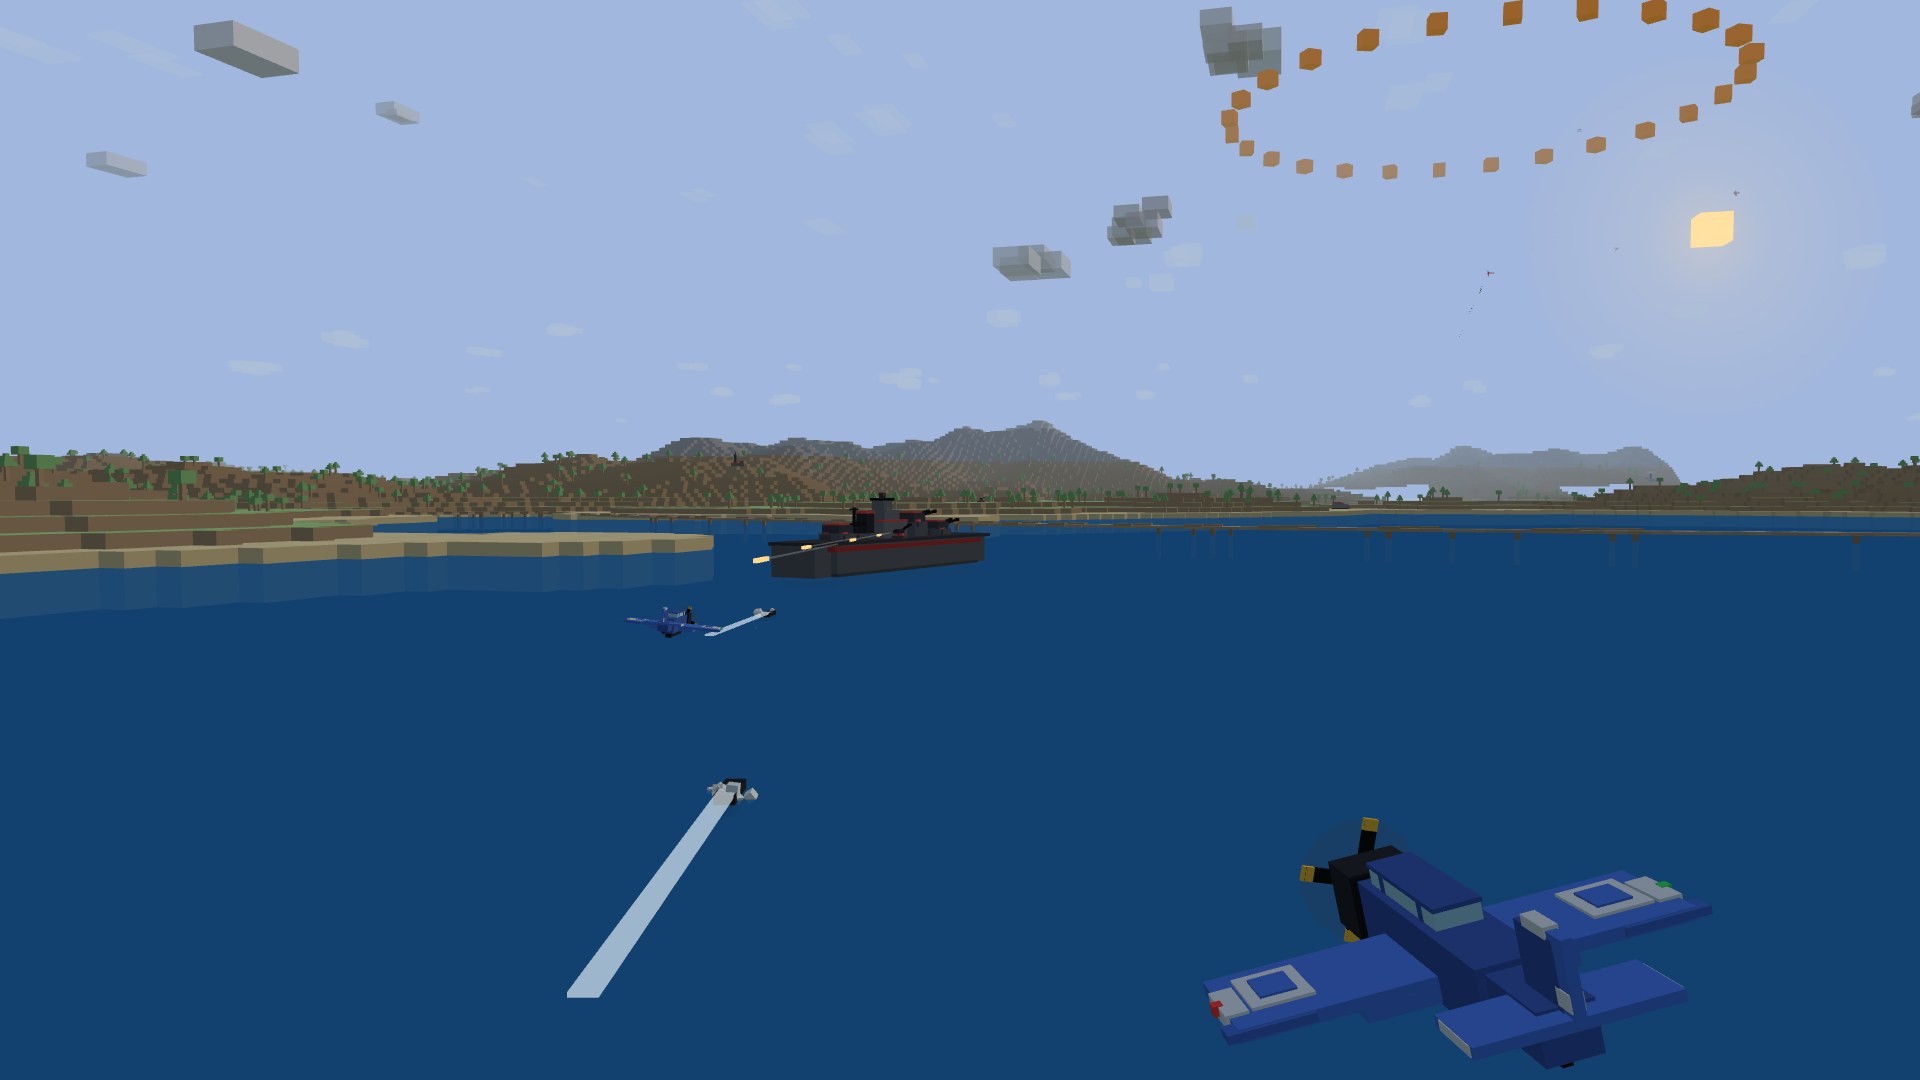
And the sea has a sky over it. Each side keeps a wing of AI carrier torpedo bombers aloft: they hunt the nearest enemy hull, run in at wavetop height, and drop a fish that floods the ship it hits — so the threat isn't only on the surface. The run-in takes them straight down the throat of the ships' anti-air flak, which tracks and leads them and throws up bursting fire to break the attack: the guns finally have their targets, and a careless bomber doesn't come home.
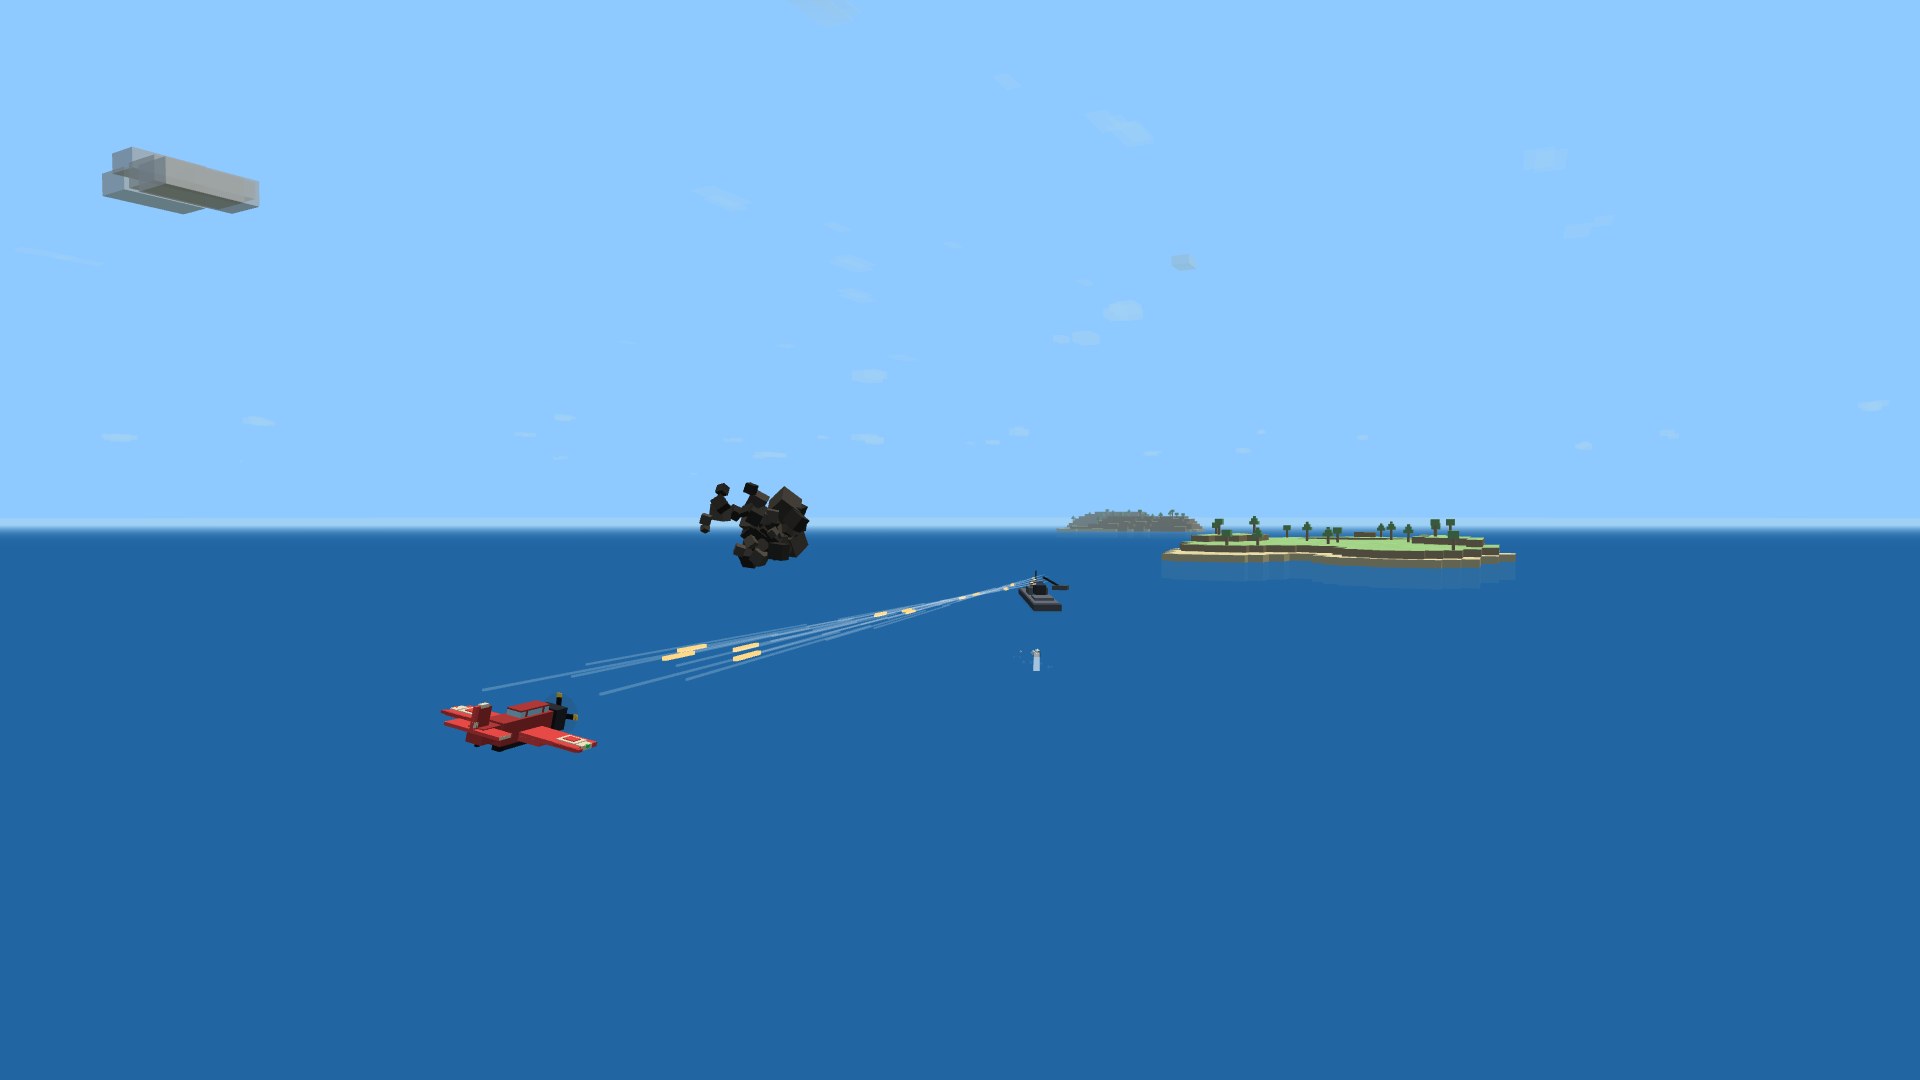
And the torpedo wing no longer works alone. Each side also flies dive bombers that attack from the other end of the sky: ride in high over a hull, chop the throttle and coast just past her stern, wing over inverted, pull through until the deck fills the sights, and plunge straight through the flak — then firewall the throttle and run out low on the water. The torpedoes stay the ship-killers: most sticks straddle, bursting in the water close aboard, and the clean deck hit is the jackpot, not the expectation. But a captain still has to split his flak between the wavetops and the sun.
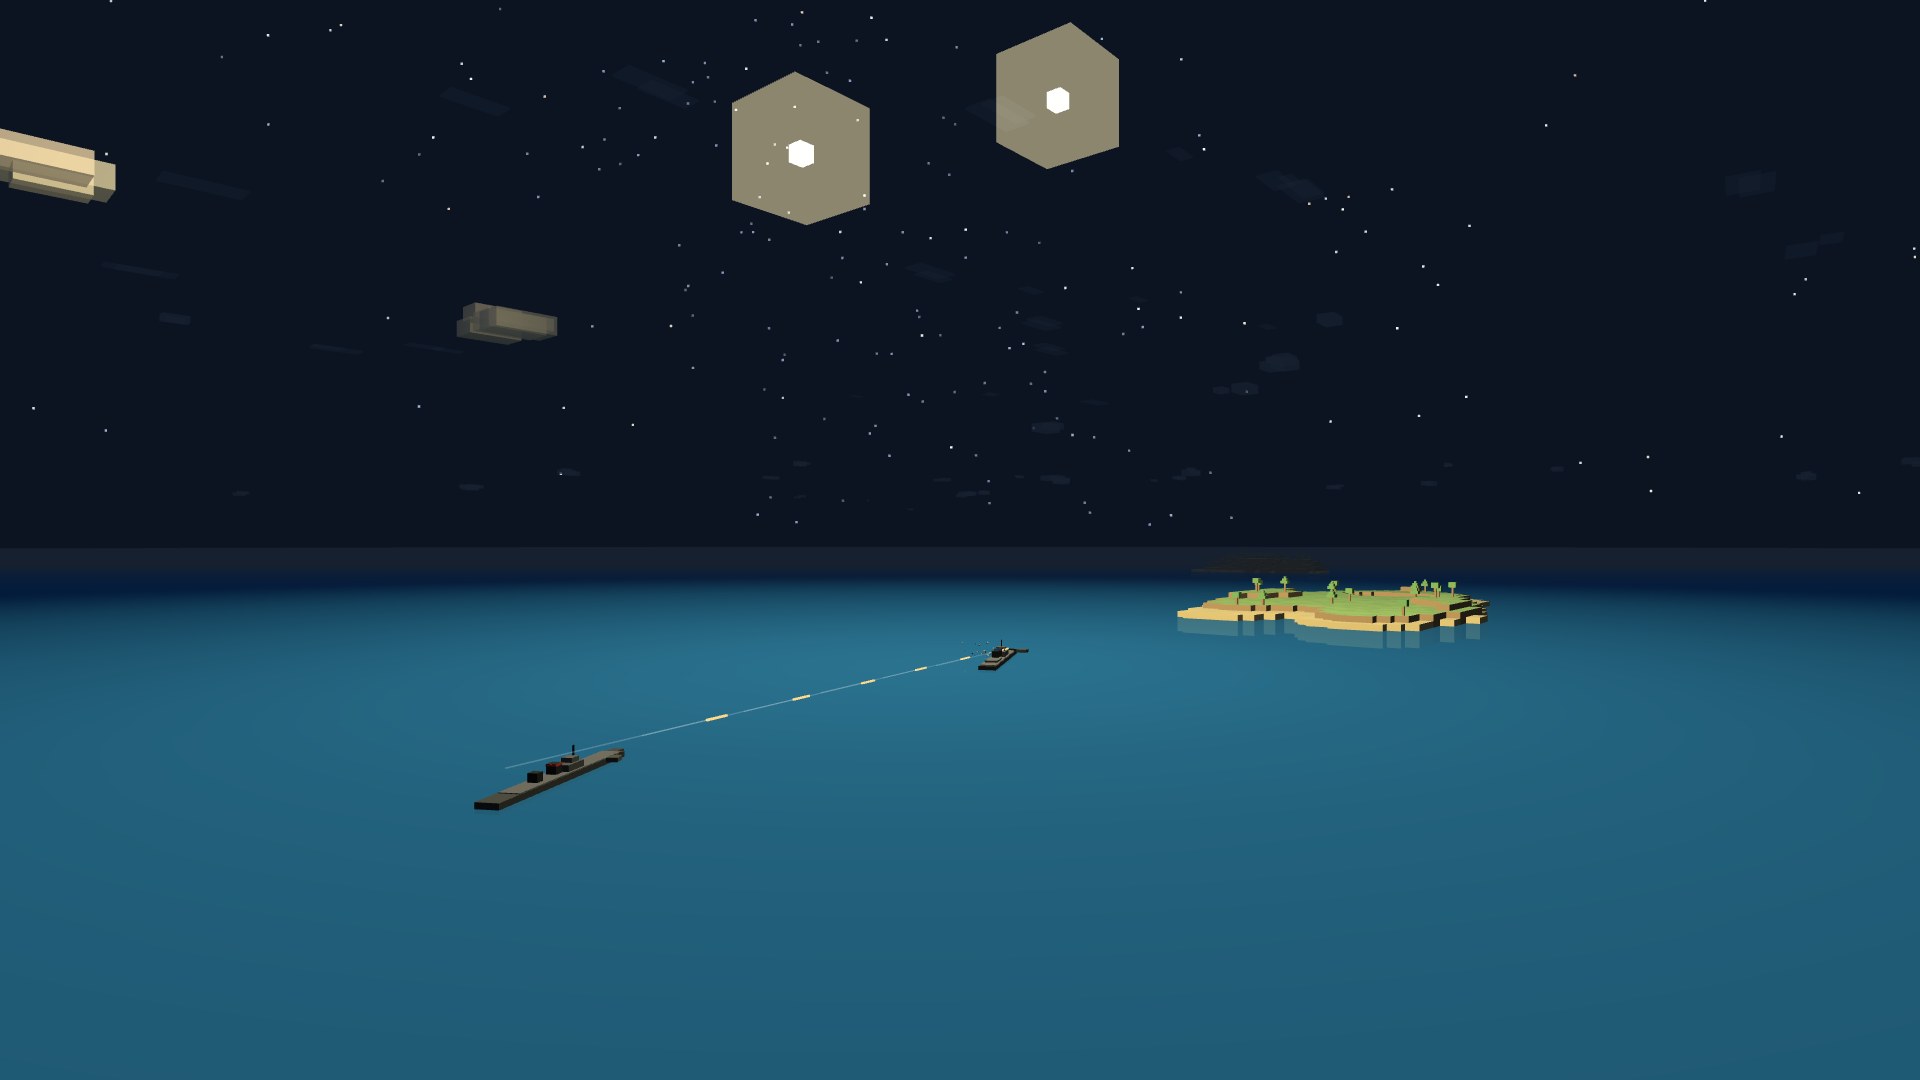
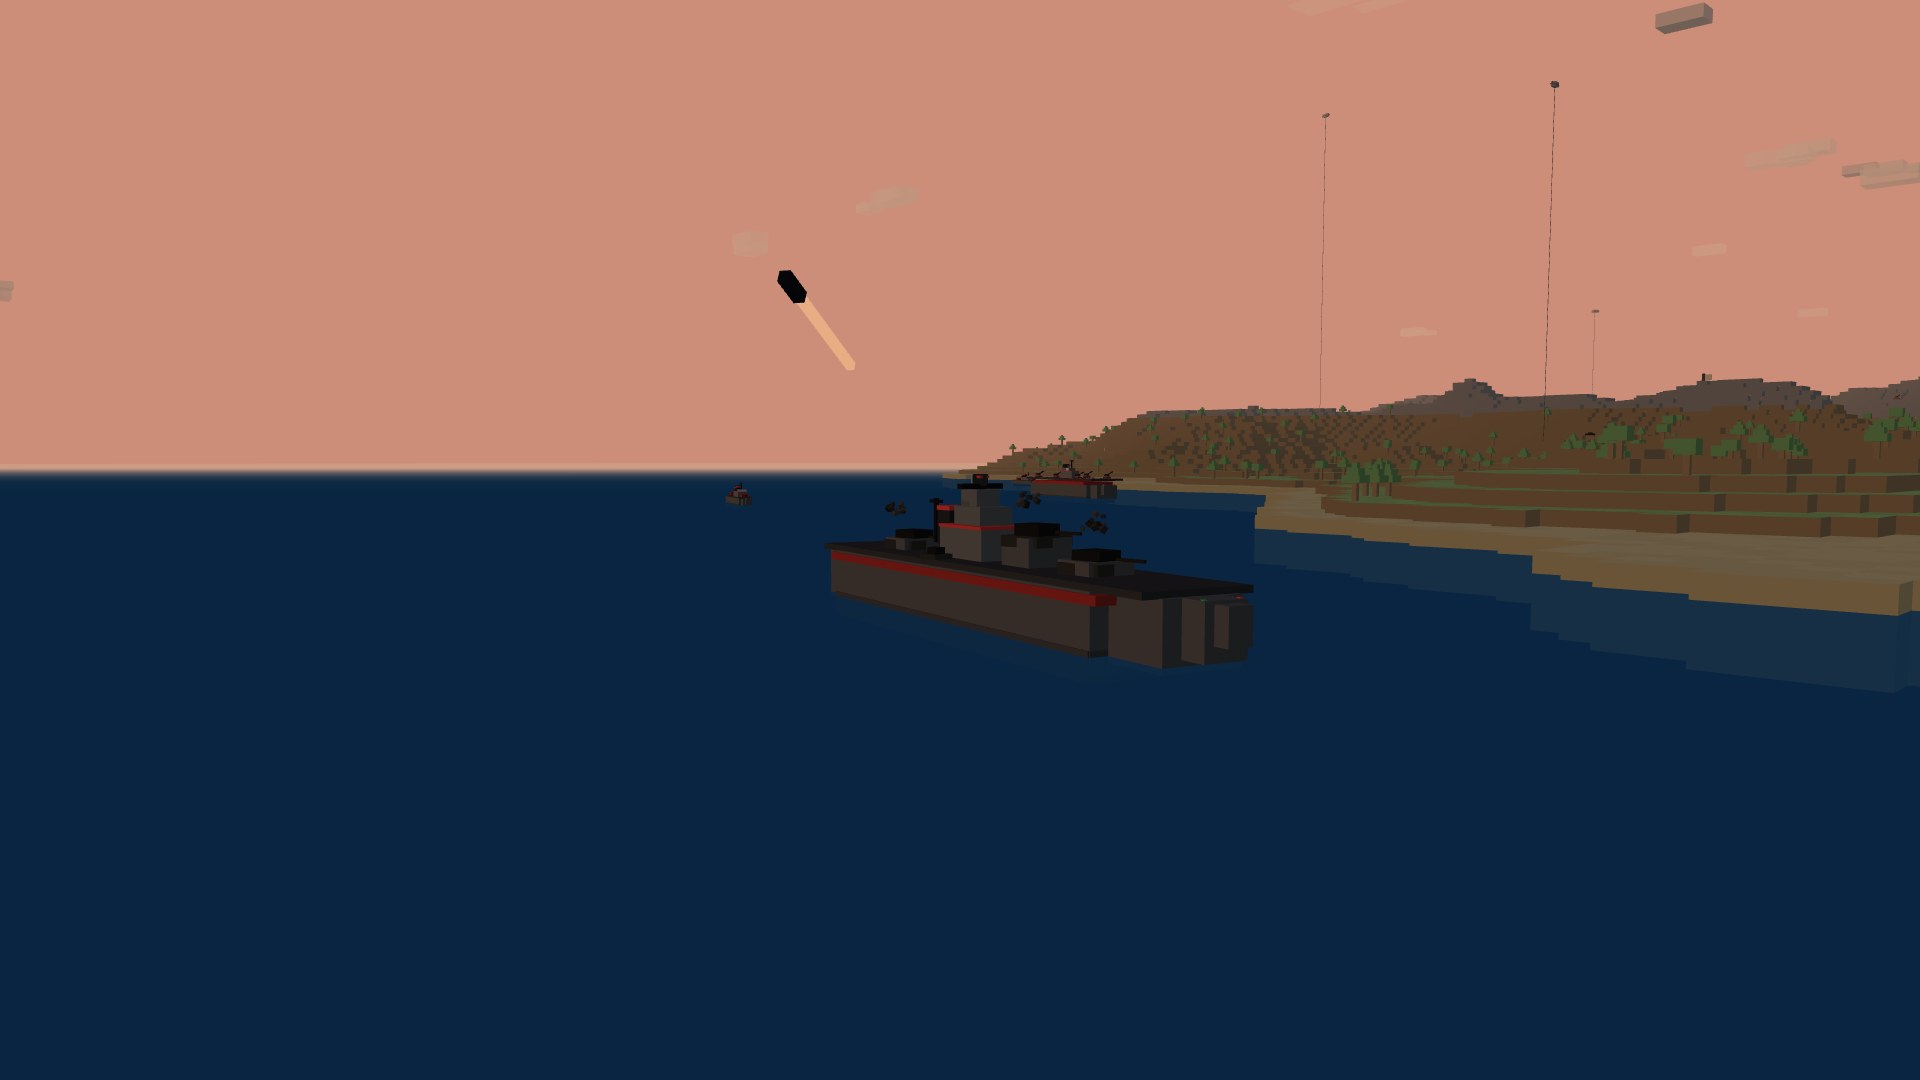
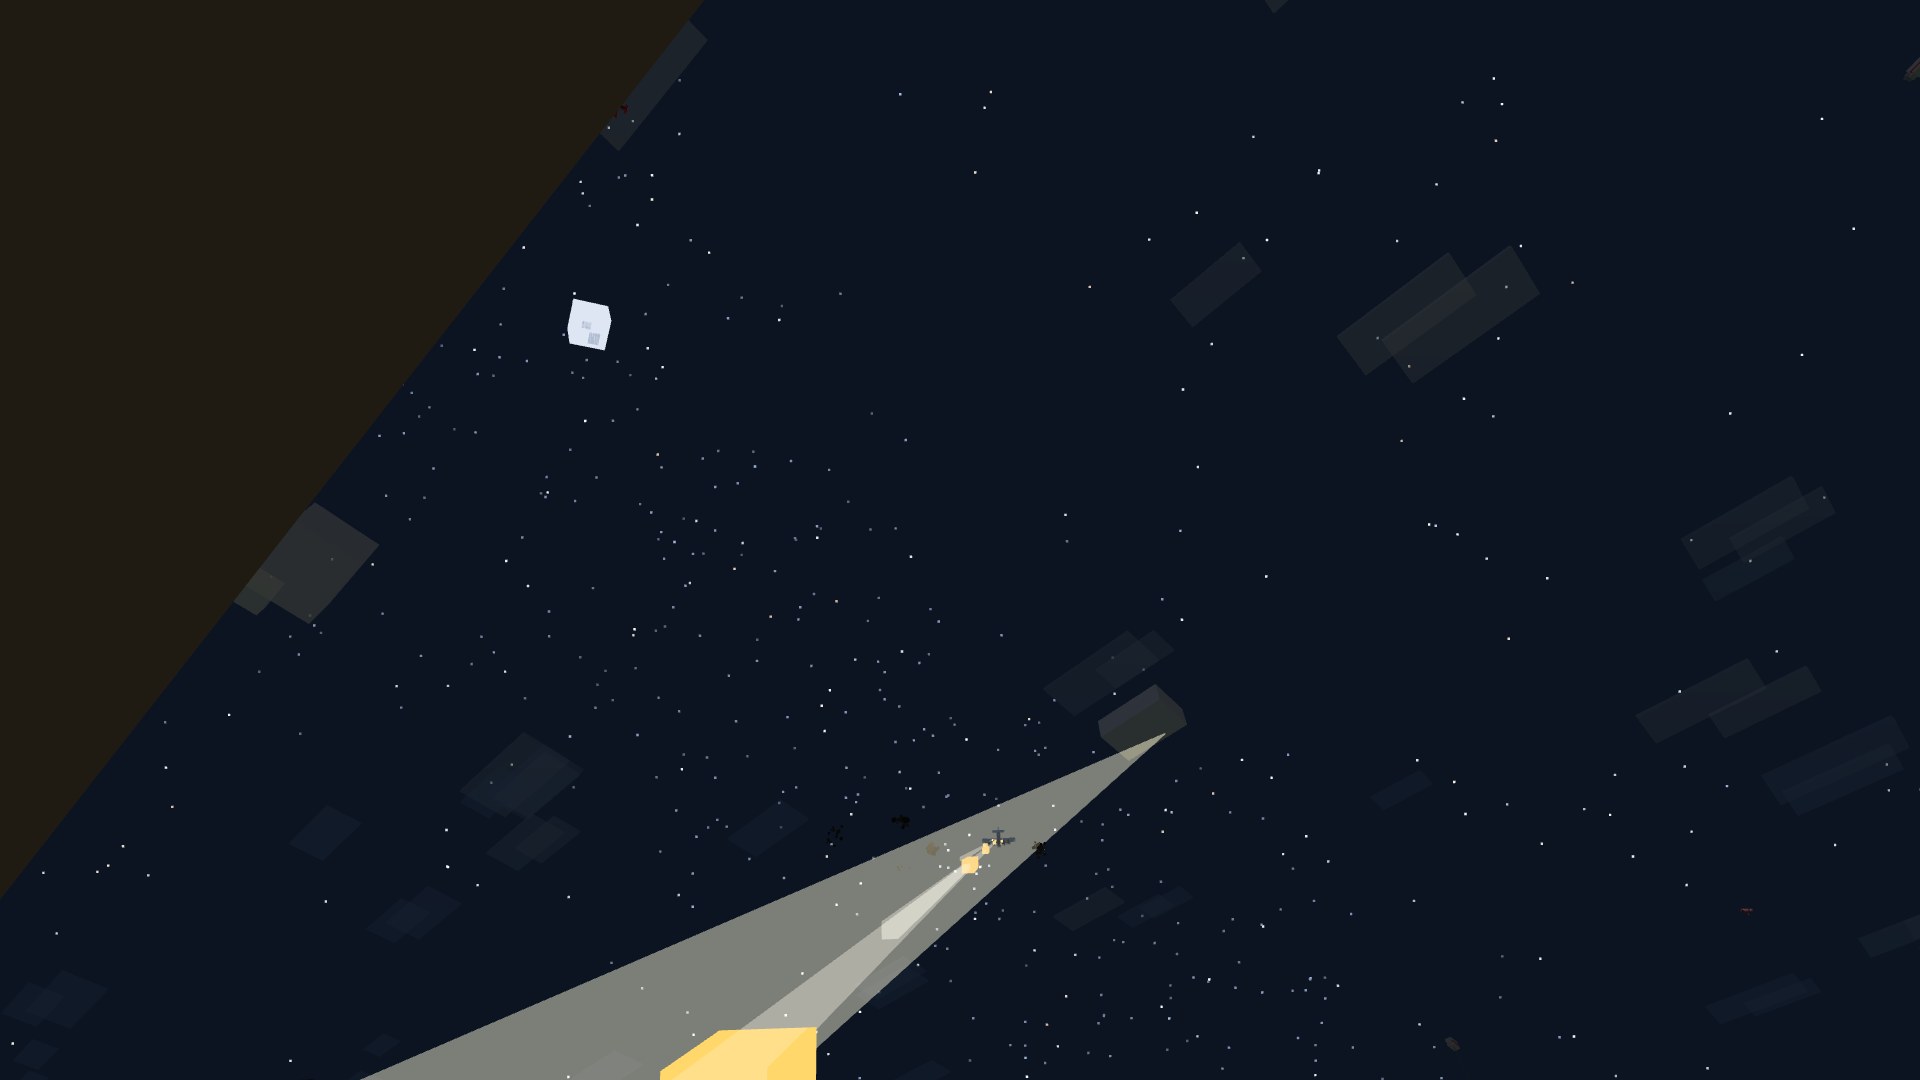
And the sea fights through the night. Battles run across kilometres, so when it's dark the warships loft star shells — illumination rounds that climb and burst into drifting flares, casting a pool of light over the water that lifts the enemy hulls out of the black. The AI fires them on its own once night falls, so the fight is always lit enough to lay your guns.
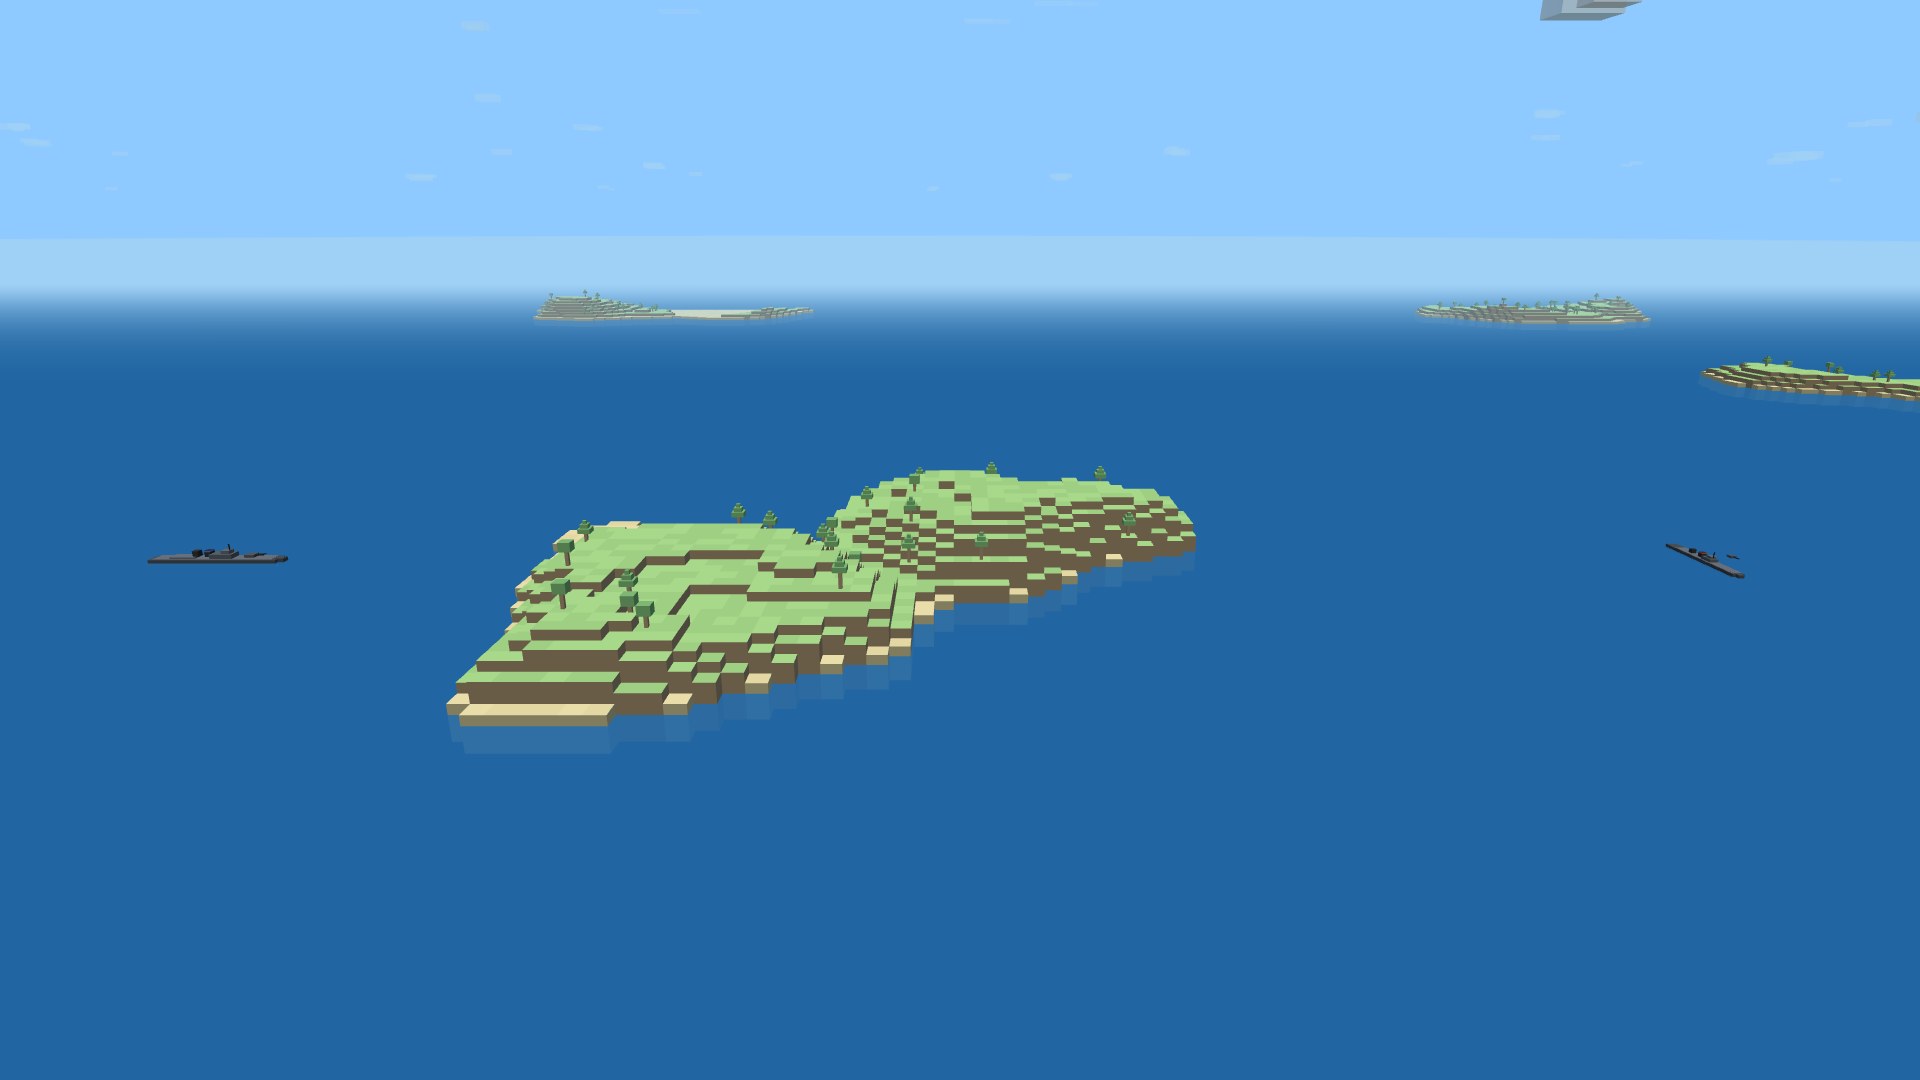
And the sea keeps secrets. A ship is hidden beyond its spotting range — a destroyer slips far closer than a cruiser before anyone sees it — until it opens fire (the muzzle bloom gives you away), a star shell lights it, or an enemy closes in. And the islands are cover now: terrain breaks the sightline, so a hull tucked behind an island is hidden from anyone on the far side — duck behind one to slip a lock or set an ambush. Caught in the open? Press C to lay a smoke screen and vanish into the bank, shooting from cover while spotters do the seeing. It's the game of ambush and nerve that makes a sea fight a sea fight.
Take to the sky
Your first sortie (new)
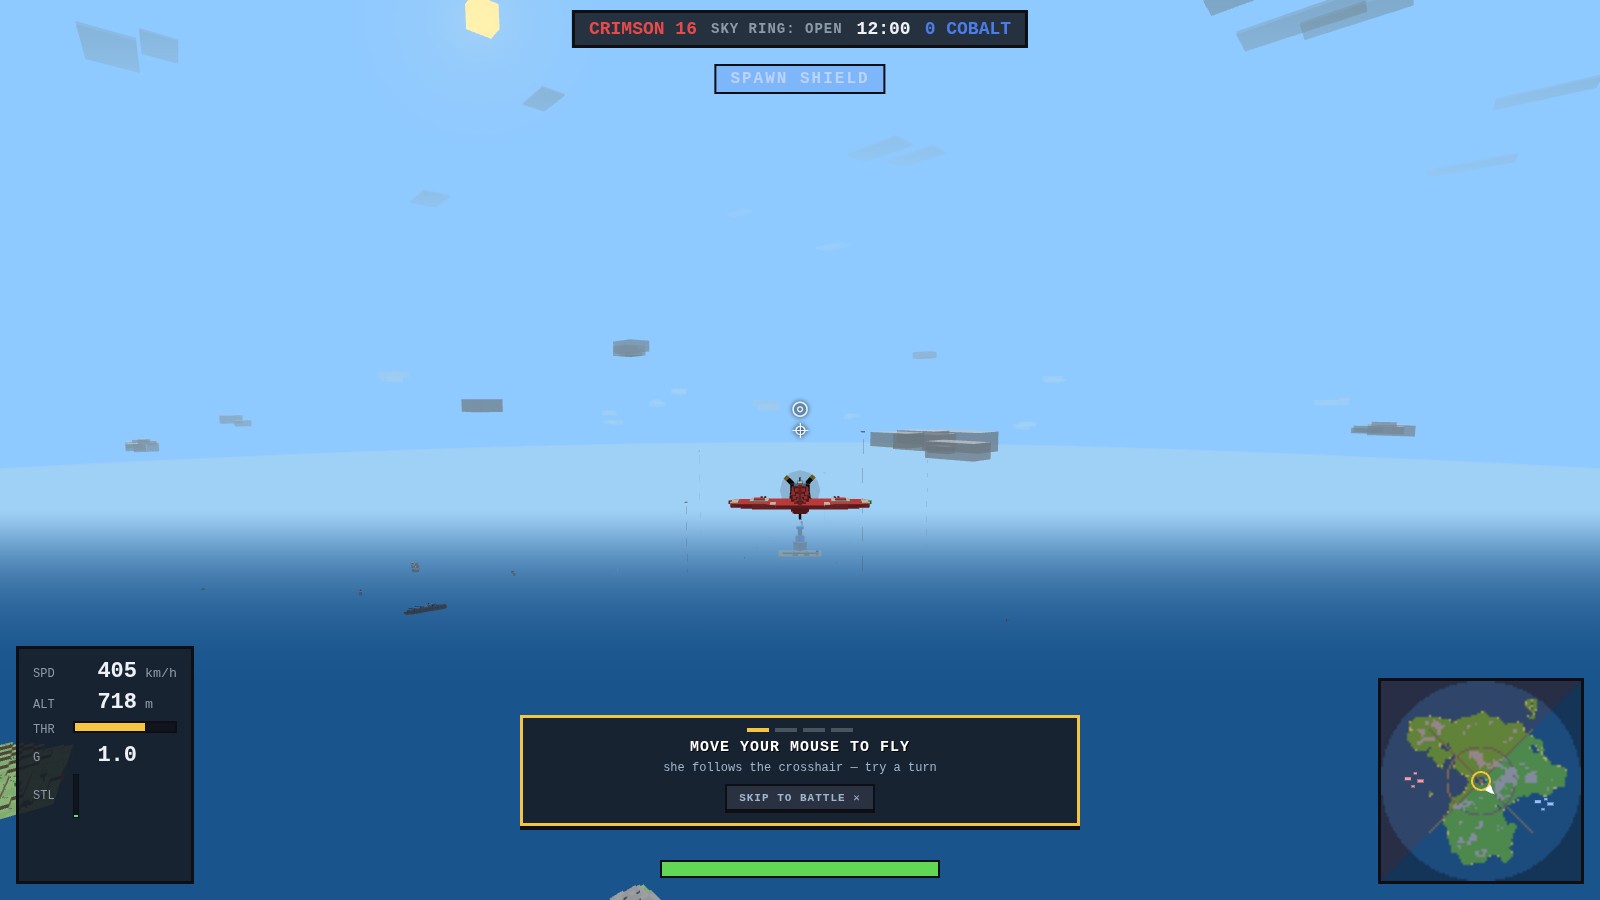
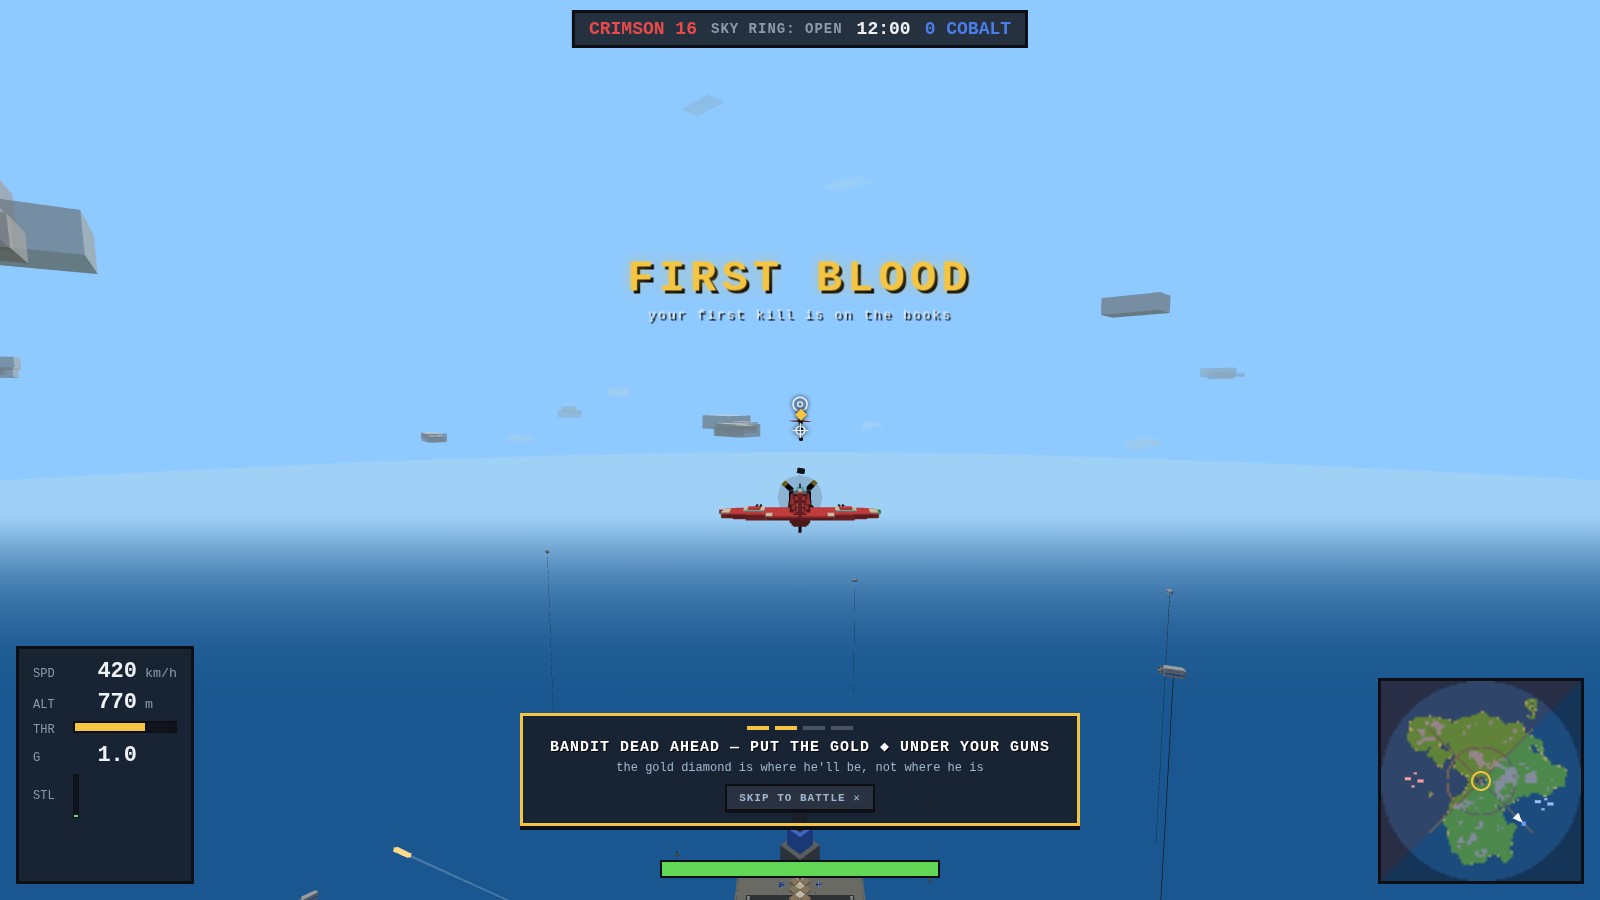
The very first time you press TAKE OFF you don't land in the furball. You land in a quiet piece of sky over the Brick Sea — already airborne, already level, already pointed at the fight — with one instruction at a time along the bottom of the screen. Move the mouse. That's the whole first lesson, and it waits until you actually fly rather than until a timer runs out.
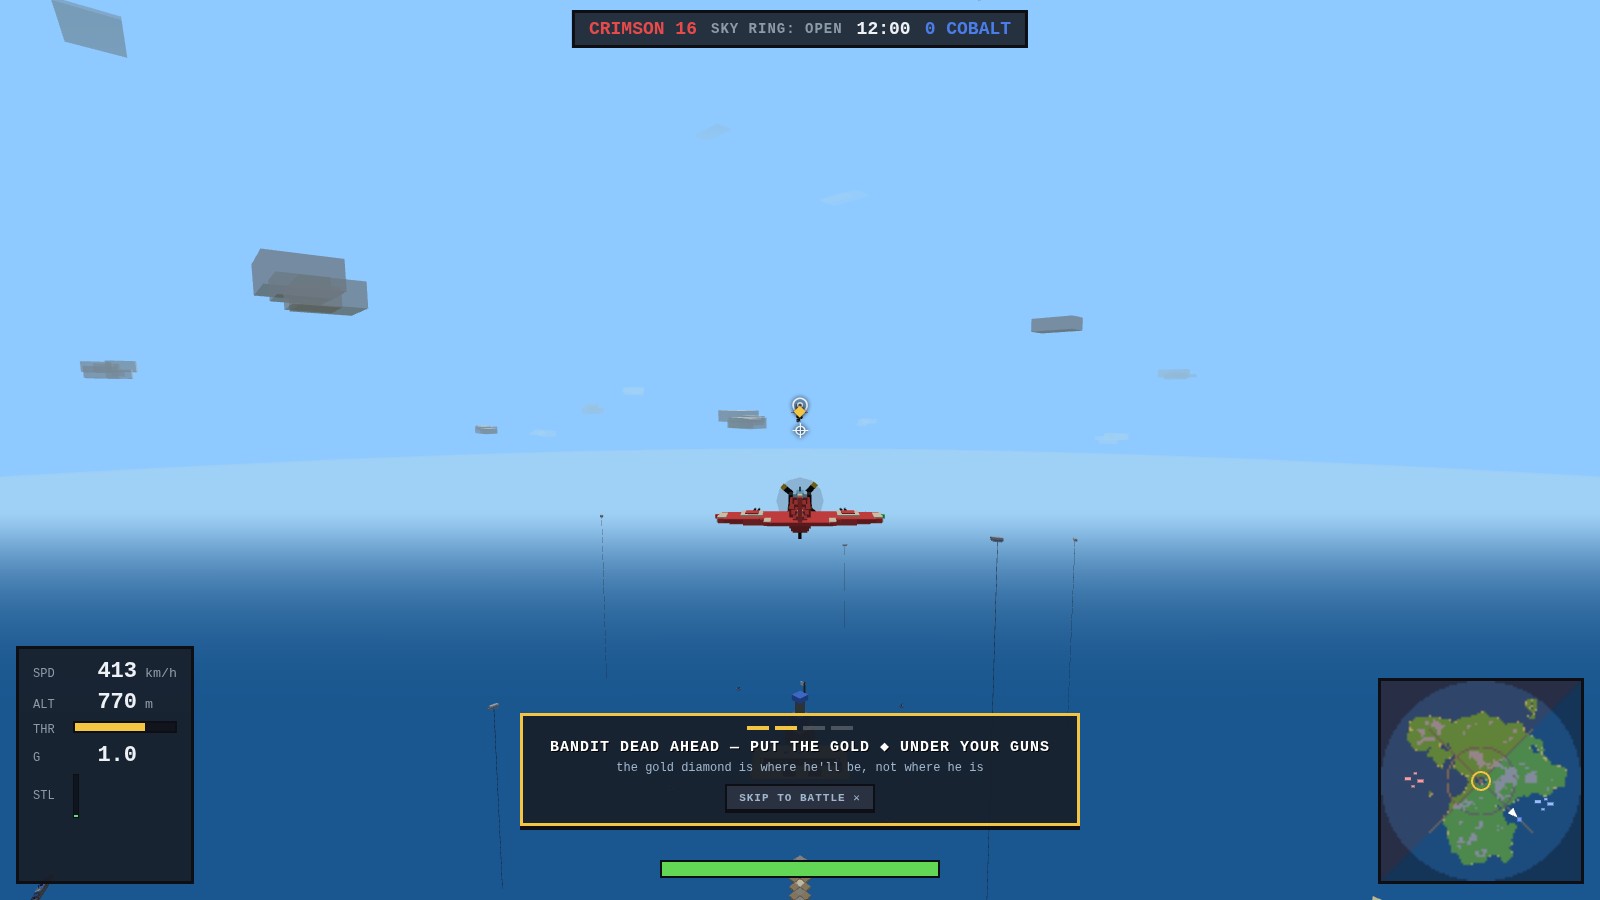
Then a bandit shows up. He's called something like Wobbles McGee, he's six hundred metres dead ahead flying flat and slow, and his airframe is tissue paper. Put your crosshair on the gold lead diamond, hold the trigger, and one burst puts him down: FIRST BLOOD. It counts — that kill lands on your real career and unlocks the First Blood paint scheme on the spot. A second bandit follows, and this one runs, jinks and turns, so the lead pip has something to teach.
And the ground forgives you. Everybody flies into a hill on their first flight; in here the hill puts you back in the air, level, with a warning that tells you the recovery rather than just the problem. Nothing shoots you down either — the tracers still crack past, because that's worth learning, but nobody's first ninety seconds should be spent on a respawn card. Down the second bandit and the sky simply becomes the real one: no menu, no loading screen, no going back to the hangar. Thirty-odd pilots, both teams, the Sky Ring turning over the island — and you arrive with a kill already on the books. SKIP TO BATTLE sits under the coach line the whole time for anyone who wants the deep end, and the first sortie only ever happens once.
Pick your ride
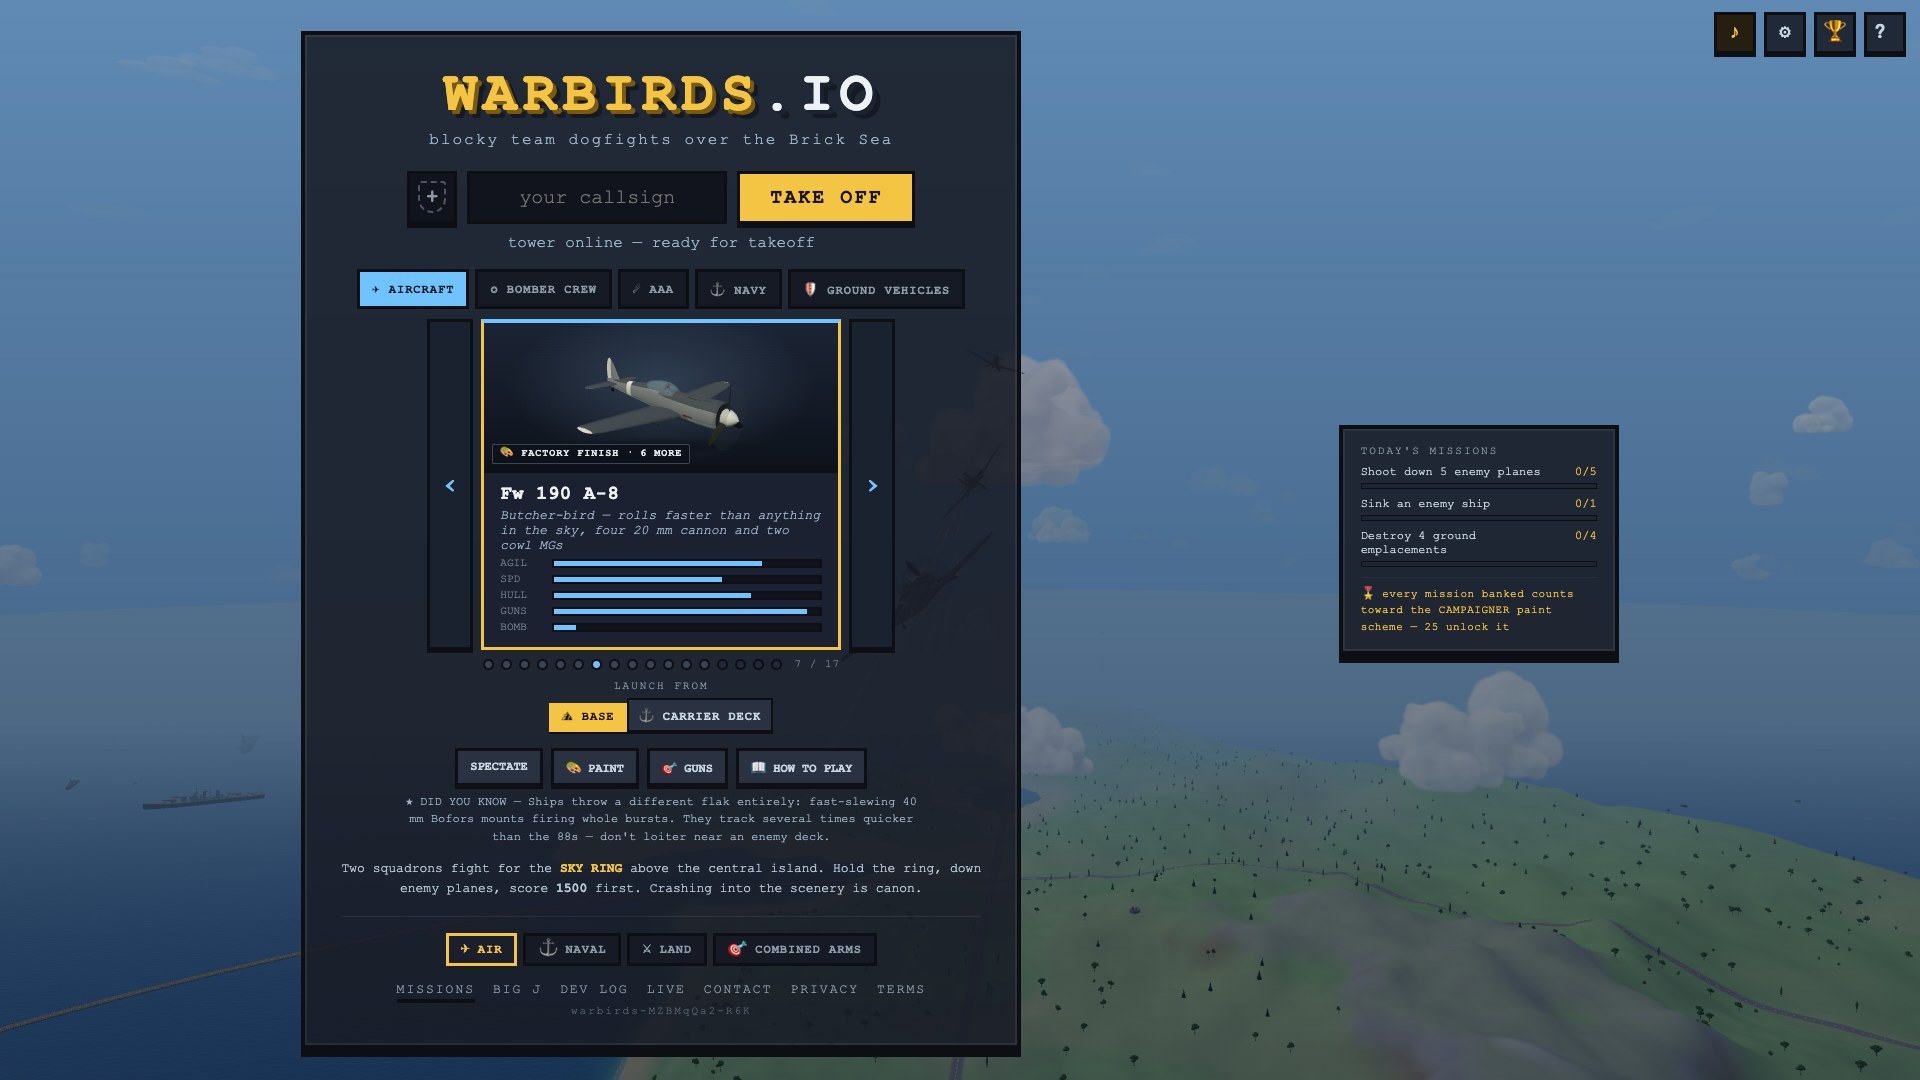
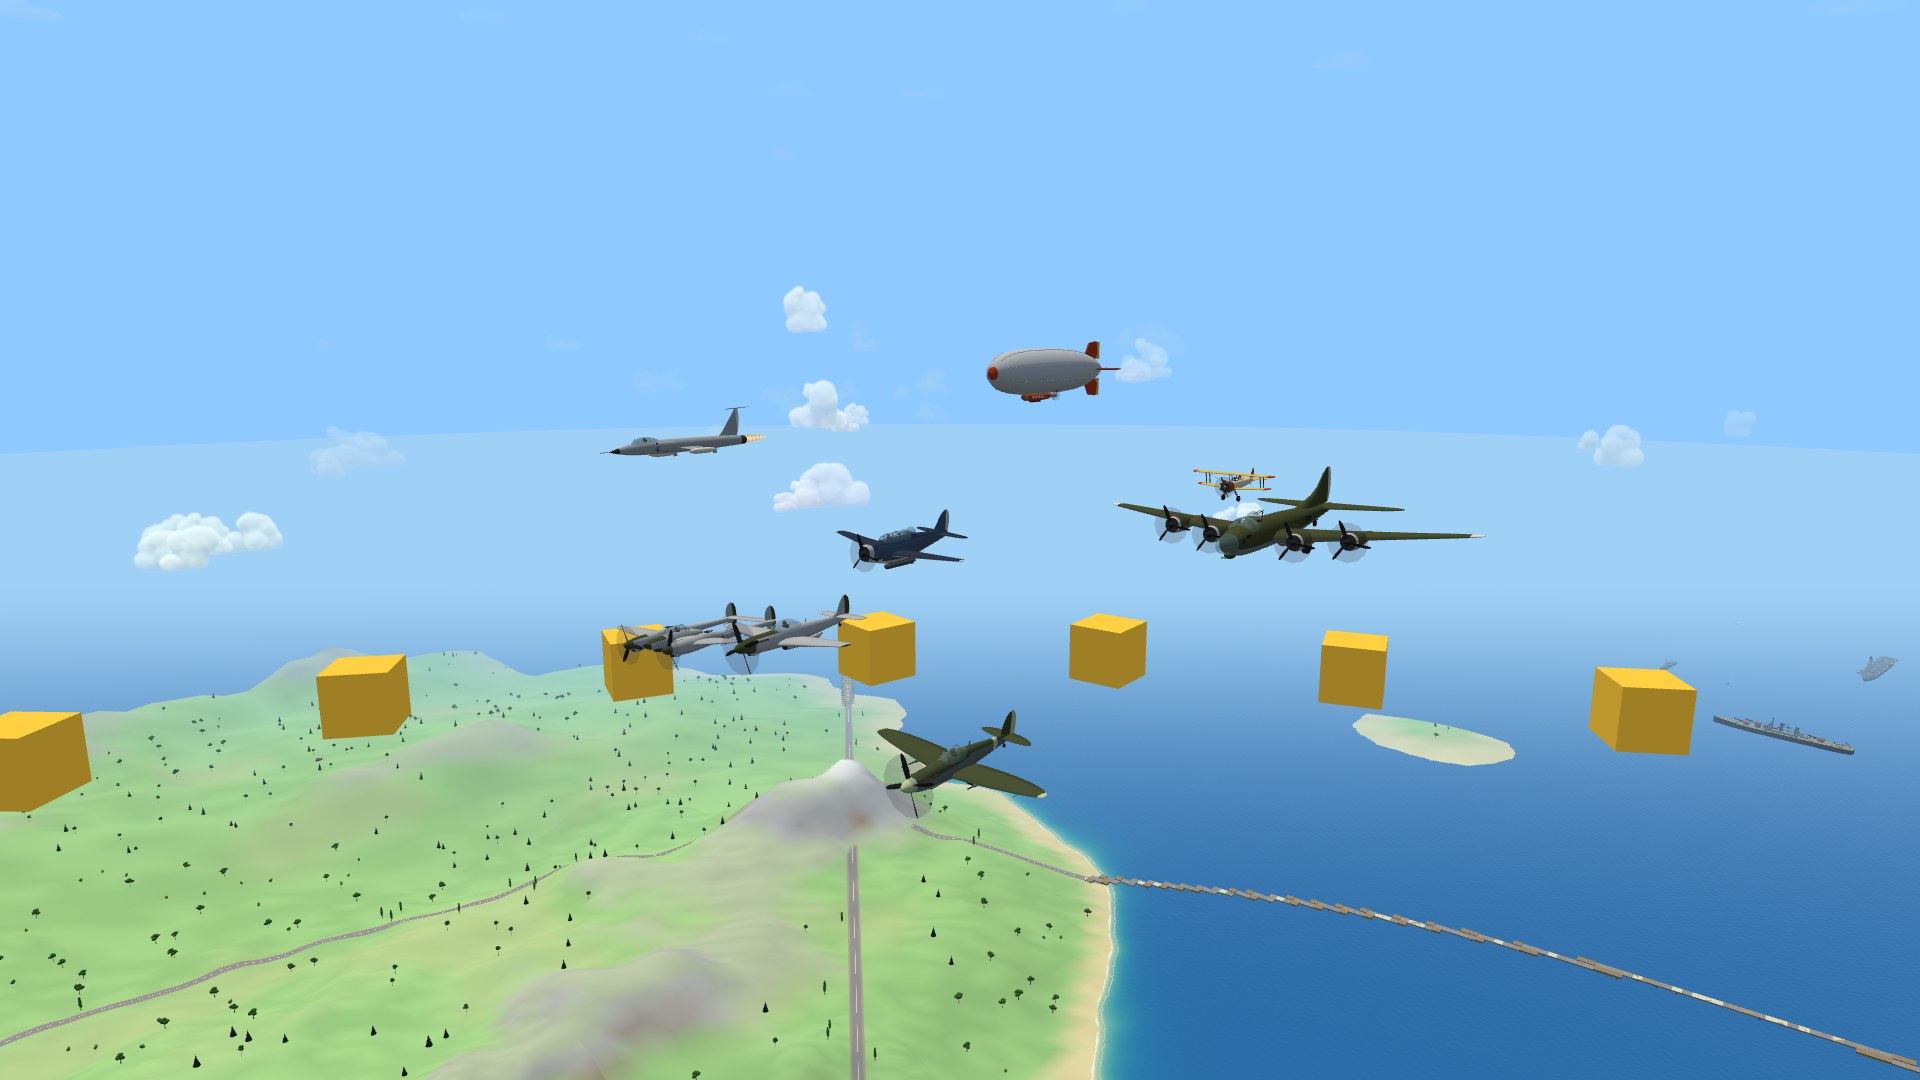
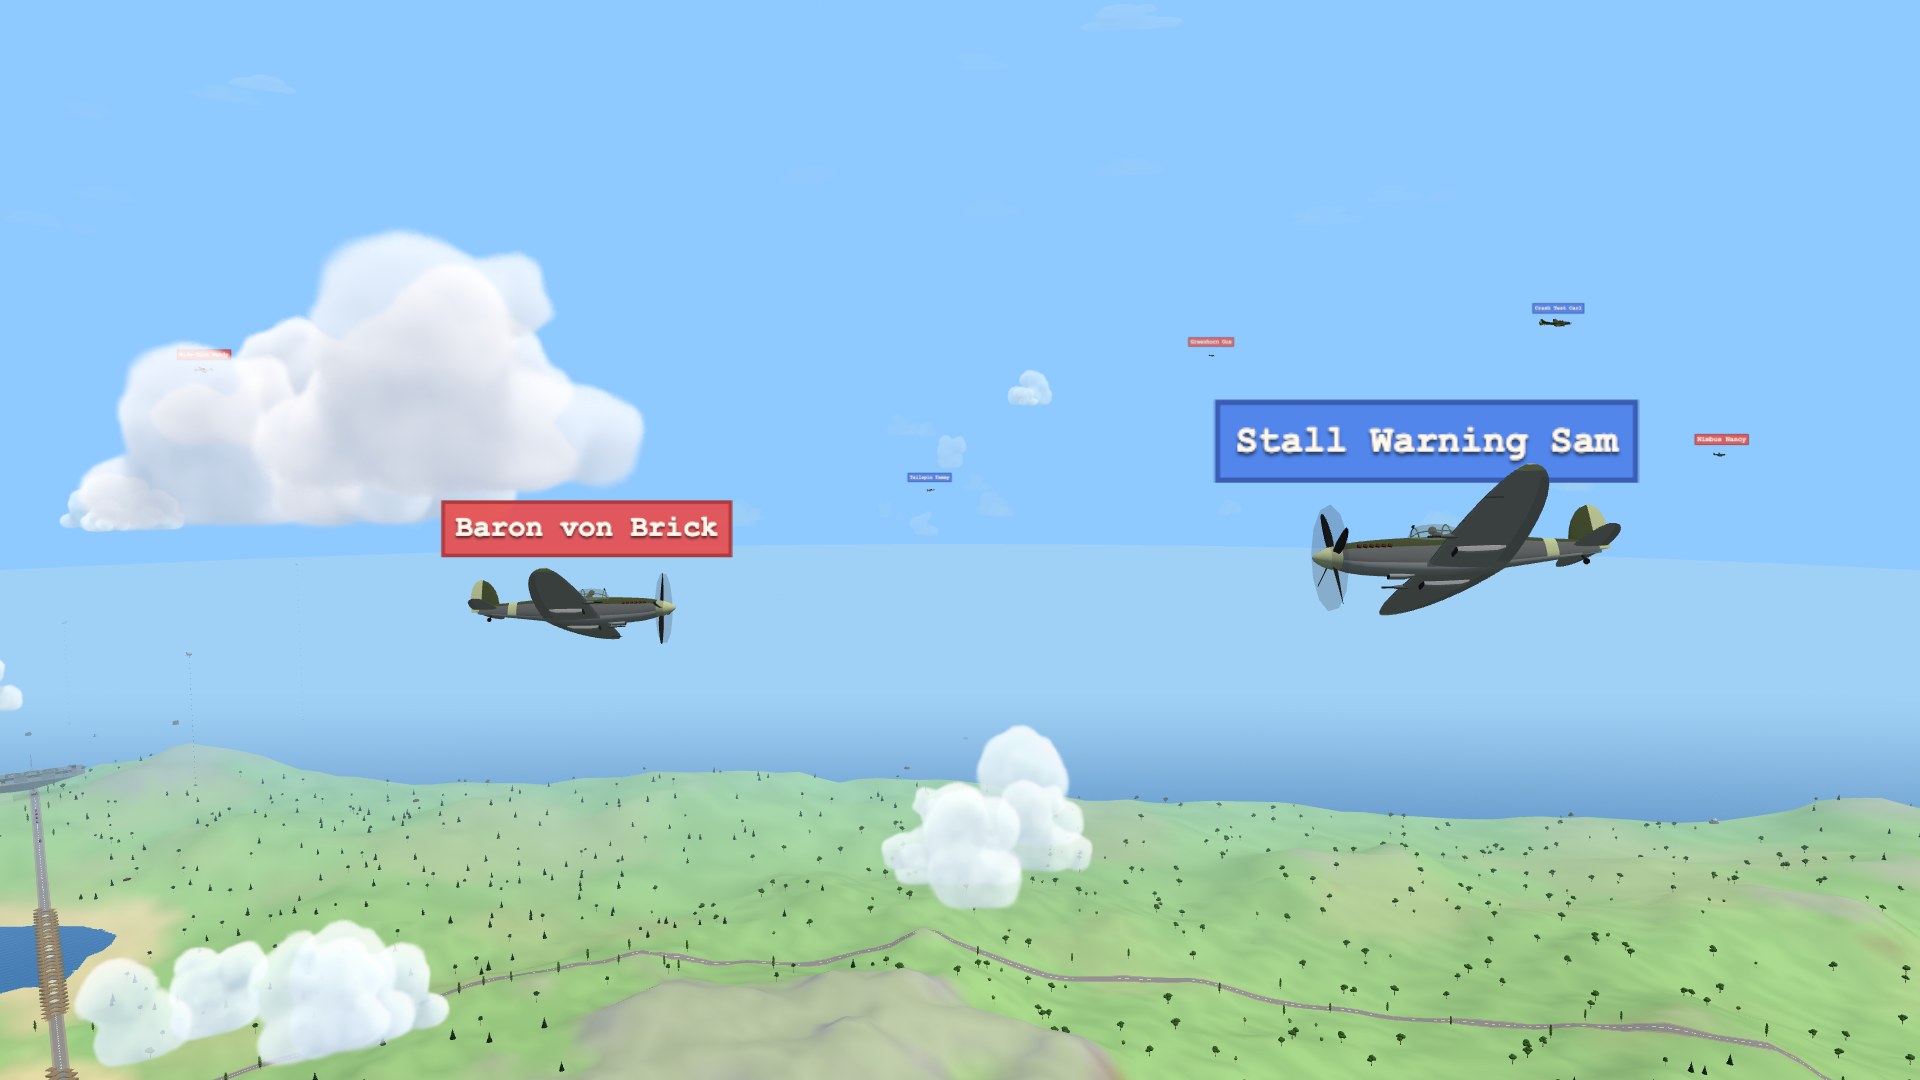
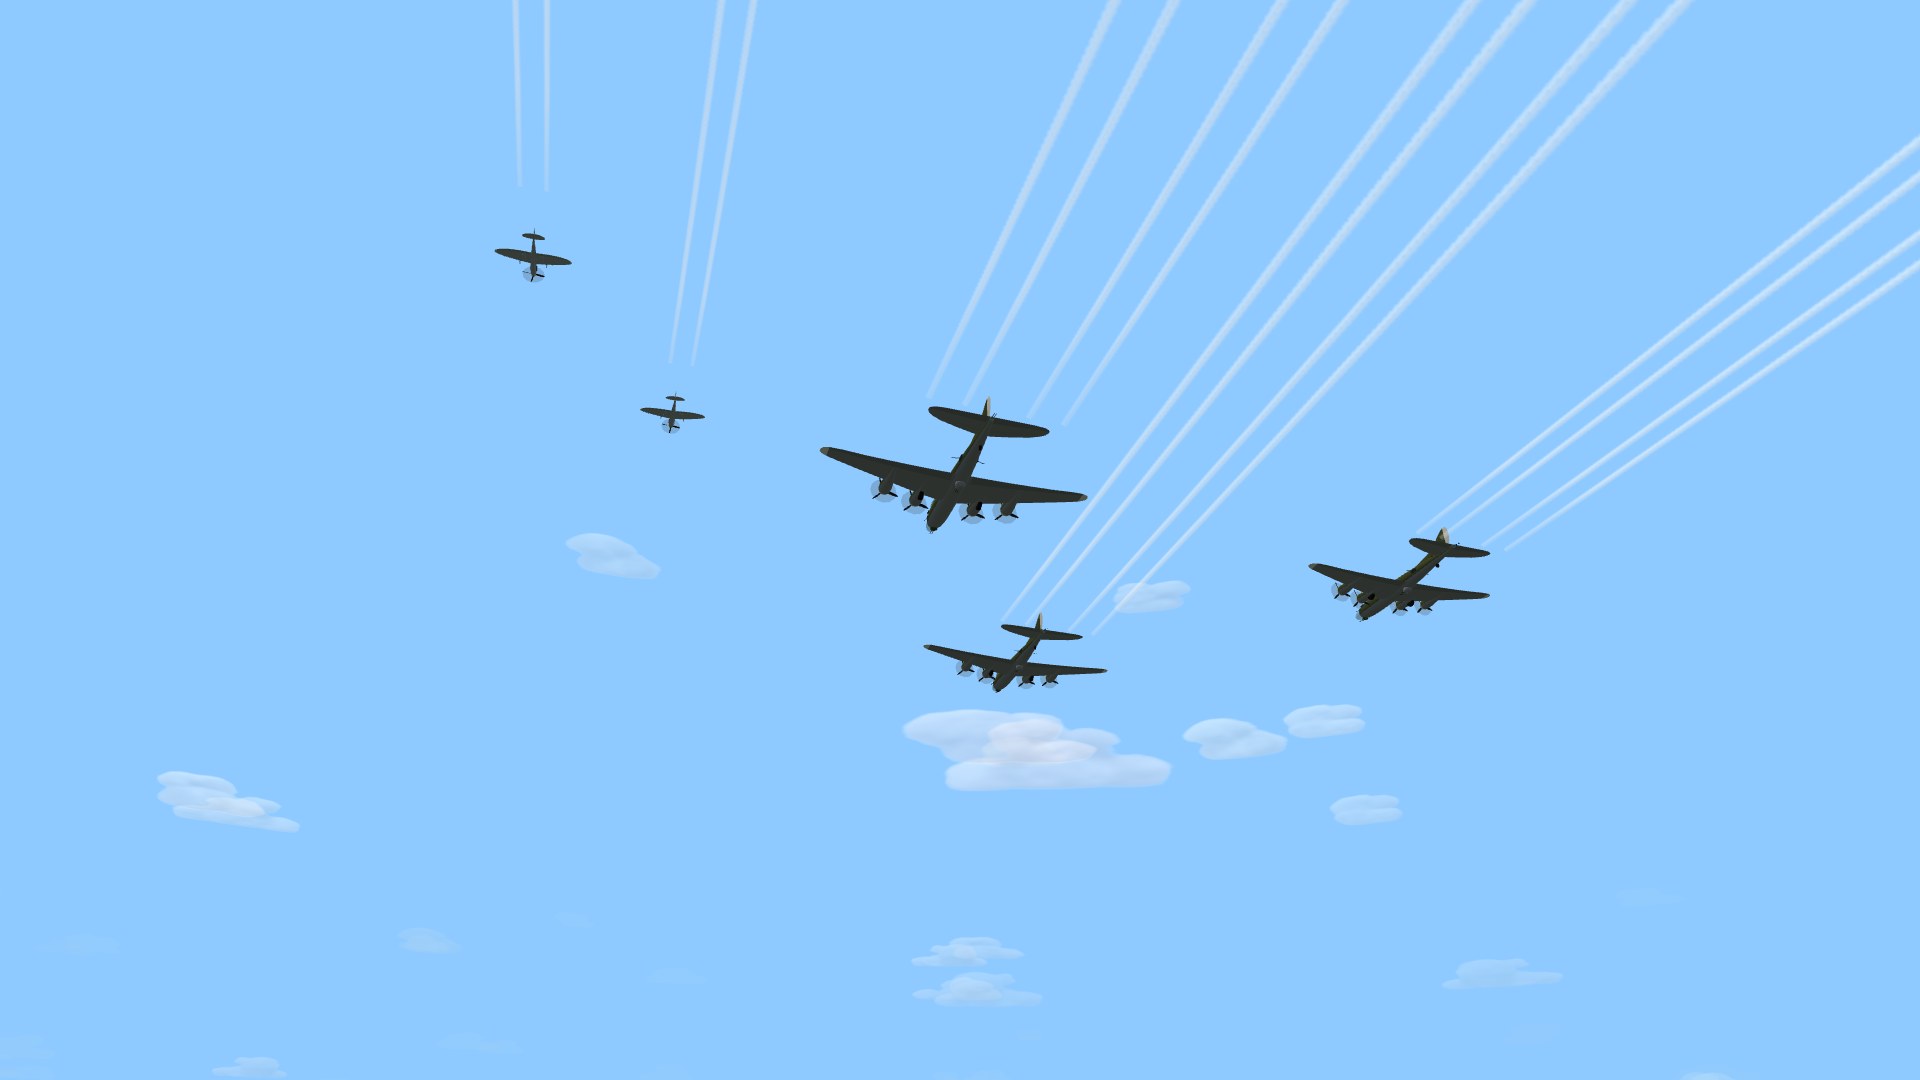
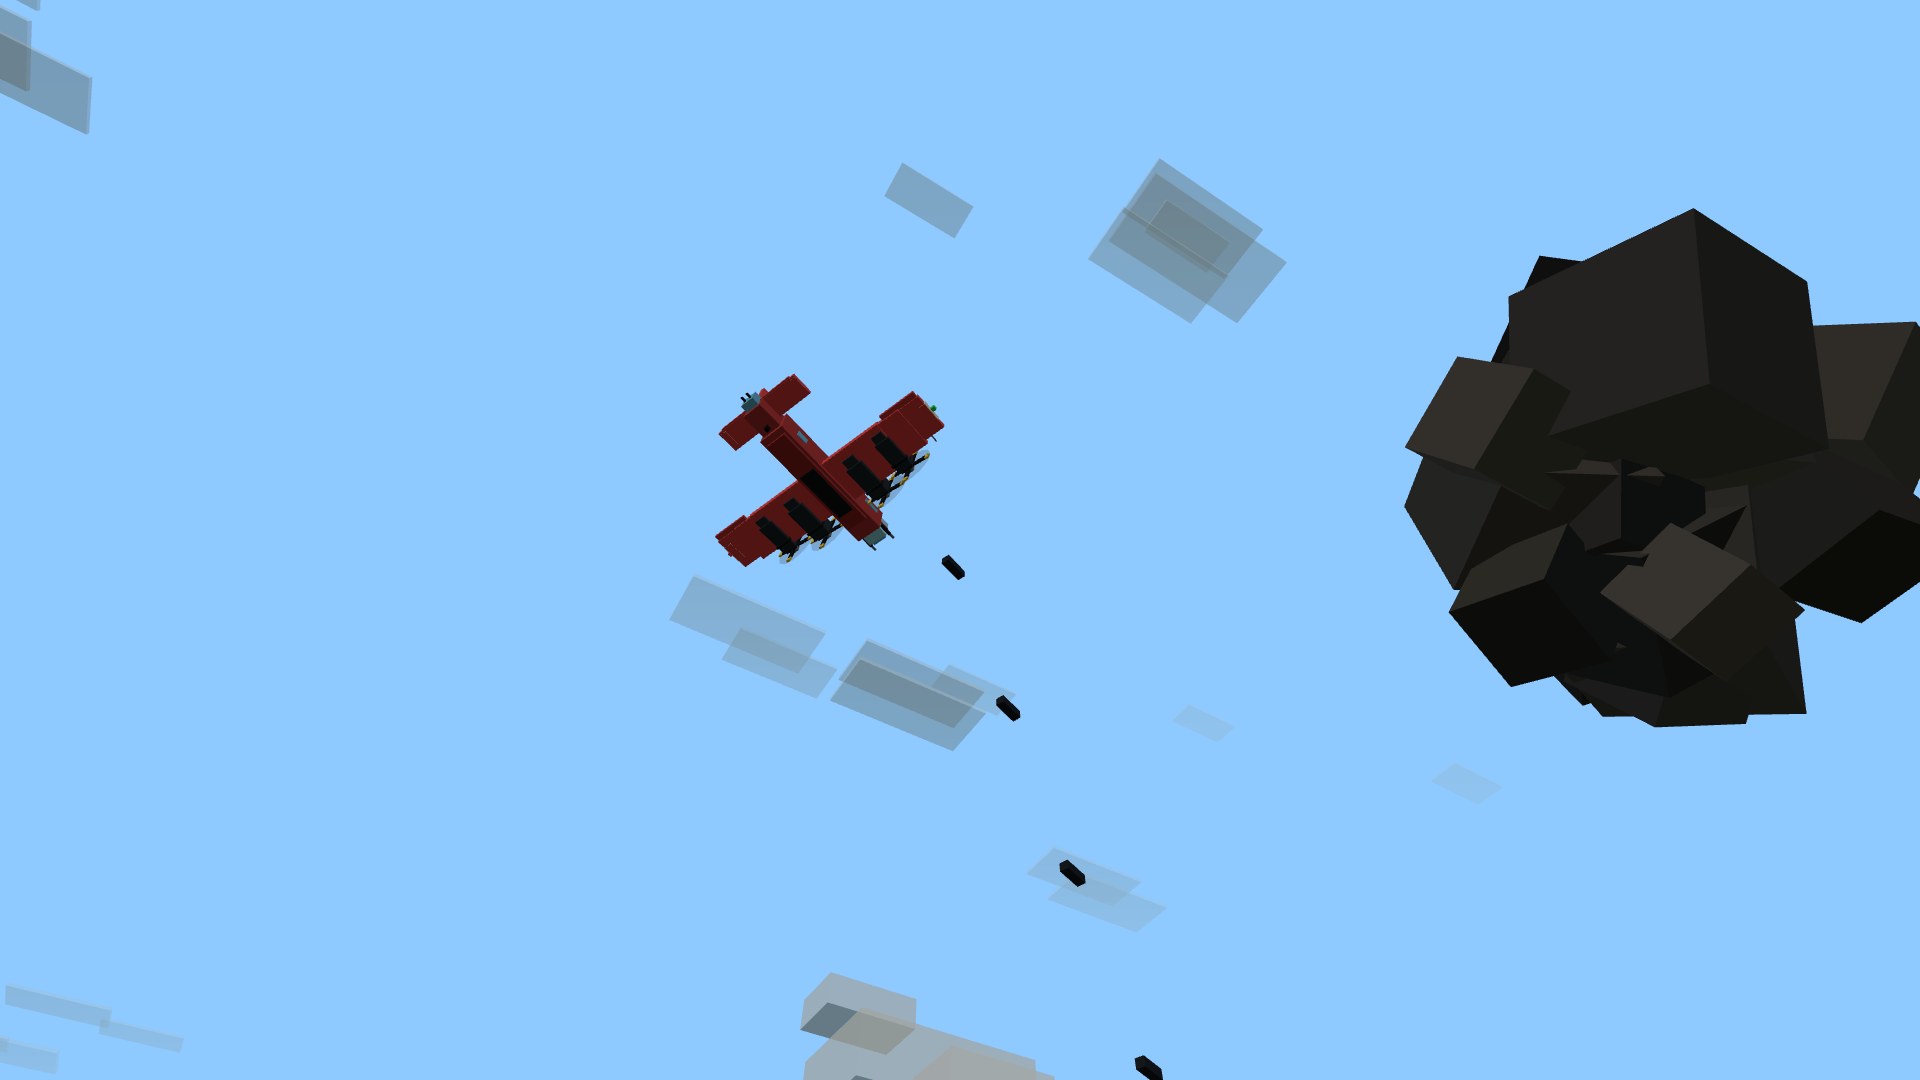
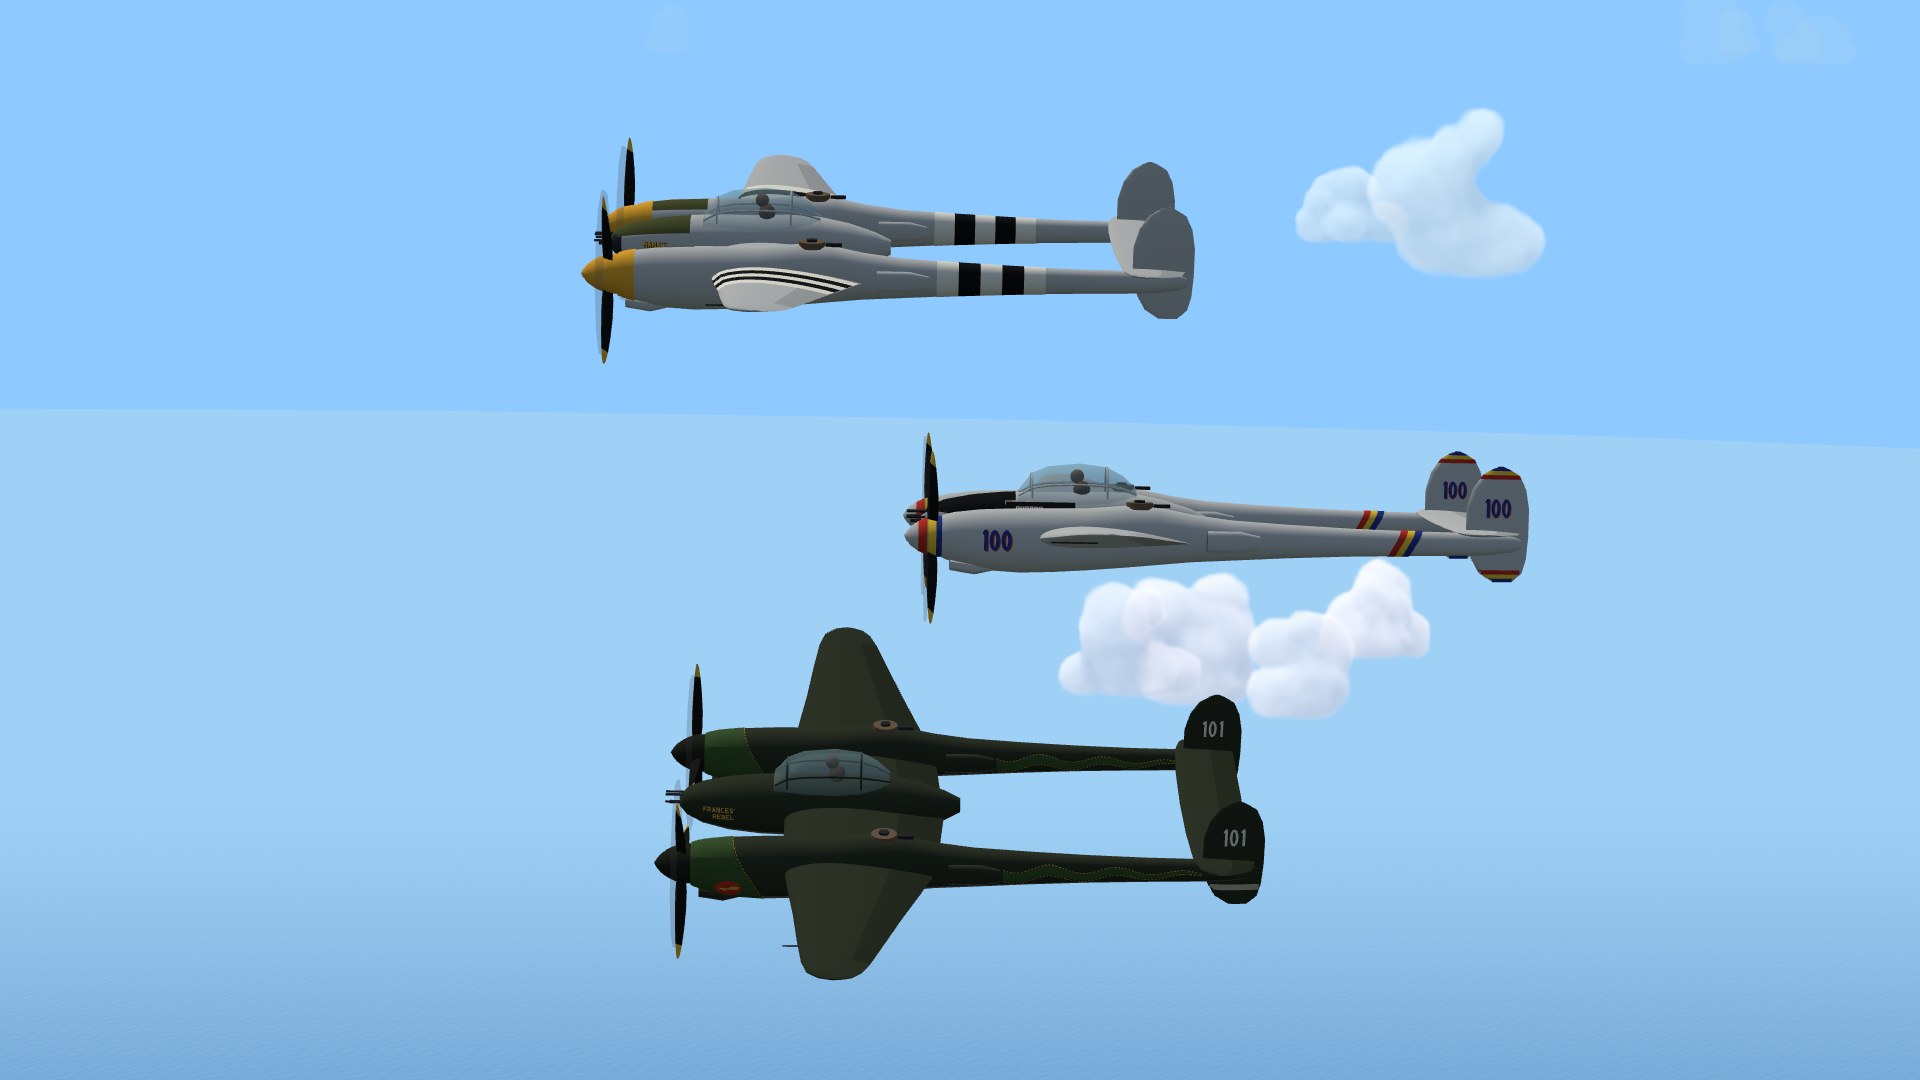
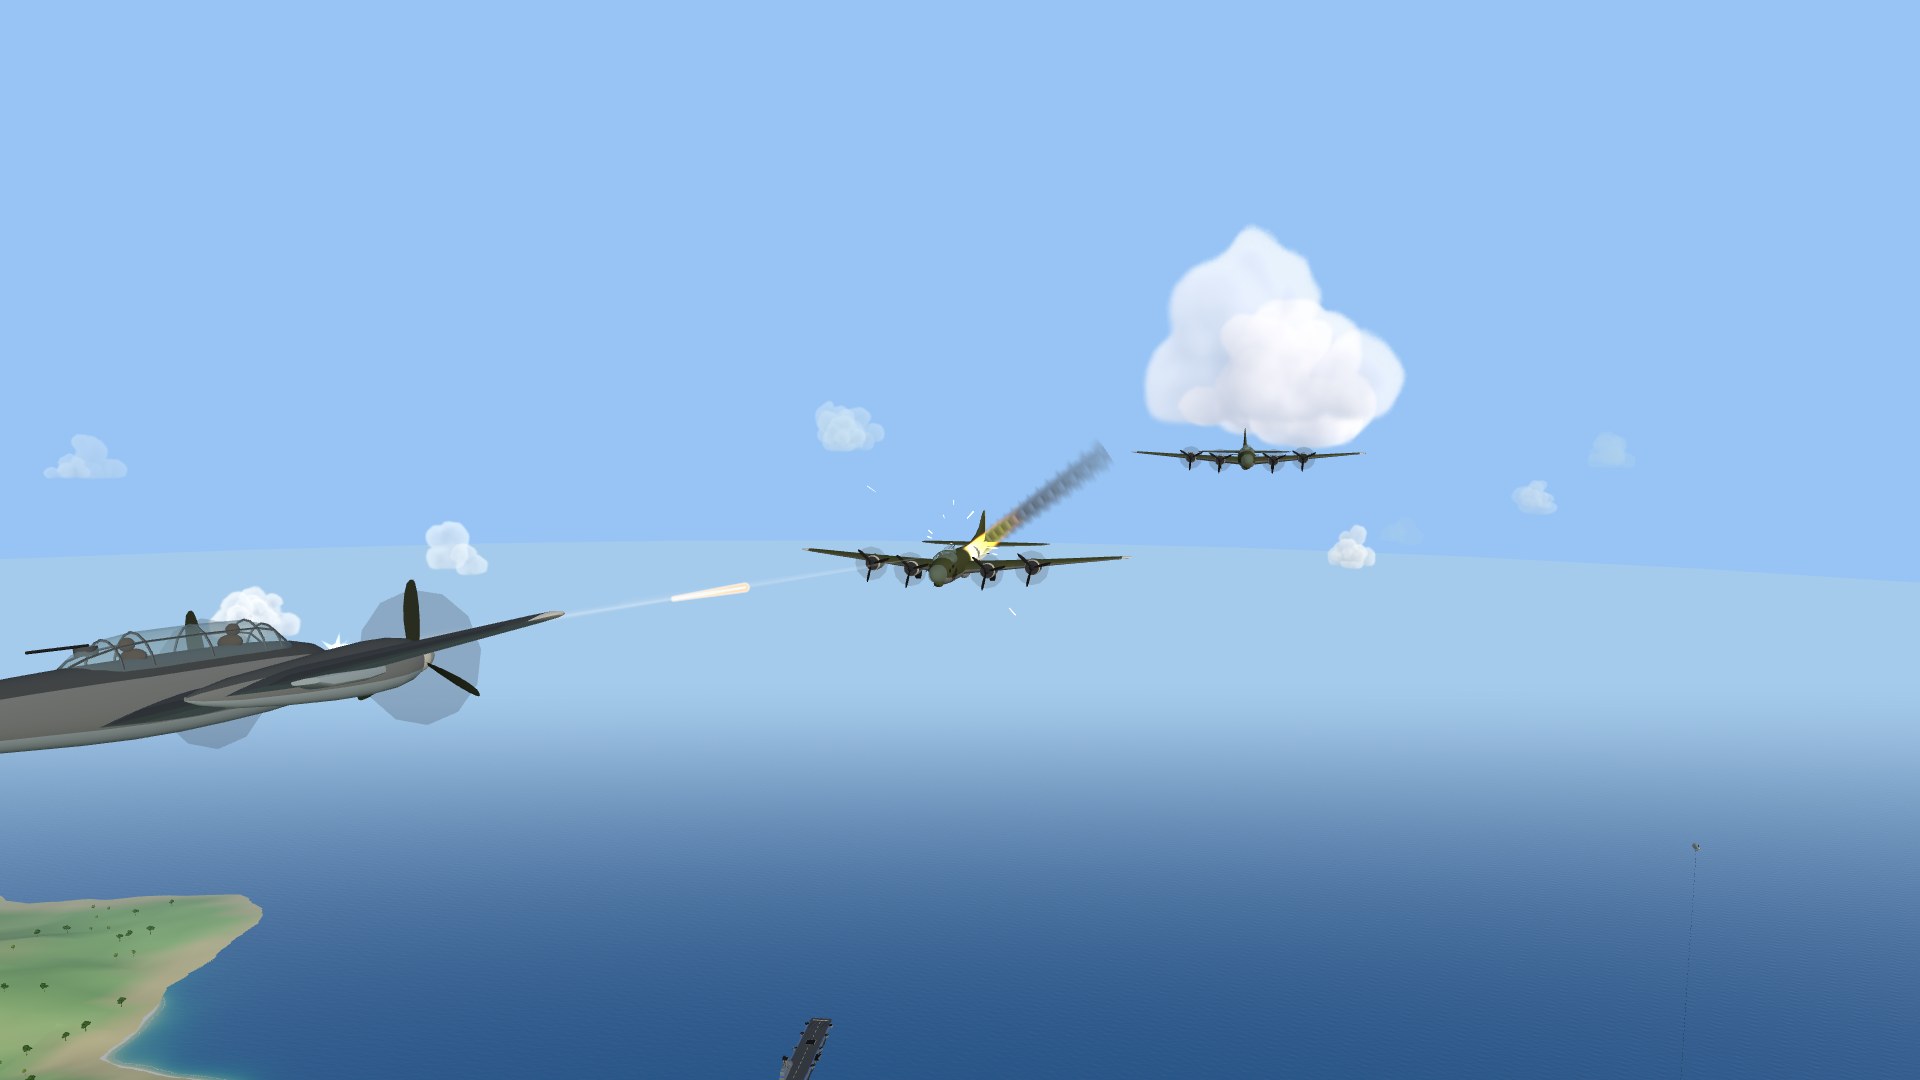
Choose your warbird in the hangar, and every card is the real thing: the Spitfire Mk IX turnfighter, the P-51D Mustang boom-and-zoomer, the P-38 Lightning twin-engine heavy, the B-17 Flying Fortress four-engine bomber and the TBF Avenger torpedo bomber, joined by the Bf 109 climber, the hard-rolling Fw 190, the rugged shark-mouthed P-40N Warhawk, the rocket-slinging F4U Corsair, the Bf 110 Zerstörer, the gun-nosed A-20 Havoc, the Ju 88 torpedo bomber and the glass-nosed He 111 (see the rest of the hangar) — each a distinct flight model, hull, gun package, and ordnance loadout, and each flying its own factory finish whichever side you join: the Spitfire in dark green and ocean grey, the Mustang in bare metal, the Avenger in Navy blue. Whose side a plane is on rides the tile over its pilot's head, flown in Crimson or Cobalt. The B-17 hauls a 12-bomb bay and exists to flatten flak nests from altitude; the Avenger trades bombs for two ship-killing torpedoes. Make a slow pass over your own carrier's flight deck and the crews patch you up and hand fresh ordnance aboard. Two jets sit locked at the end of the line — the Me 262, earned with 10 career kills, and the F-104 Starfighter at 25 (see below).
From the seat (new)
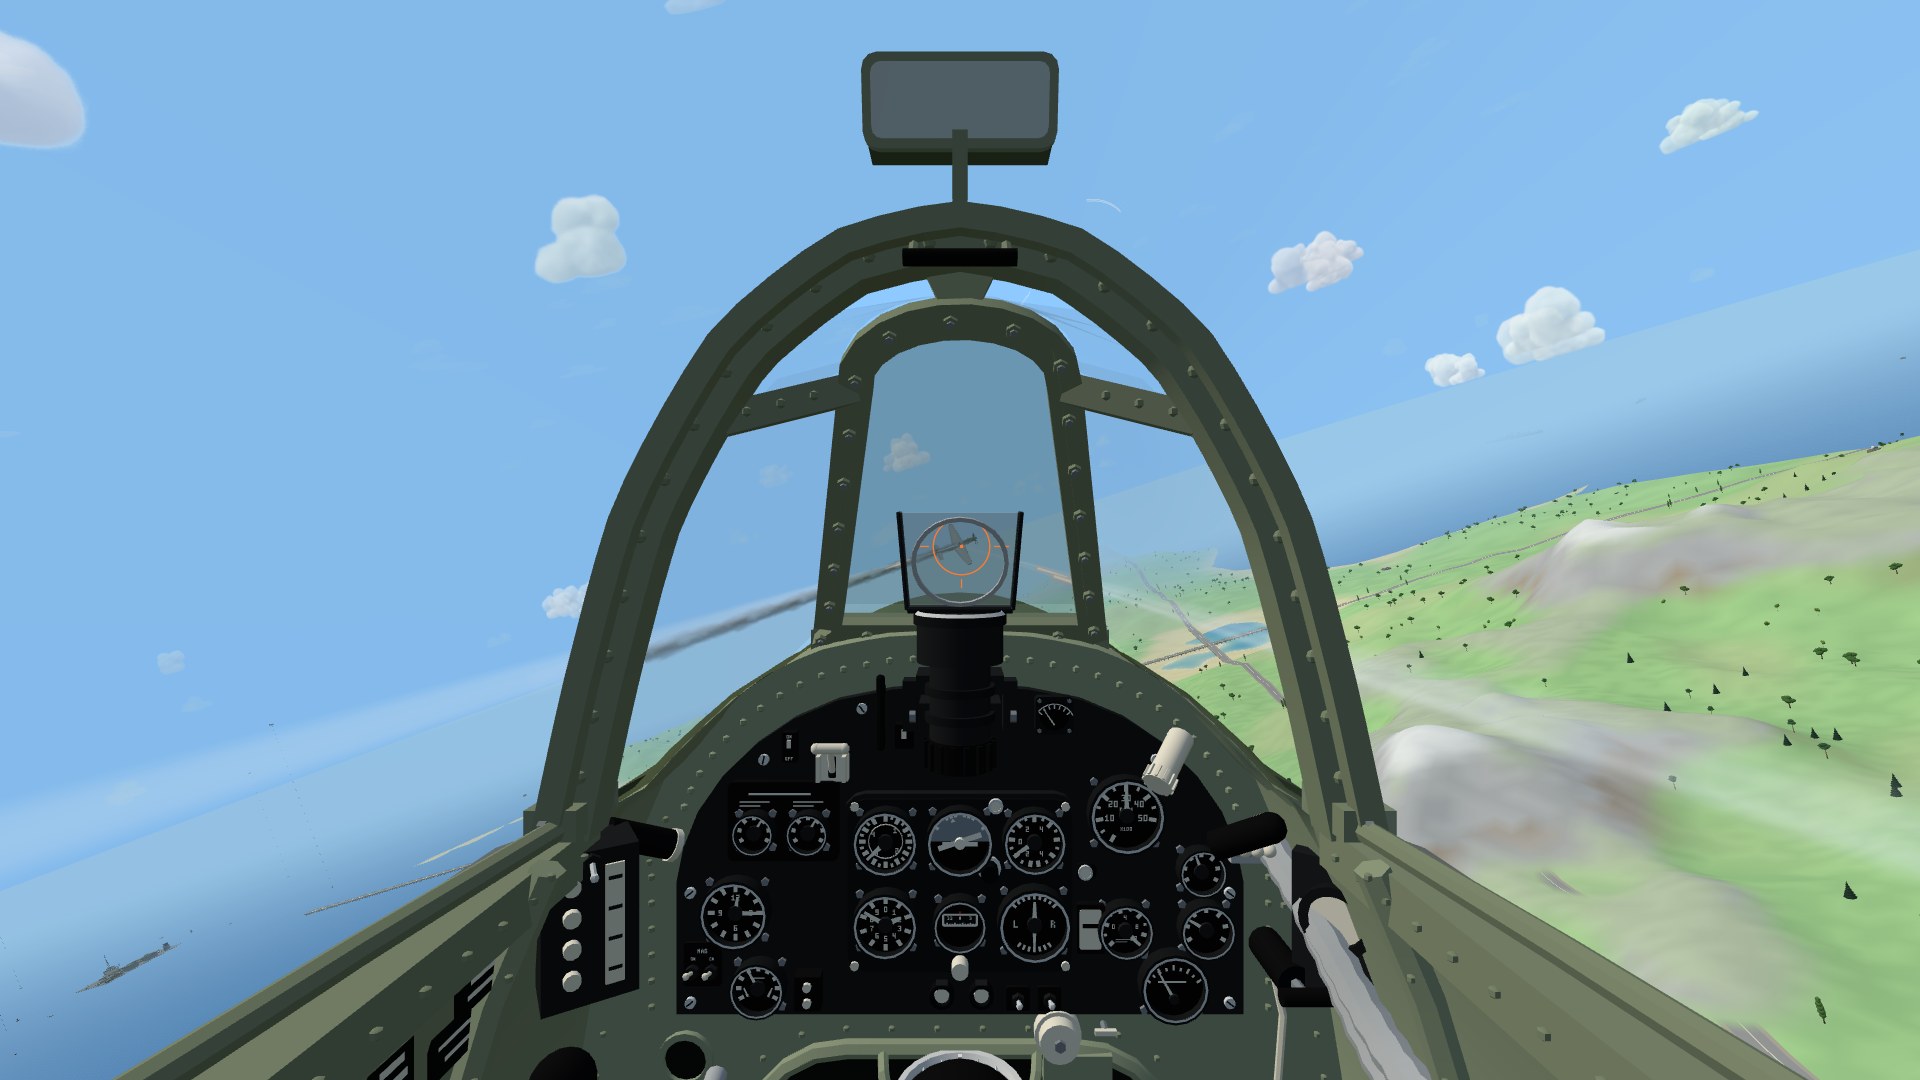
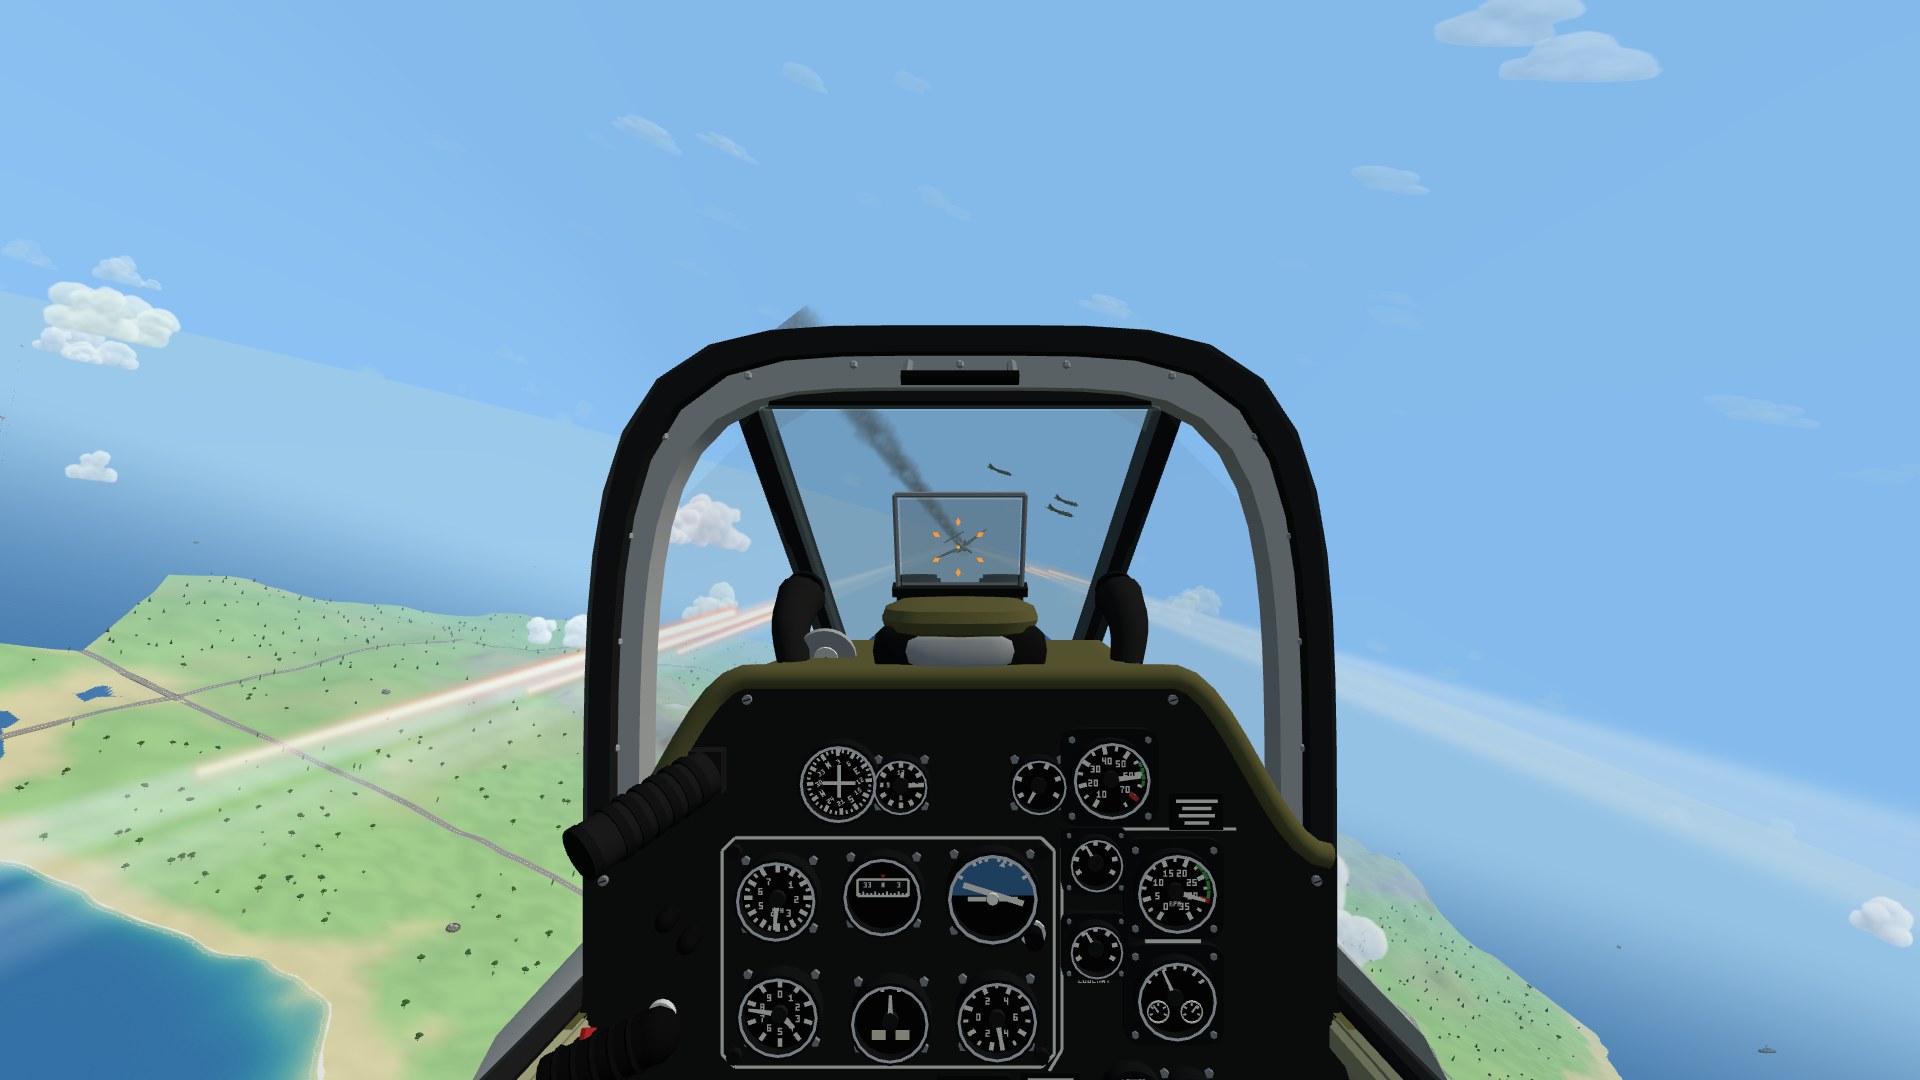
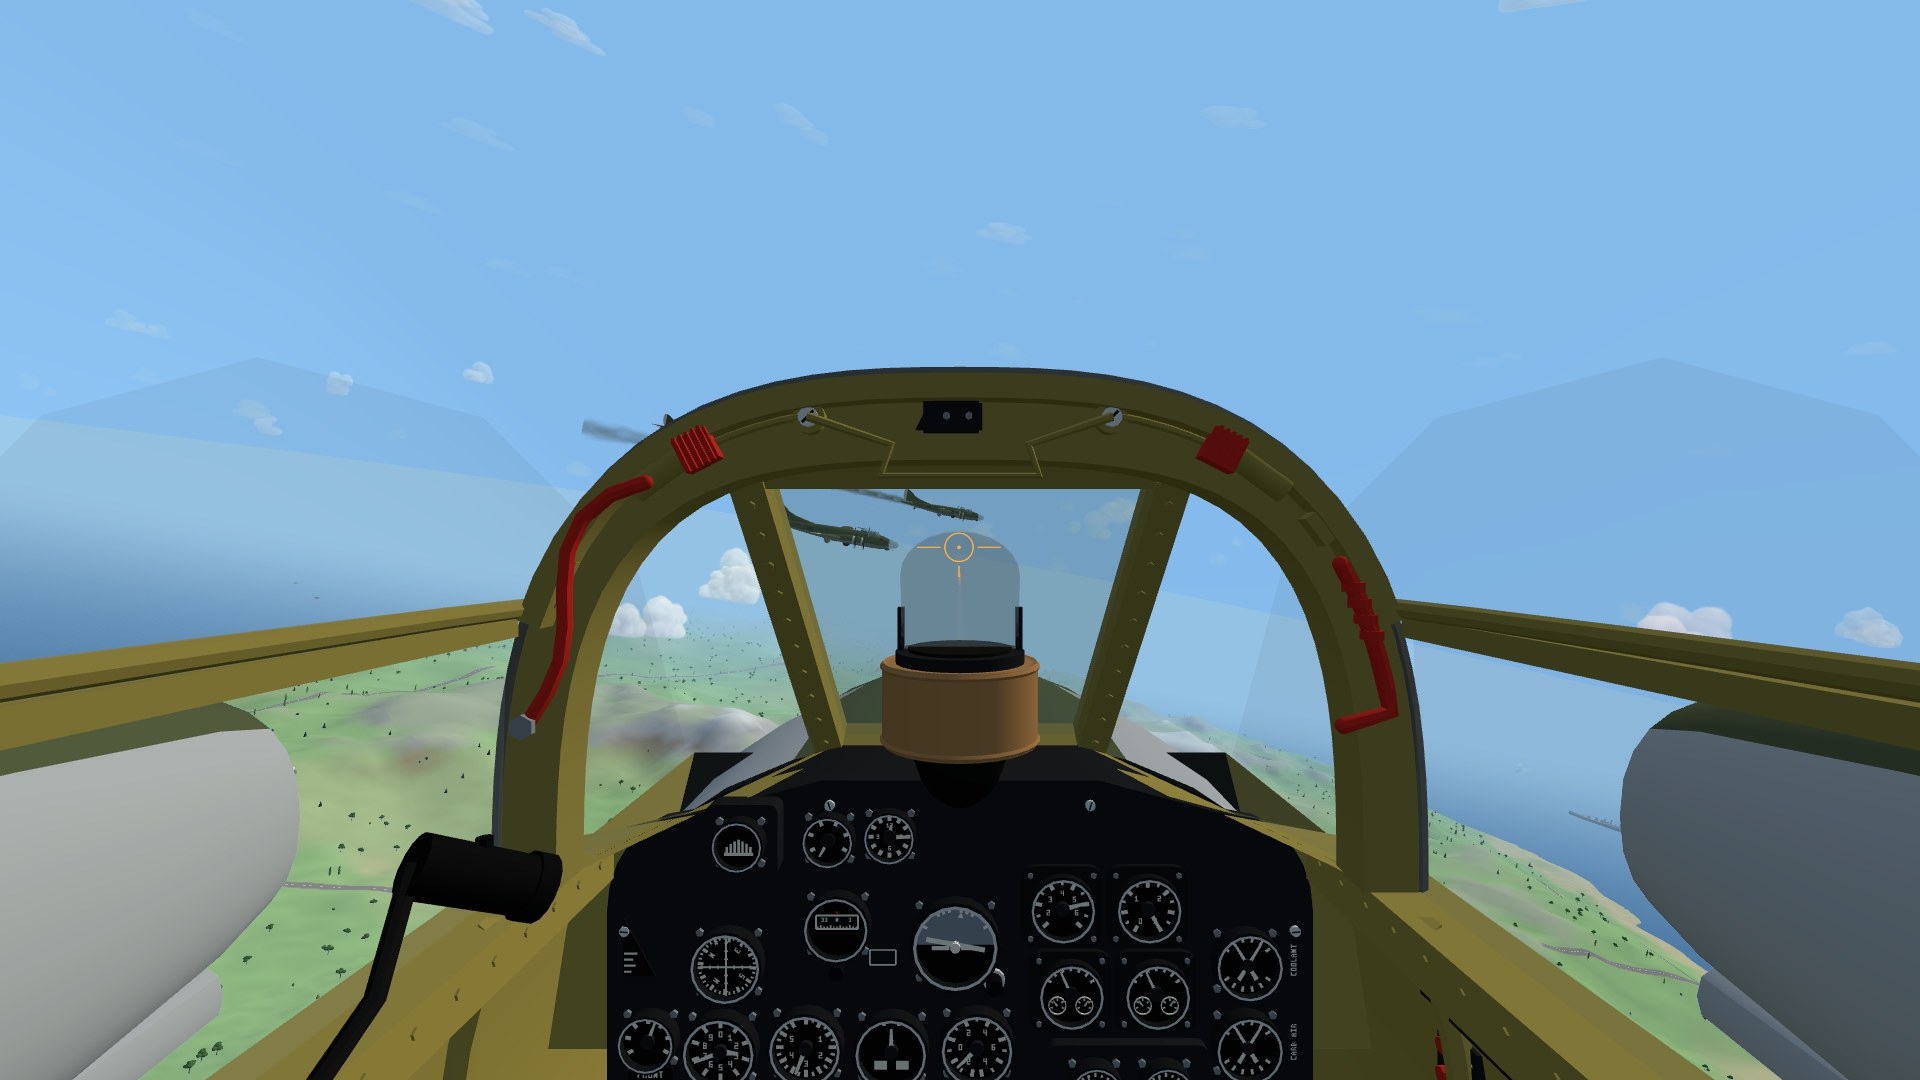
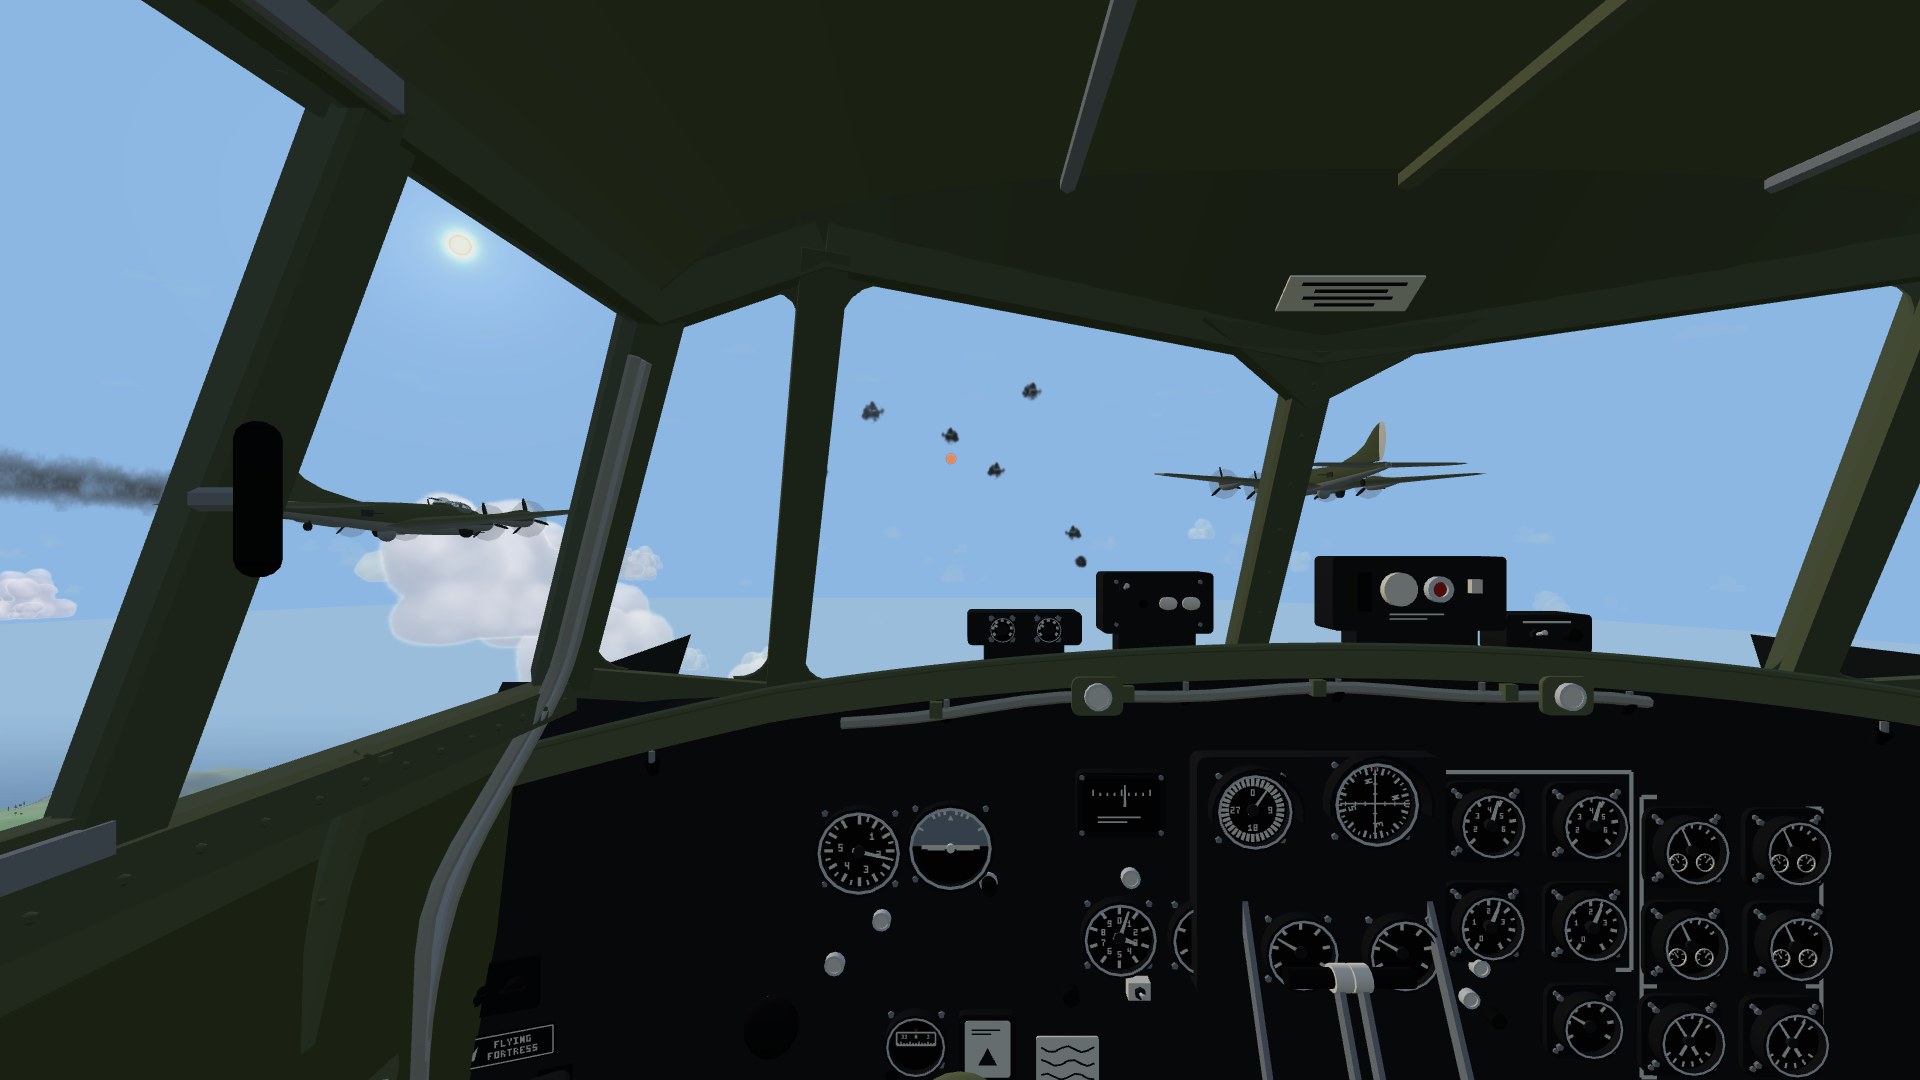
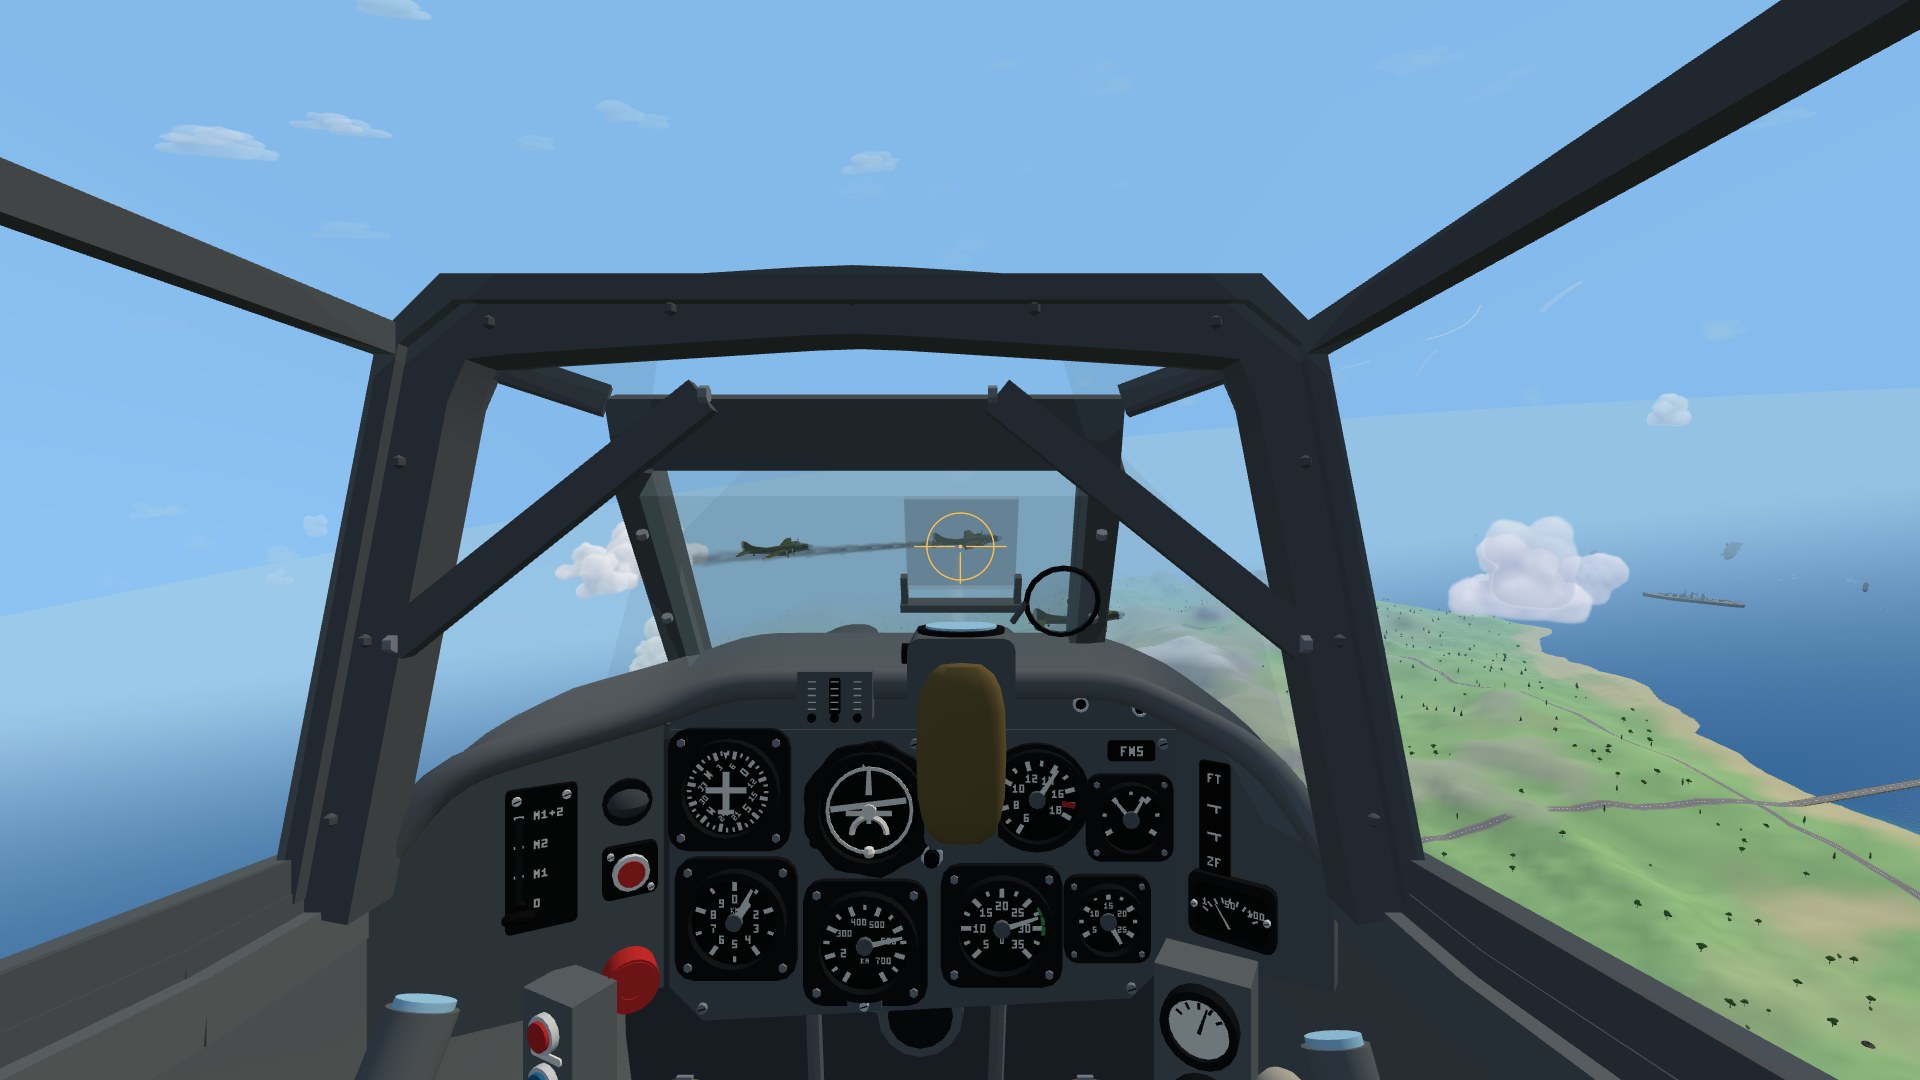
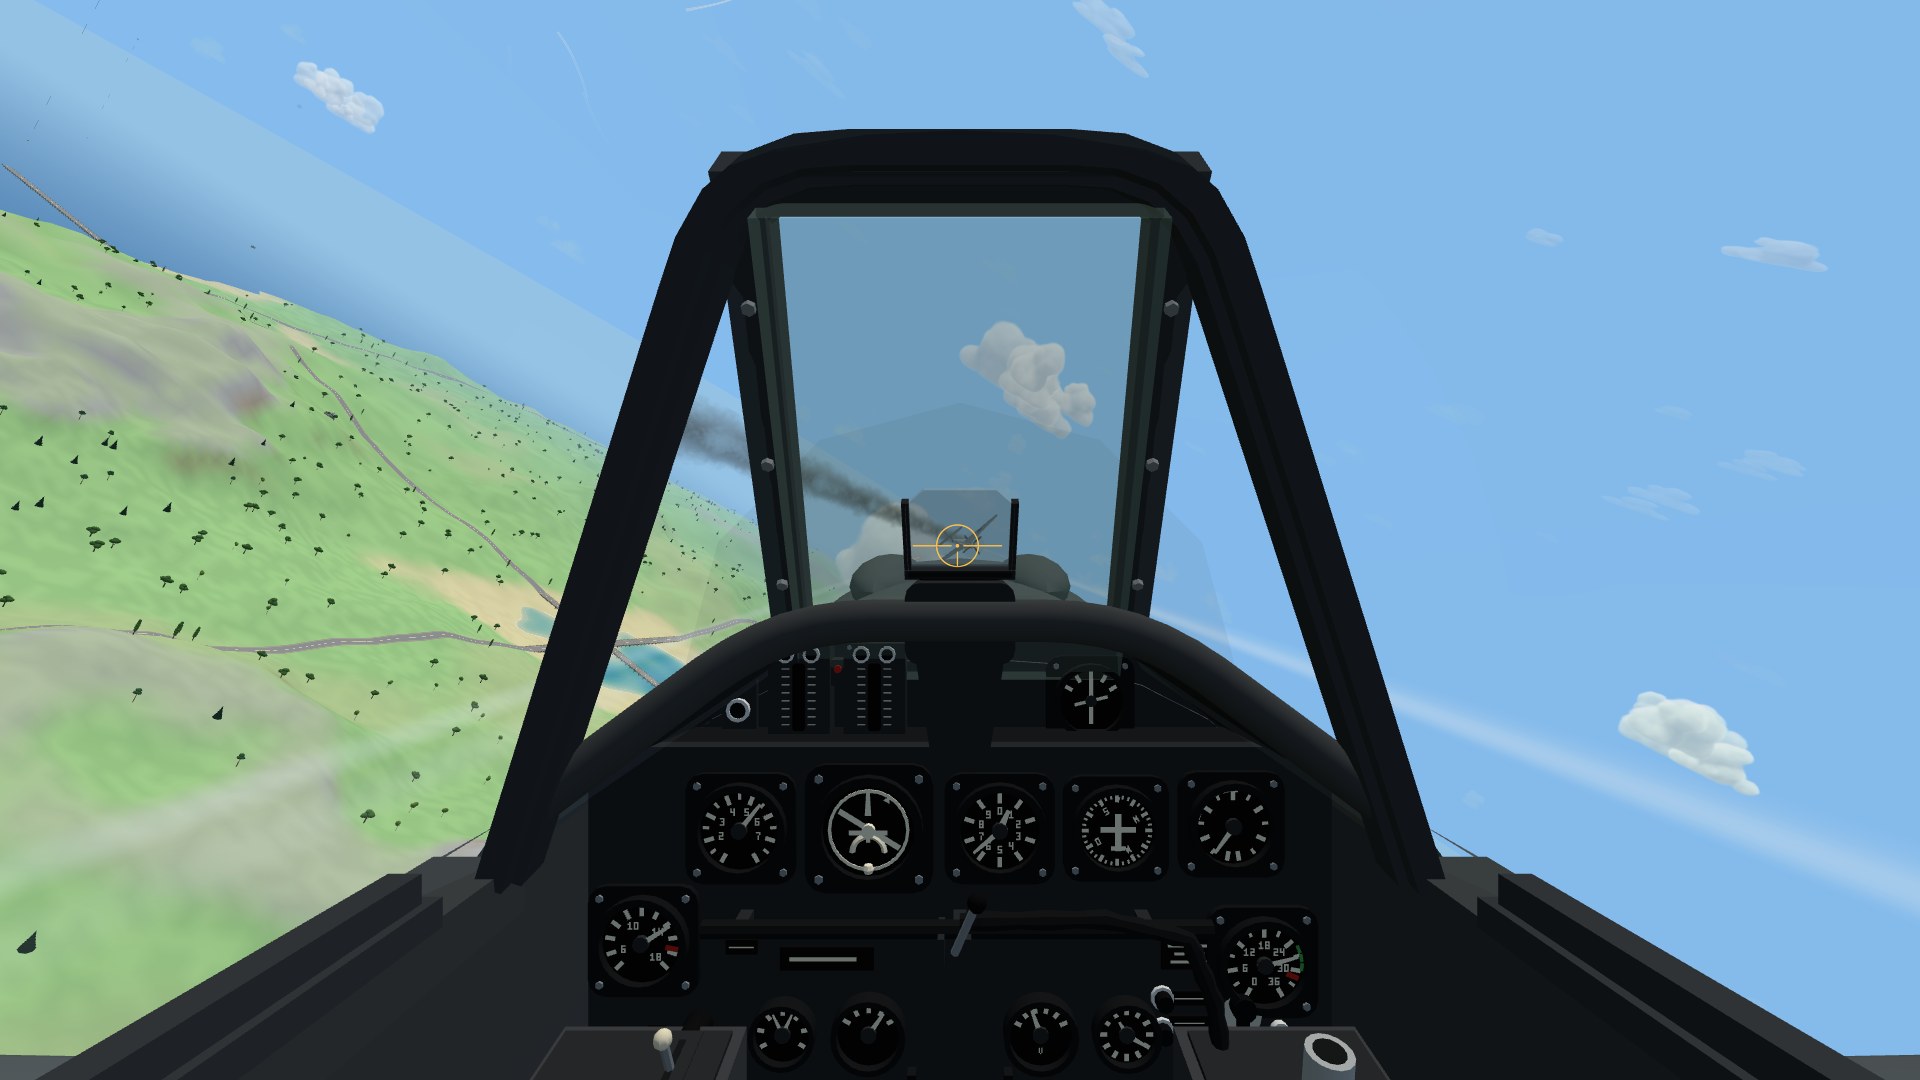
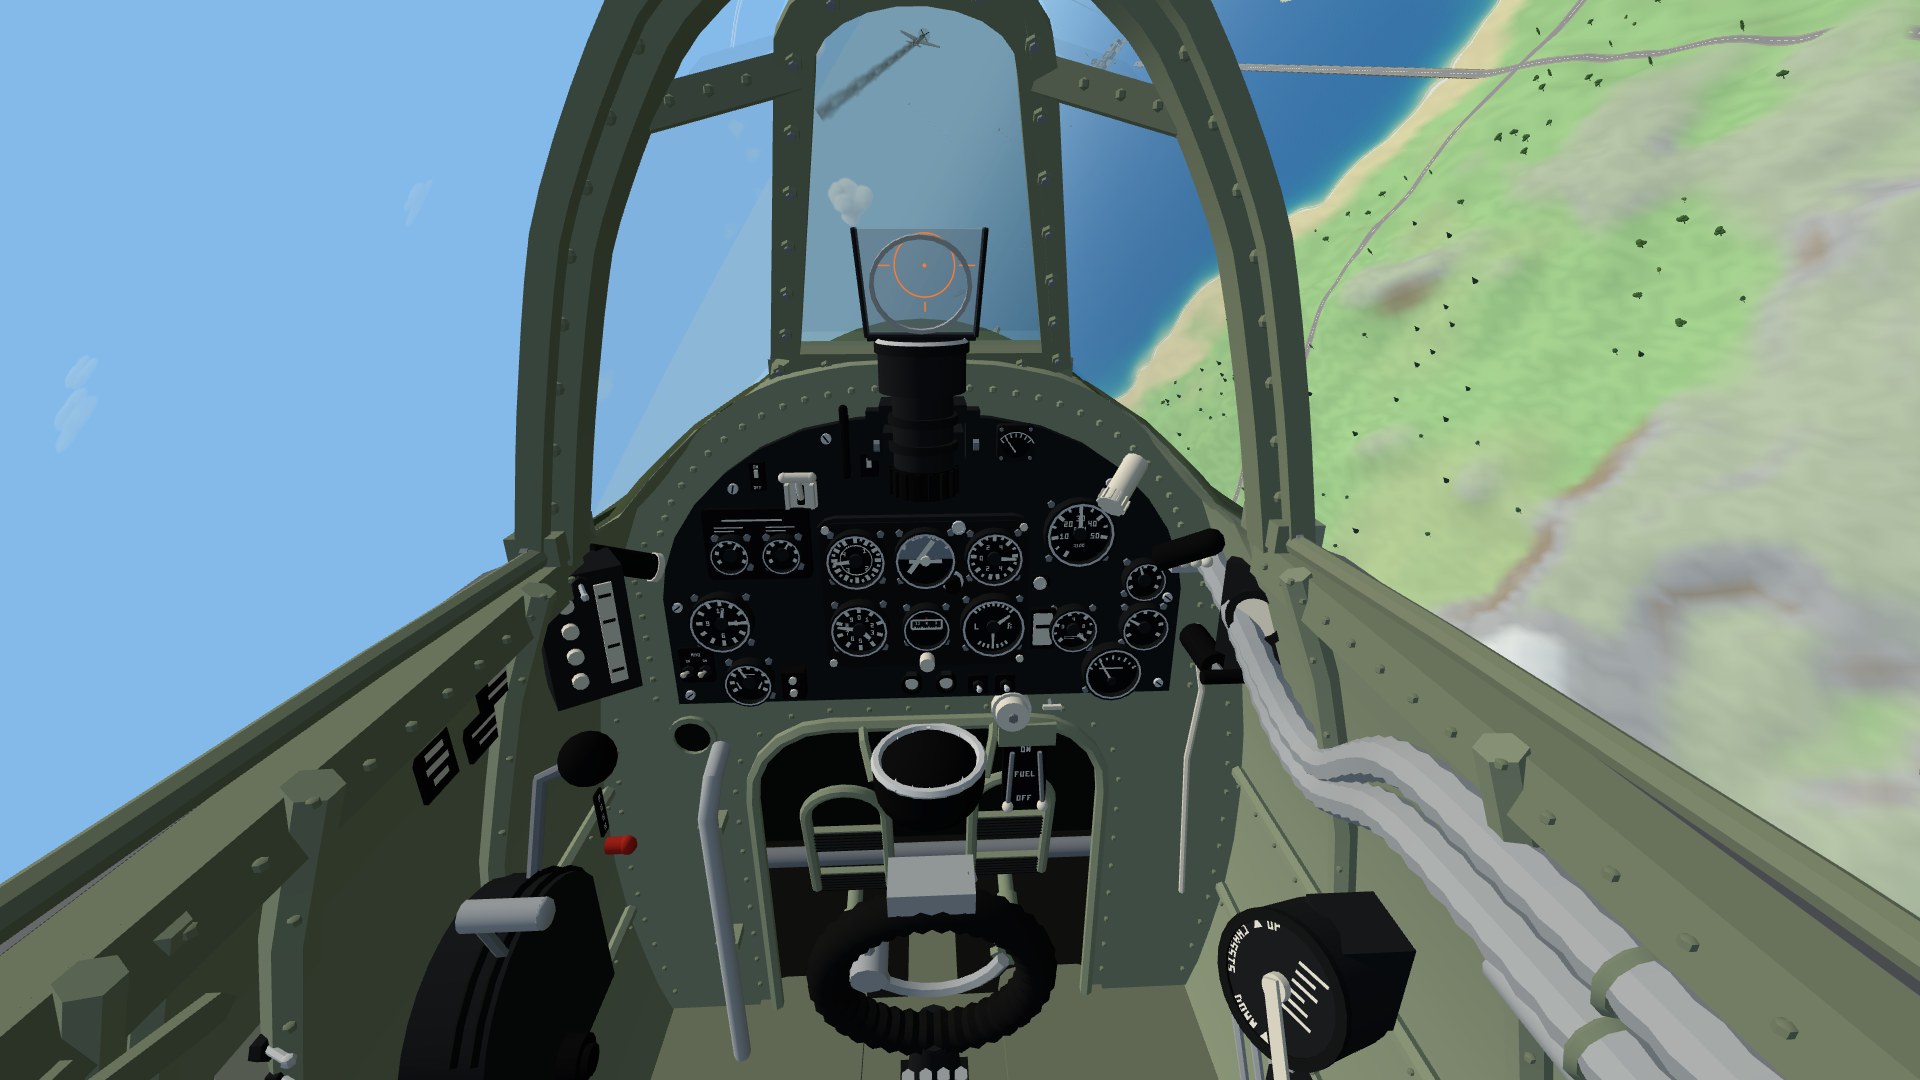
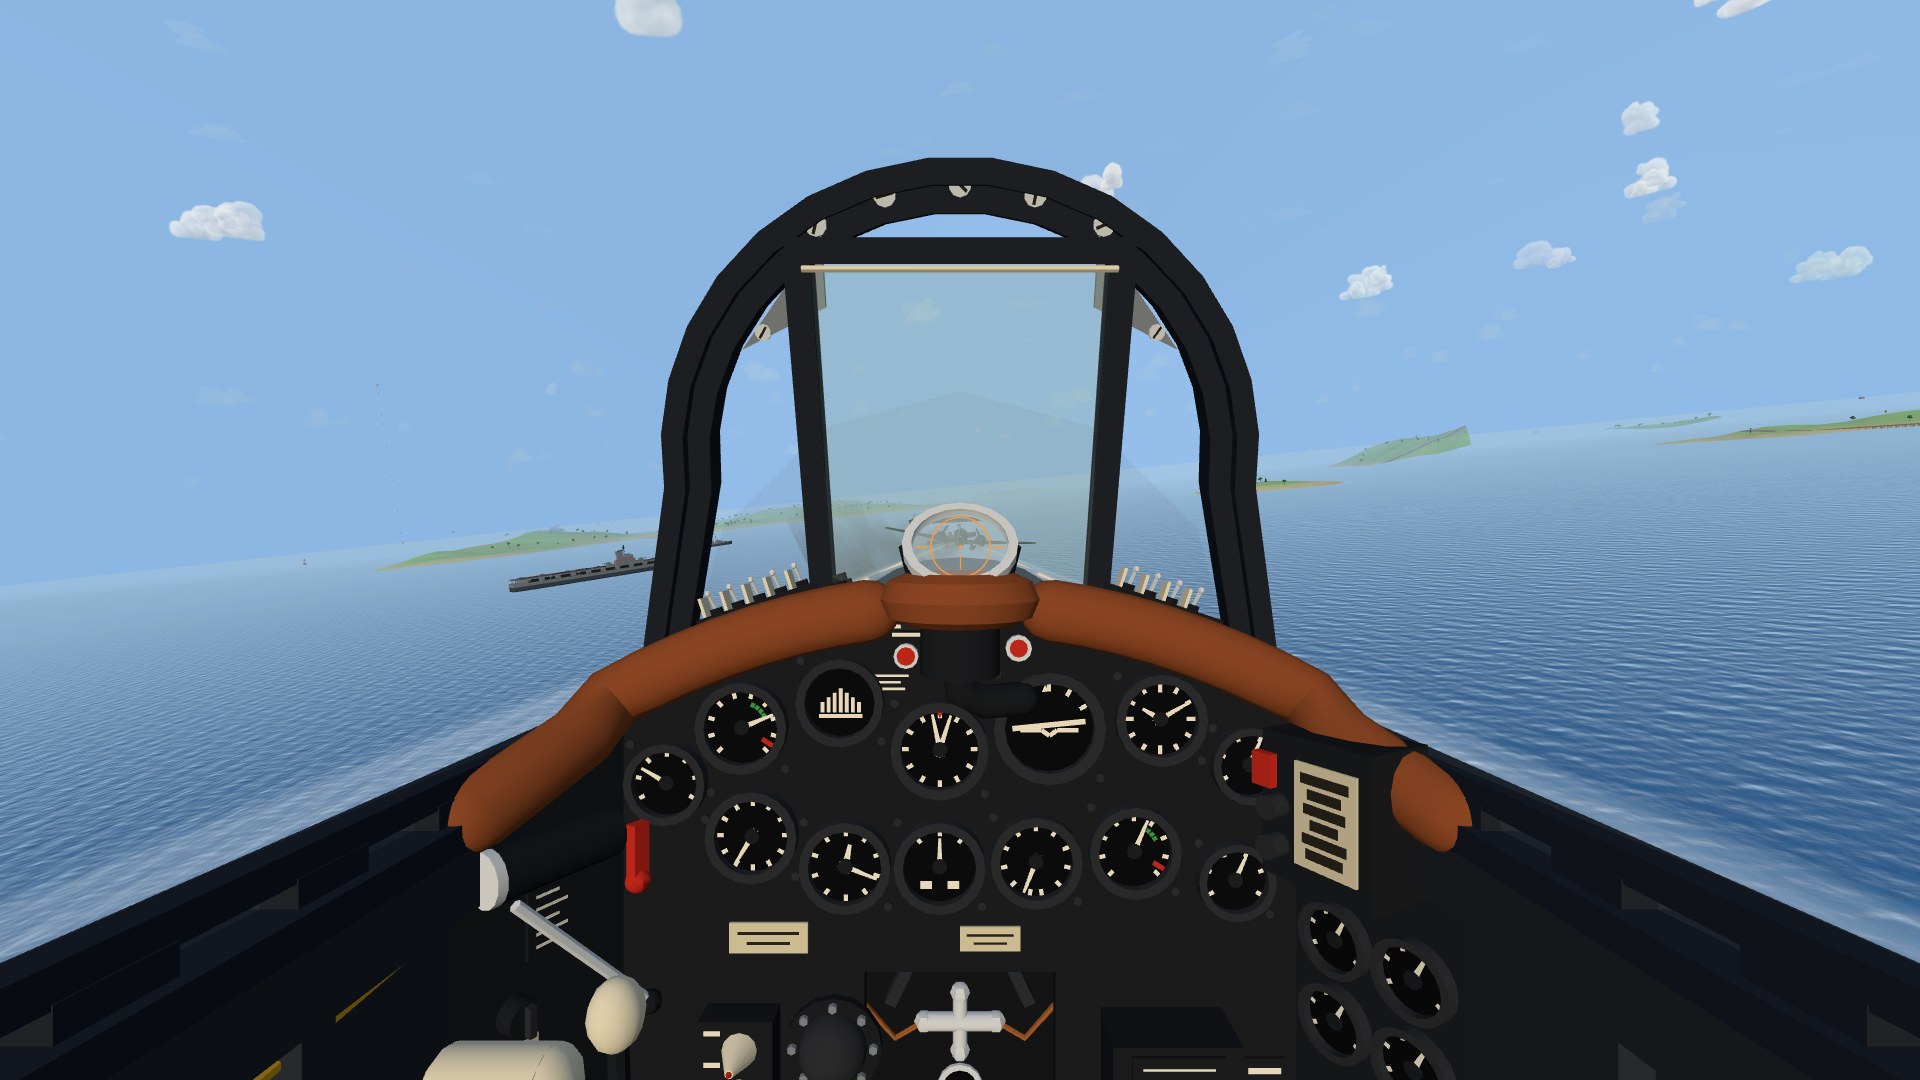
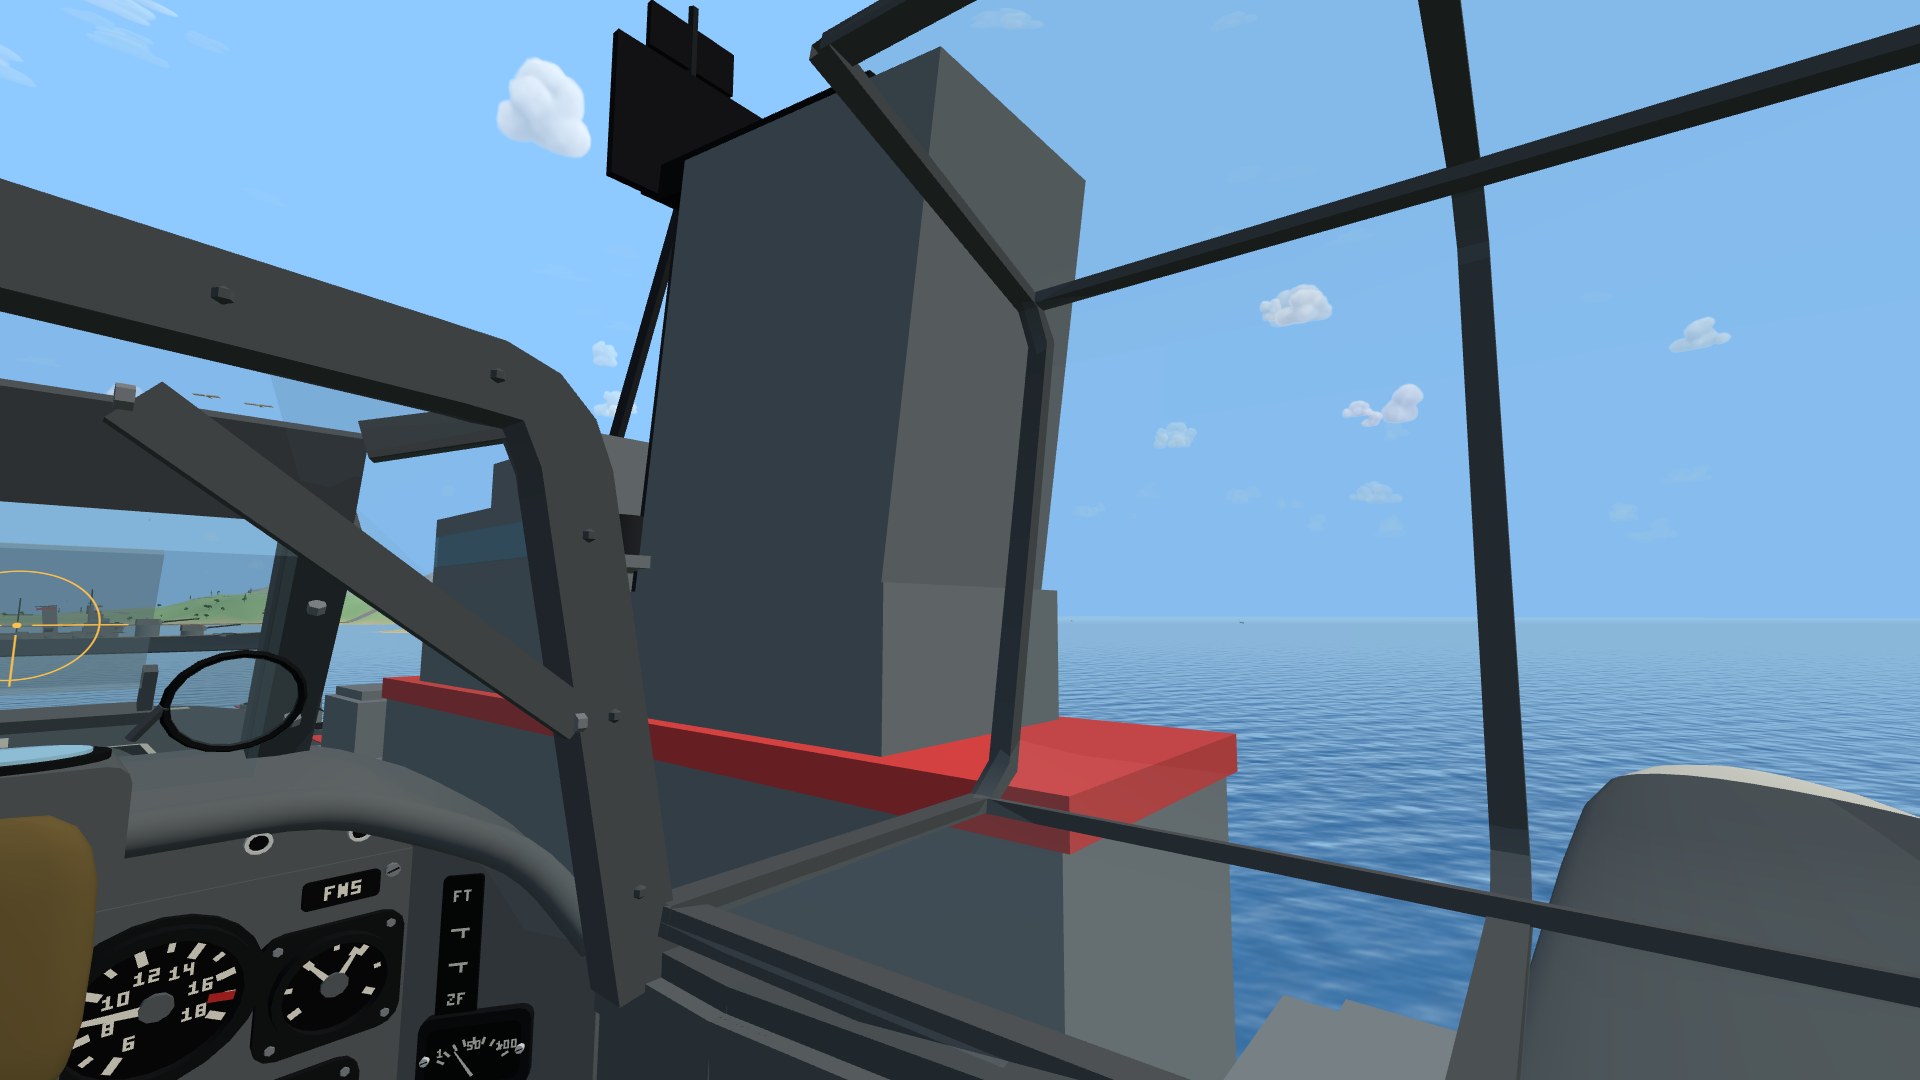
Press C — or VIEW on a phone — and the chase camera gives way to the pilot's seat. The Spitfire, the P-38 Lightning, the B-17 Flying Fortress, the Bf 109, the Fw 190 and the Corsair each have their office built out dial by dial, and your own airframe flies on around you: team-coloured wings off the sills, an engine nacelle just past the Lightning pilot's elbow, the Fortress's four engines out past the side windows. Hold the right mouse button (drag on a phone) to turn your head.
Every fighter among them flies behind a reflector gunsight: a glowing ring projected at infinity on the sight glass, pinned to the sky however you shift in the seat. Its centre pip sits where your burst meets — the harmonization range, 280 m for the Spitfire's Hispanos and .303s and 380 m for the P-38's nose guns — half a degree under the middle of the windscreen, because your guns sit below your eyes and the rounds fall on the way there. Put the pip on the gold lead diamond and the burst goes where the diamond says. The two German fighters' Revi crosses its amber ring with a cross broken round the pip, and the Corsair's Mk 8 sits so low on the coaming that you fly ducked behind it.
And the panel flies with you. The airspeed needle winds round in a dive, the altimeter unwinds, the artificial horizon tips with your bank, the turn needle leans the way the nose swings, and the rev counter and boost climb as you open the throttle. Each airframe reads in its own units: mph and feet for the Spitfire, the P-38 and the B-17, knots for the Corsair, km/h and metres for the German pair. The stick, column, pedals and throttles move under your hands and feet. A hurt engine shakes its needles, and a dead one lets them fall.
The guns they really carried (new)
Every warbird now flies with the guns its real variant carried. The P-51D, the P-40N and the Corsair carry six fifties in the wings. The Spitfire IX pairs two 20 mm Hispanos with four .303s. The P-38 carries four fifties and a 20 mm bunched in the nose. The Bf 109 G fires a 30 mm MK 108 through the propeller hub between two 13 mm MG 131s, and the Fw 190 A-8 carries four 20 mm cannon and two more guns over the cowl. Open 🎯 GUNS in the hangar and the card reads you the whole battery.
Mixed guns fly different arcs. A 30 mm shell leaves the muzzle slow and drops half again as far as a 13 mm round by 300 m. Like the real armorers, the hangar sets each gun's elevation so every round meets at one point at your harmonization range, and the pip in your sight sits right on it. Fire closer than that and the slow rounds ride above the quick ones; fire further and they drop below. Heavier rounds hit harder, so a Spitfire's two cannon do more of its damage than all four .303s together.
And two new premium airframes join the ladder. The Spitfire Mk XVI swaps the .303s for a pair of fifties and unlocks at 5 career kills. The F4U-1C Corsair, the cannon Corsair, carries four 20 mm Hispanos and its rocket rails, and unlocks at 15. Each flies like the real sub-type: the Mk XVI's clipped wing rolls about a fifth faster and its deck-rated Merlin out-runs the Mk IX low down but fades past 900 m, while the cannon Corsair carries the weight of its guns, a touch slower into a roll.
Harmonize your guns (new)
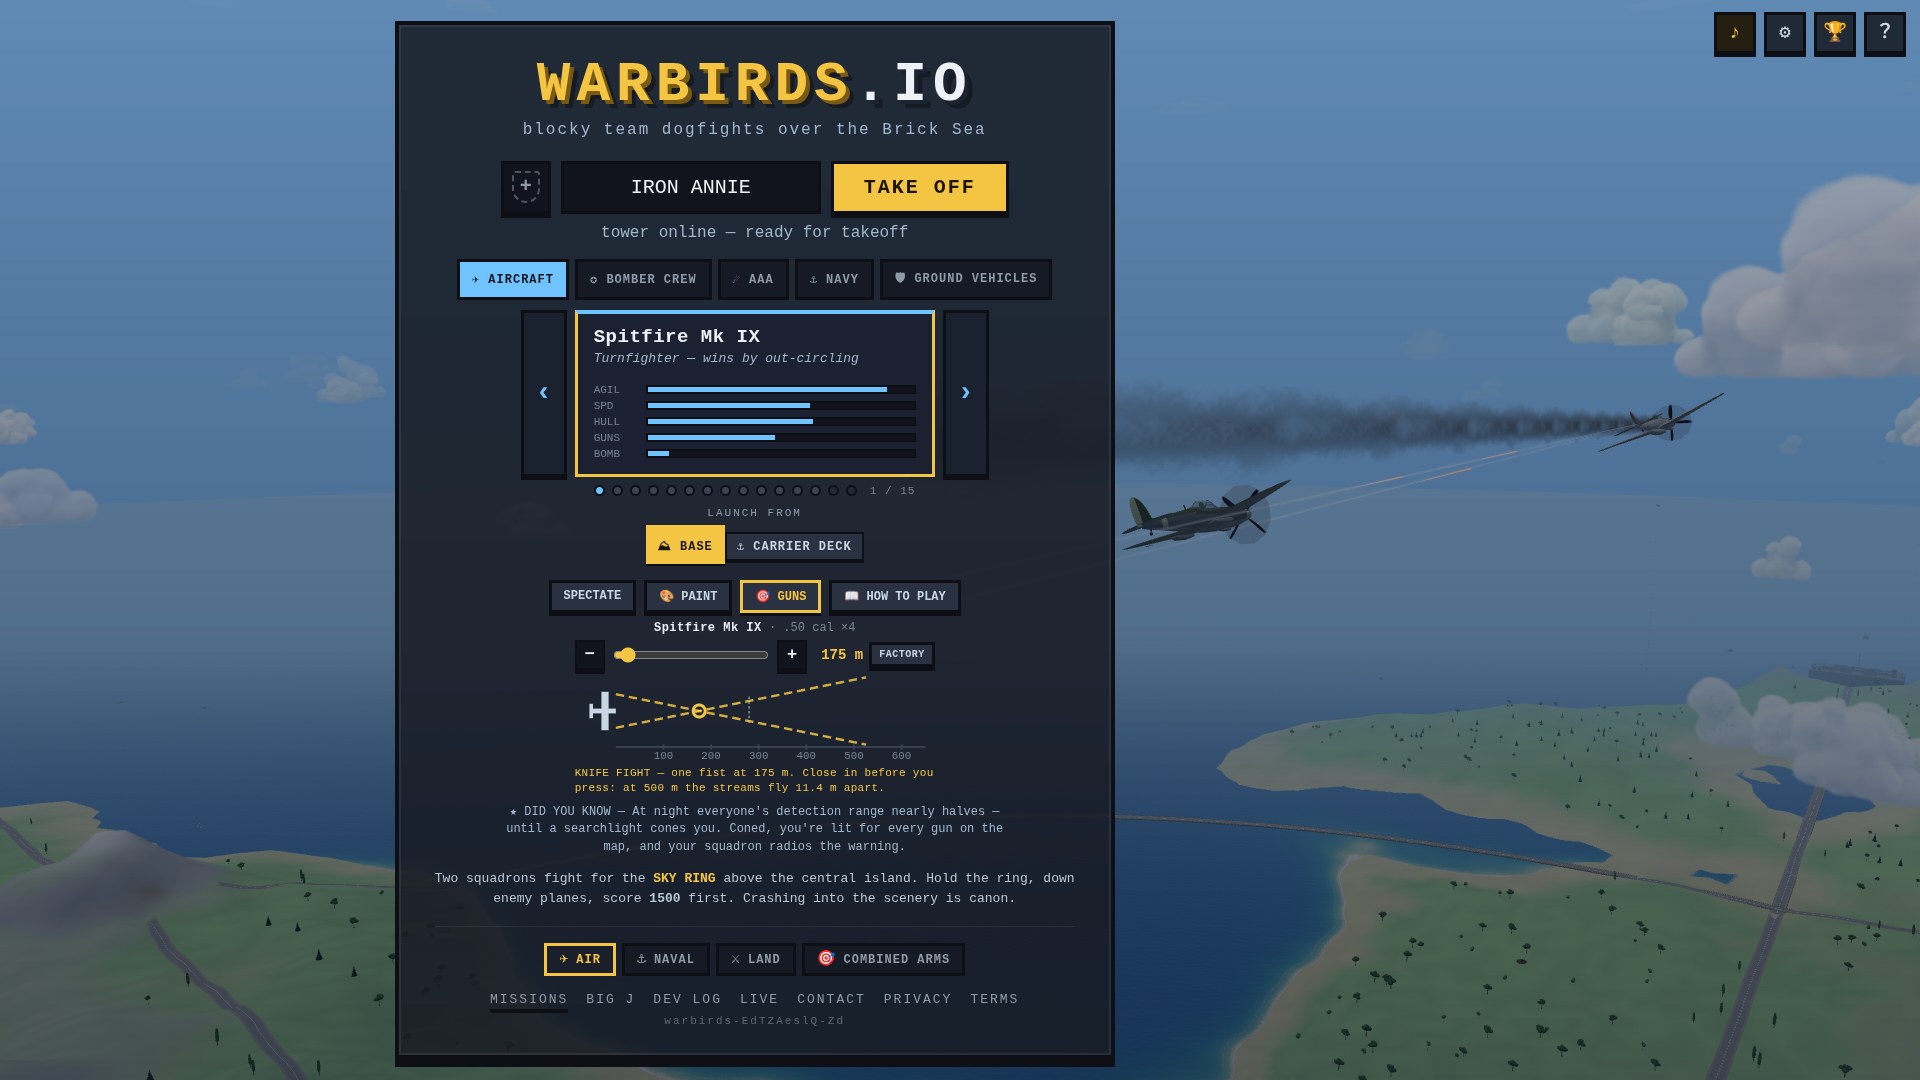
Every fighter leaves the factory with its wing guns toed in to meet at one range, and the real squadrons never left it there: the pilots who closed to spitting distance pulled theirs in for one knockout blow, and the ones who took their shots long pushed them out. Now you can too. Open 🎯 GUNS under the hangar card and dial where your battery converges, anywhere from 150 m to 600 m, one setting per airframe — your Spitfire can fight in a phone box while your Mustang snipes from across the ring.
It is a trade, not an upgrade. At the range you pick, every gun on the wings lands in one fist; inside it the streams straddle the target, and past it they fan apart. The sketch under the dial draws the two streams crossing, and one line tells you what you've bought: a KNIFE FIGHT close in, the CLASSIC BOX in the middle, or LONG REACH for the snap shot. Your gunsight follows the setting — the pip in the cockpit's ring and the cross outside it both sit where the rounds now meet — and FACTORY puts it all back.
The rest of the hangar
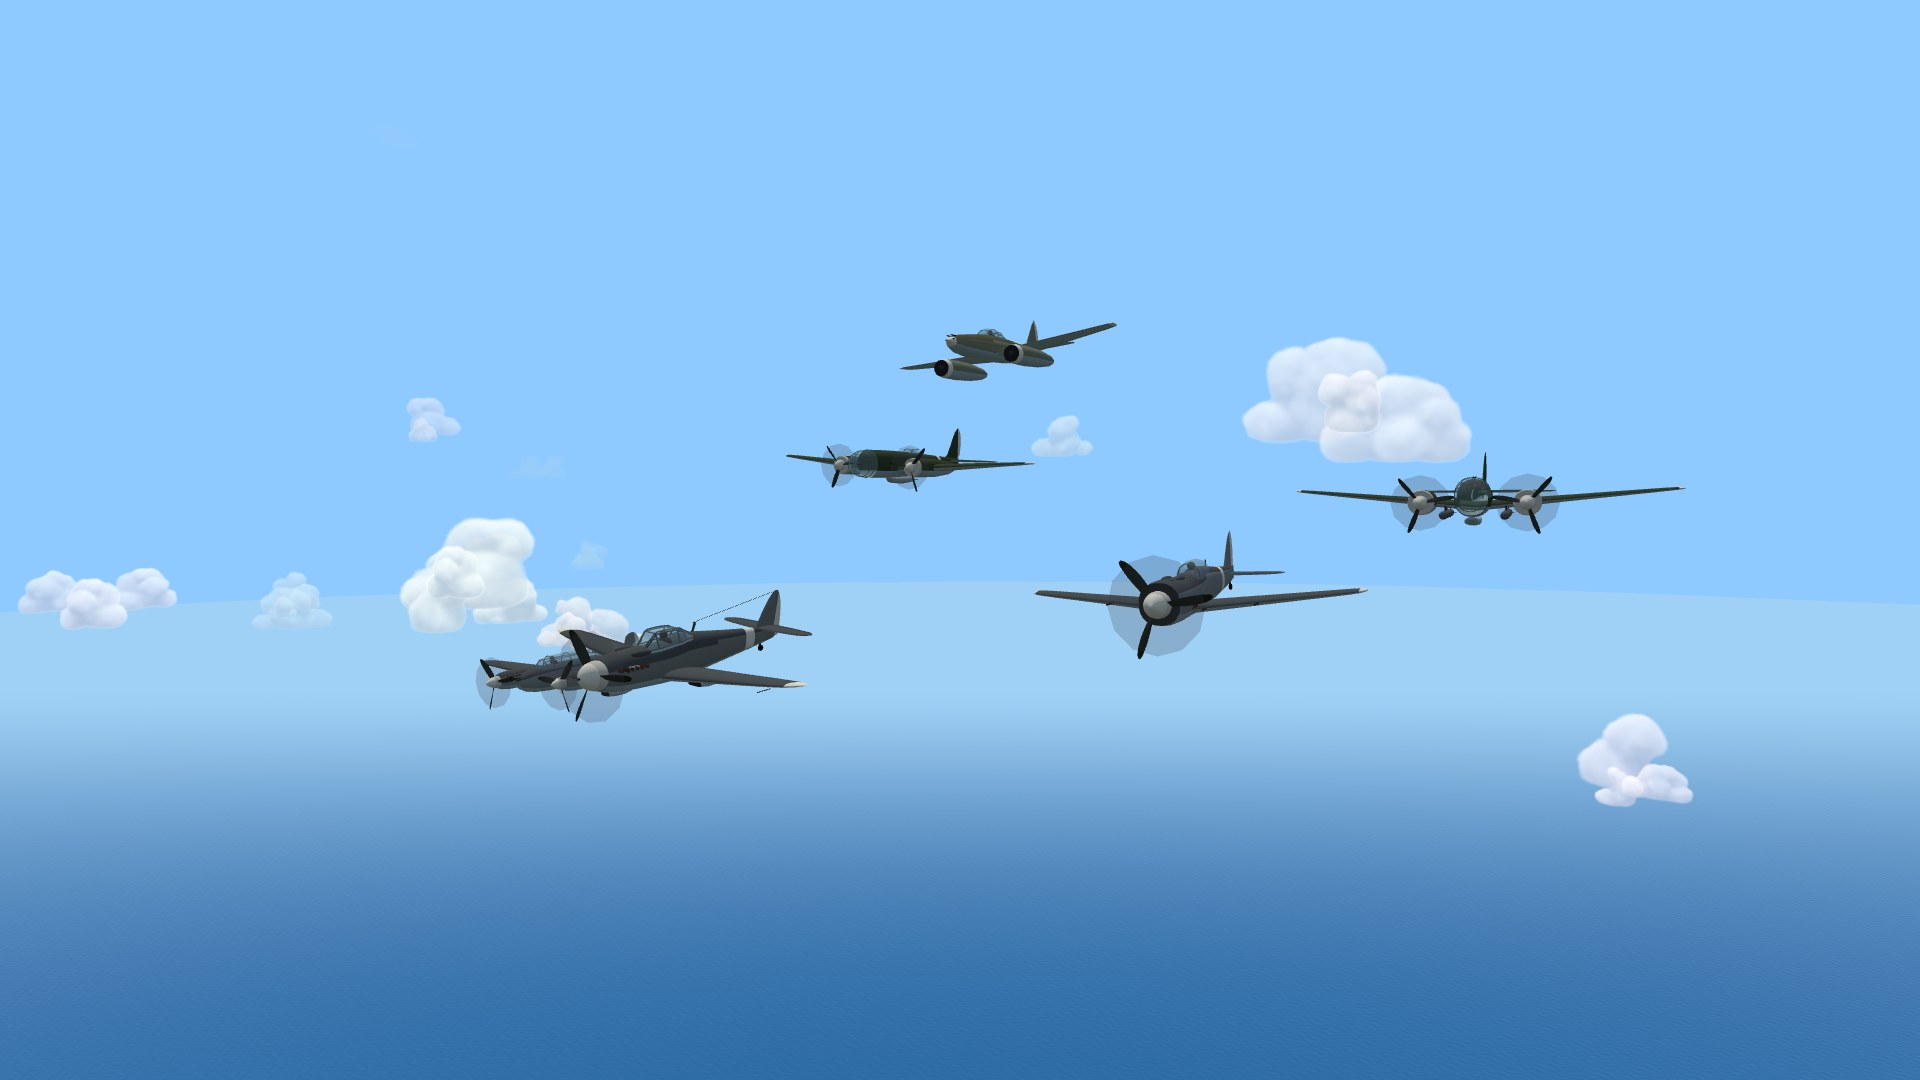
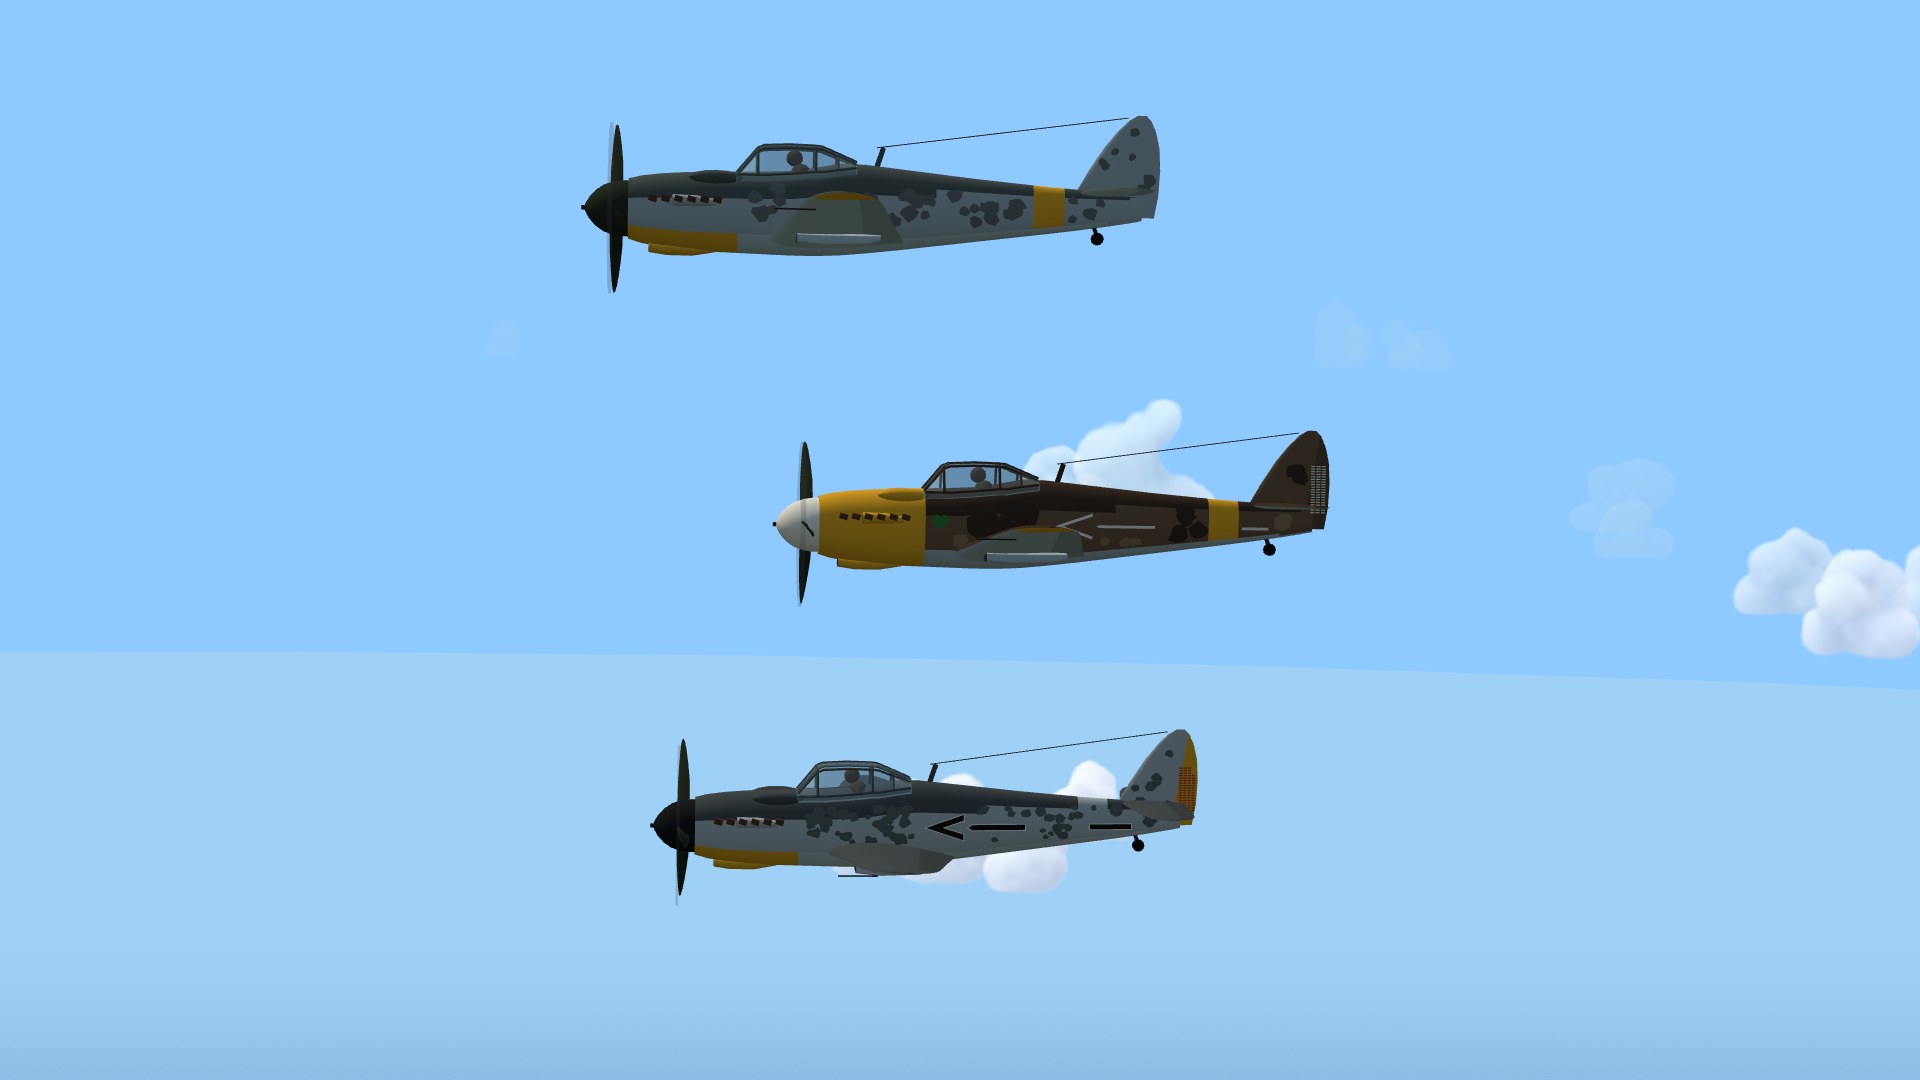
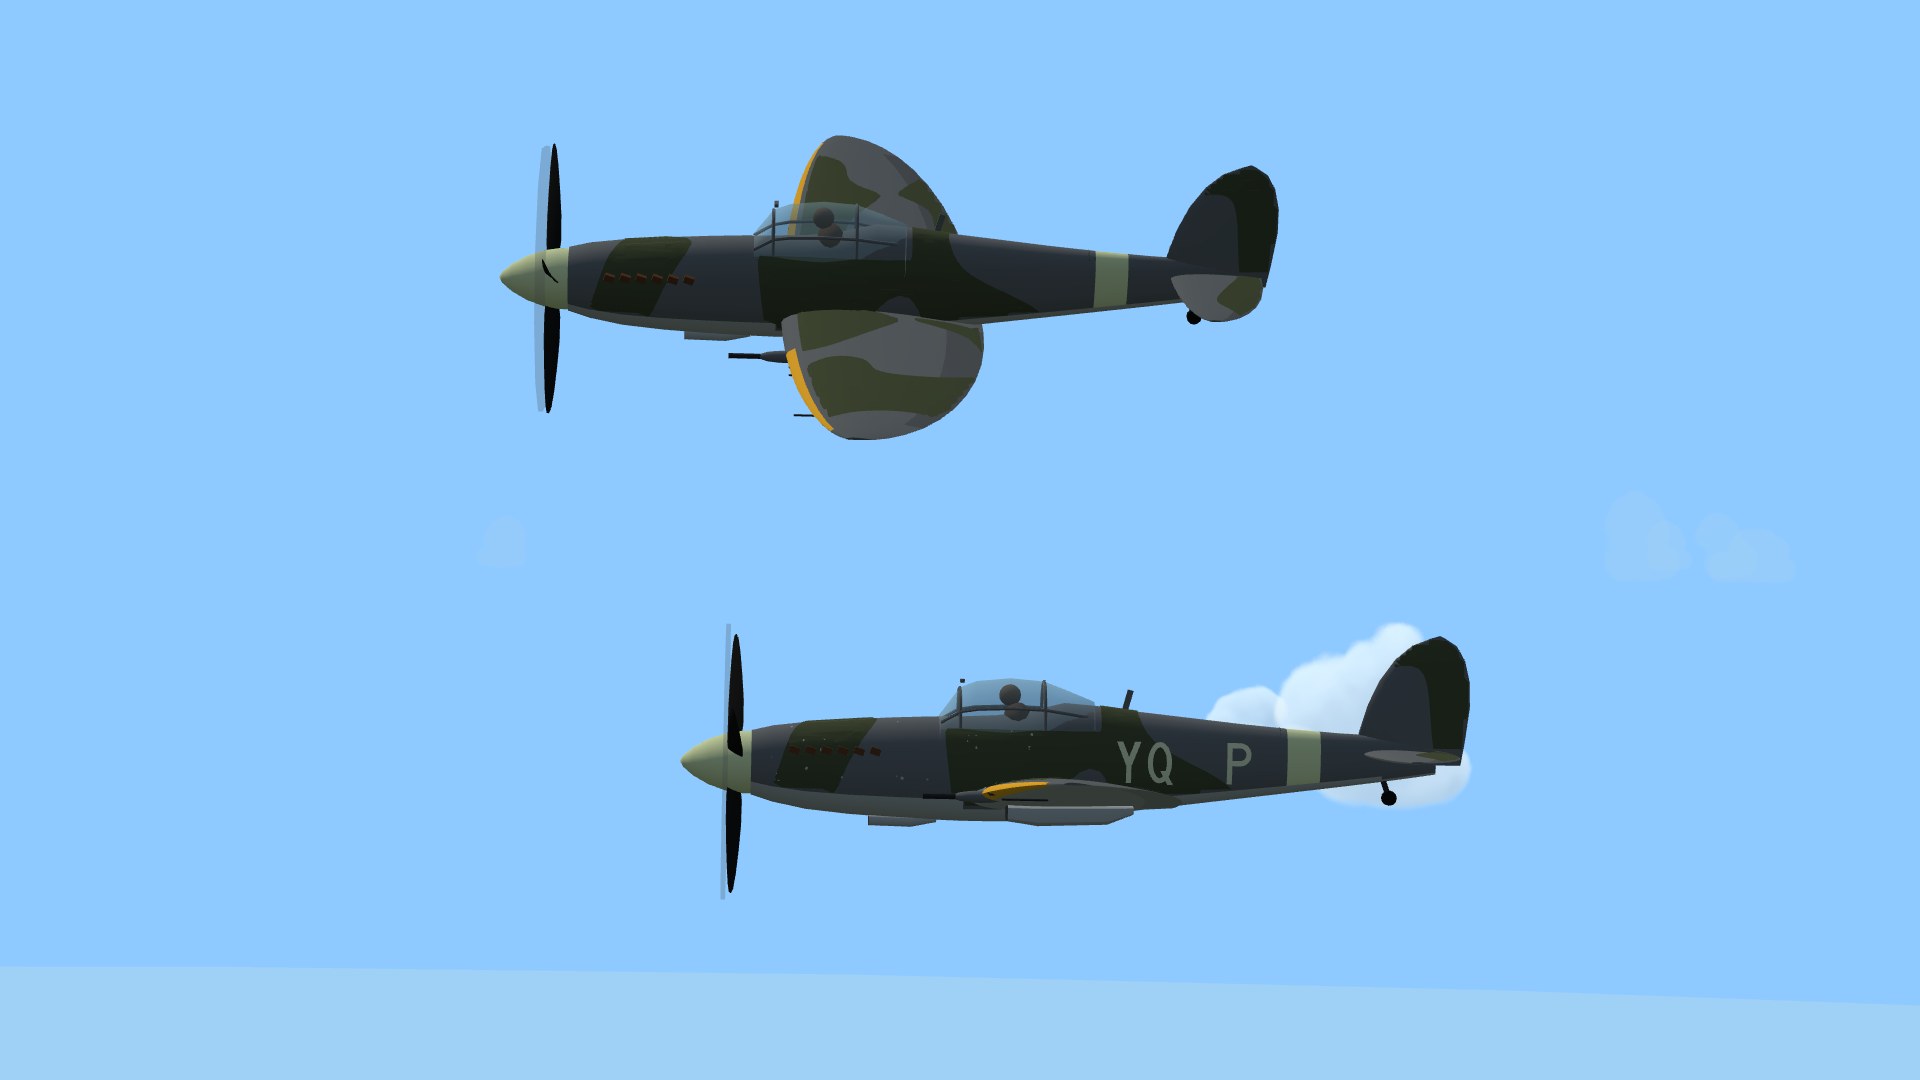
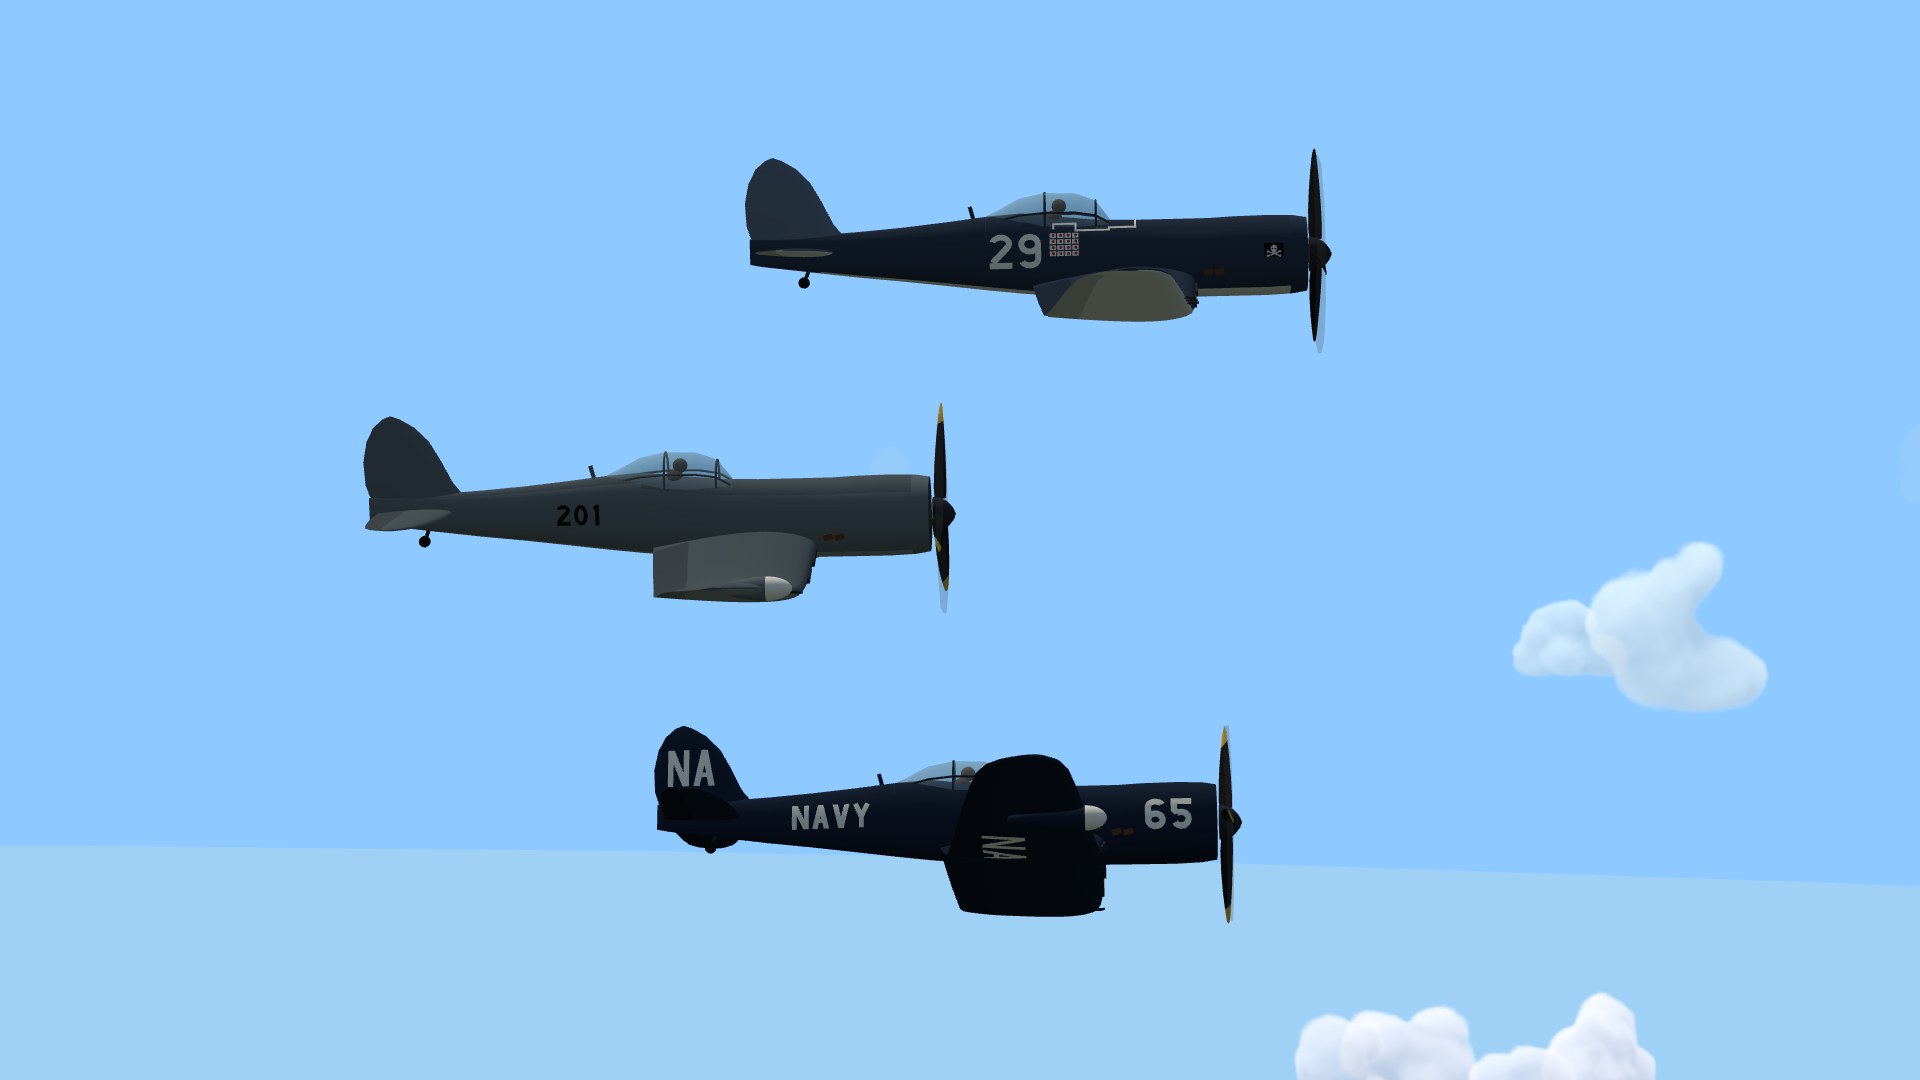
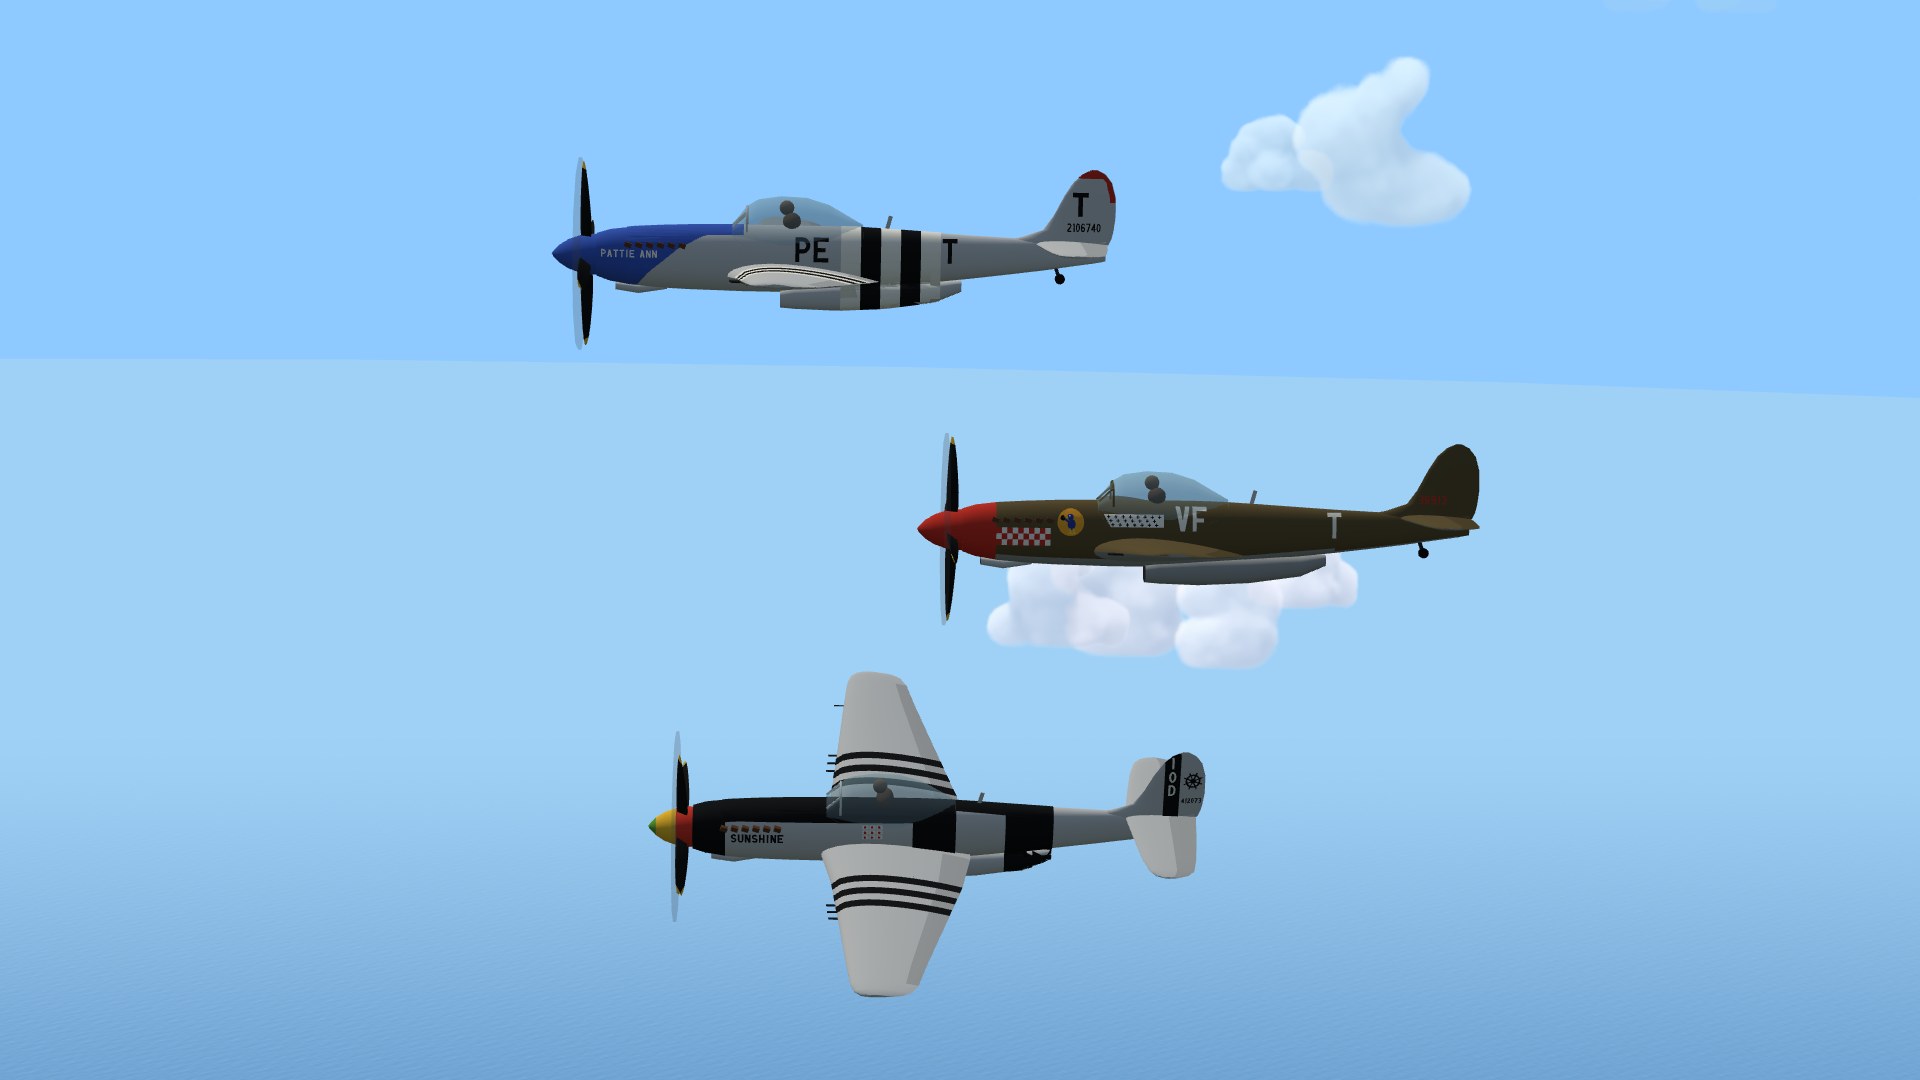
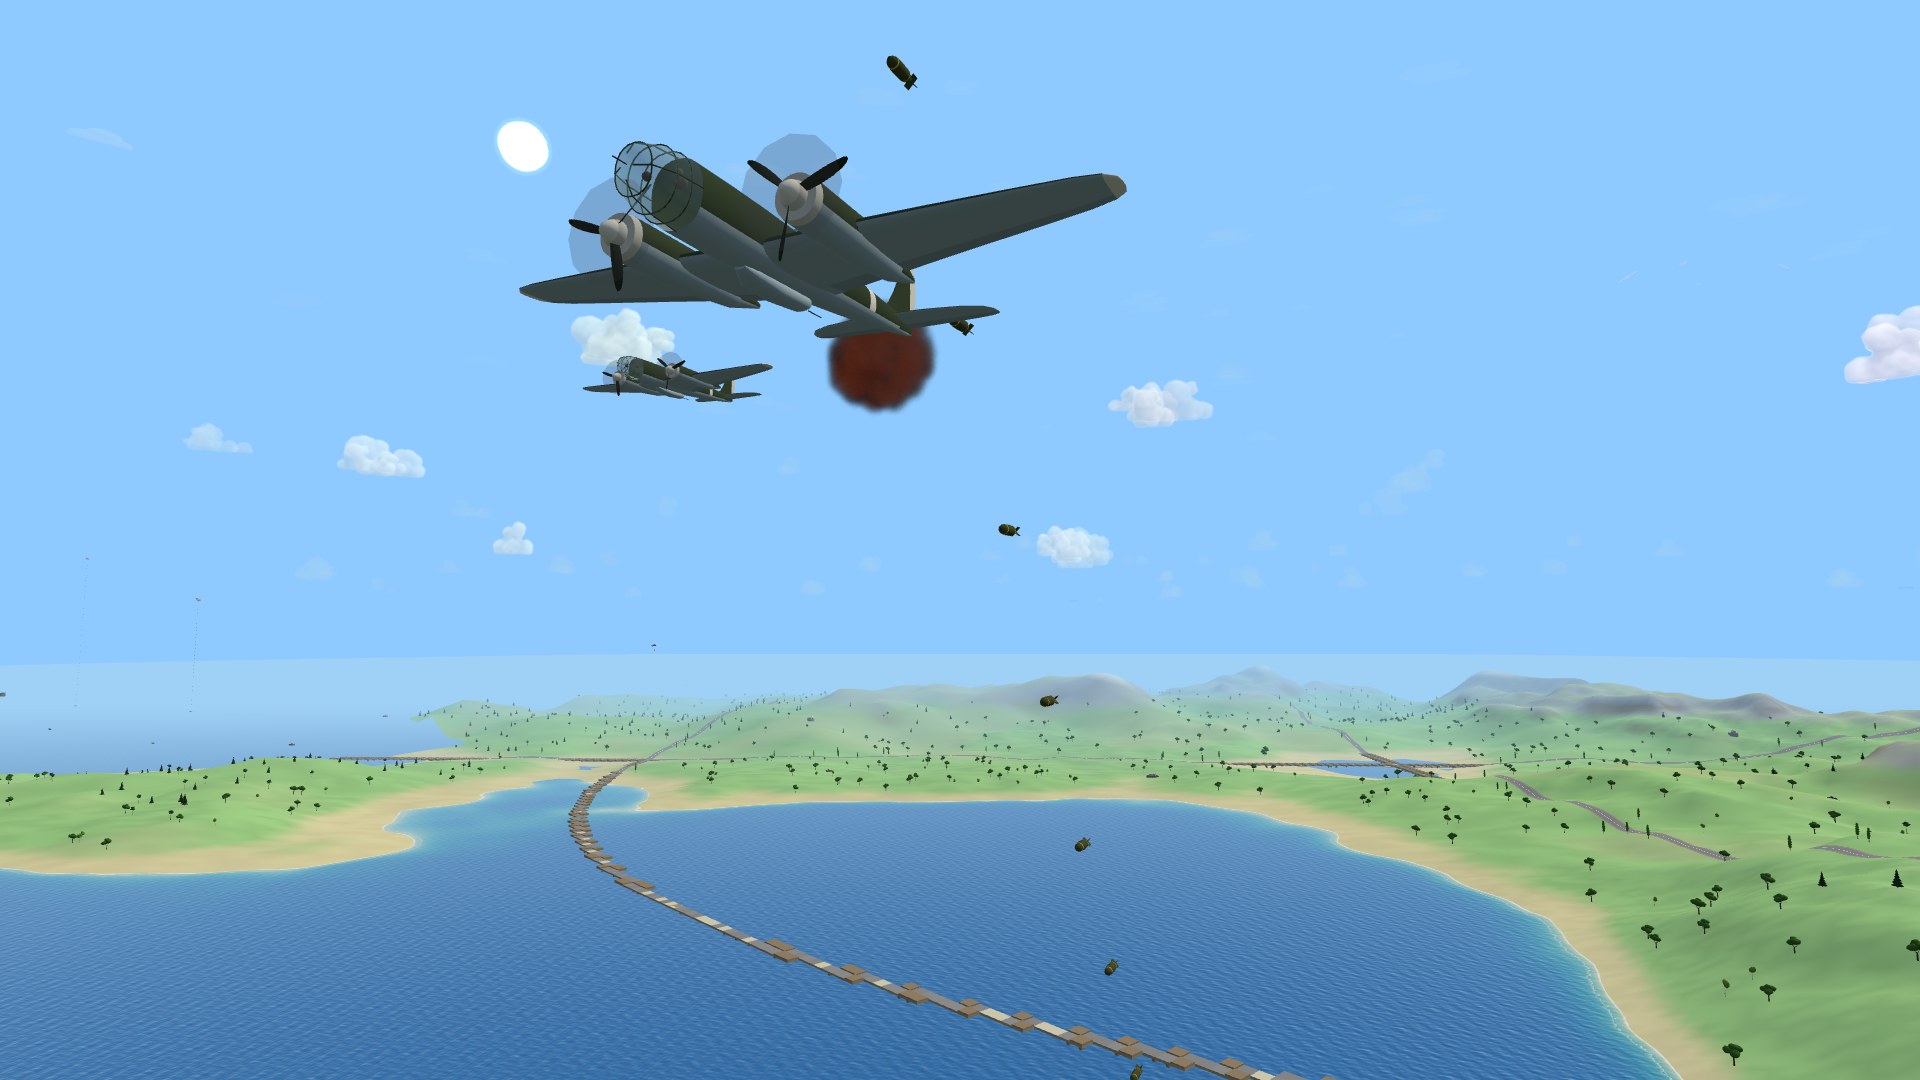
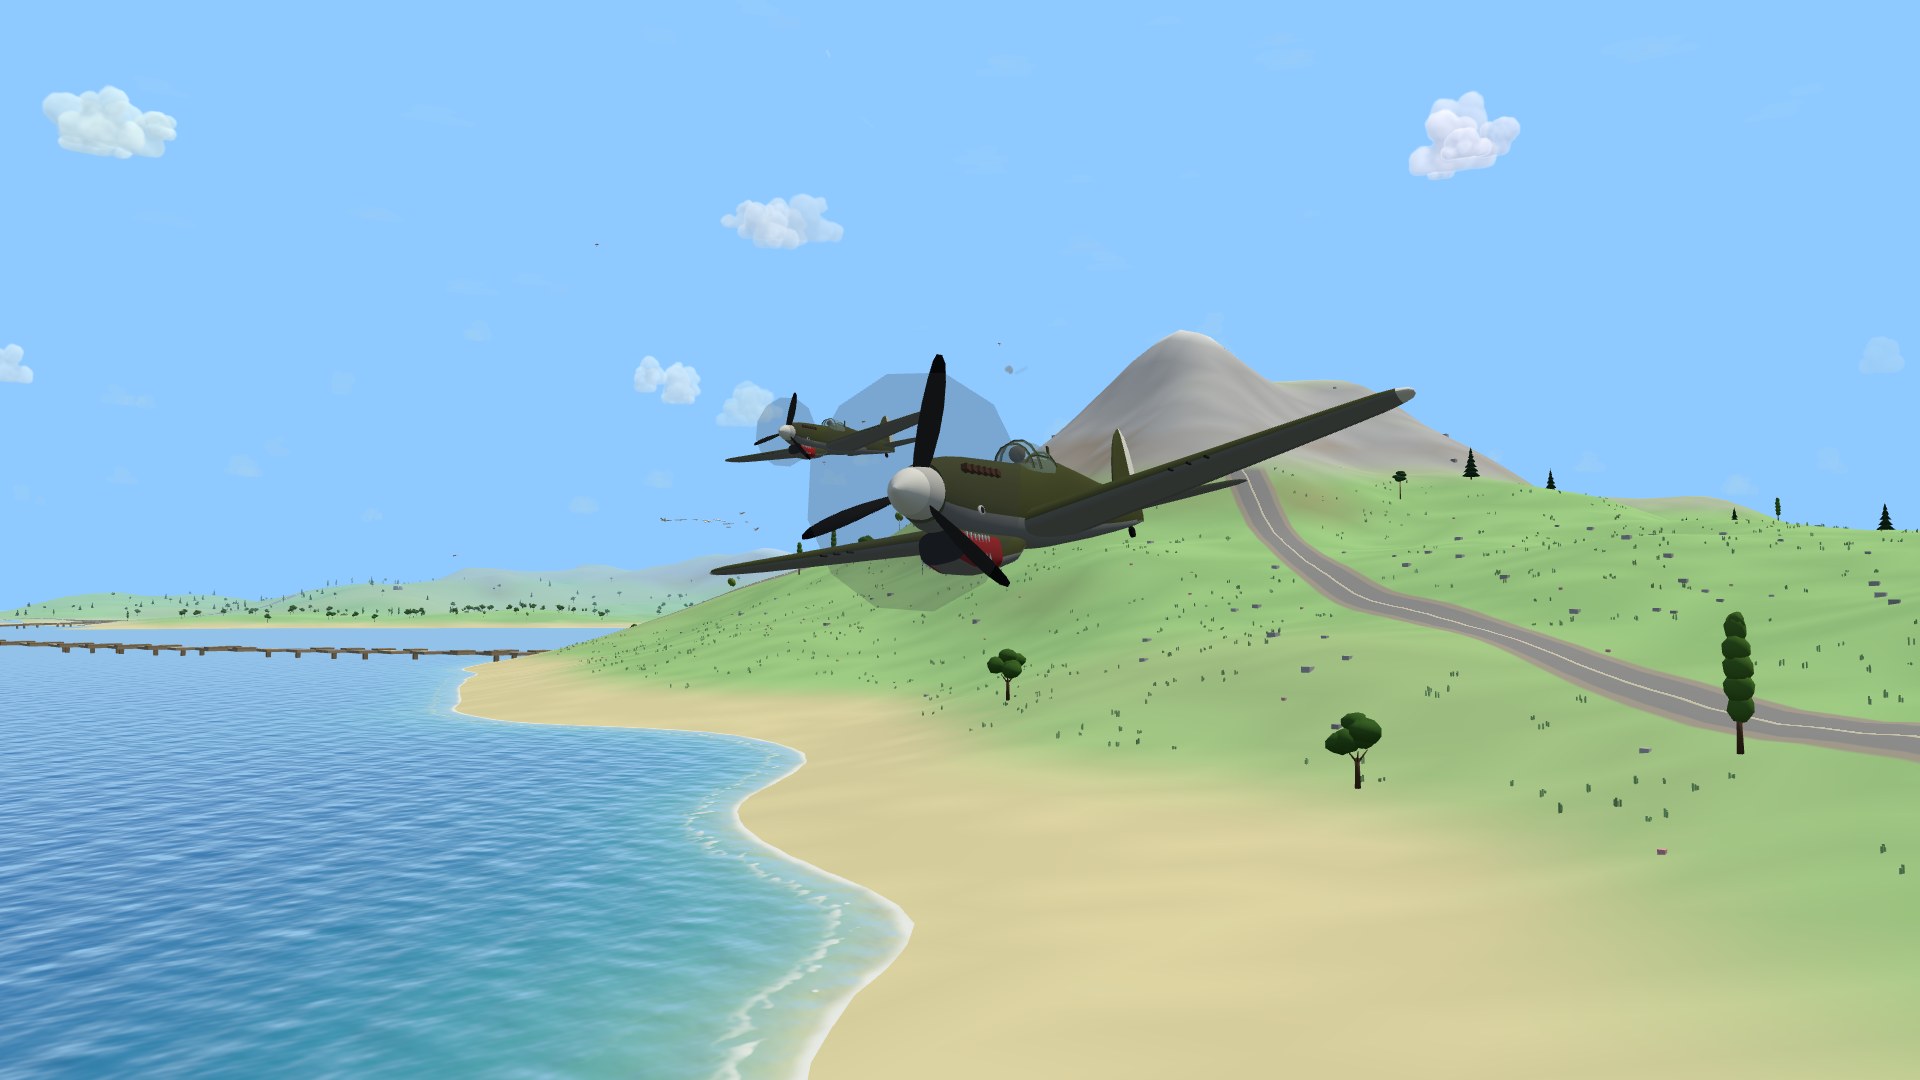
Behind the originals stand nine more airframes, every one flying its own way. The Bf 109 G climbs like a lift and fires a 30 mm cannon straight down the spinner, with a 13 mm machine gun either side over the cowl. The Fw 190 A-8 rolls faster than any other propeller plane in the sky, with four 20 mm cannon in the wings, two more guns over the cowl and a tough radial up front. The shark-mouthed P-40N Warhawk turns tight and soaks up punishment, and the gull-winged F4U Corsair runs close behind the Mustang with eight rockets under its wings. The Bf 110 G Zerstörer brings a nose full of guns, two 20 mm cannon under four MG 17s; the A-20 Havoc brings six fifties in its gun nose and six bombs at treetop height. The Ju 88 A-4 carries two torpedoes and the engines to run home afterwards, and the glass-nosed He 111 H is the second ride with a bombsight, eight bombs in the bay. At the end of the line wait the airframes you earn: the Spitfire Mk XVI at 5 career kills, the Me 262 Schwalbe — the first jet fighter, 30 mm cannon and rockets — at 10, the cannon-armed F4U-1C Corsair at 15, and the F-104 at the top of the ladder. The bots fly every airframe but the ones you earn, so you'll meet 109s over the ring and Heinkels droning at your flak.
The F-104 — earned, not issued
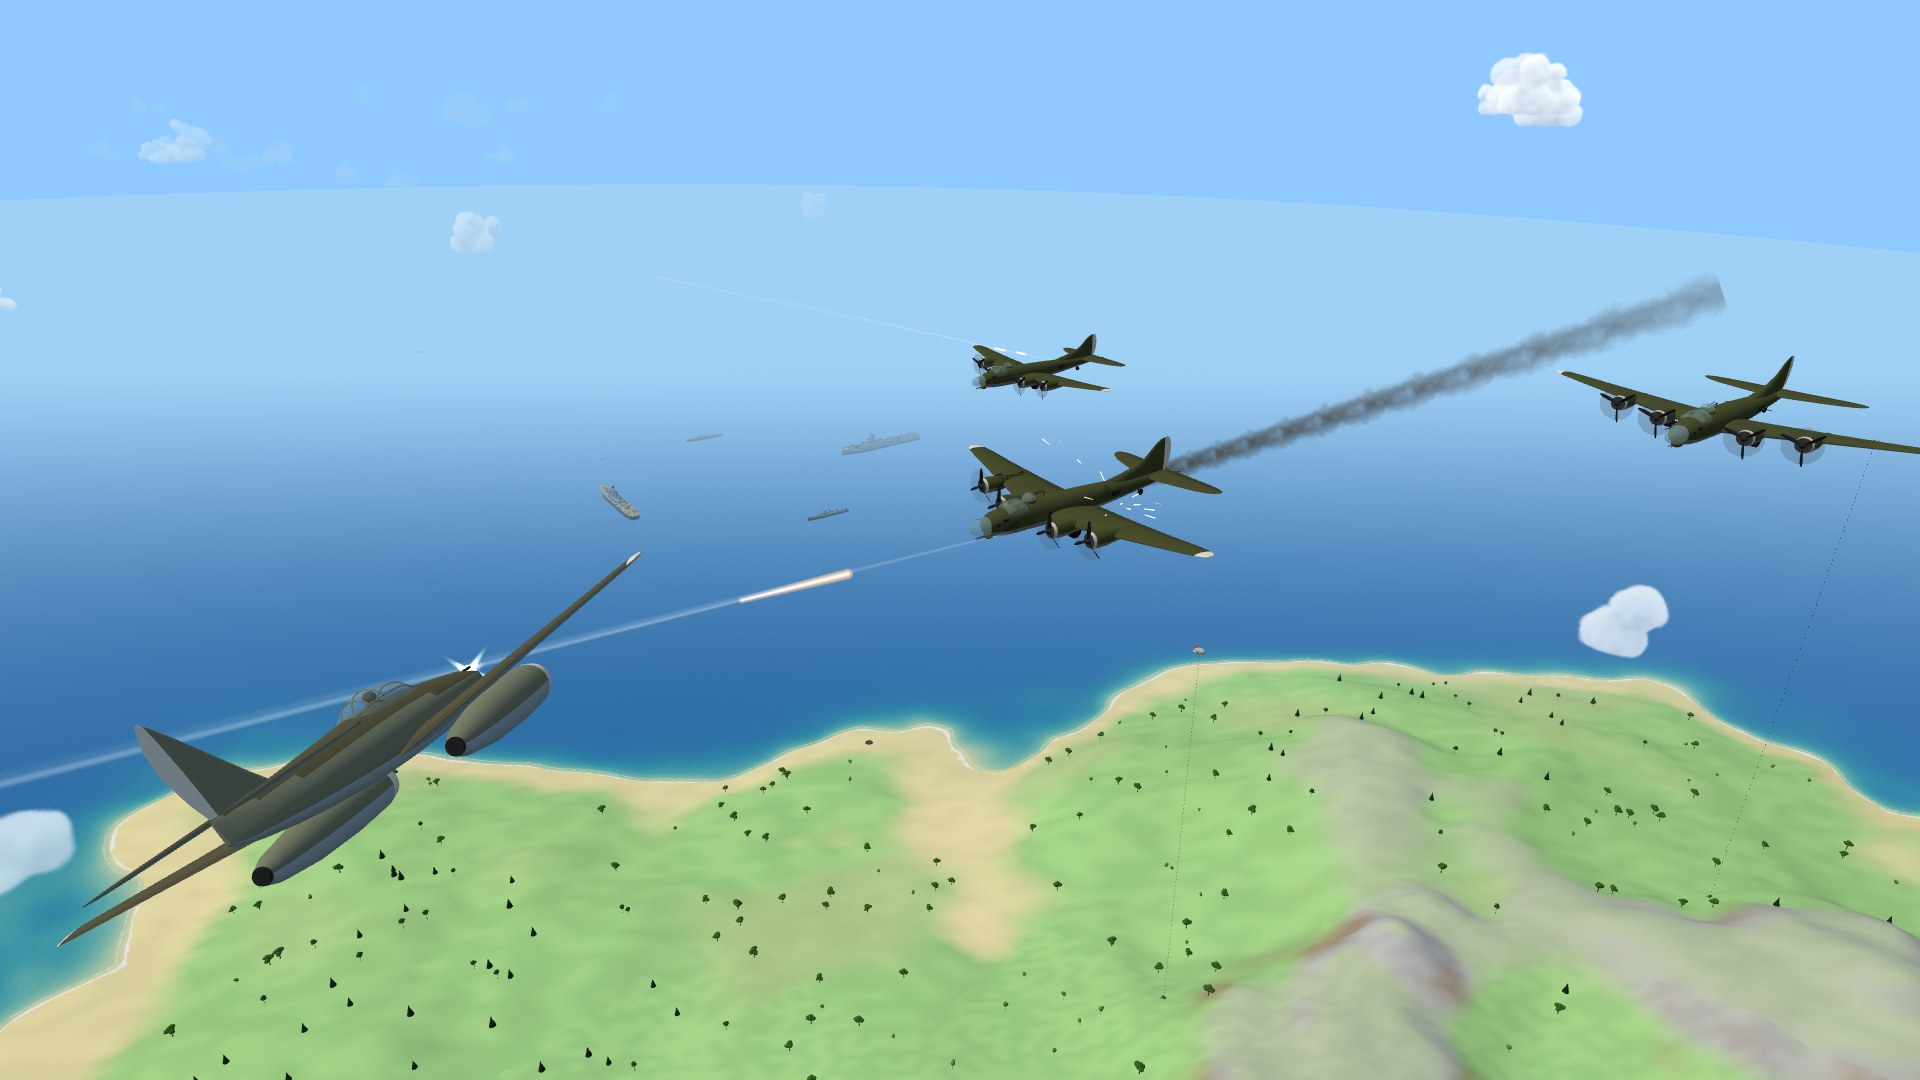
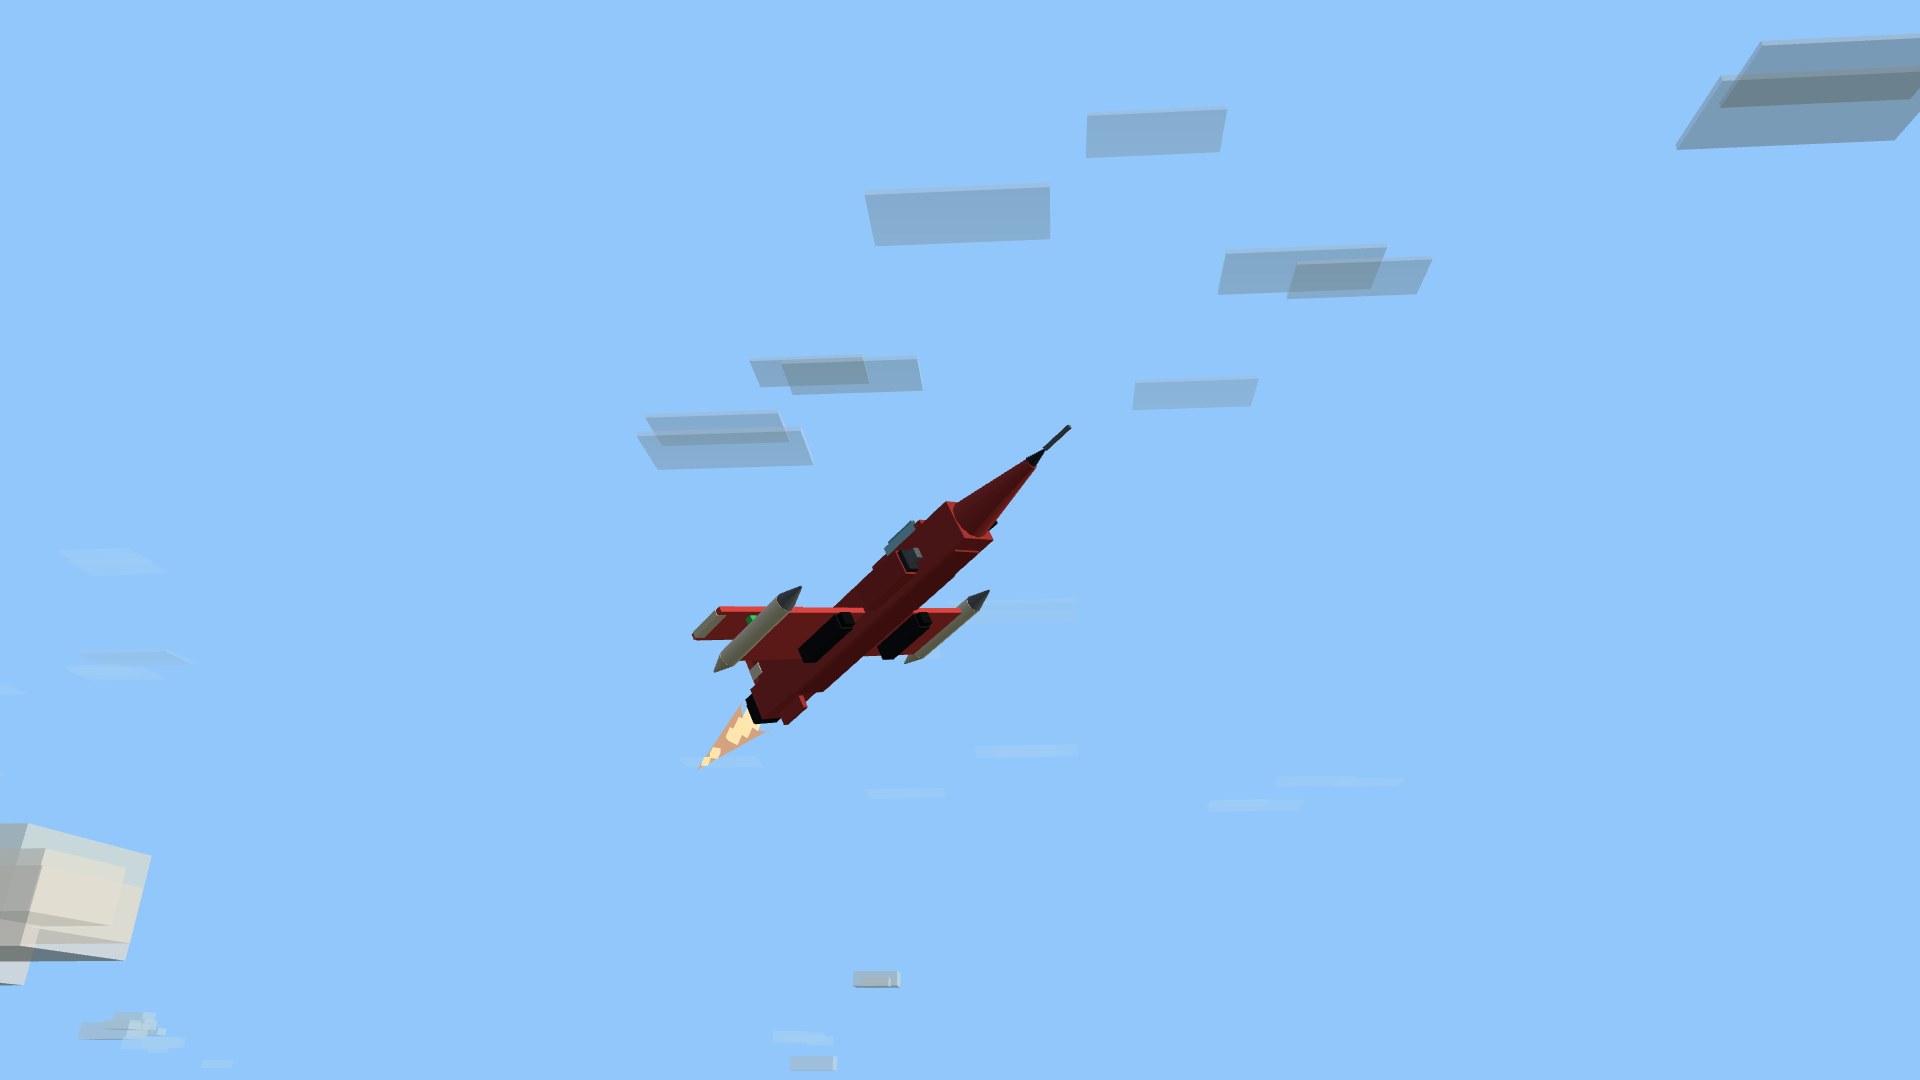
At the top of the ladder sits the last career-locked airframe: the F-104 Starfighter, a jet from the war after this one — a needle-nosed pencil with razor wings, tip tanks and a T-tail, honest to its inspiration right down to the nickname: a missile with a man in it. It out-runs everything in the sky and turns like a freight train, so the prop rules don't apply — and neither do its weapons. The wing guns are swapped for a six-barrel 20 mm Vulcan spitting thirty rounds a second, and instead of bombs it carries a pod of fourteen unguided rockets that ripple off the rails nearly flat and burst on whatever they touch. Down 25 enemy planes across your career and the hangar card unlocks for good; until then it sits greyed at the bottom of the picker, counting your kills at you. Bots never fly it. You can take it for a spin in flight school first — the Jet & Rockets drill hands you one over an armored column, no questions asked.
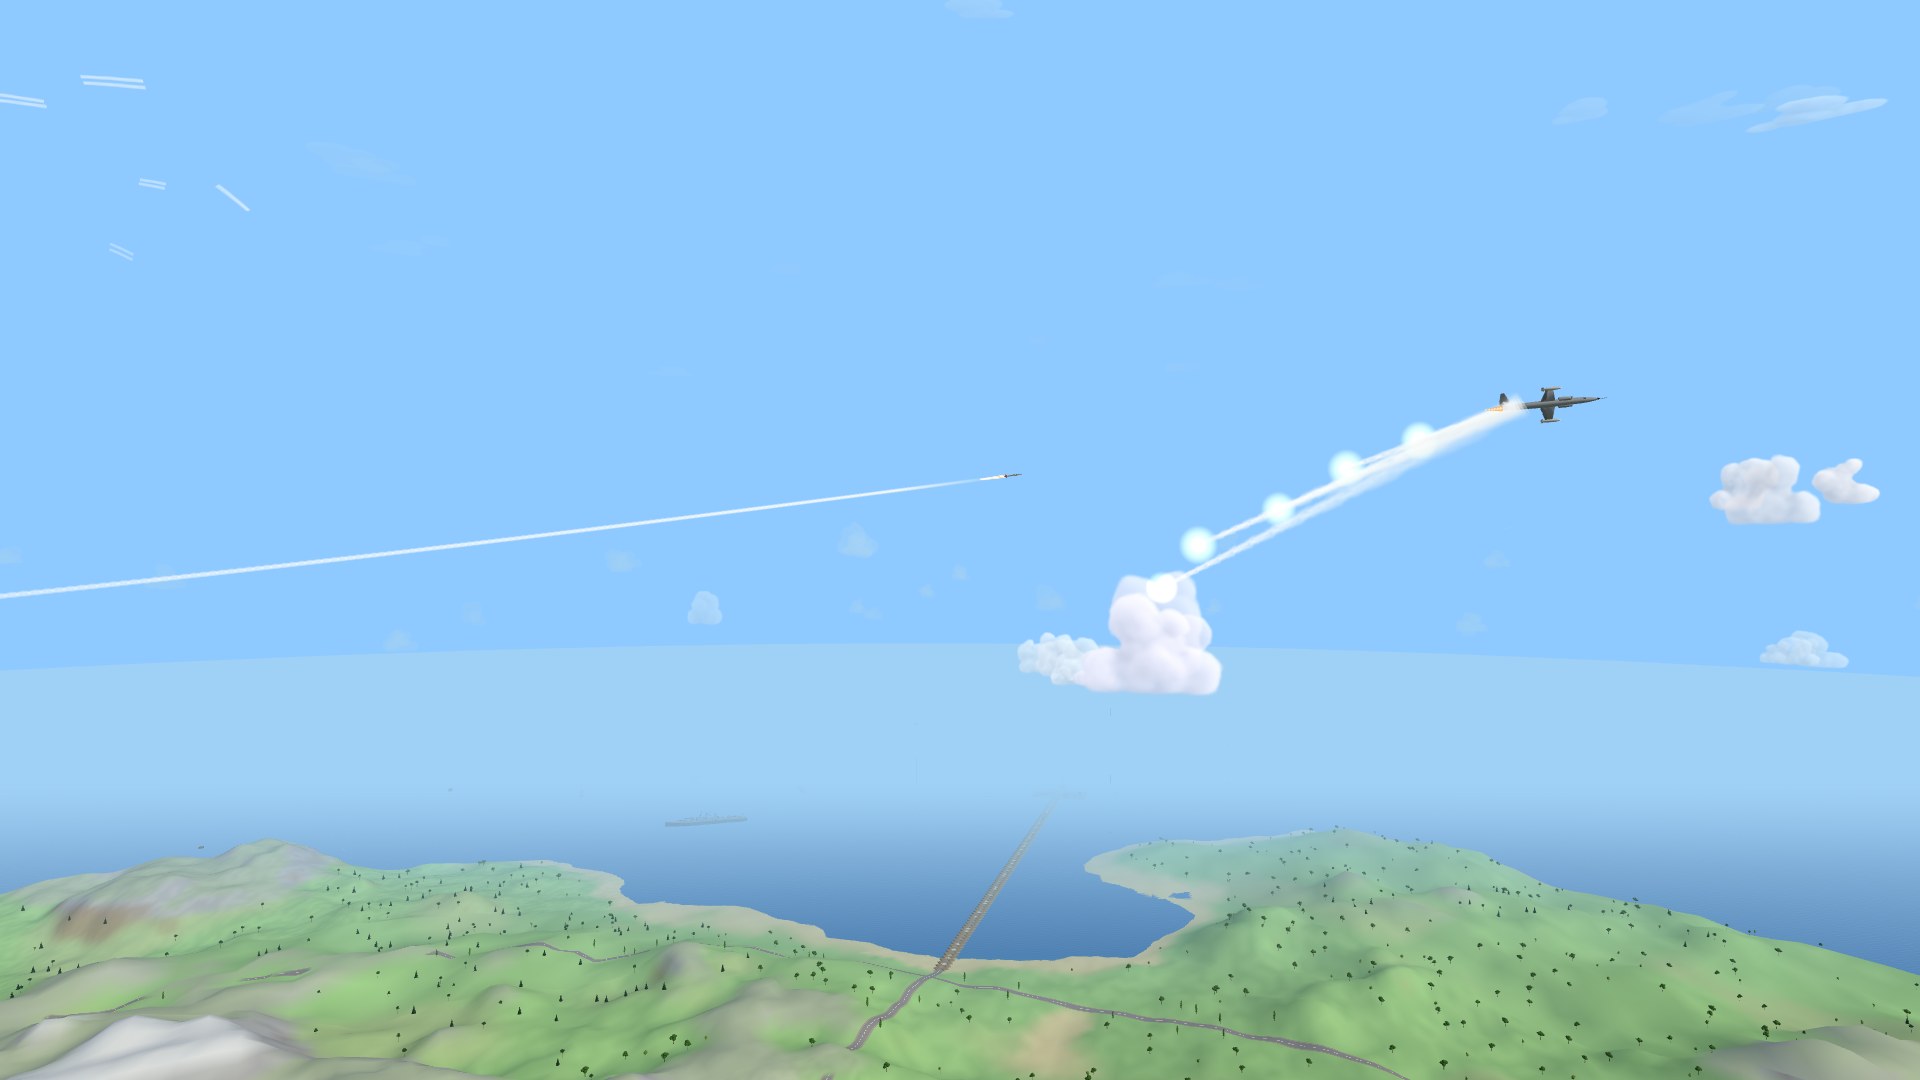
The Early Jets era — the same war, fifteen years later
The first time period: a combined-arms server flying the flag
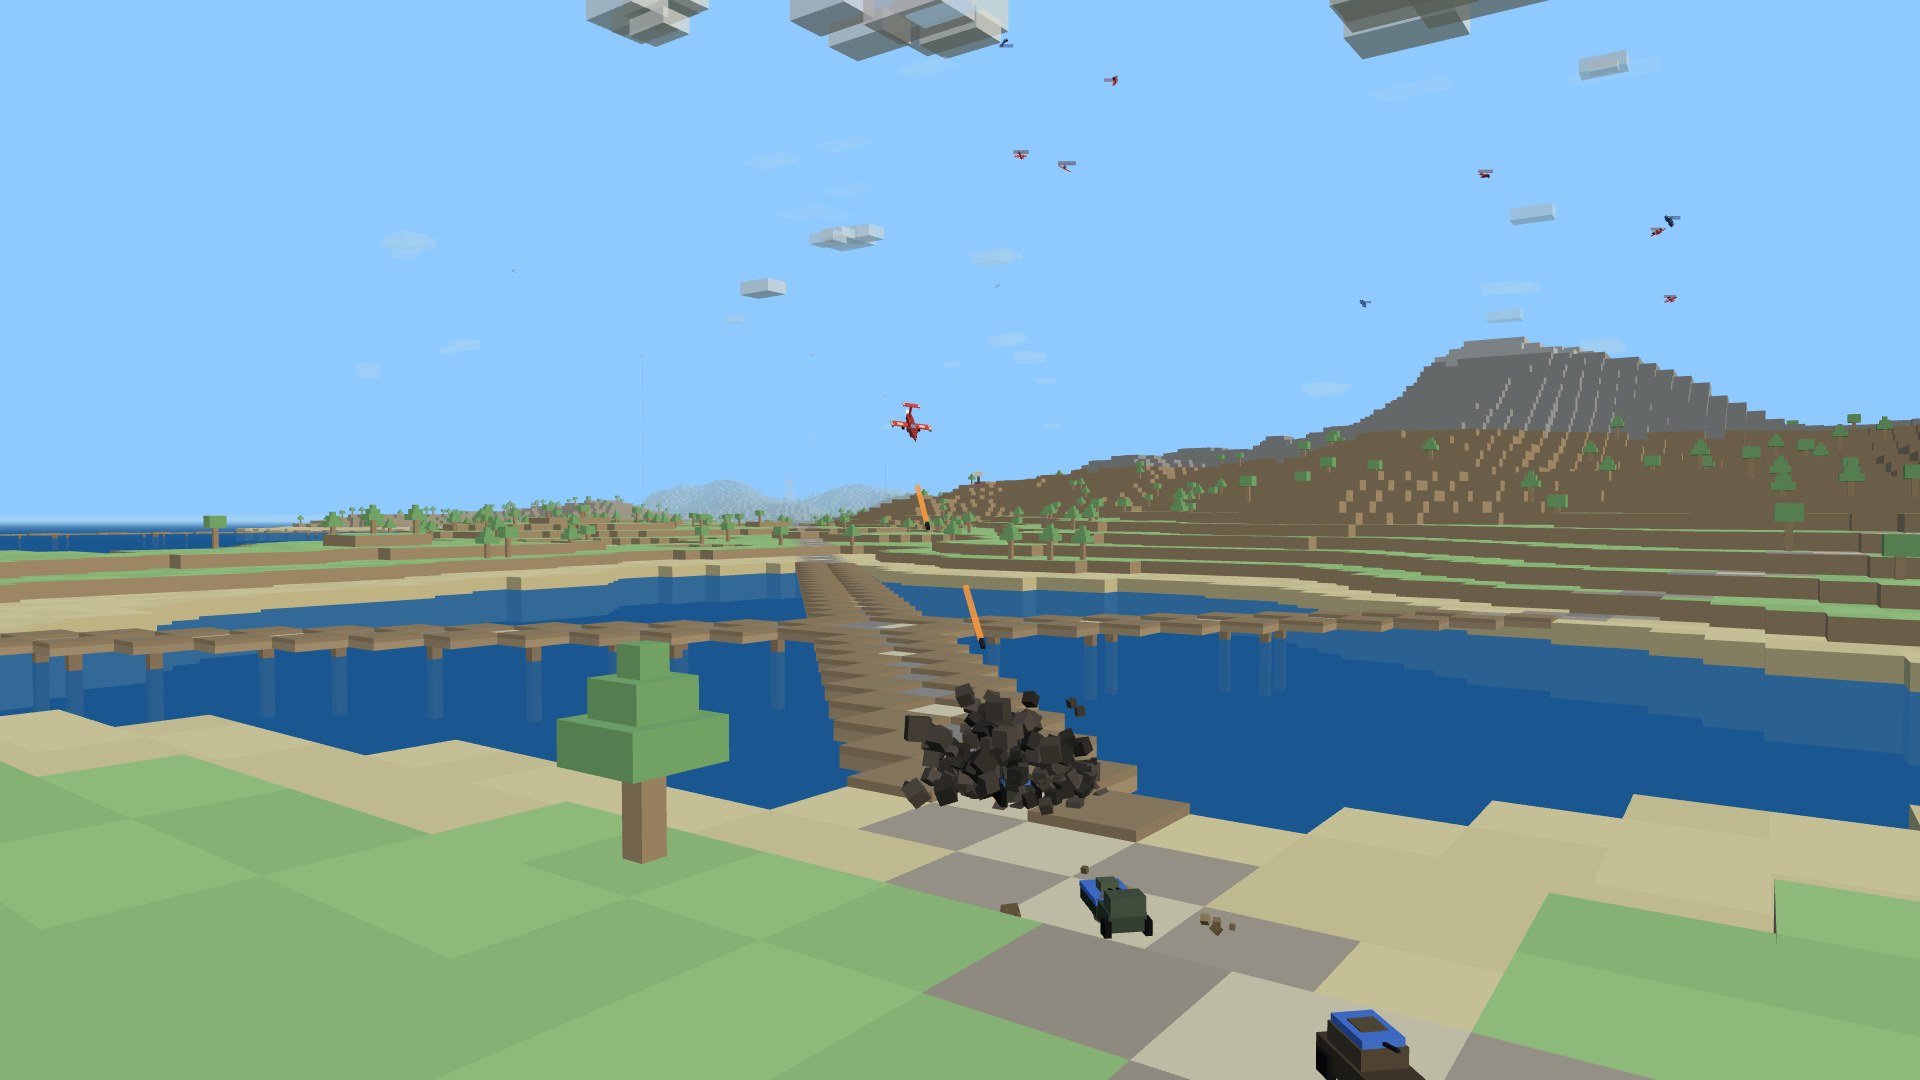
-era jets trades the prop hangar for the early jet age.
The F-104 becomes a starter instead of a trophy, and three
new airframes join it: the MiG-21, a delta-winged
point-defense dart that accelerates like sin and bleeds like it too;
the Phantom, a two-engine missile truck with four rails, a bomb
load, and a strapped-on gun pod that wobbles exactly the way the
real lesson said it would; and the B-52, a stratofortress
that carpets a grid square per pass and defends its six with a
crewable quad-.50 sting.
The era's signature is the boresight heat-seeker, modeled on the missiles of 1965 — which means modeled on their failures. The seeker only locks looking up a tailpipe: hold an enemy jet inside the ring, in the rear hemisphere, and the lock winds up over a long second before R puts it on its way. In flight it pulls modest G a hard low break defeats, its seeker window loses a target that out-turns it, a fraction of launches simply never guide — and flares (L) lie to it outright. Punch one with the missile in your mirrors and the round chases the burning lie into the dirt. Guns stay the finisher; the missile is the reach.
The ground shoots back in kind: each HQ and port hosts an SA-2-style SAM ring that owns everything above 350 m — your RWR chirps when its beam settles on you, rattles at launch, and the recovery is in the warning: dive below the beam (or bomb the site; its whole salvo dies with the radar). Friendly warships radiate as pickets that stretch the umbrella over the sea. At the quayside, the Osa missile boat carries four sea-skimming ship-killers that launch only at spotted hulls — countered by chaff-laced smoke and by the islands themselves. And your throttle is your infrared signature: a full burner is seen from farther and outshines your own flares; run cold to slip by.
Bomber crew
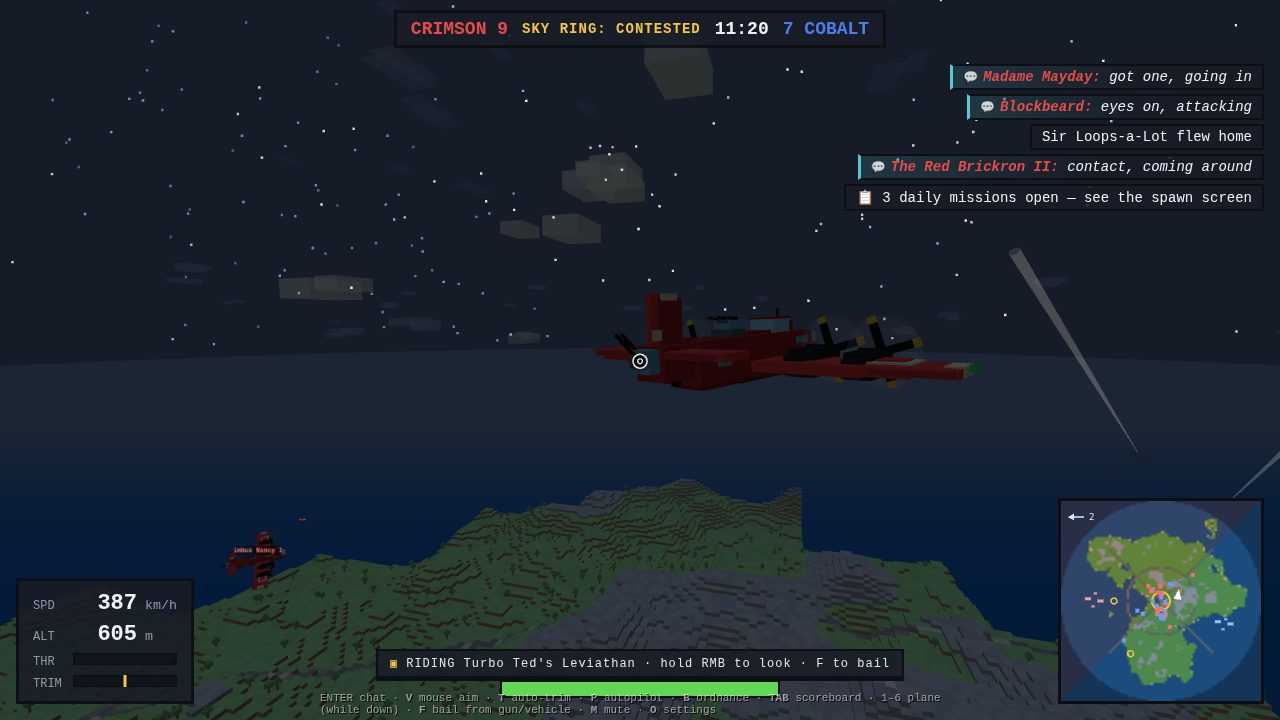
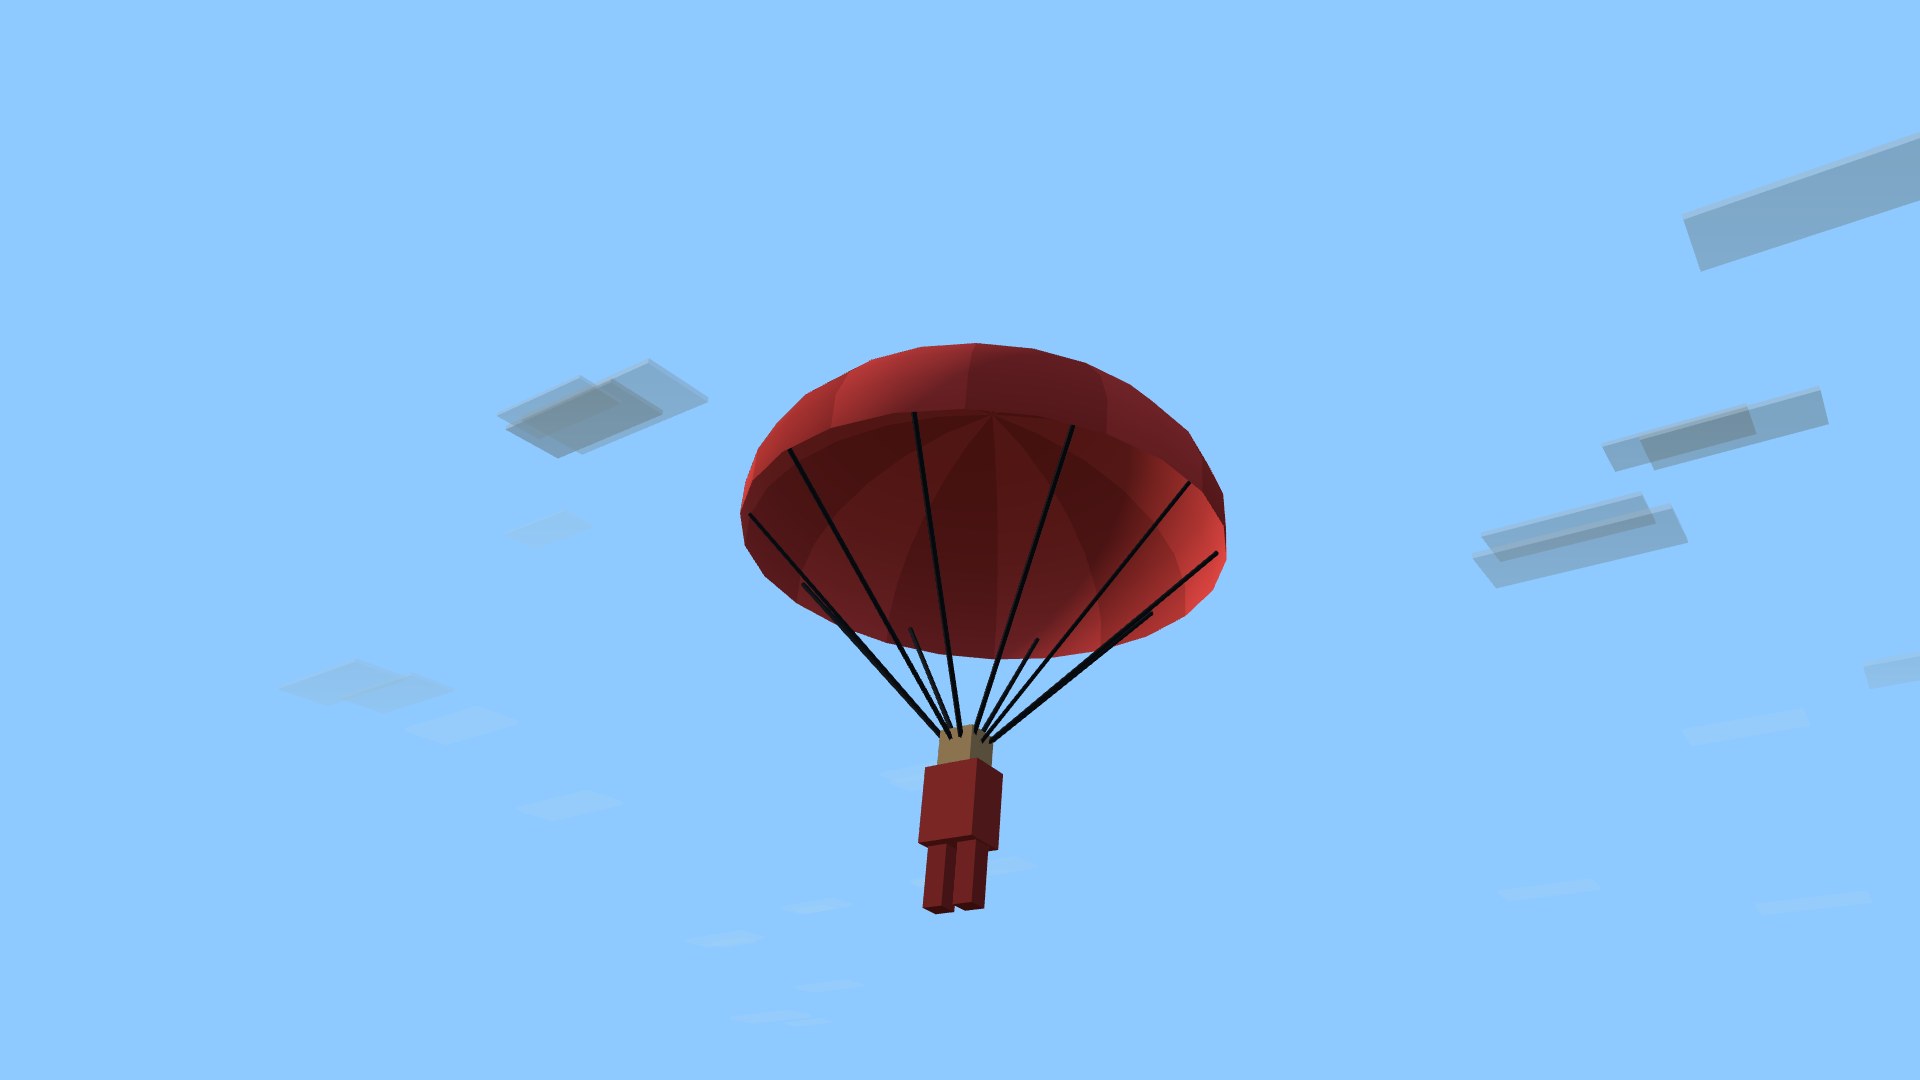
The B-17 is multi-crew. Two defensive gun stations, modeled on its real blister positions, take a second and third player: the tail gunner in the stinger covering the bomber's six, and the top gunner in the full-circle dorsal turret — each working a twin .50 cal that leads its own targets while the pilot flies the plane. Pick BOMBER CREW on the spawn screen and you're seated on the first friendly B-17 with that station free (crewed bombers first, bots welcome). Your aim rides the airframe through every bank, your rounds inherit the bomber's speed, your kills are yours — and the crew shares the bomber's fate: she goes down, everybody goes down. F bails out; the seat choice sticks across respawns, so a crew that dies together re-forms on the next bomber together.
You're crew, not cargo. Hold the look key (right mouse, or a drag on touch) to lift your eyes off the gun and take in the bomber you're riding — forward over the pilot, out at the fight, up at the sky — while a chip along the bottom always names whose plane it is and how to leave. And if no friendly B-17 is airborne when you pick a seat, you don't get quietly handed a fighter: you wait for a bomber, and the moment one climbs out, you're in its tail seat — or grab another unit and fly now.
Easy to fly, honest underneath
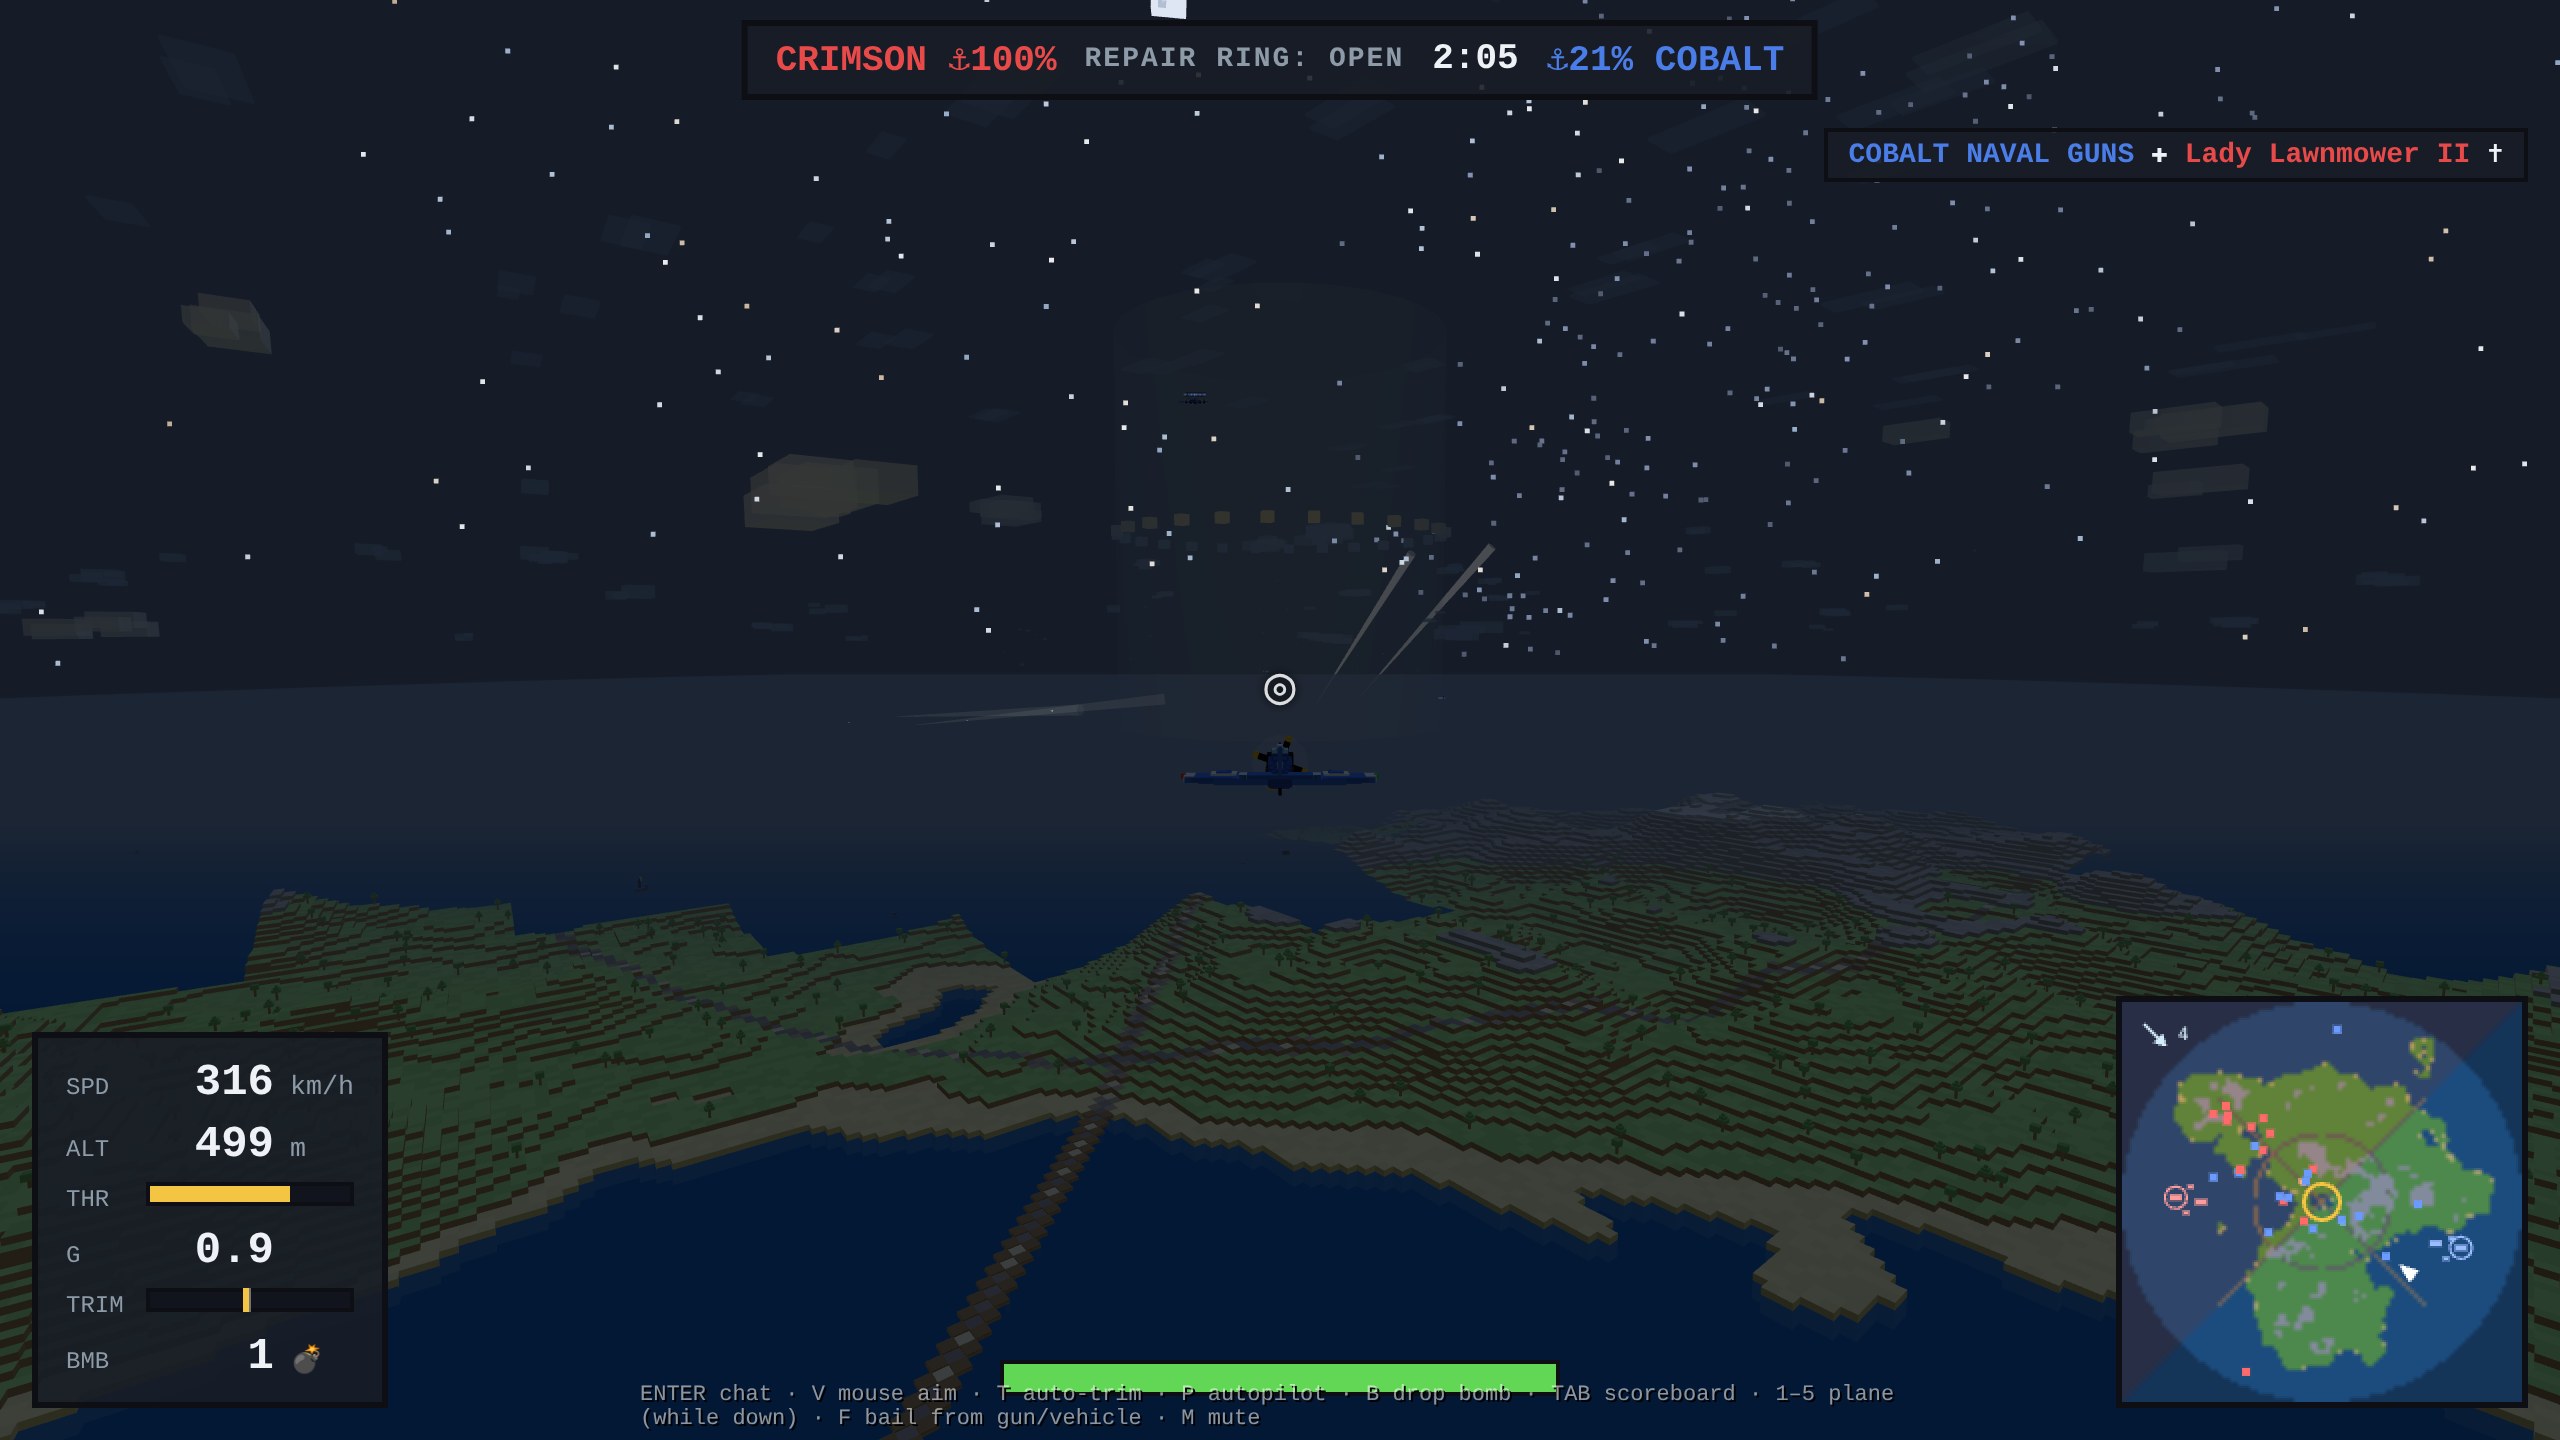
The plane flies on a real six-degree-of-freedom model — lift, drag, stalls, the works — which used to mean fighting a constant sink just to stay level. Now auto-trim holds your altitude for you: take your hands off and the nose stays where you left it, so you can look around, line up a shot, or just cruise. Pull, push, or roll into a turn and it bows out instantly — you always have the plane. The little TRIM strip on the gauges shows it working; tap T to switch it off if you'd rather fly it all yourself.
Battle damage
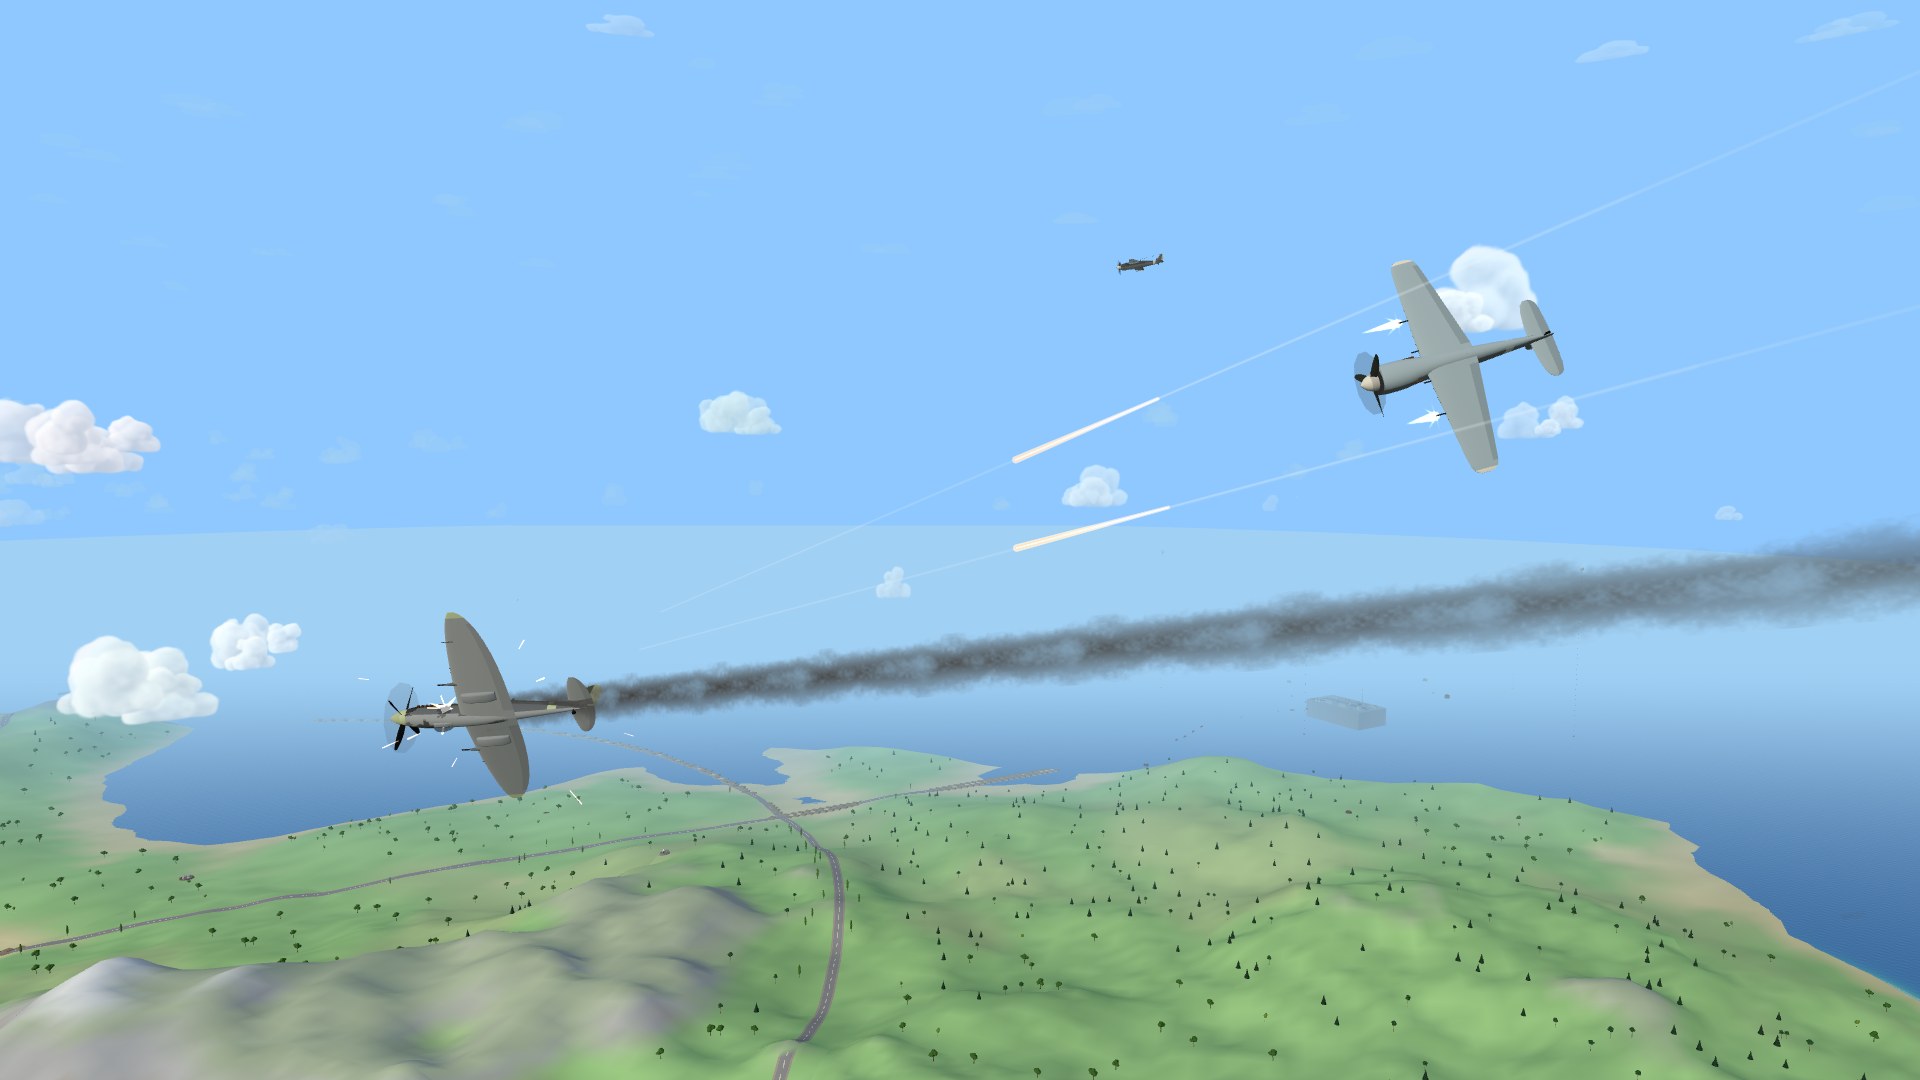
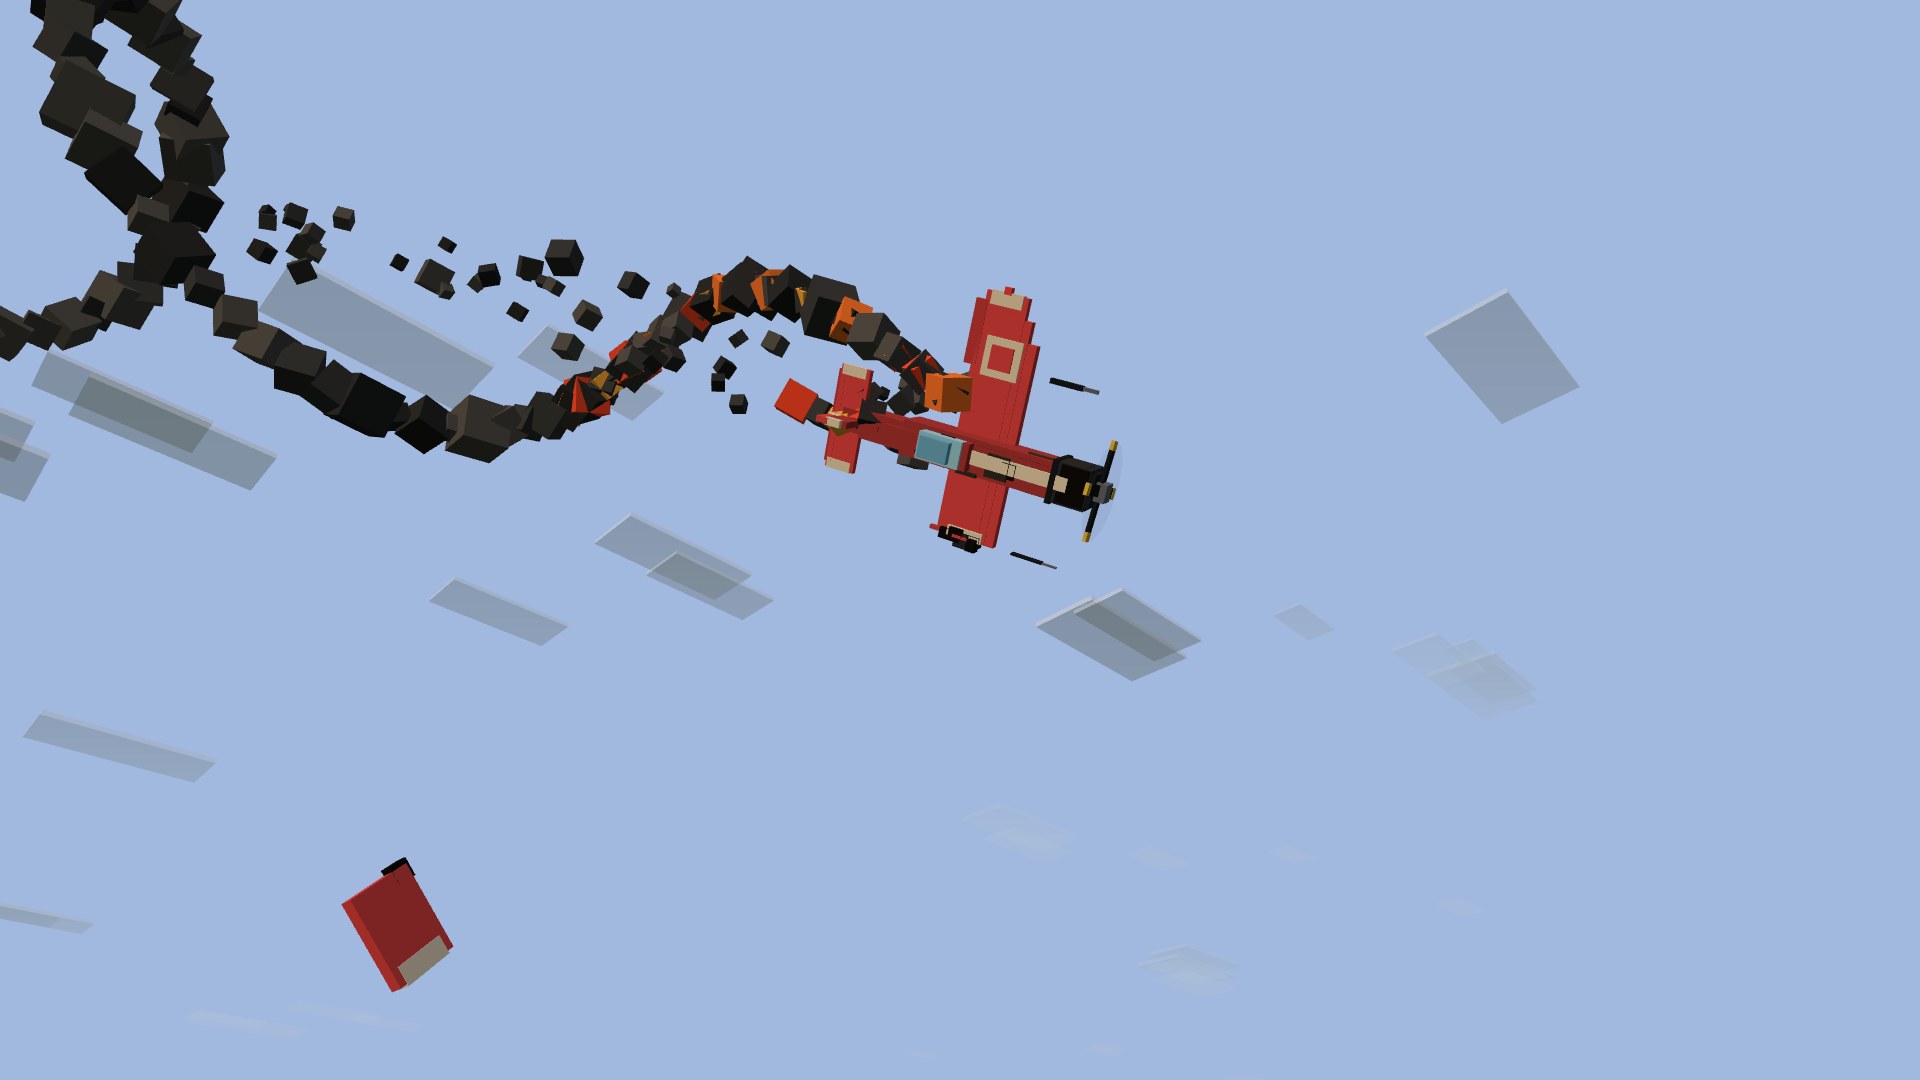
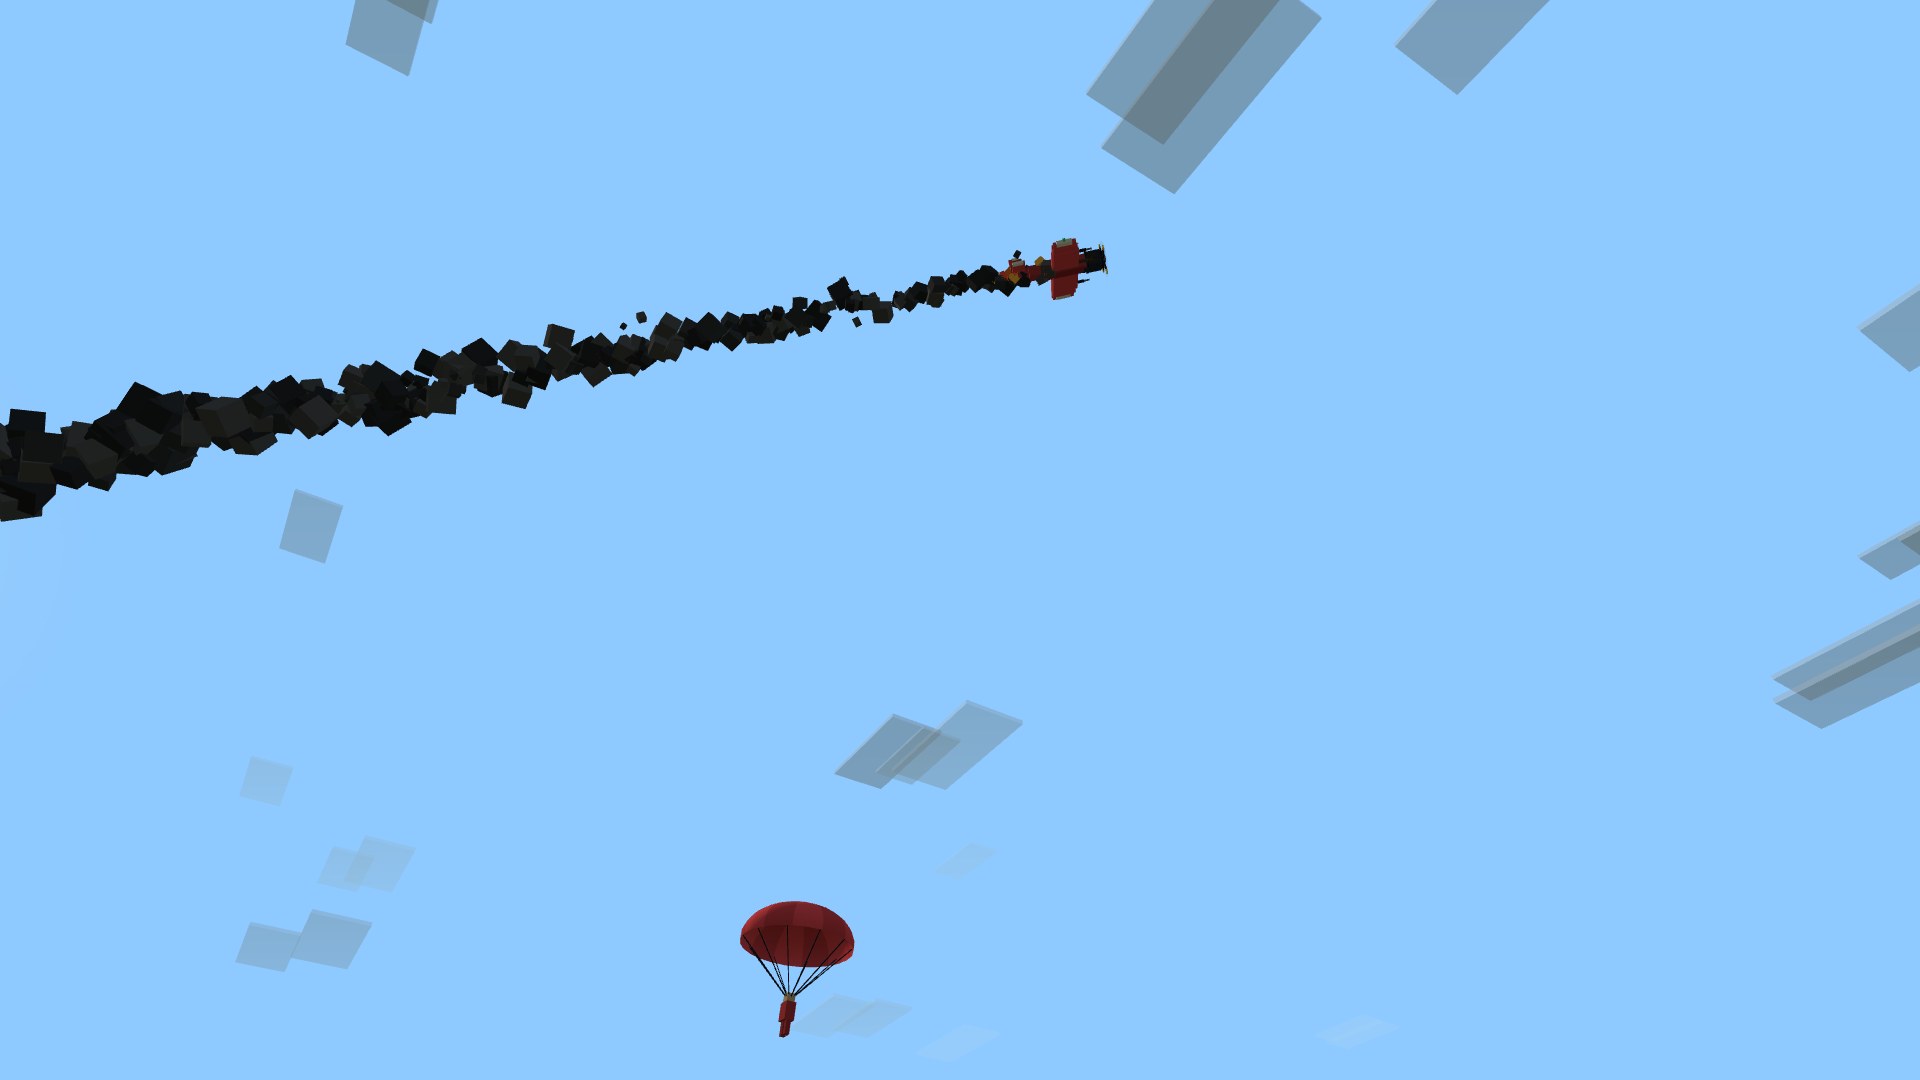
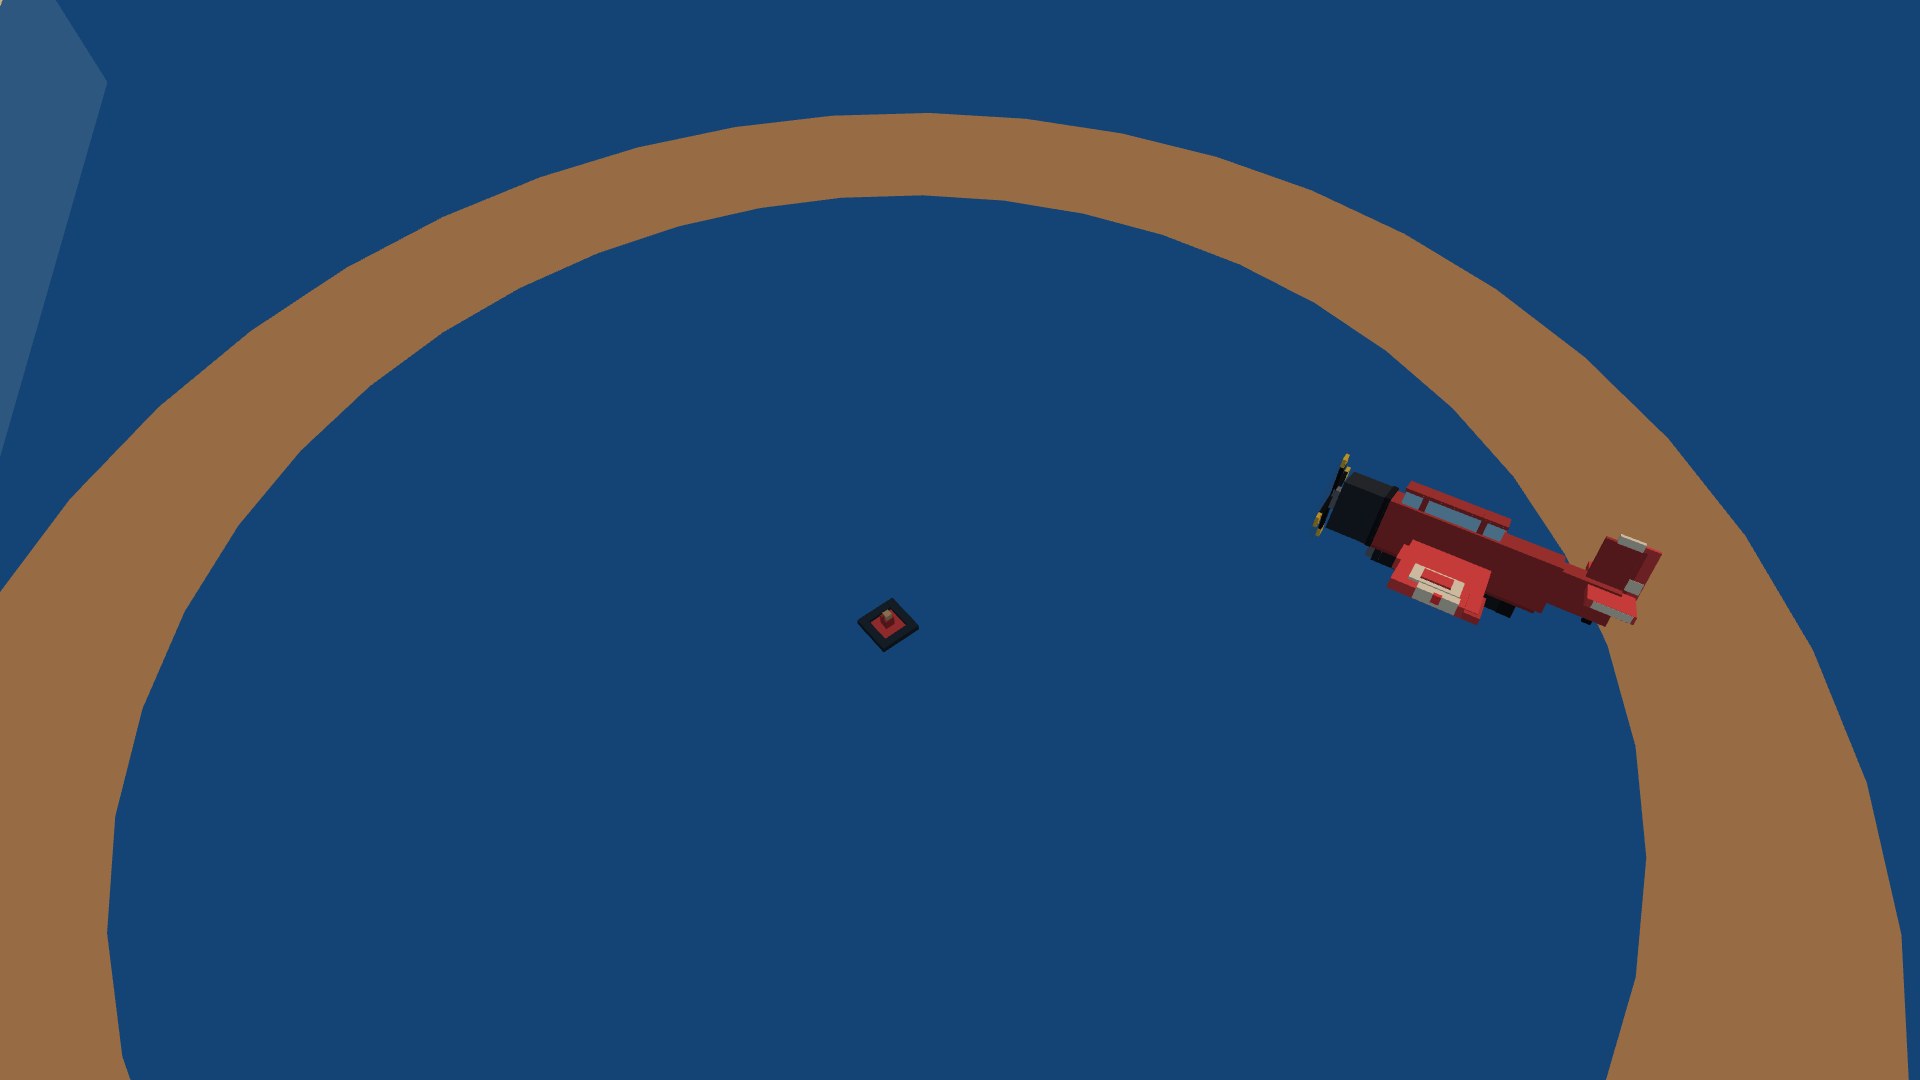
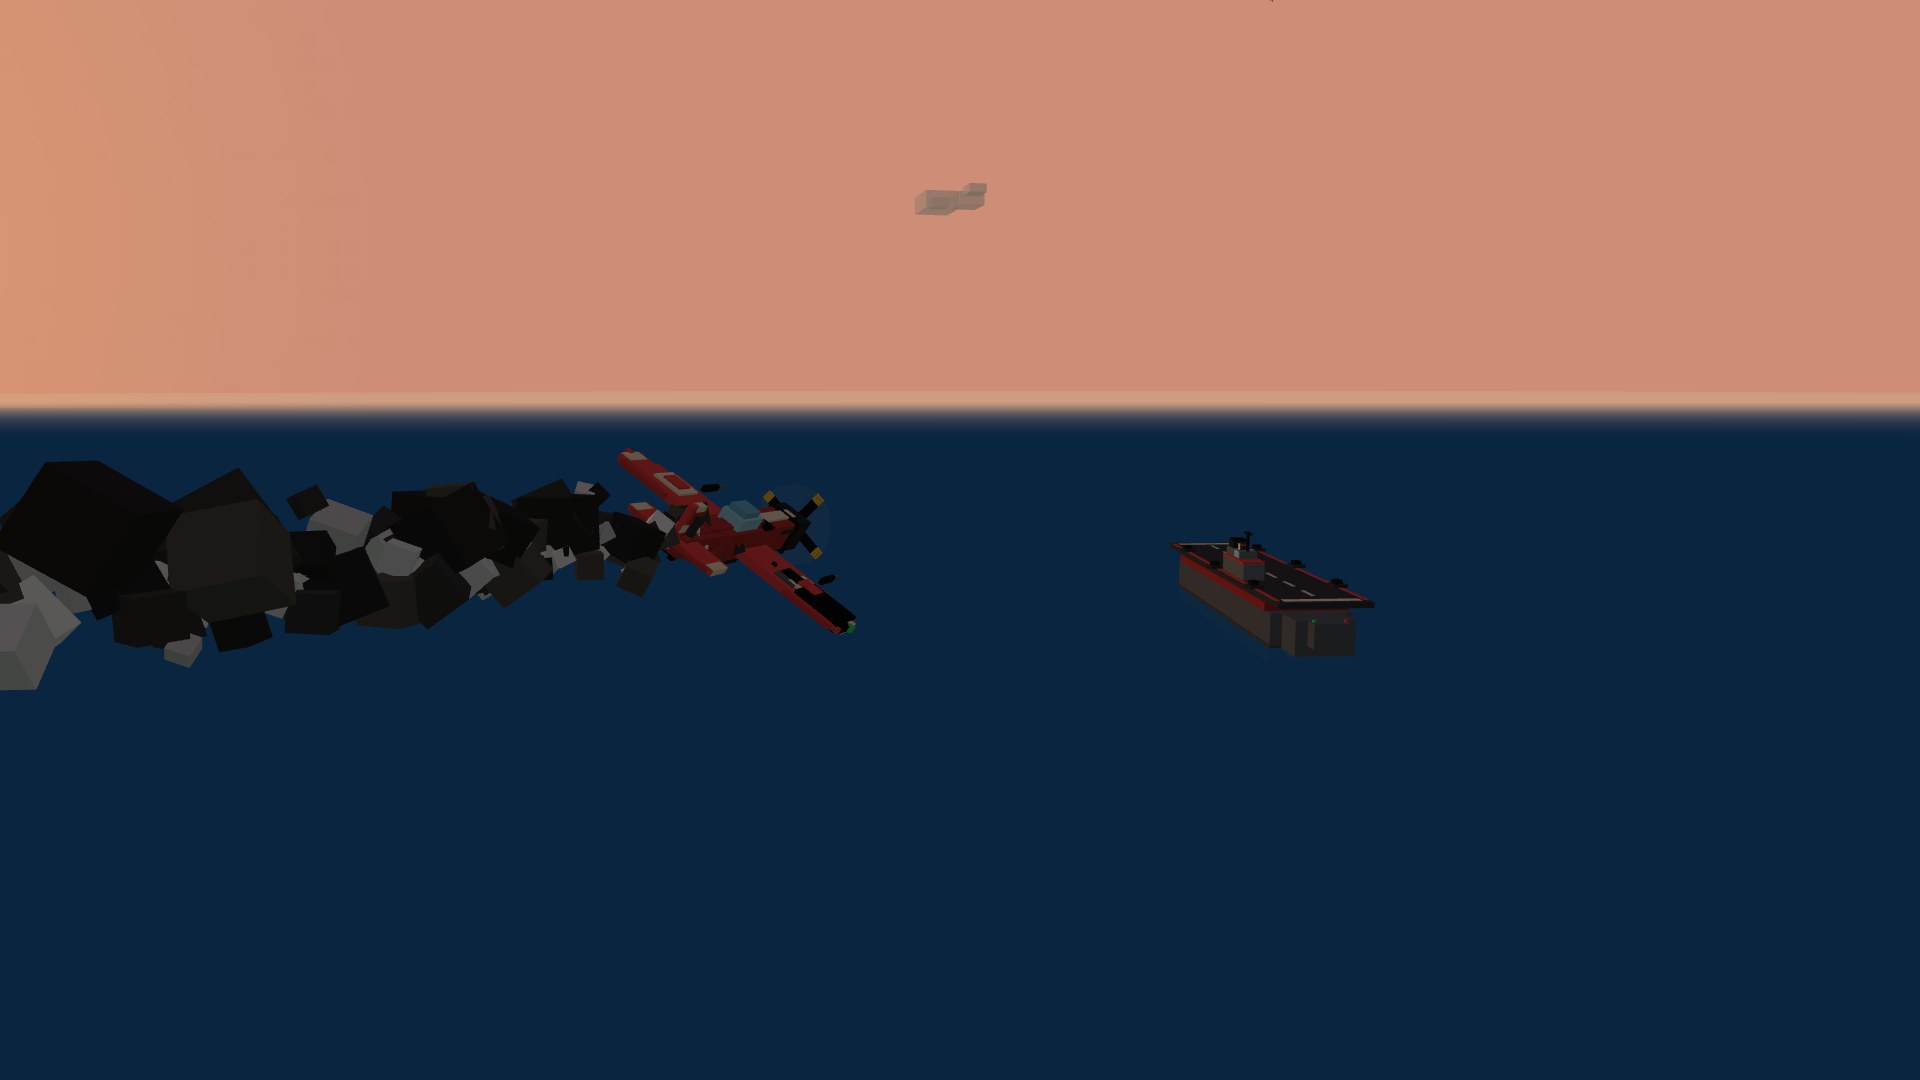
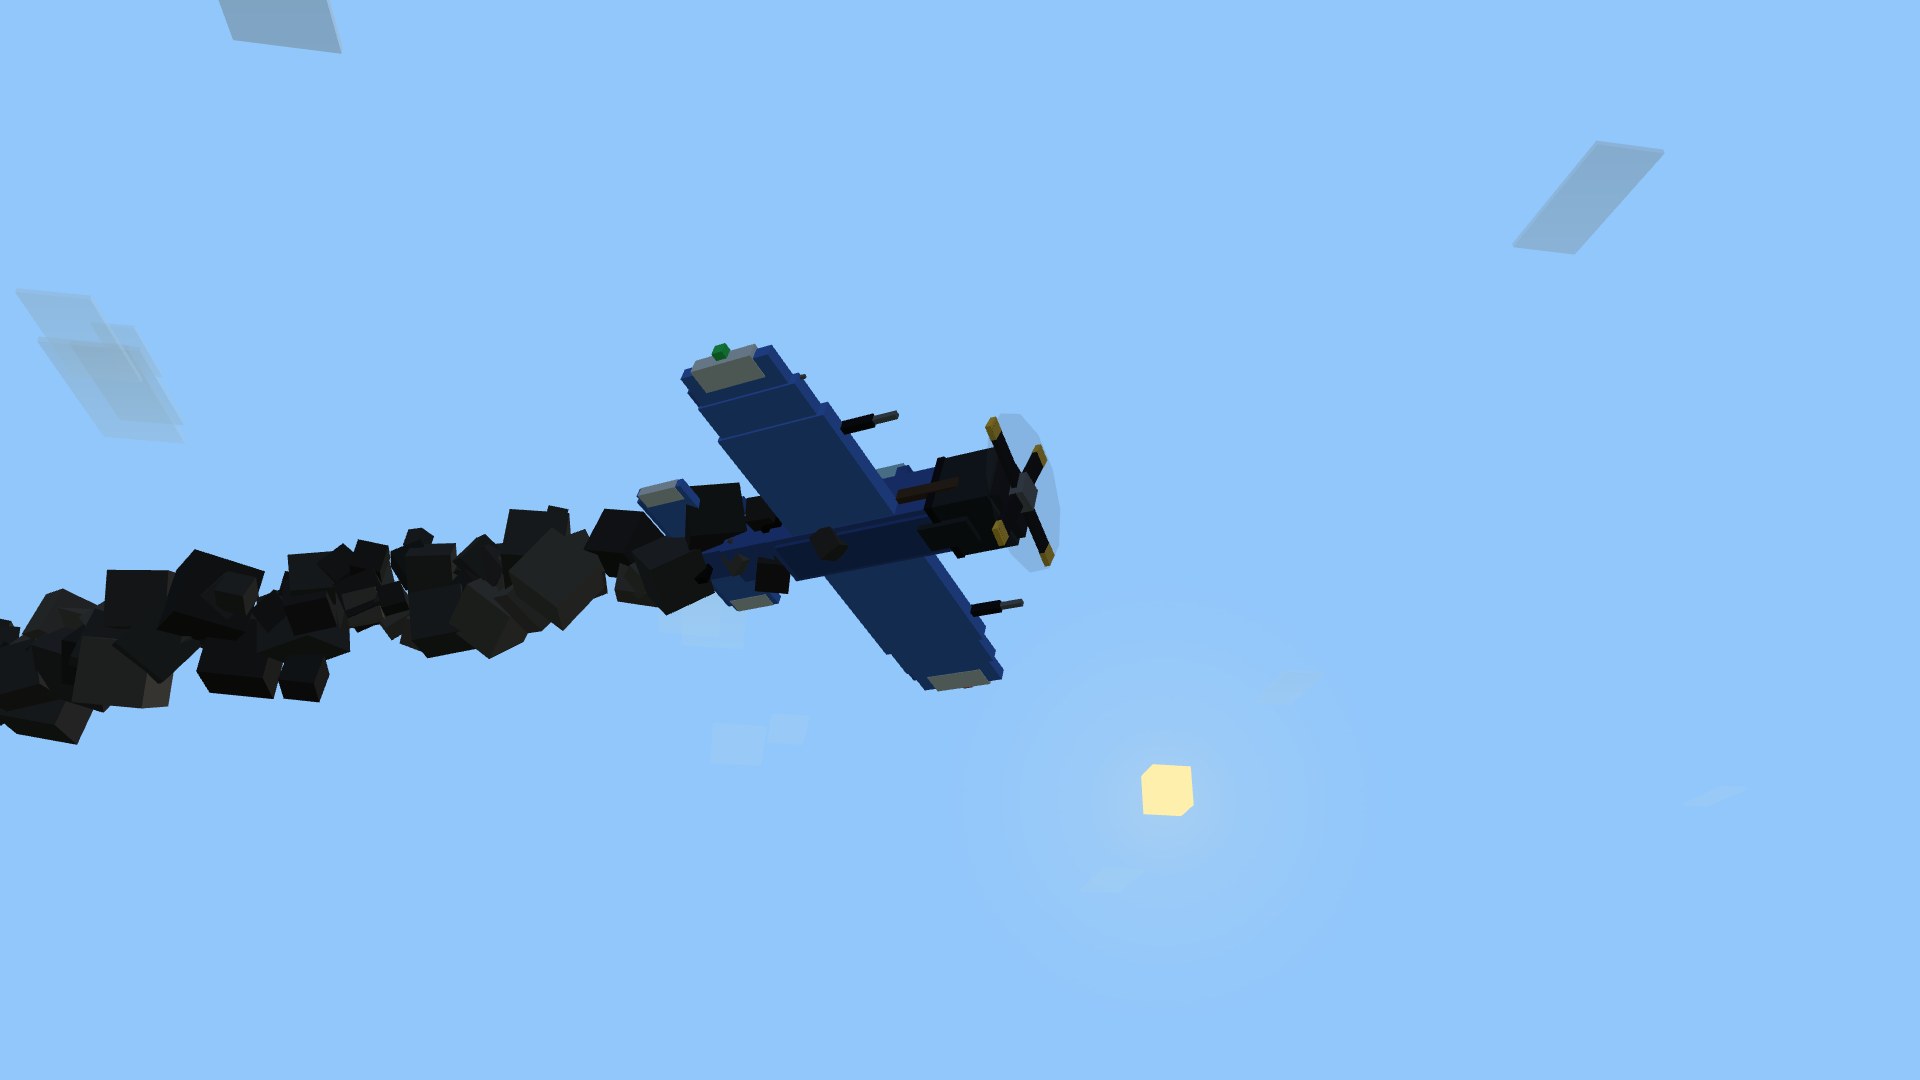
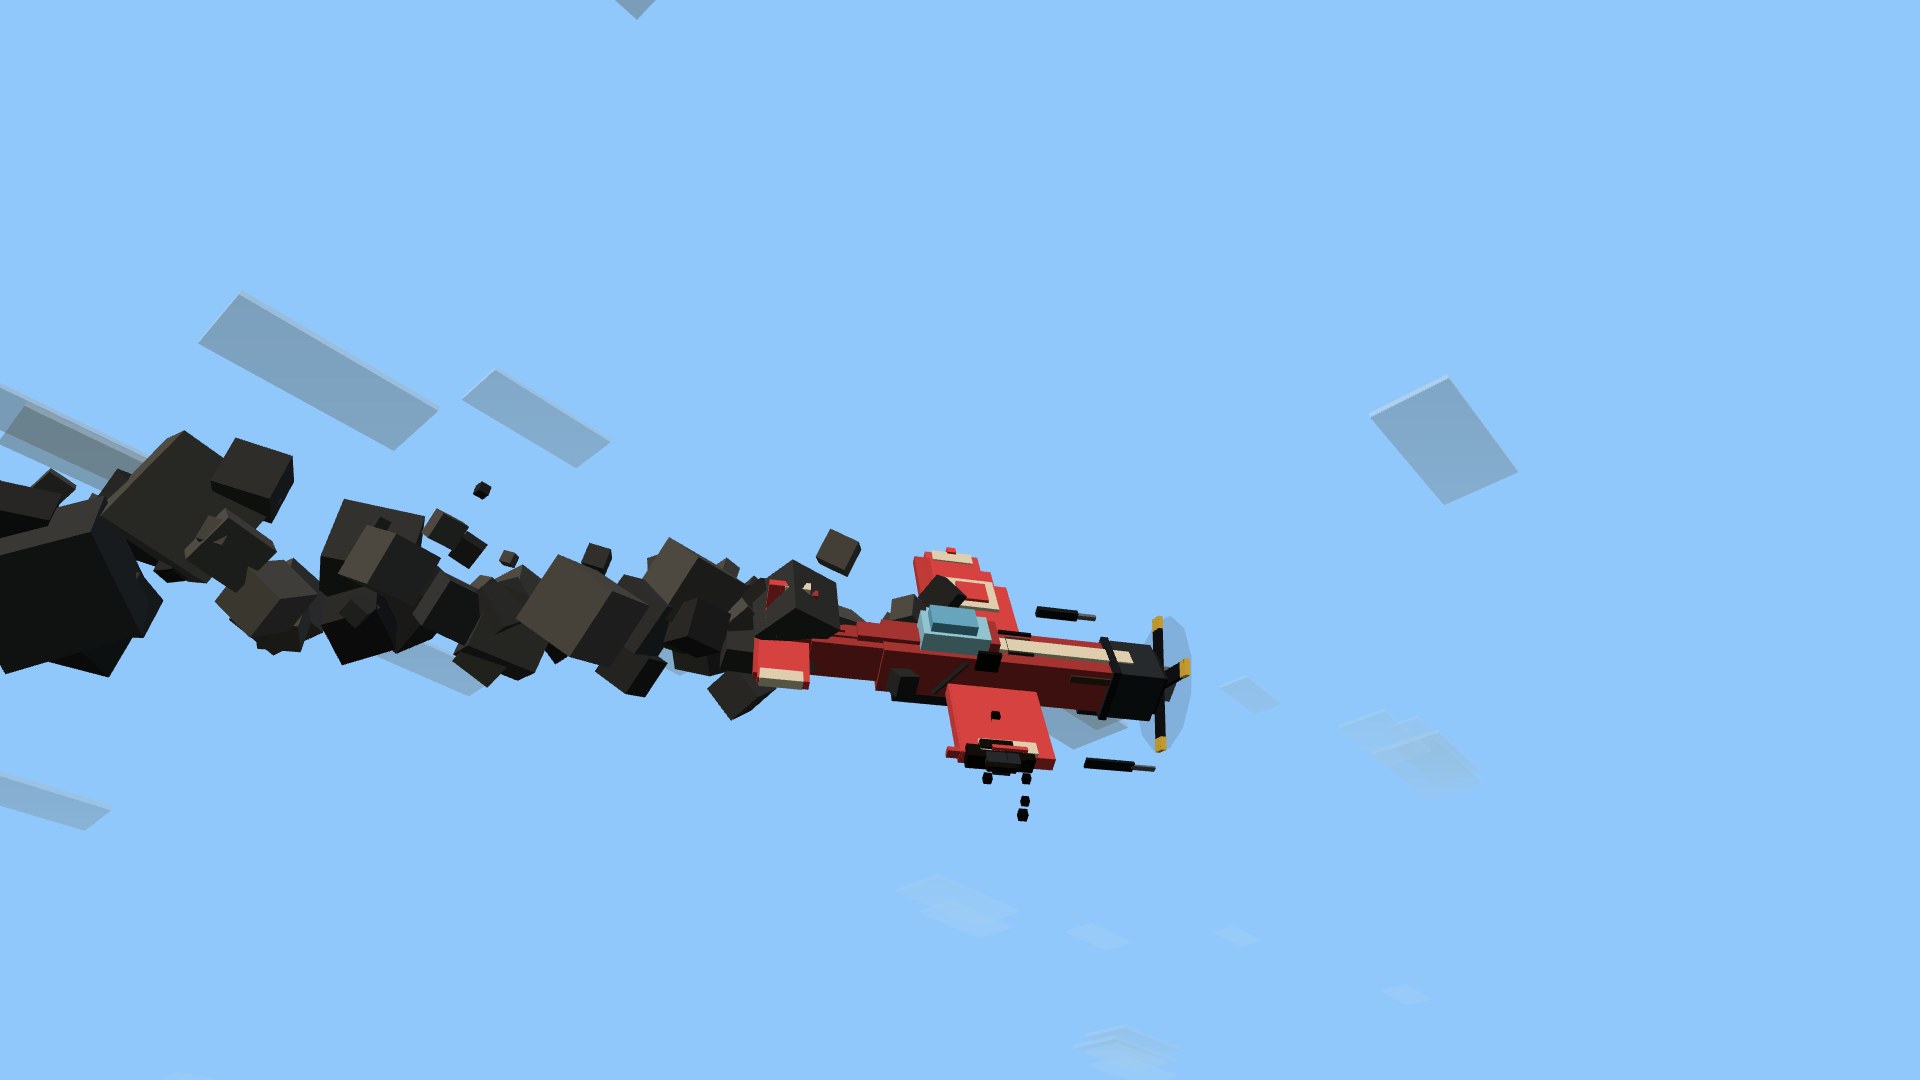
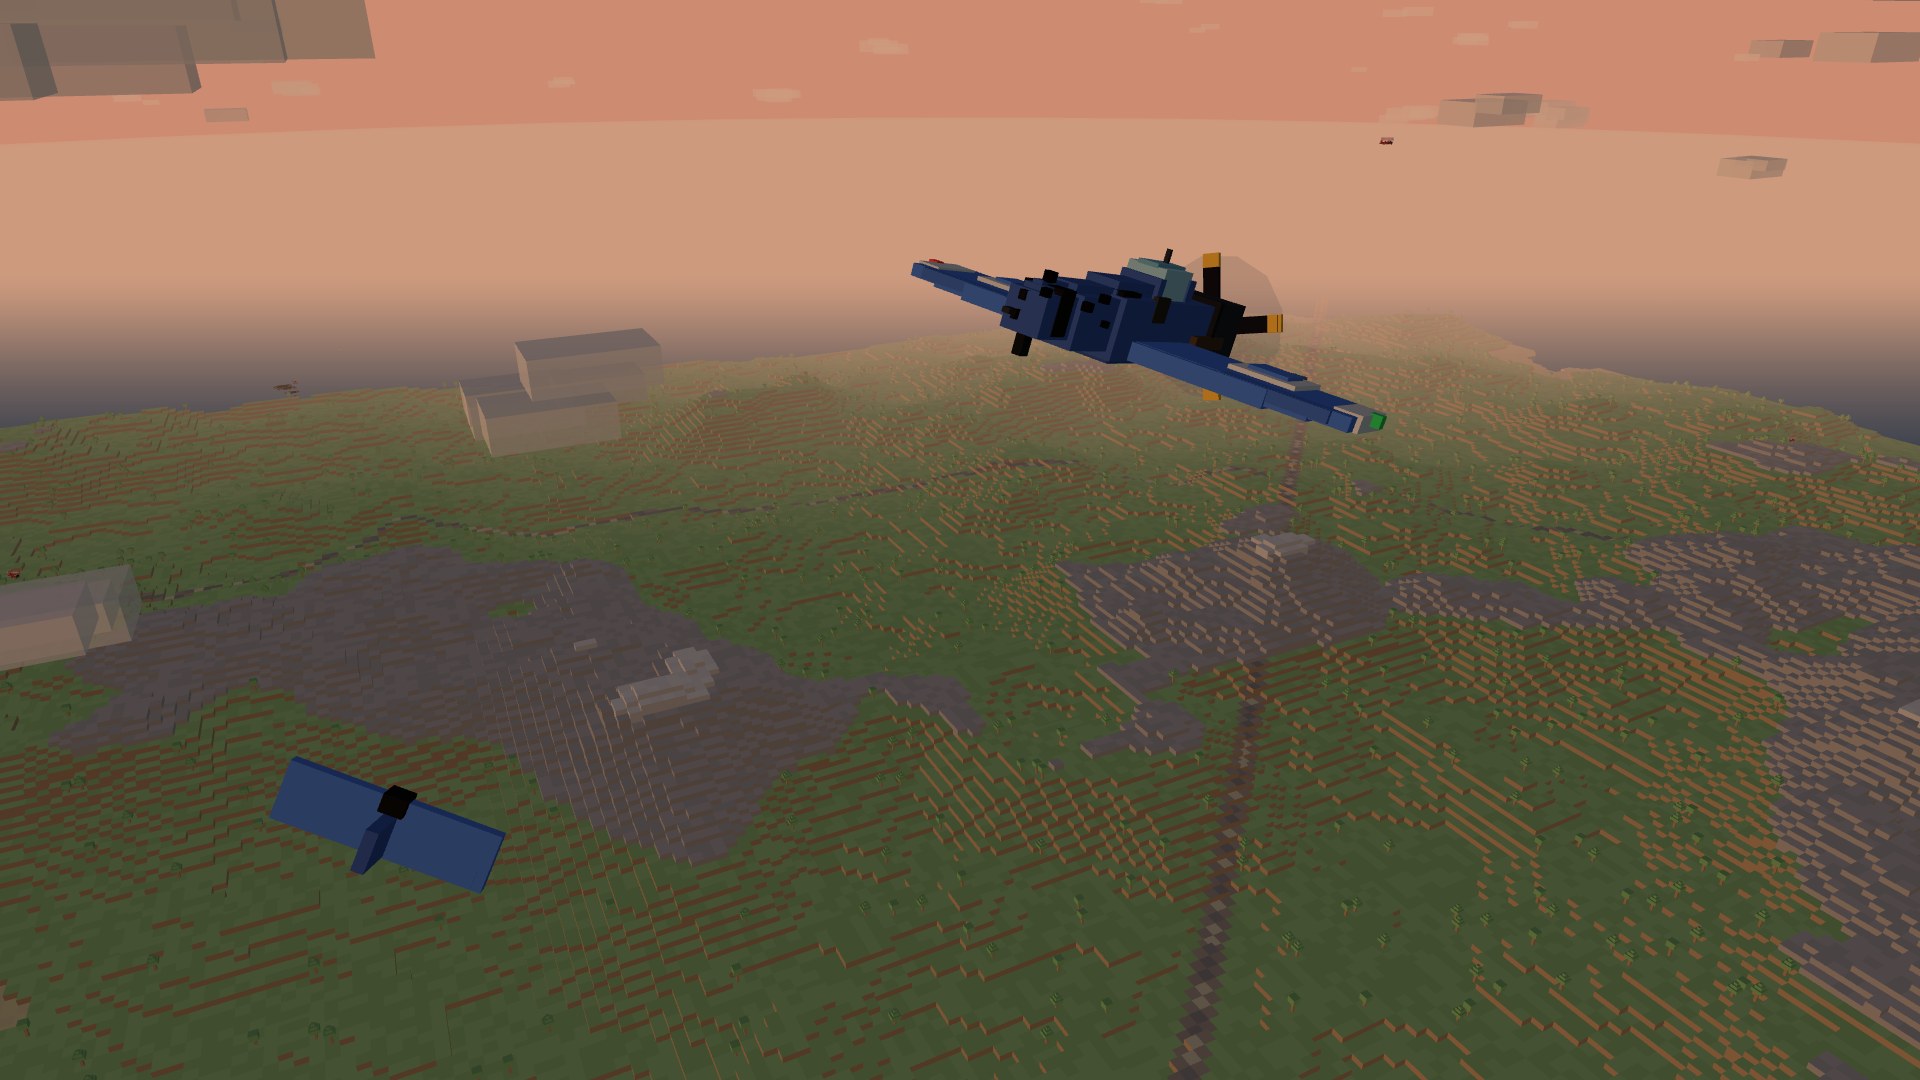
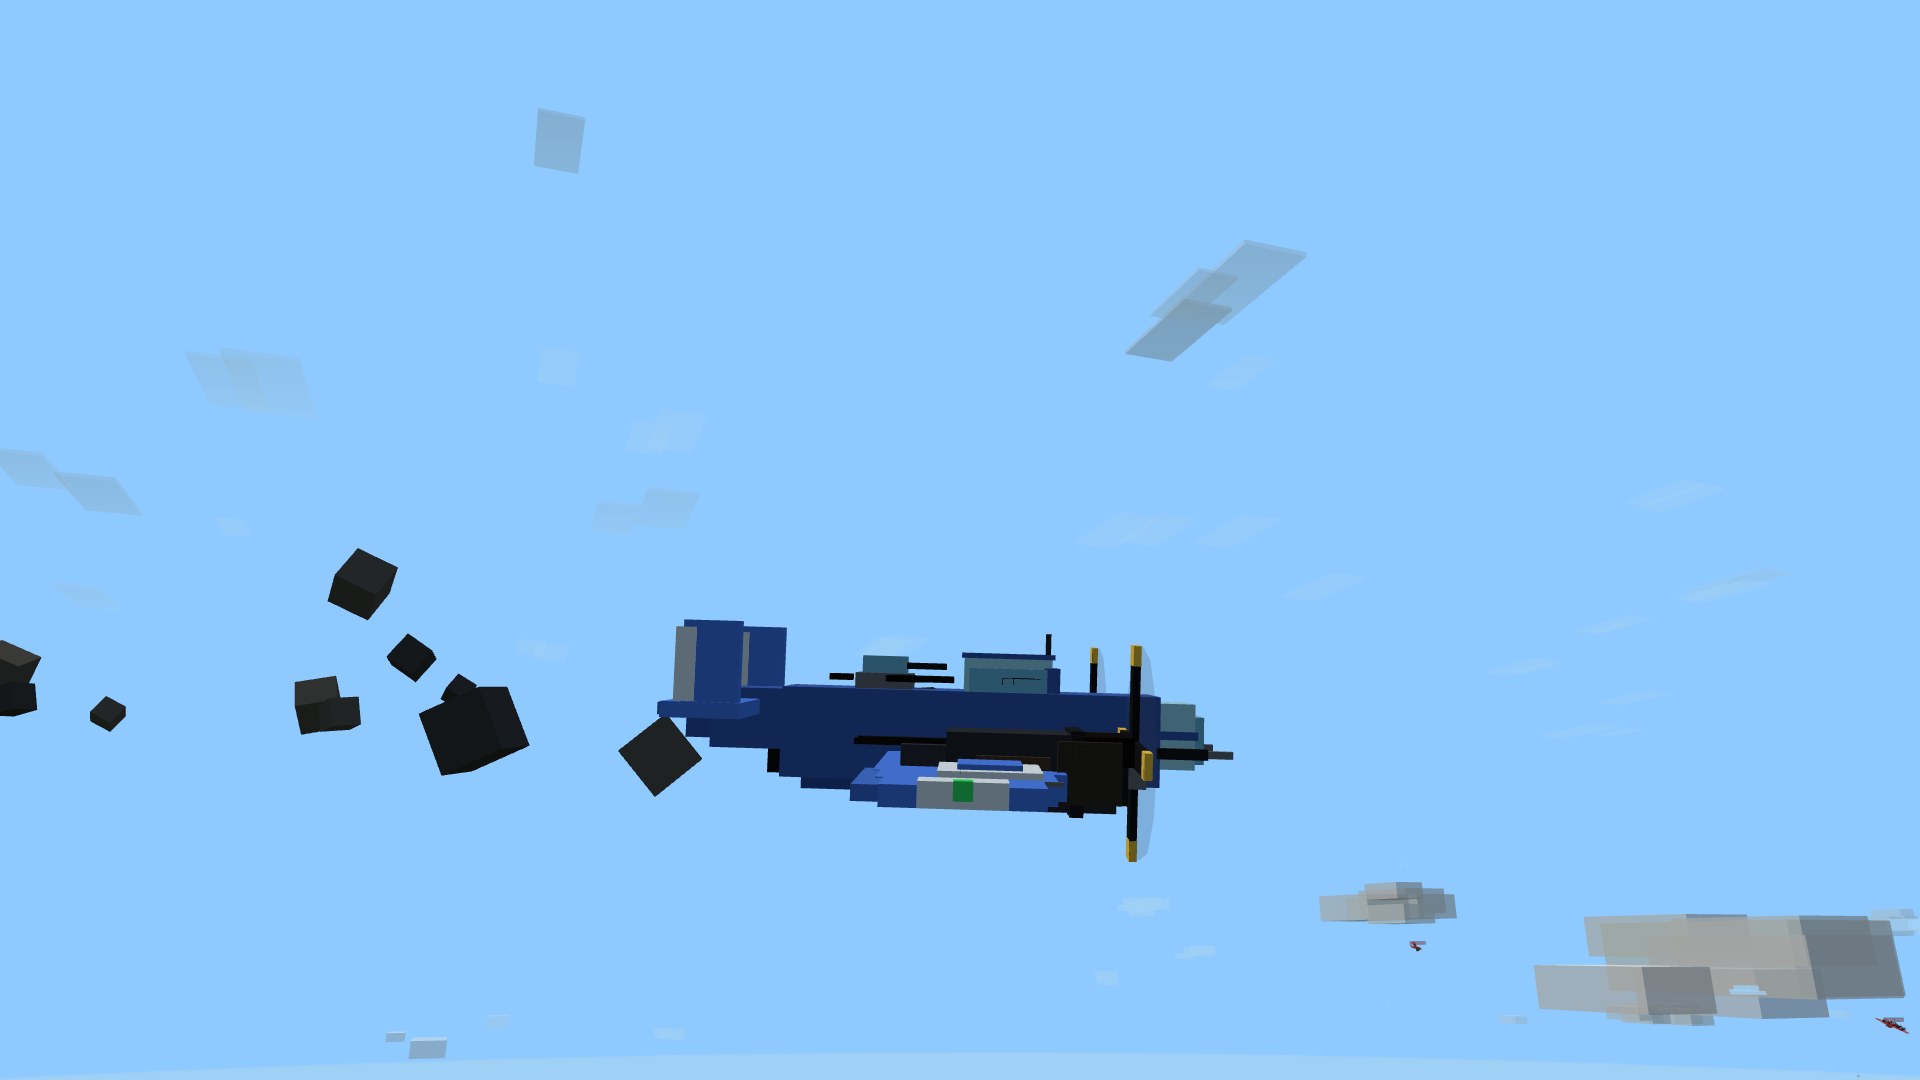
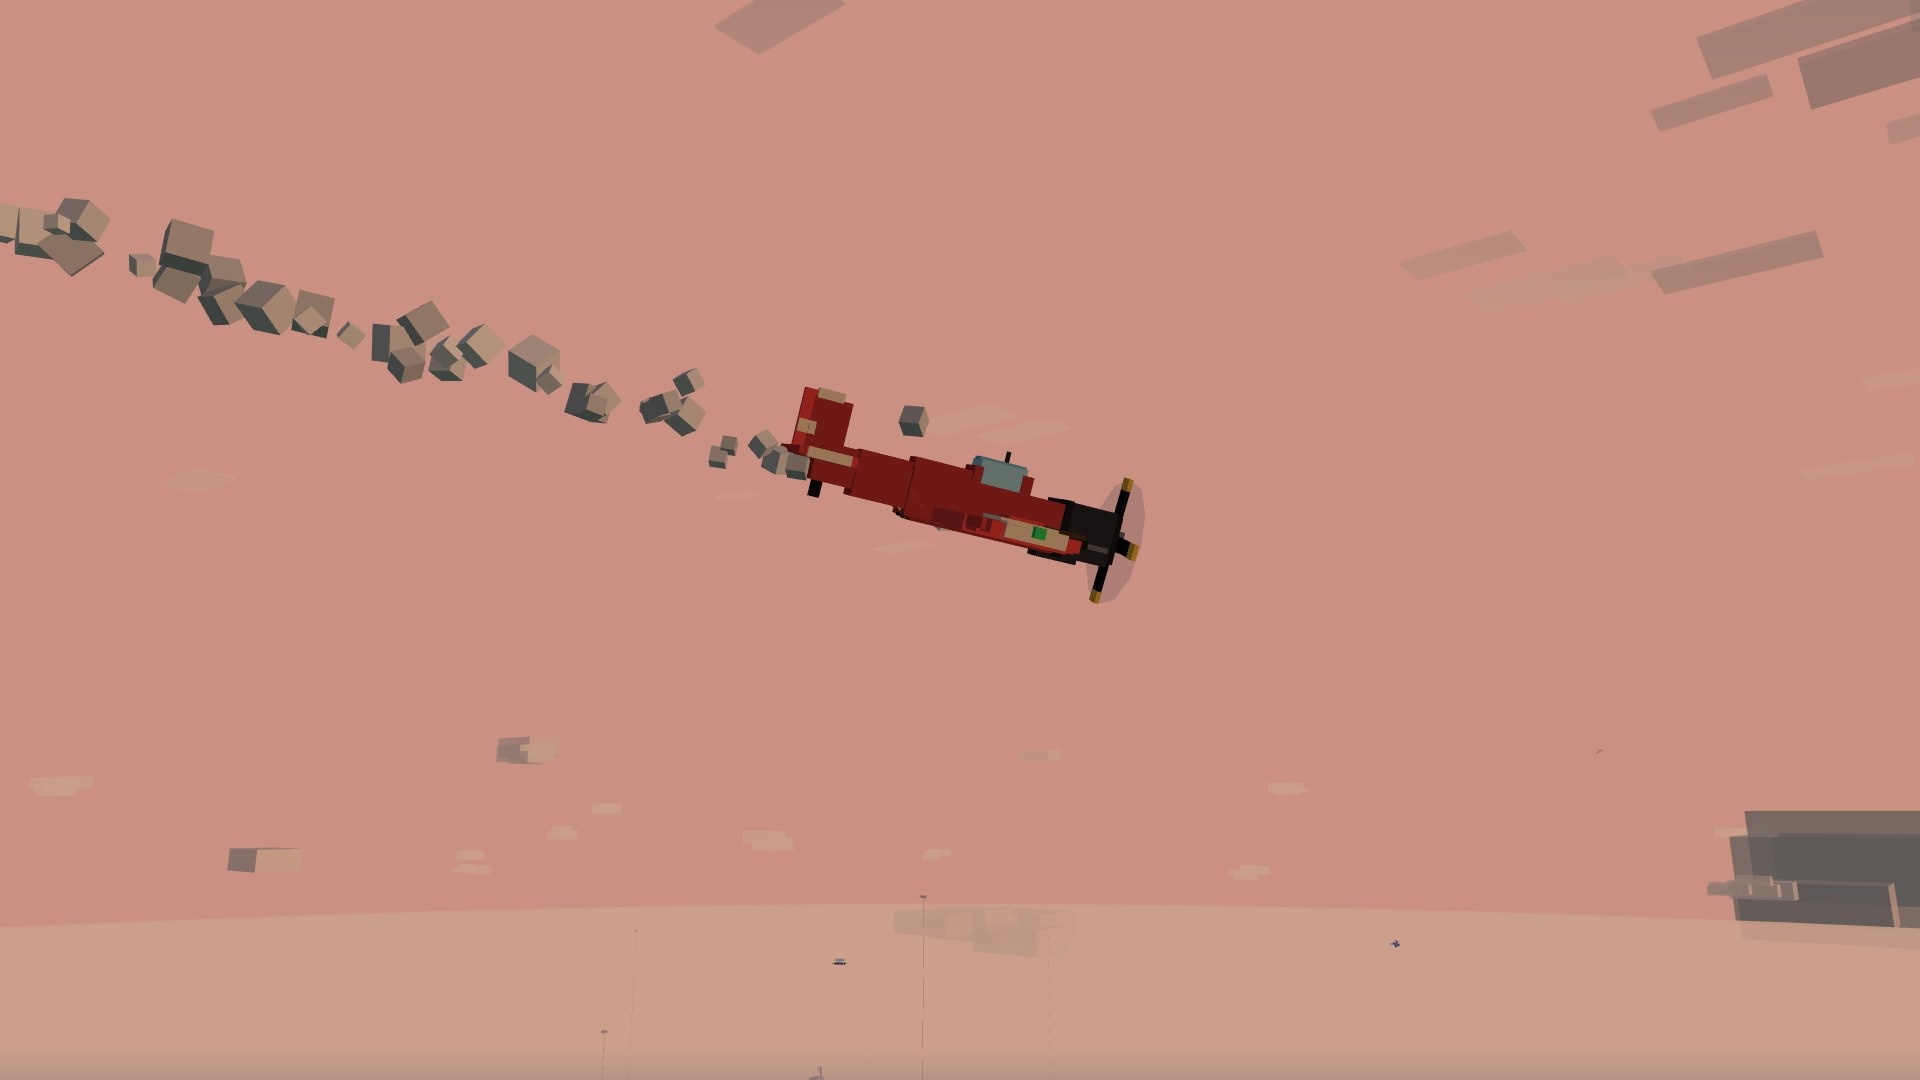
Hits are localized. Every round that finds you is routed to a component — engine, a wing, the fuel tank, the cockpit, or just the airframe — and you wear it: a scorched engine smokes and loses power, a shot-up wing sheds its tip and drags your roll, a punctured tank streams fuel, a cockpit hit greys the pilot out. So a mauled plane limps home trailing smoke instead of simply falling out of the sky, and you can read an enemy's damage on his airframe and finish the job. And when a burst finally is fatal, the plane doesn't blink out — it sheds a wing and corkscrews all the way down, five real seconds of ruined physics you can watch to the ground.
Reading the fight
The HUD that teaches
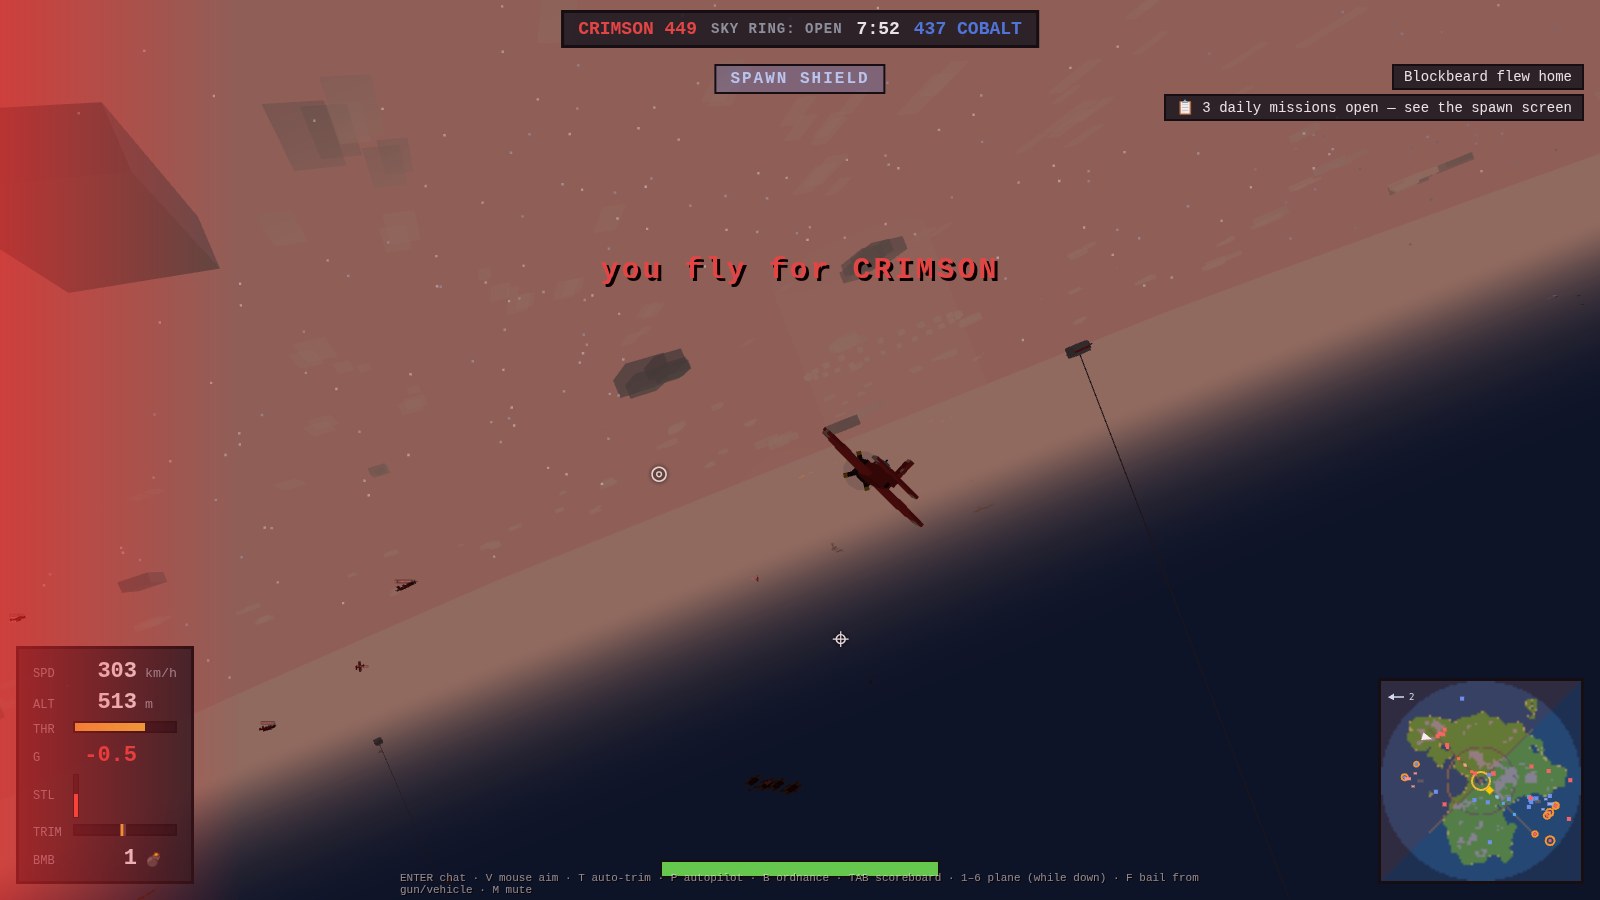
The instruments don't just show numbers — they turn raw state into judgment. Take a hit and the screen flashes the edge you're being shot from, not a whole-screen blink, so you know which way to break. A little stall-margin ribbon by the G-meter shows how much turn you have left before the buffet. And the bomber's sight grows a dispersion ring that tightens to gold when your current bank and G will actually put the bomb on the target — or blooms grey to warn you it'll fall in the sea.
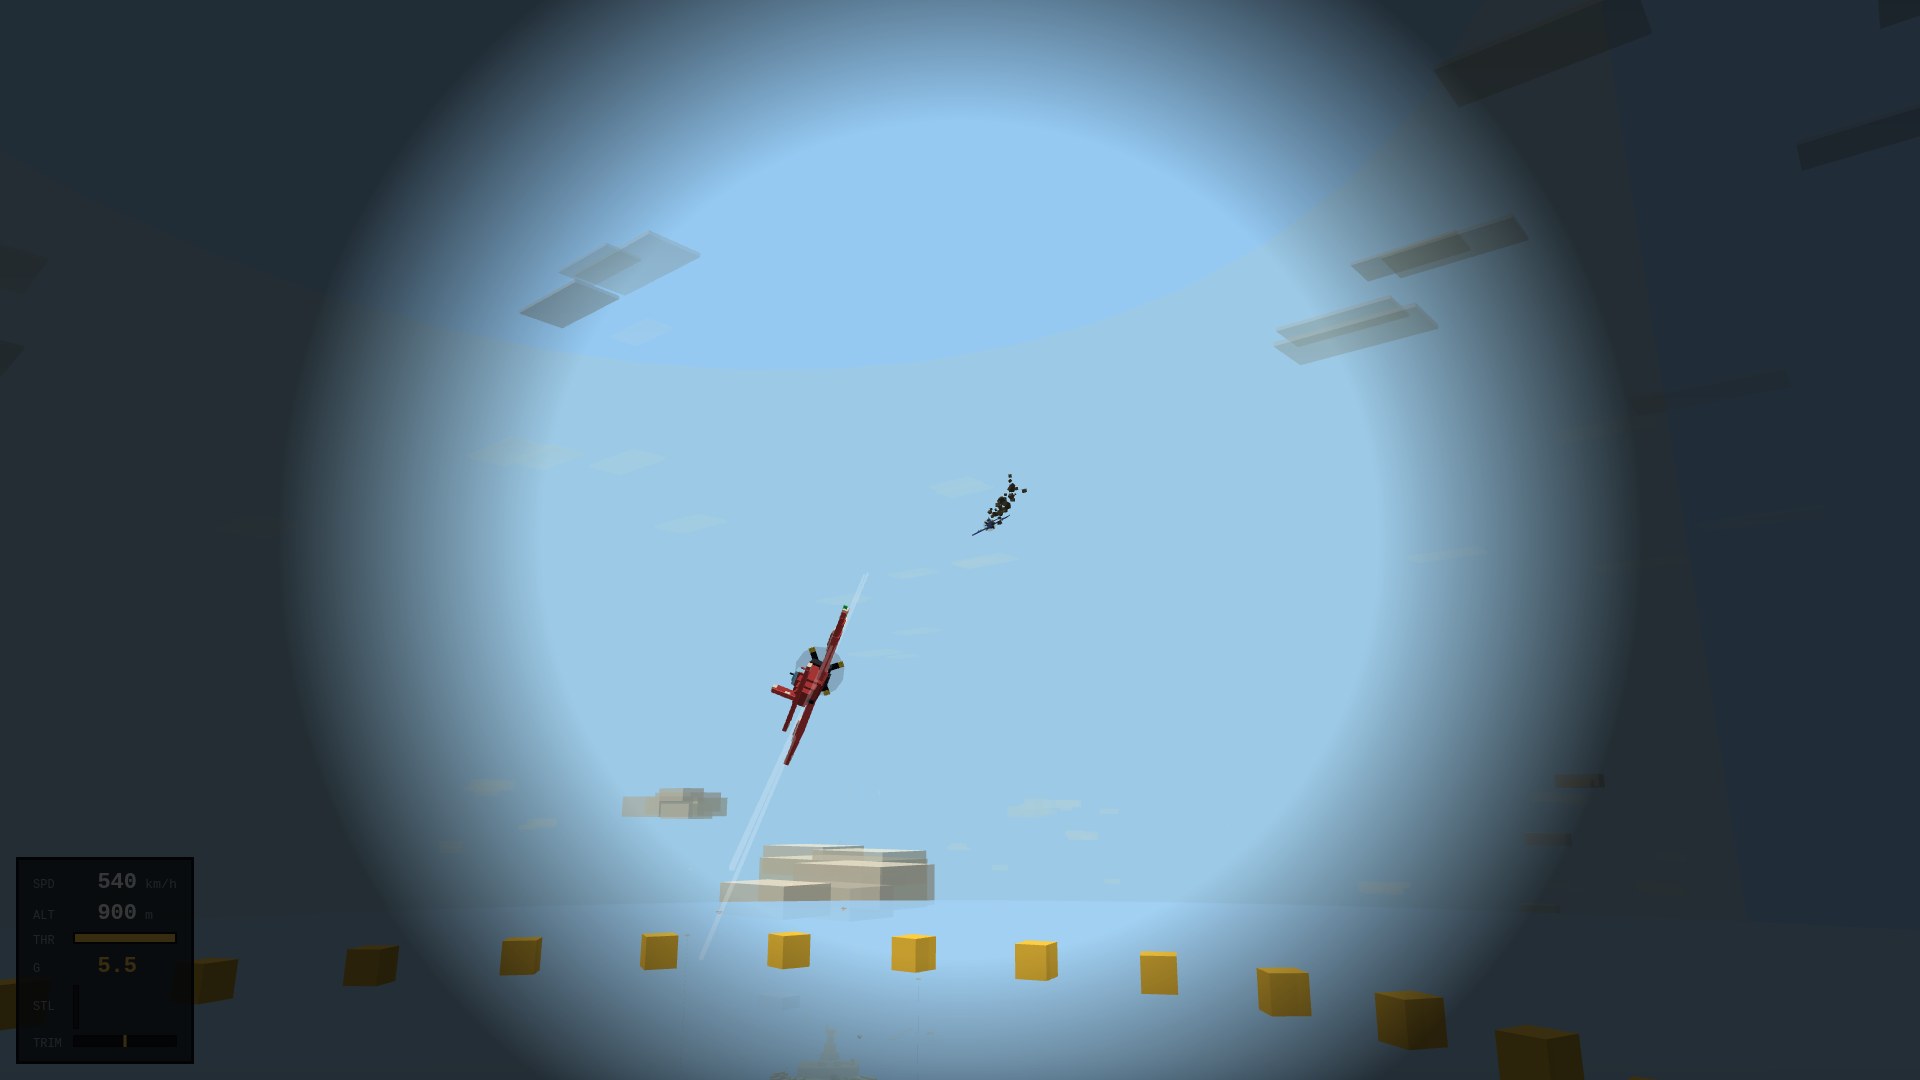
Your body is part of the instrument panel too. Rack into a hard positive-G turn and the world greys out from the edges — a black-out tunnel that narrows as you hang on the G, and clears when you ease off, the way a real pilot's vision does without a G-suit. It's a soft ceiling with teeth: pull too long and you're flying half-blind.
The round fights back
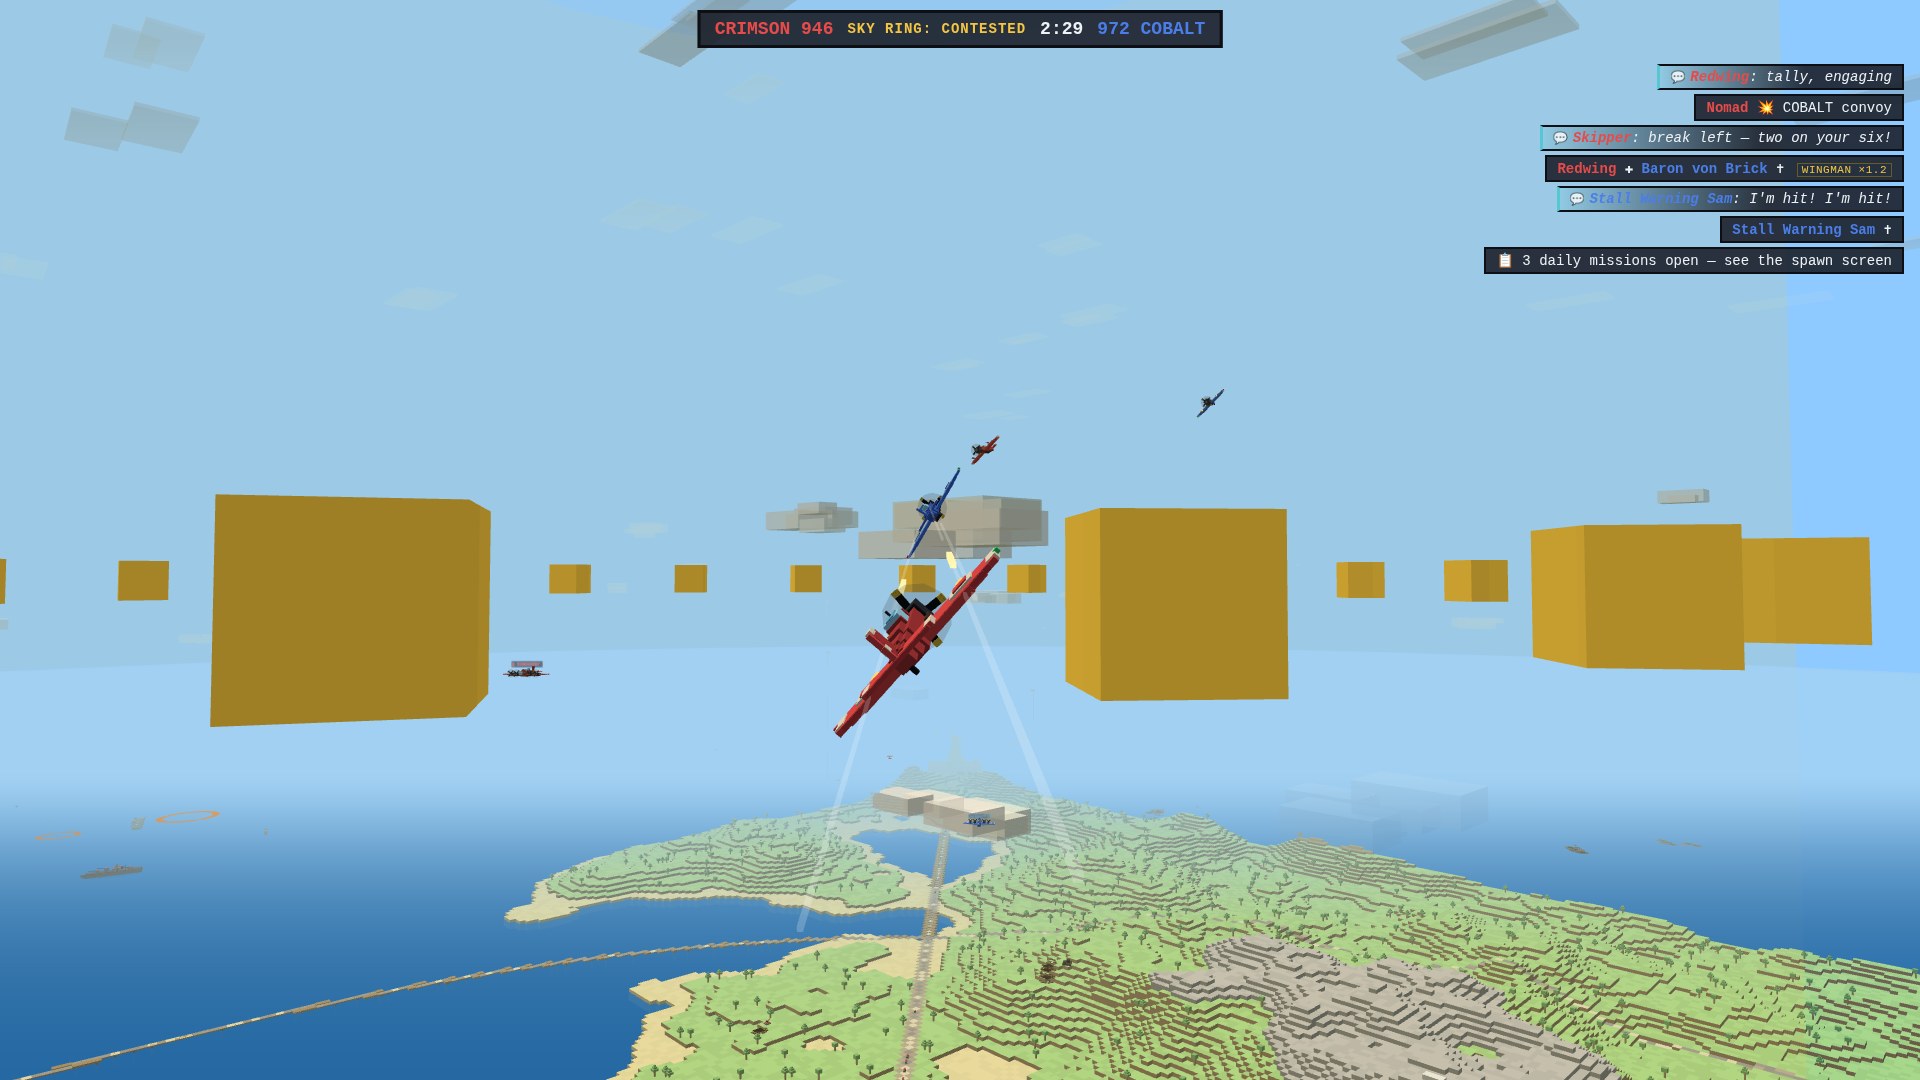
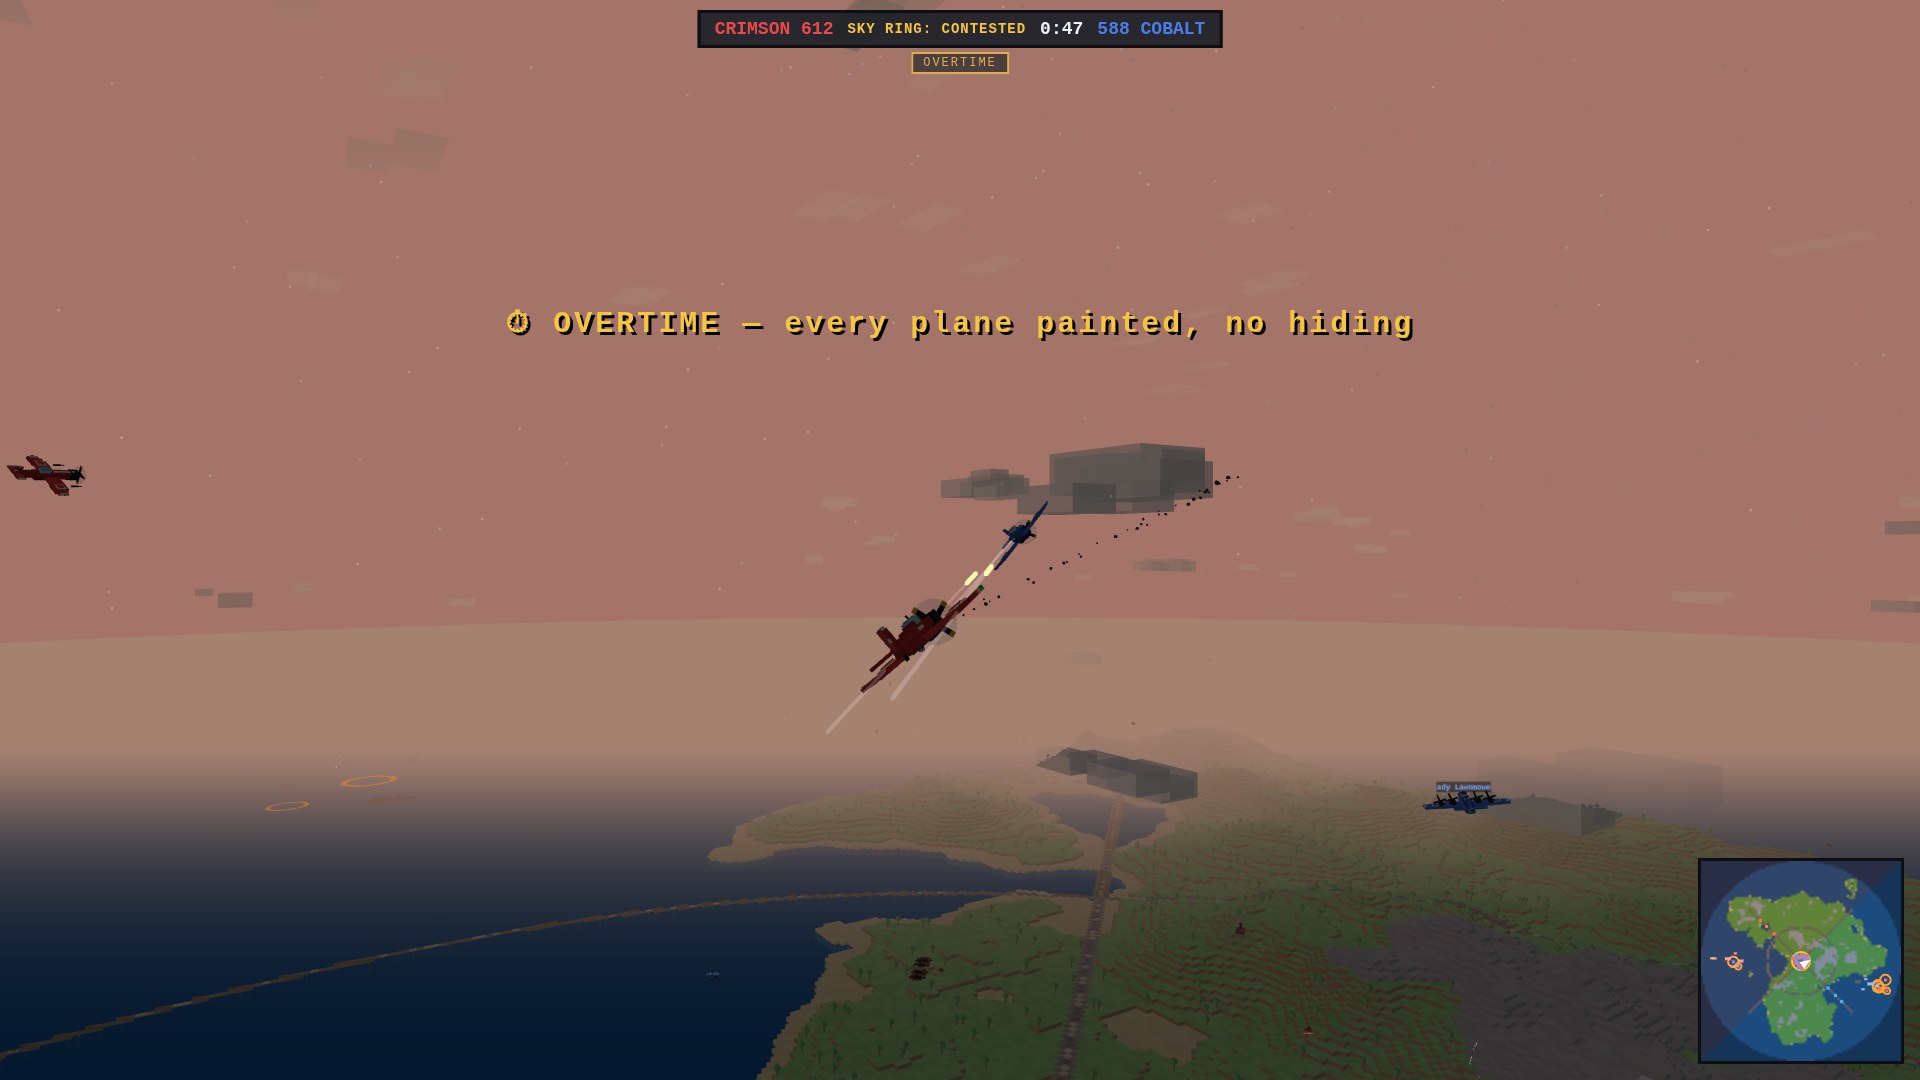
A match isn't a flat timer counting down — it escalates, and it holds grudges. Keep the same enemy on your tail and the game names him; fall too far behind and it sends a champion to drag you back; let the score stay close to the wire and the final minute becomes a lit-up, no-hiding brawl. The back half of a round should feel more dangerous than the front, and these three systems make sure it does.
Killcam
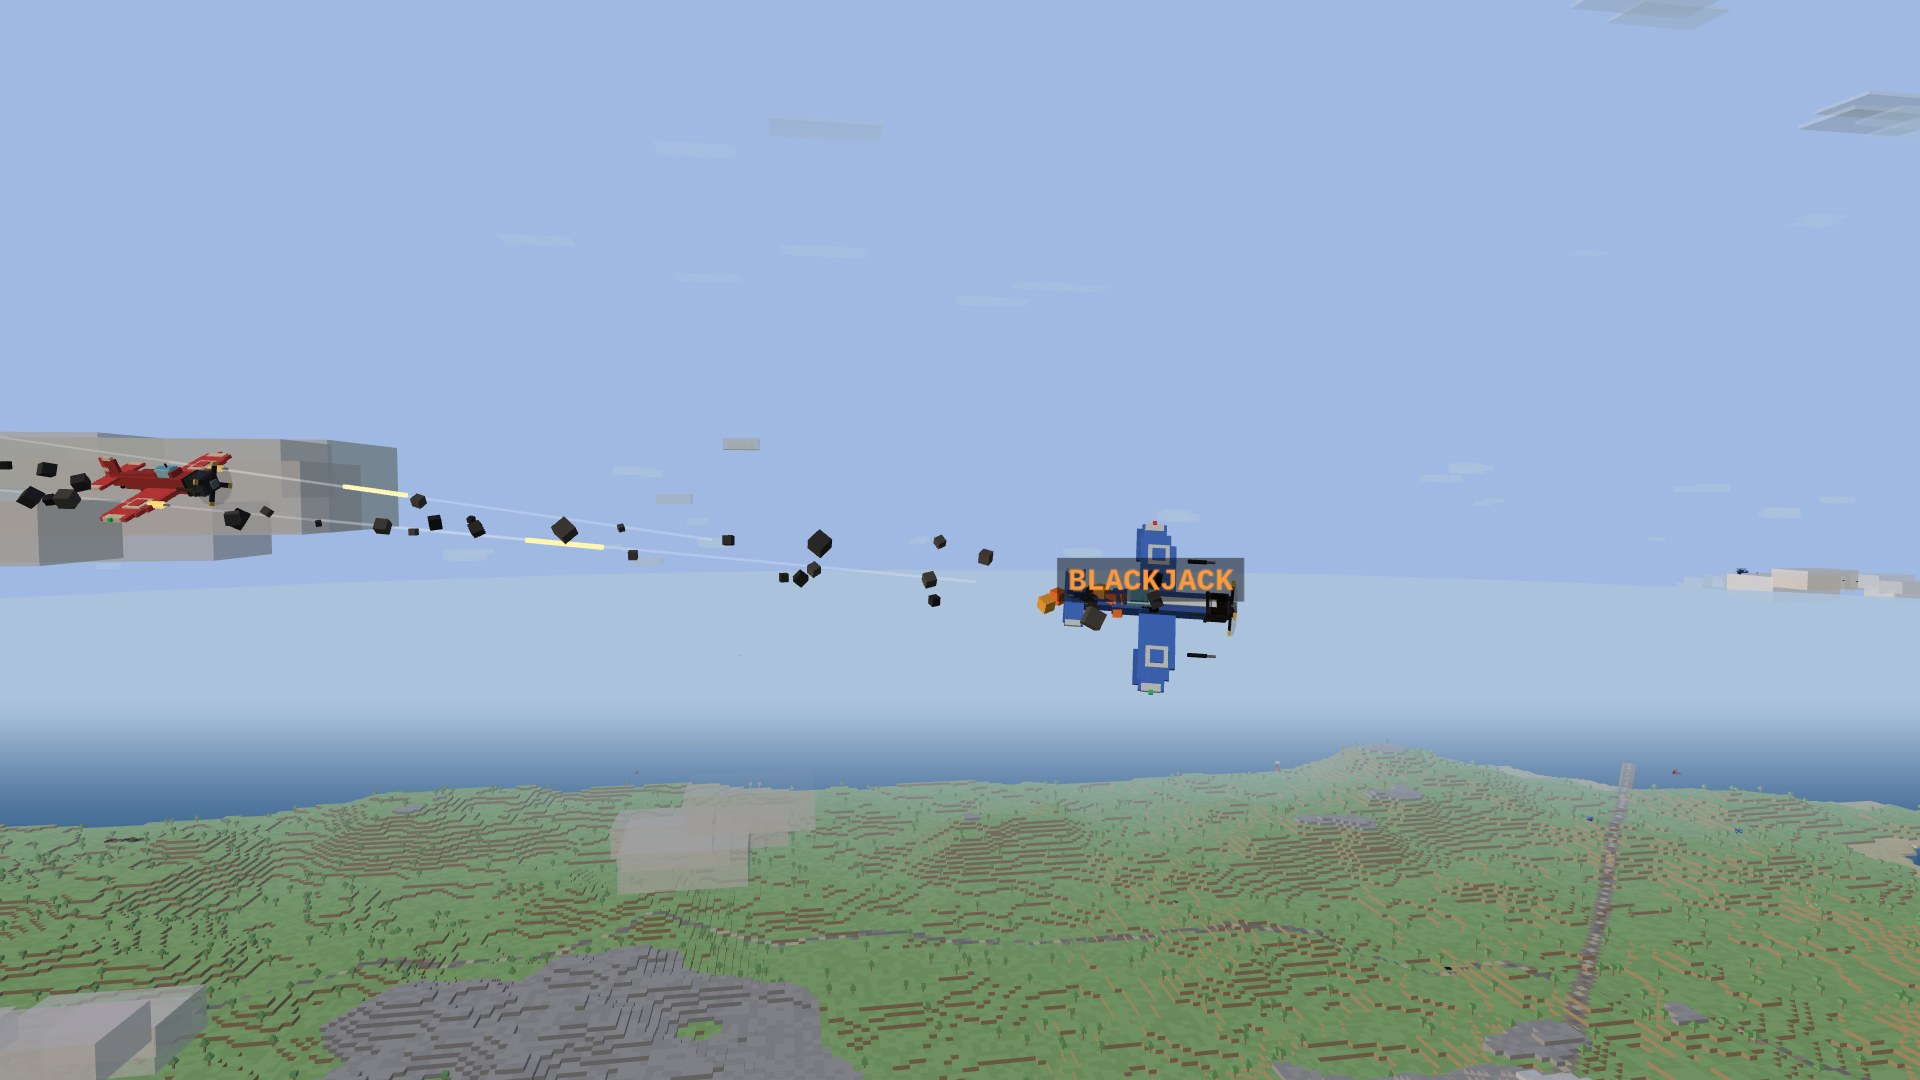
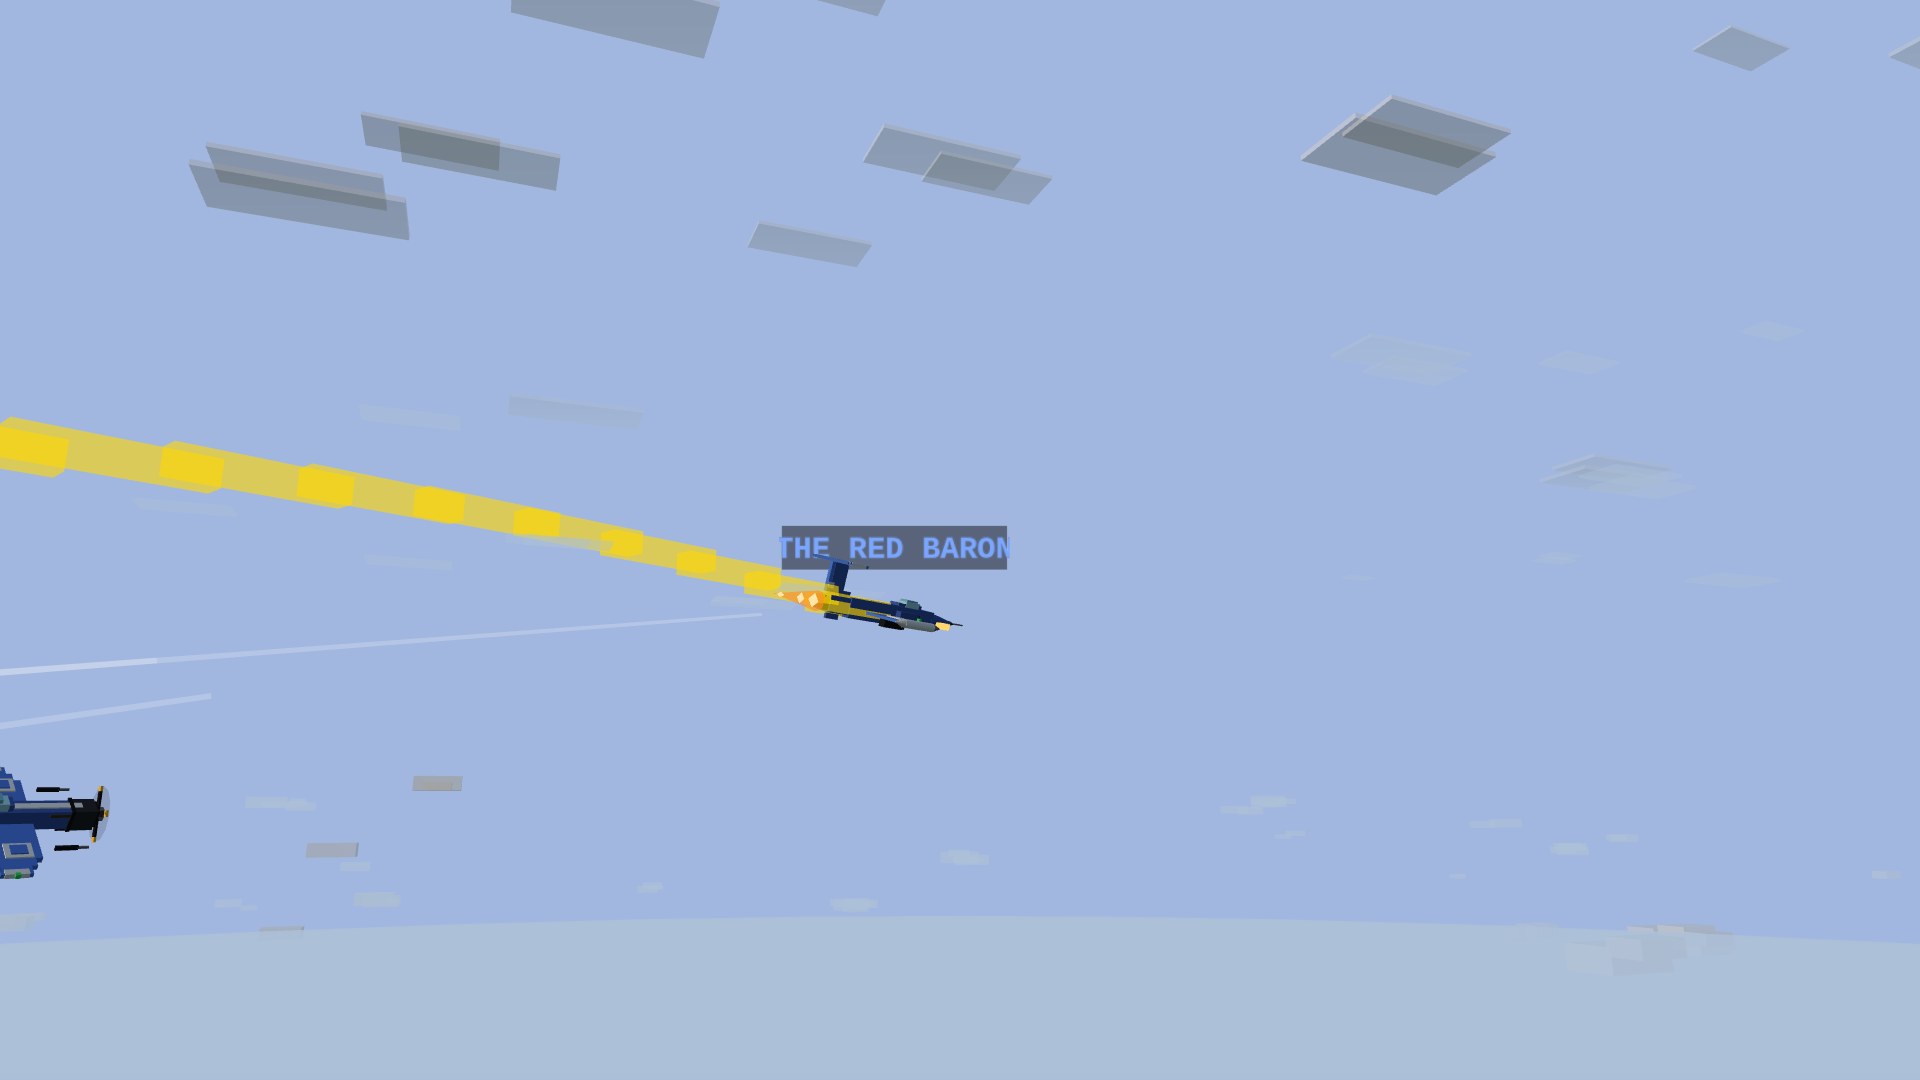
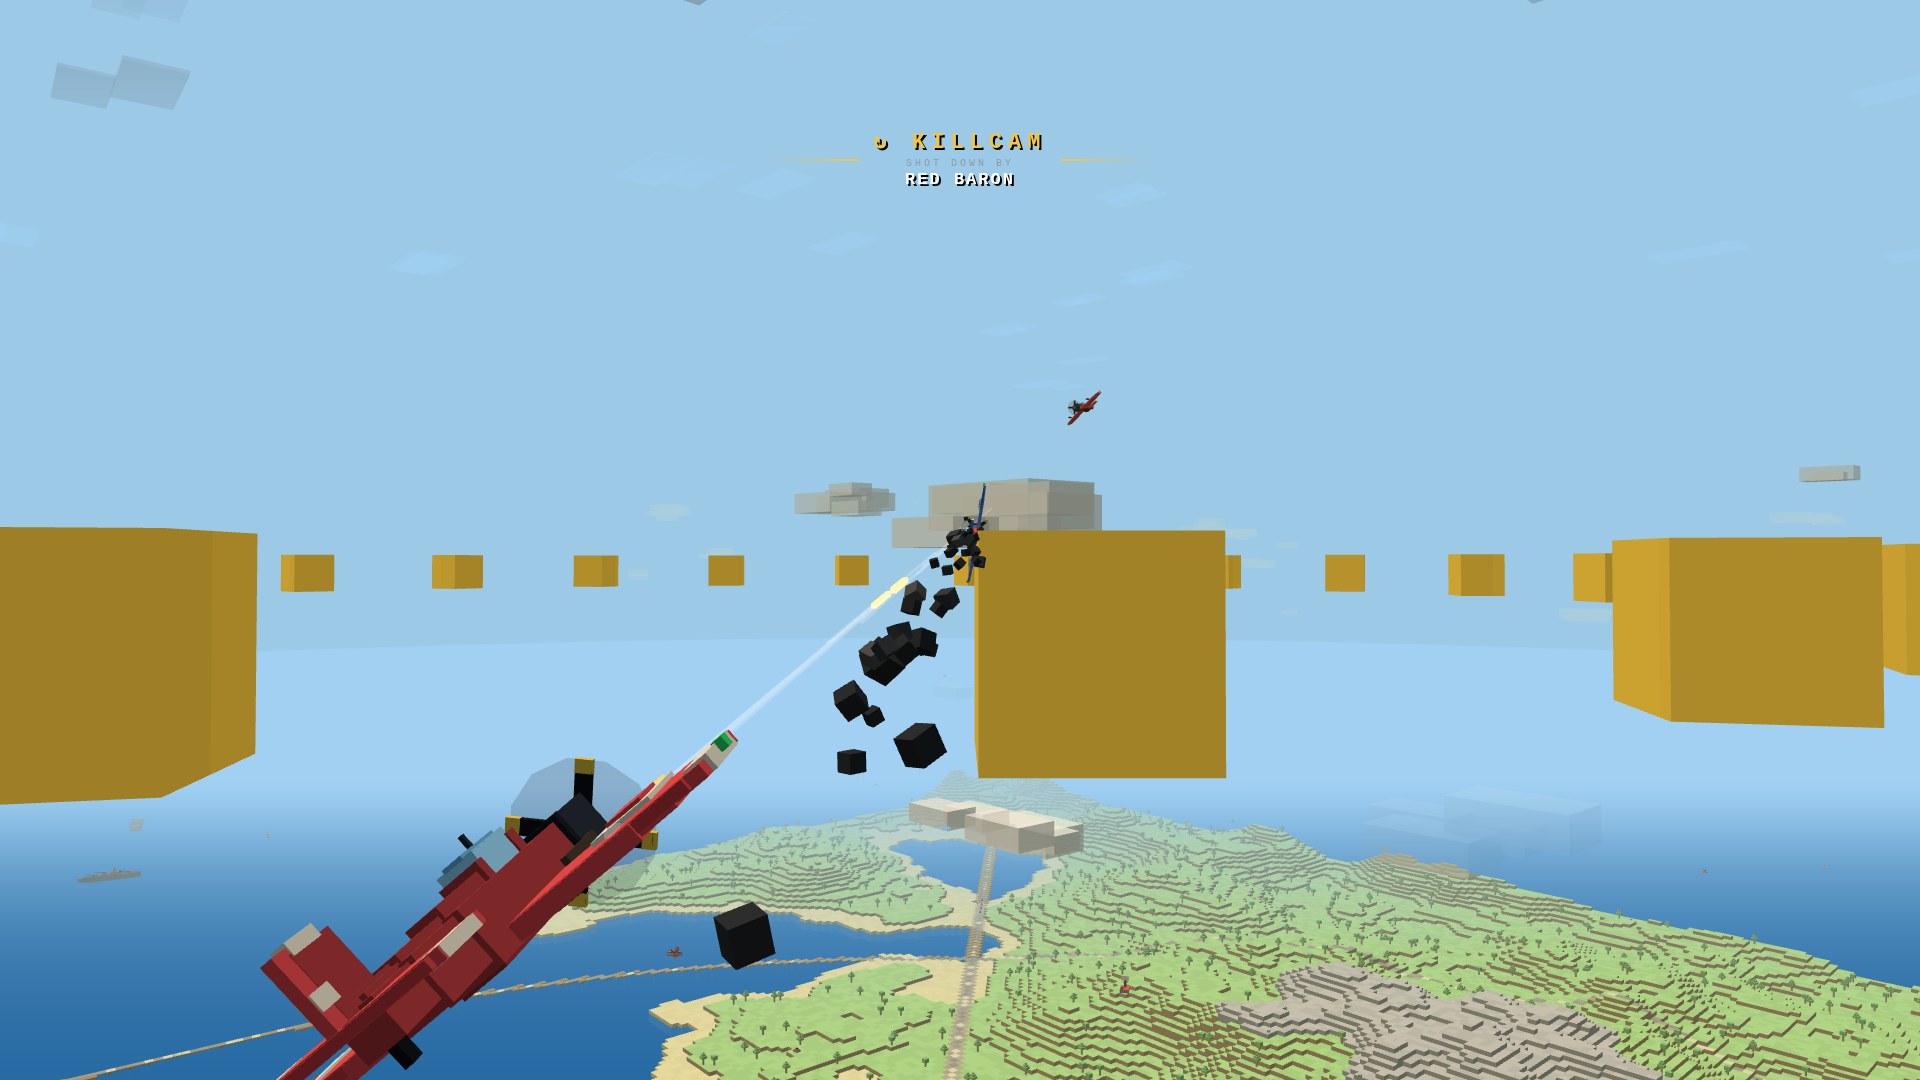
Get shot down and the server ships you the last several seconds of the fight, replayed from the killer's high three-quarter — the camera rides off their firing line so their plane holds the edge of the frame while yours, and the tracer stream between you, fills it. At the instant of the kill it lets the killer fly on and settles into a slow orbit of your falling wreck. It plays at full speed, not a fast-forward blur, and a persistent KILLCAM badge names the shooter the whole time, so there's never any doubt who put you in the dirt. The replay is always optional: seen enough, click or tap anywhere to skip — the spawn screen appears at once and TAKE OFF unlocks on the normal short timer, as if there'd been no replay at all.
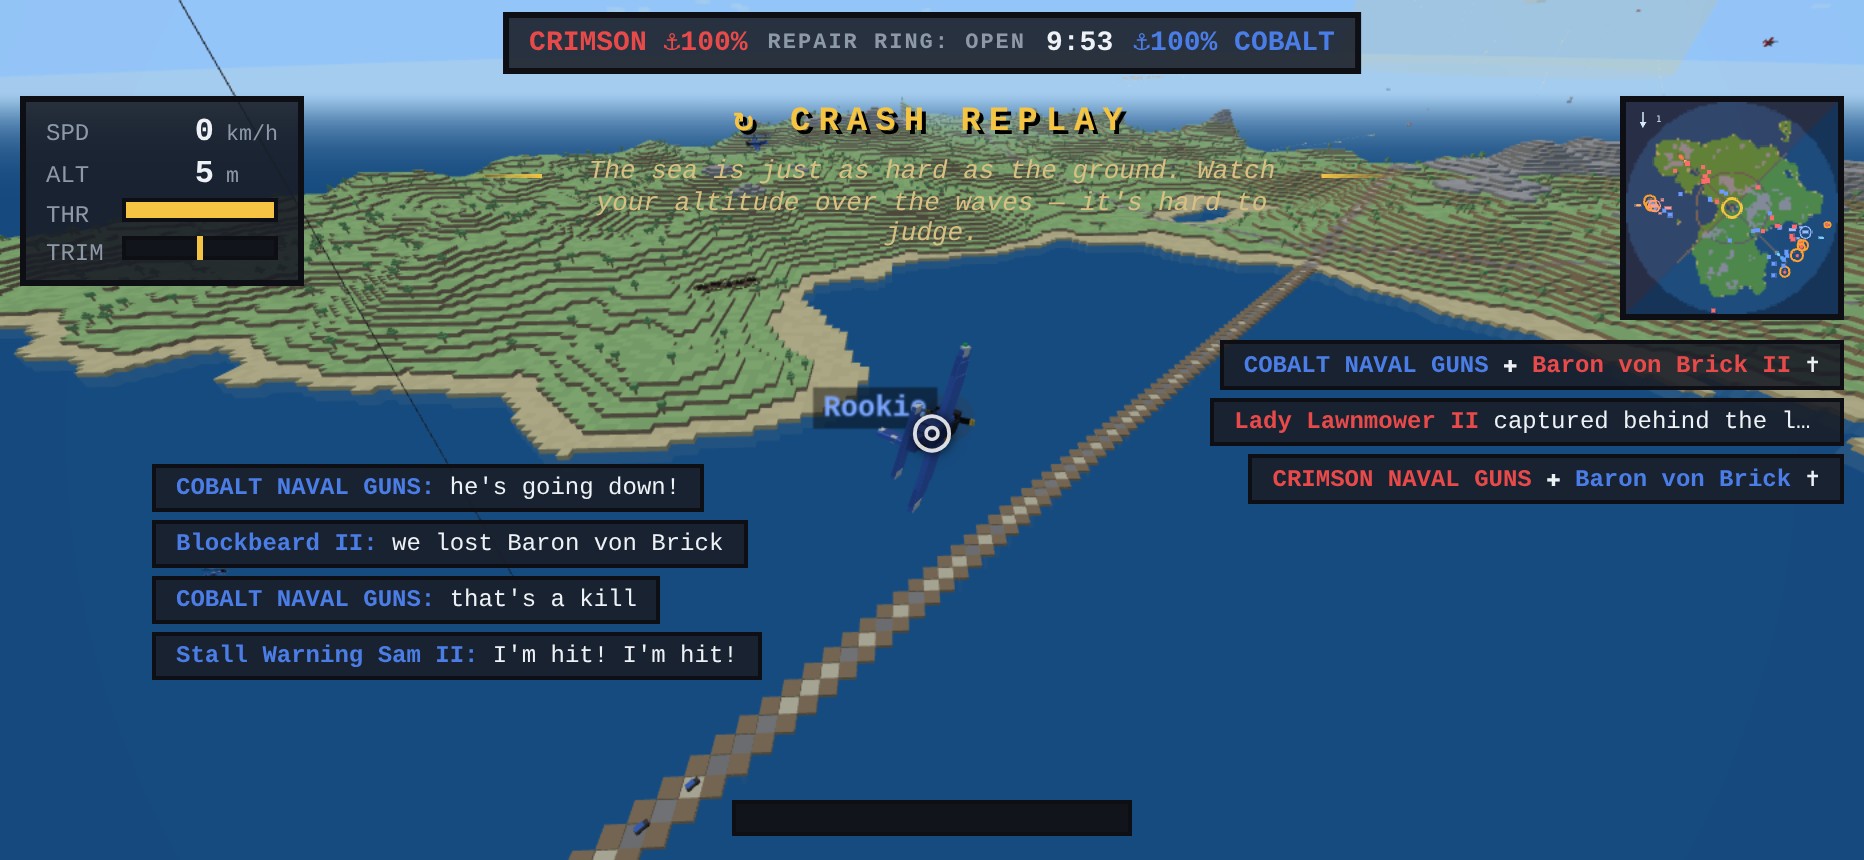
Fly into a hill and you get the same treatment: a CRASH REPLAY chases your own final seconds into the scenery — then orbits the smoking hole you made — with the coach line spelling out what went wrong. No killer to name, but the same story told the same way, instead of a jump-cut straight to the spawn screen — and just as skippable when you'd rather not relive it.
Back in the fight
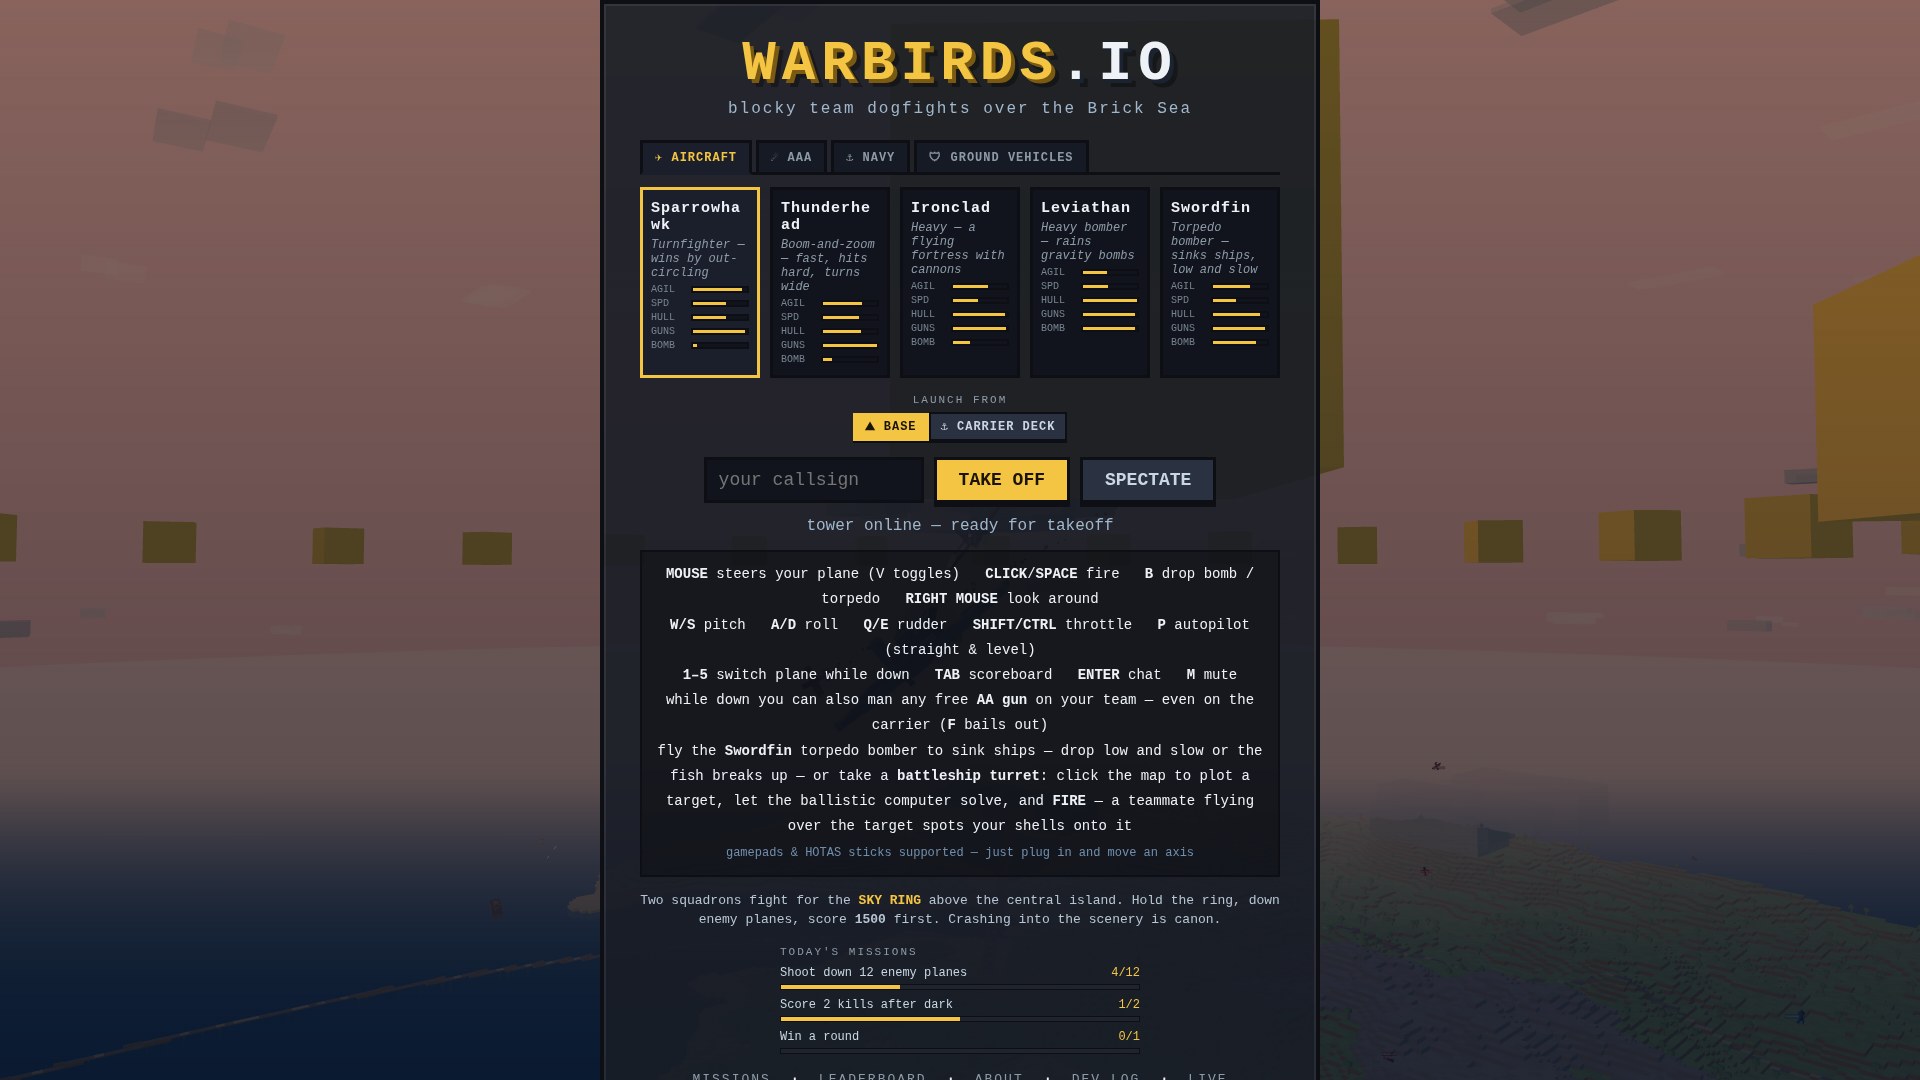
The killcam runs to the end before anything covers it — only once the replay finishes does the spawn screen appear, so the death cam is never obscured. And there's no separate “you died” card: the killcam already named who got you, so the spawn screen is simply the join screen again, pixel for pixel. The full unit picker — every warbird, the bomber crew seats, the flak and naval mounts, the battleship turret, the ground vehicles — the base-or-carrier launch choice, and today's daily missions with your live progress. Line up your next ride and hit TAKE OFF to drop back in — same button you launched with. A short respawn timer just keeps you from spawning instantly; once it lifts, you go when you're ready, not a moment before.
The fleet & the ground war
The fleet
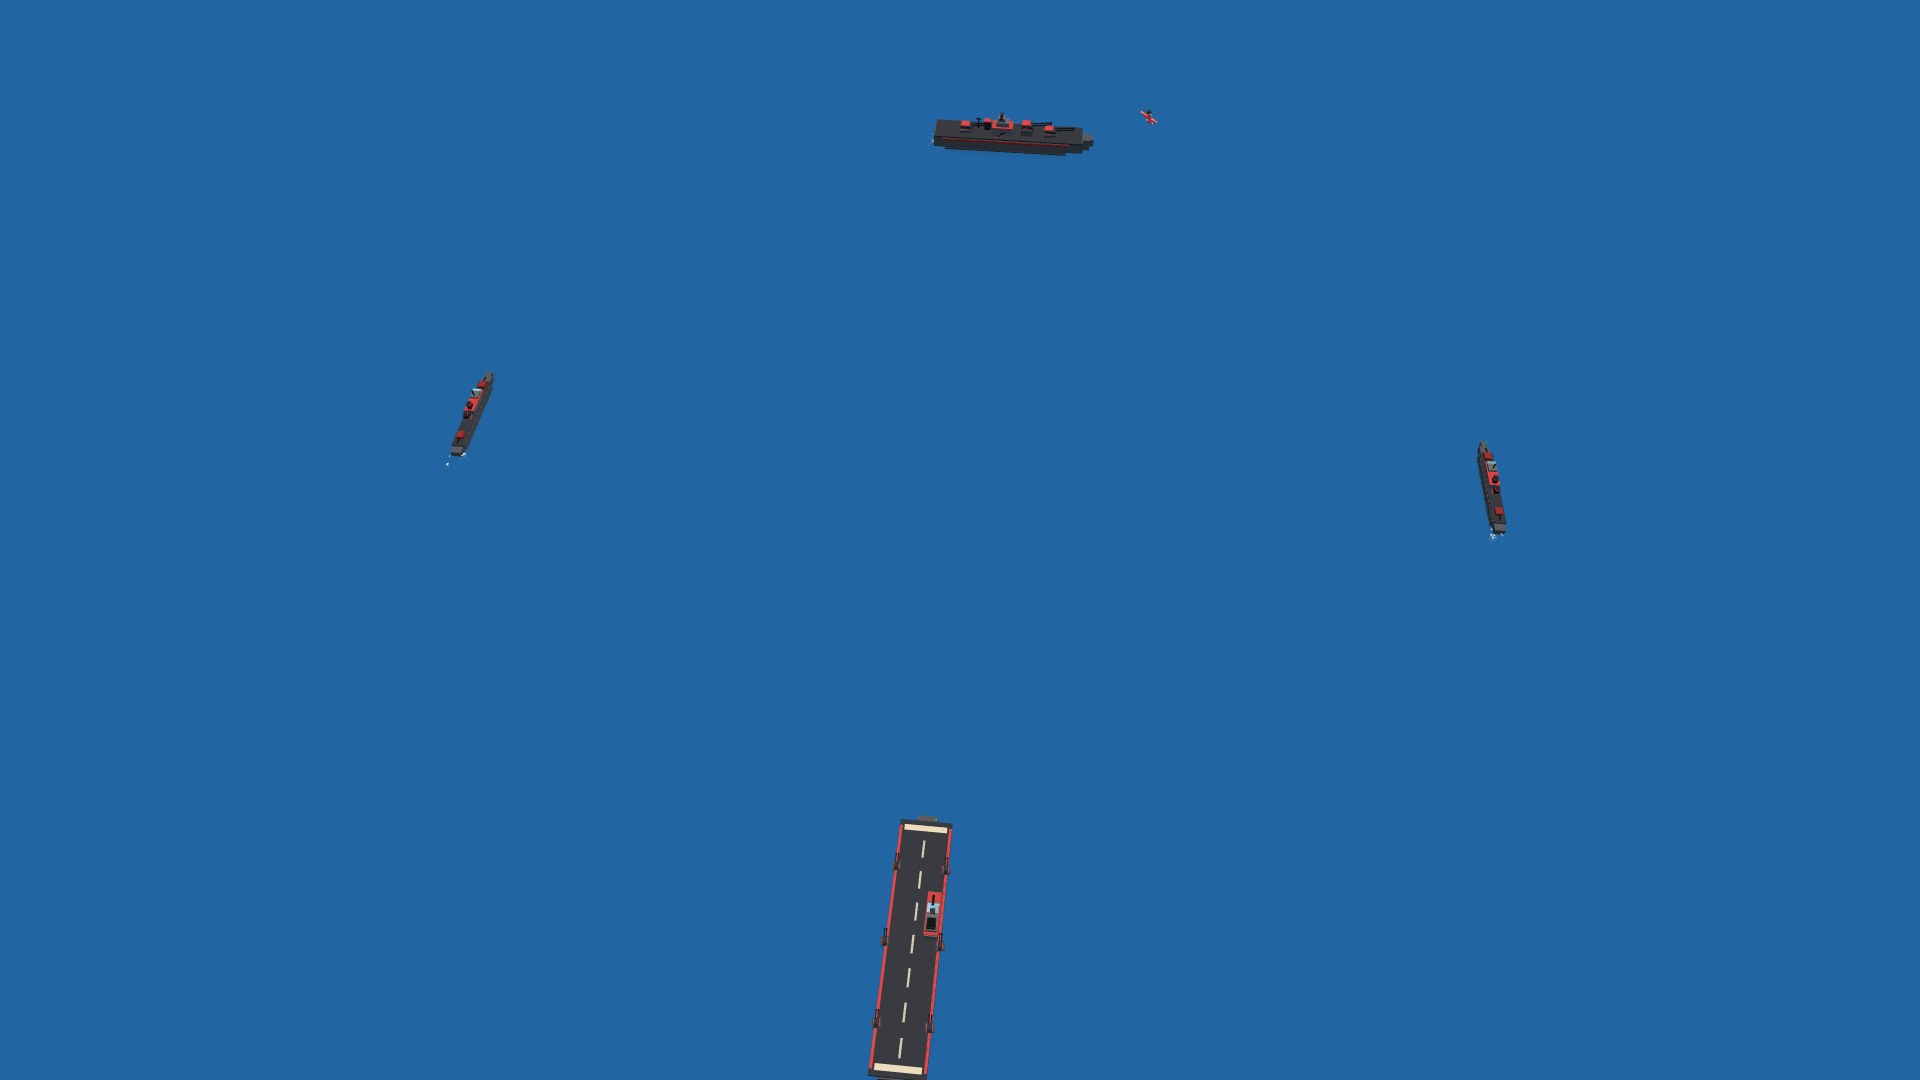
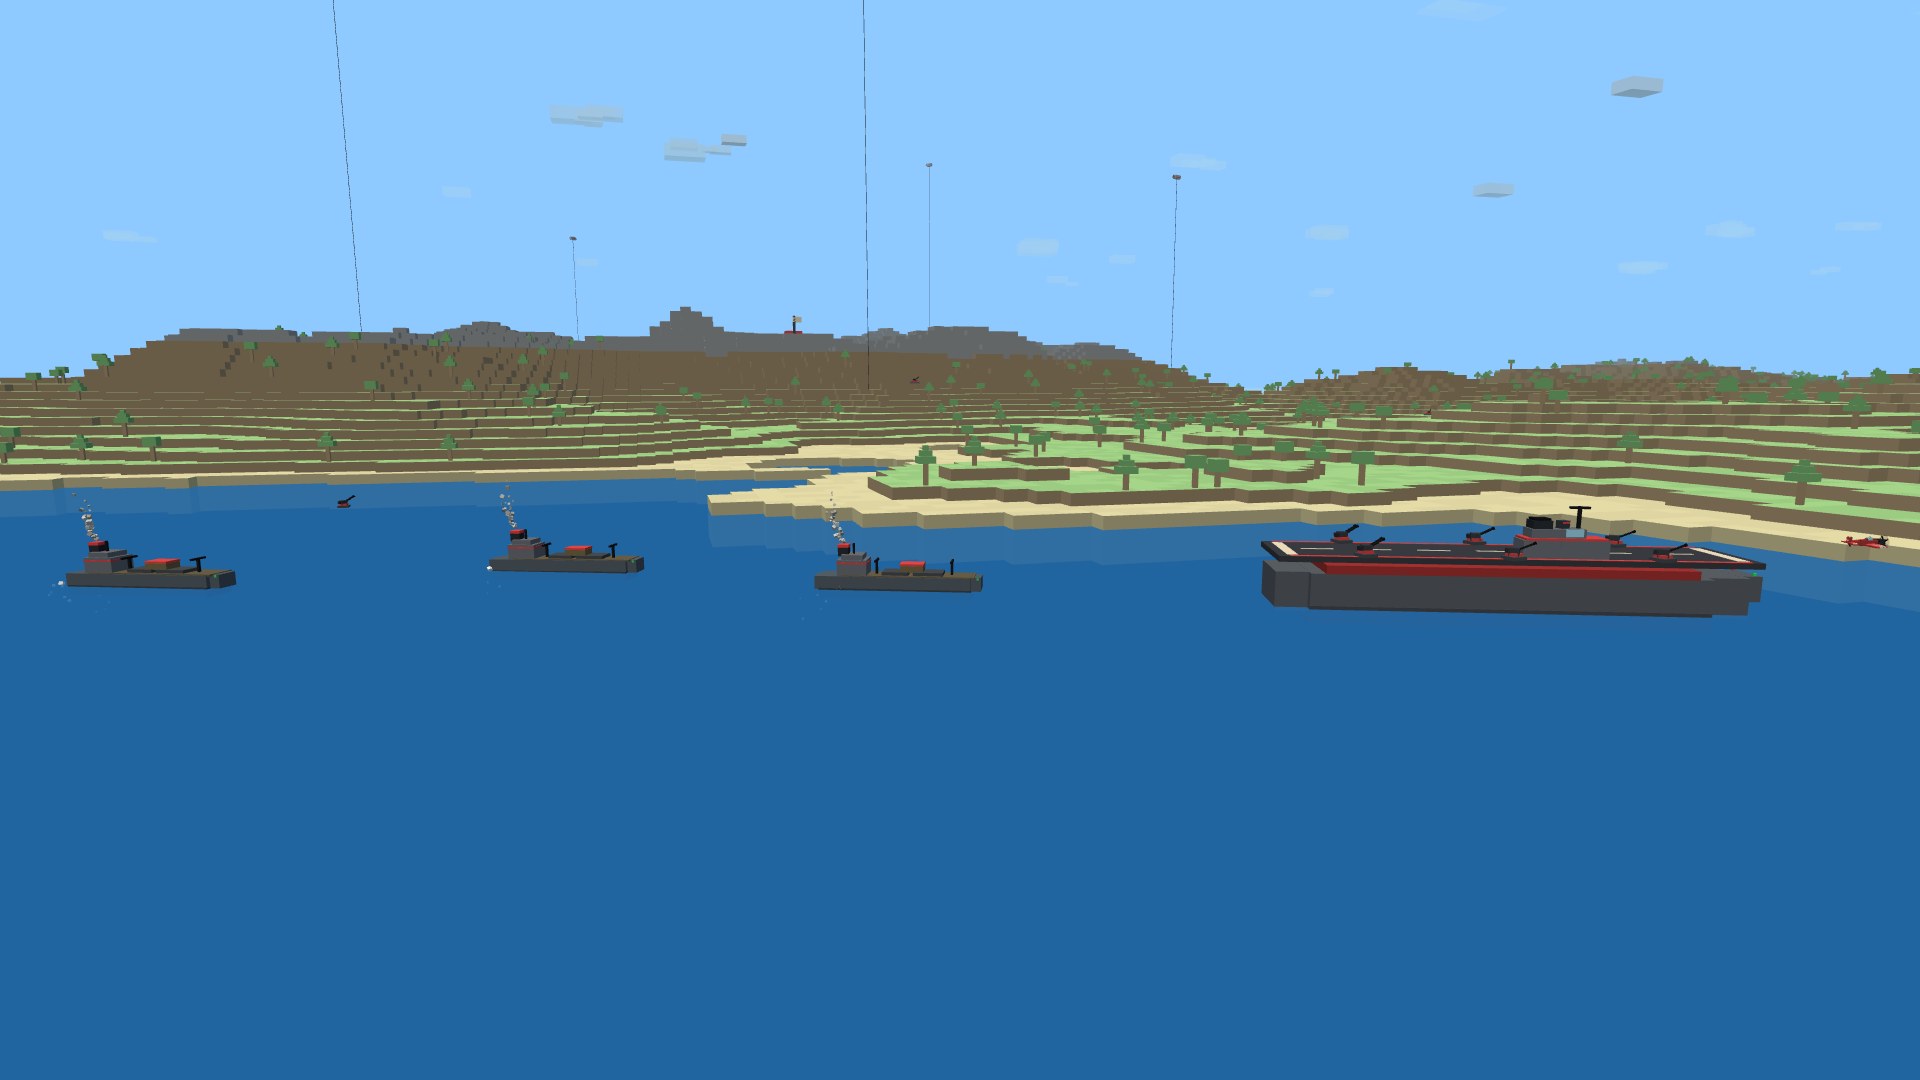
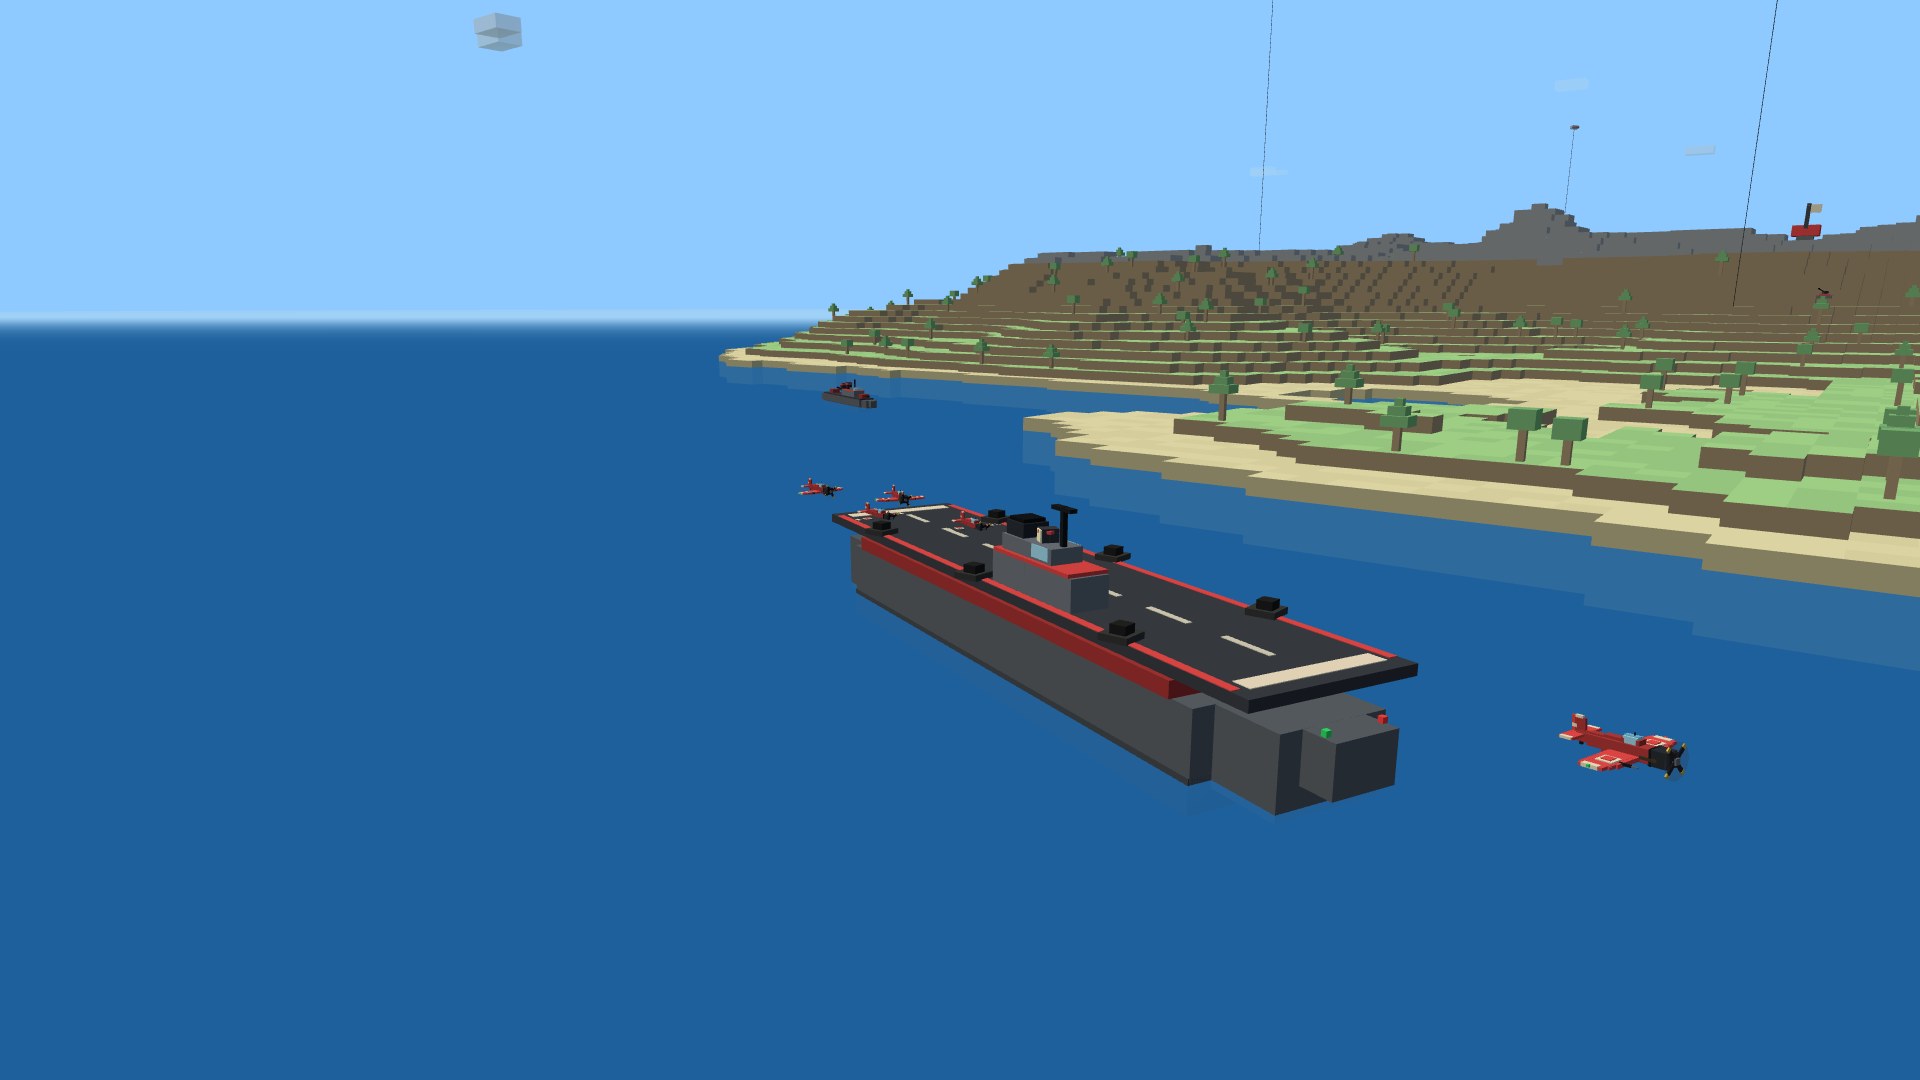
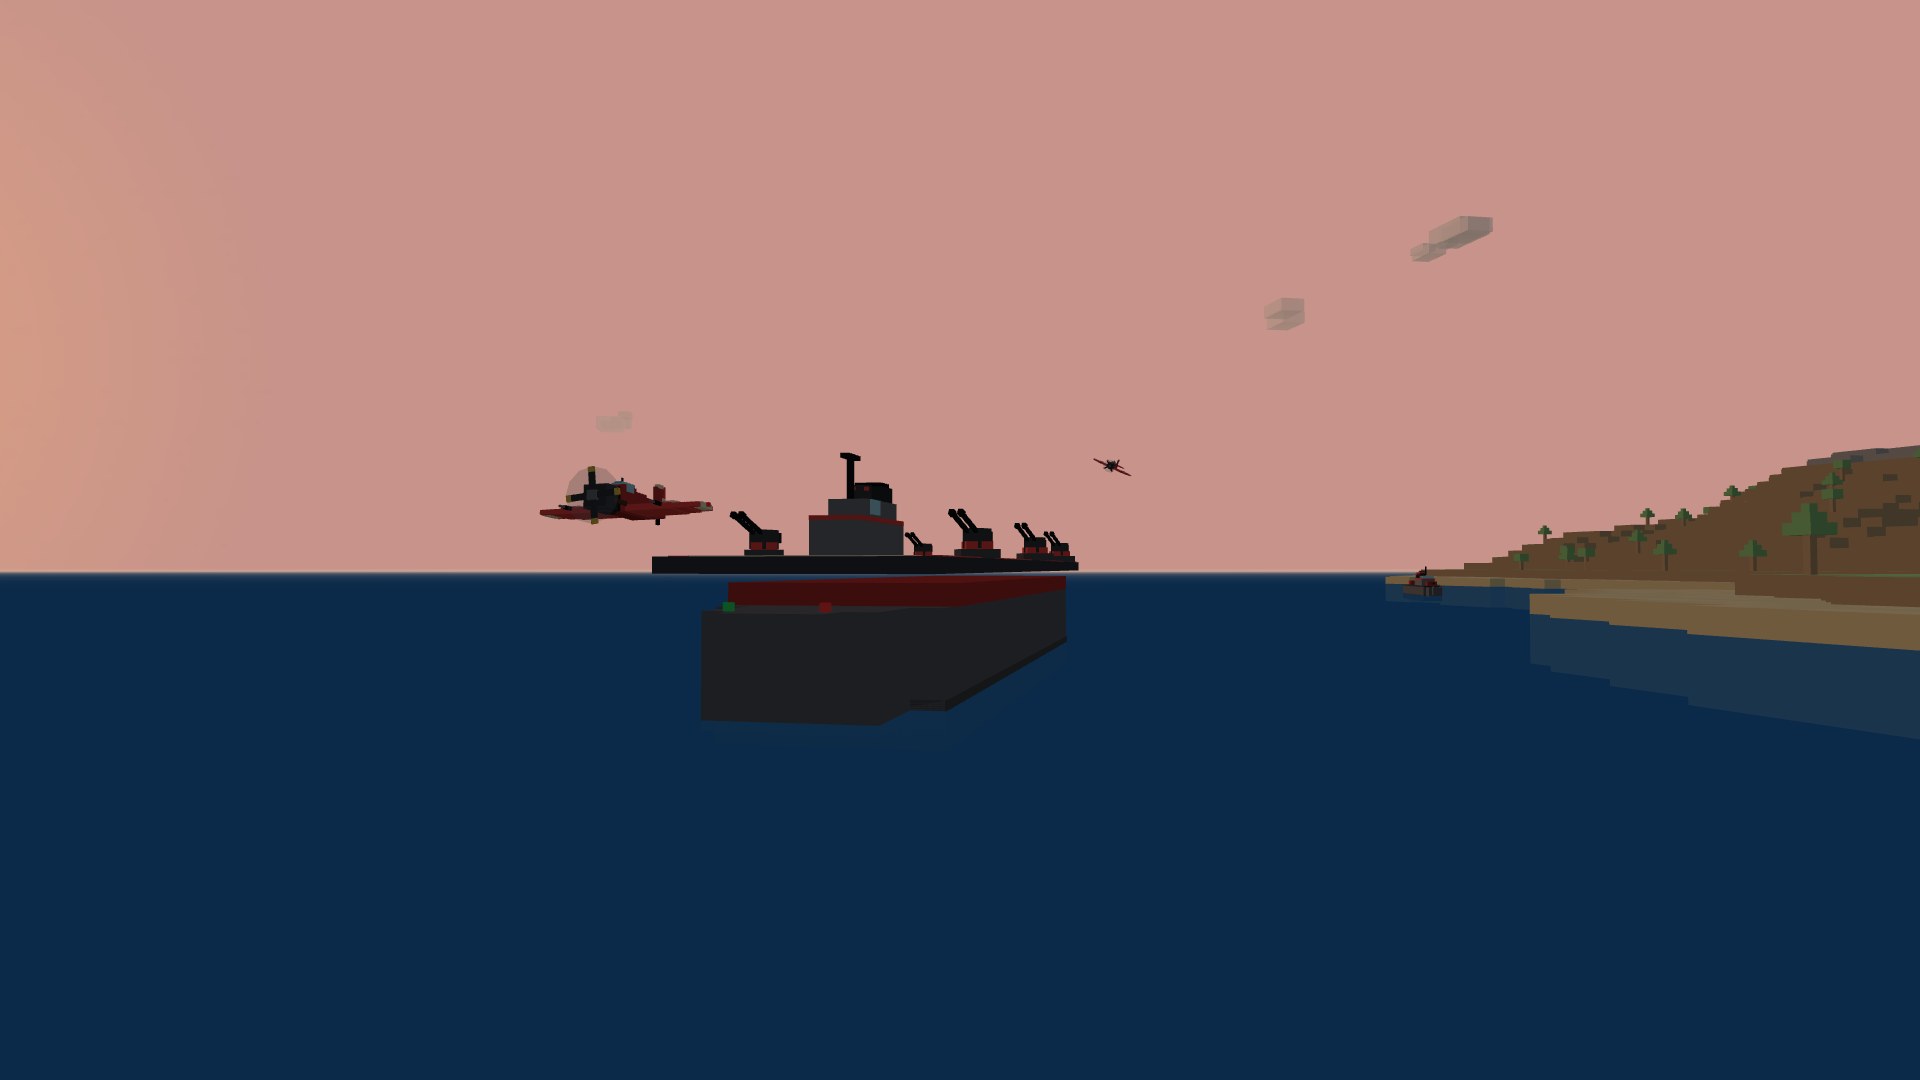
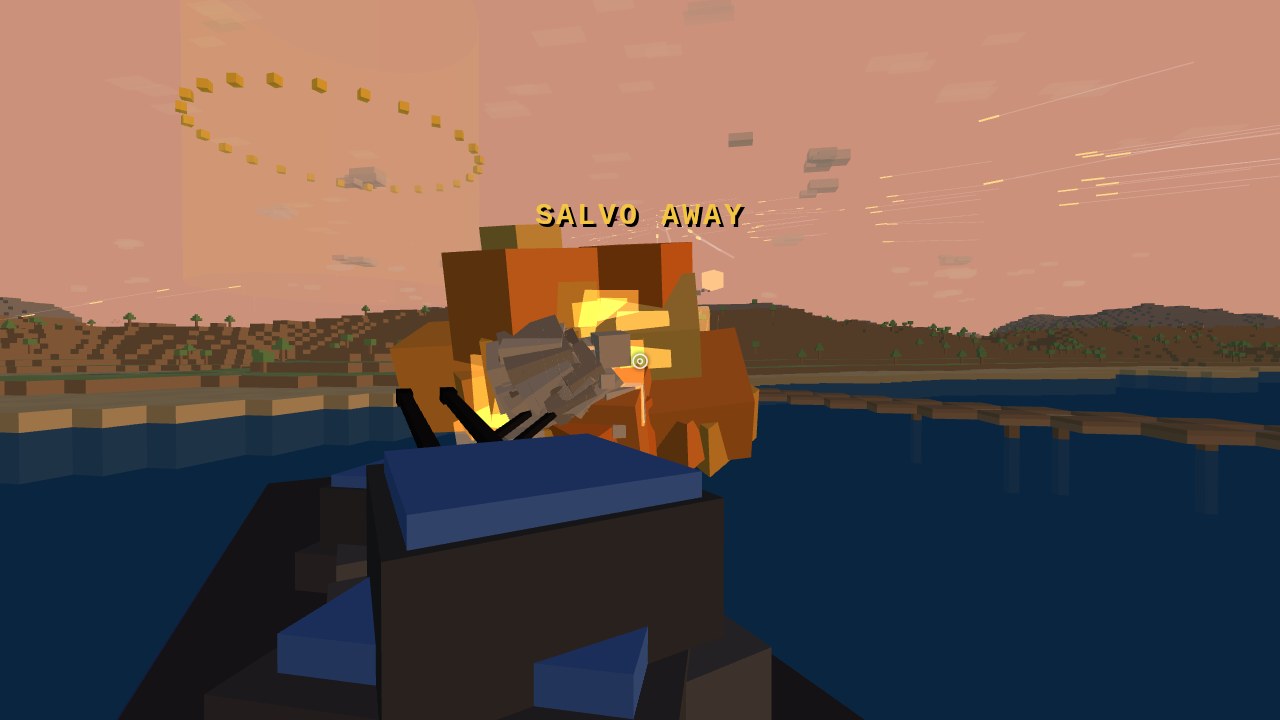
The fleet is built to scale: an Essex-class carrier with 268 metres of flight deck, an Iowa-class battleship whose three triple turrets train and elevate as they fire, and Fletcher-class destroyers. Each team's hulls hold a diamond formation pointed at the enemy: the battleship in the van showing its broadside, the two destroyers screening on the beams, and the carrier at the rear with its bow toward the fight. The two fleets are anchored a deliberate distance apart — just beyond either battleship's direct-fire range, but inside its over-the-horizon reach. So the fleets can't simply trade blows: to land shells on the enemy task force you need a teammate flying over it.
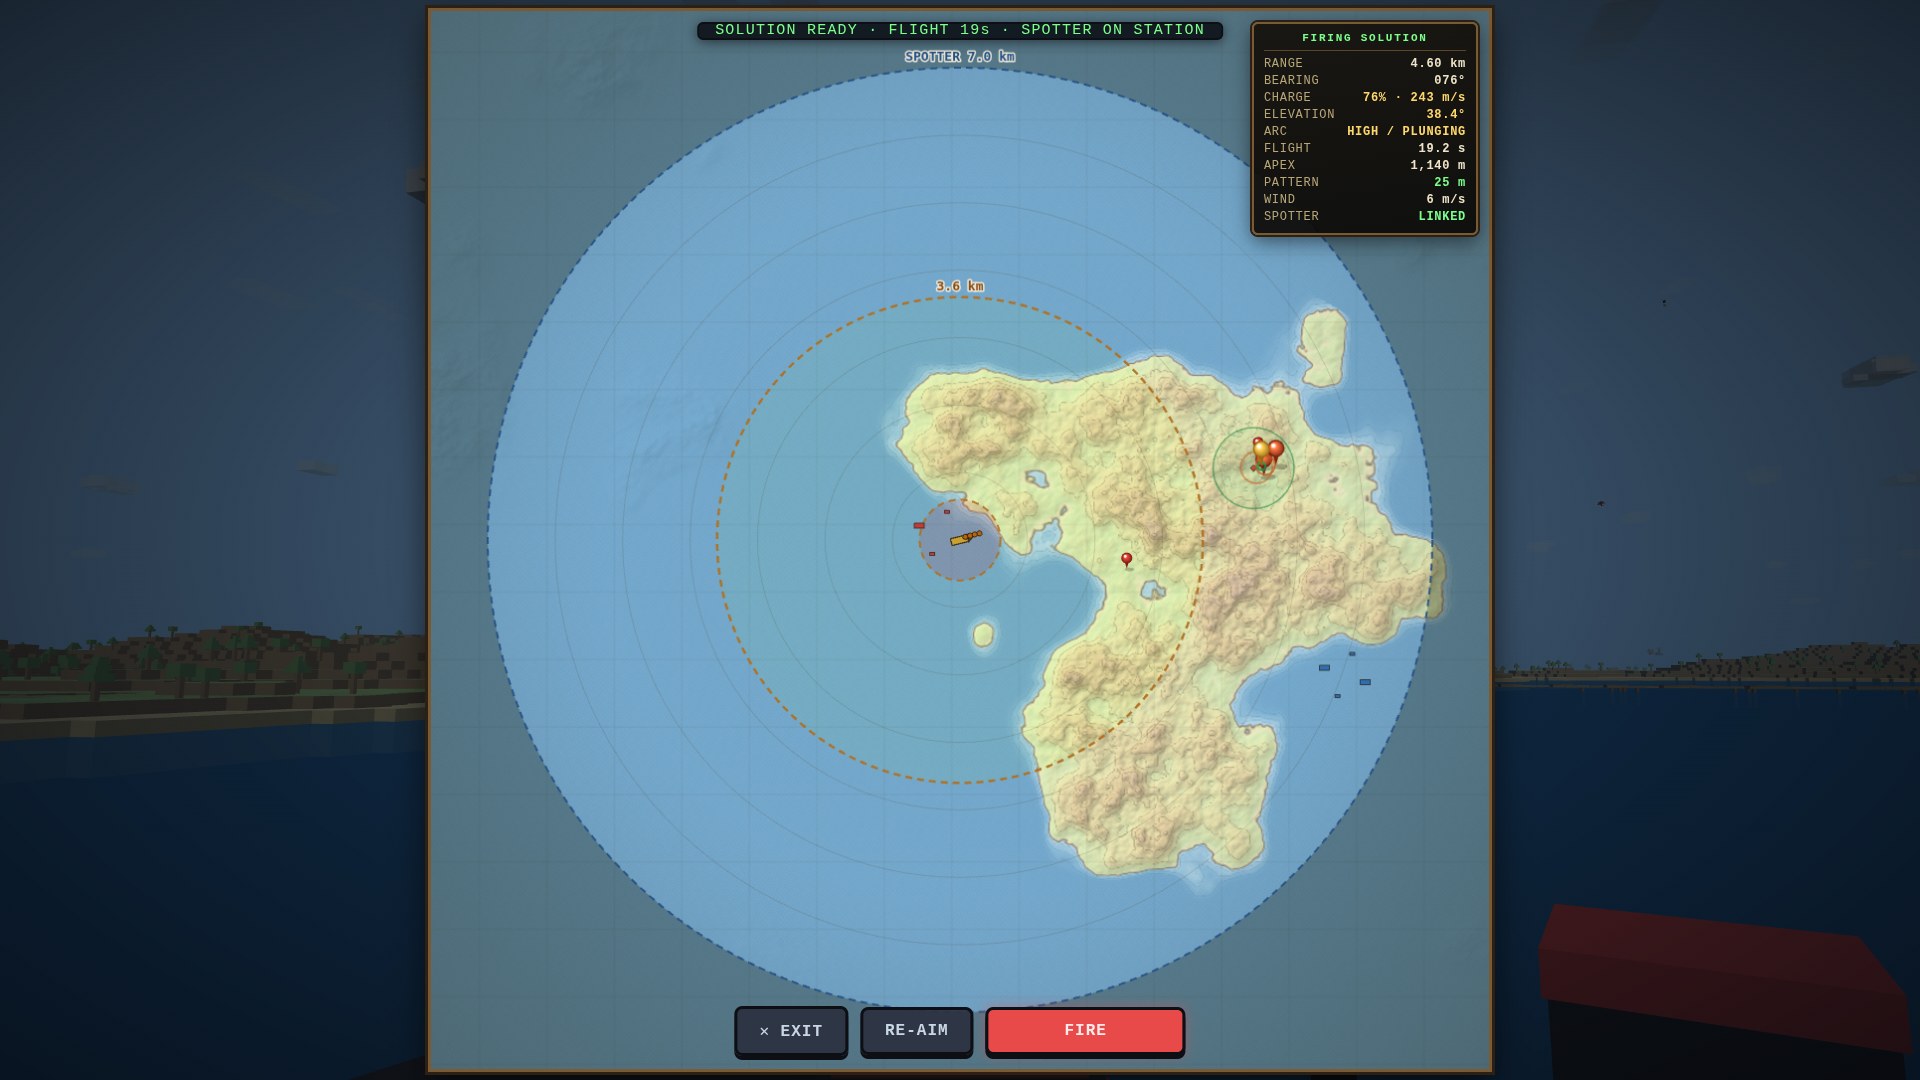
The battleship's three main-battery turrets are crewed by players. Take a BIG GUNS slot from the respawn screen and the minimap becomes a plotting chart: click a target inside the range rings, wait out the ballistic computer's solve, then hold fire to send a salvo on a genuine ten-second arc. A teammate flying over the target spots your shells onto a tight pattern — and past the direct-fire ring, out in the spotter range where the enemy fleet lies, the battery won't even loose until a friendly plane is over the target. The chart only shows enemy ground inside your direct ring or inside a spotter's view bubble, so reaching the enemy's deep installations takes eyes in the sky — watch the fog lift as teammates fly the target area. Flak cracked open by naval gunfire stays suppressed extra long. While down you can also man any free AA gun on your team (F bails out).
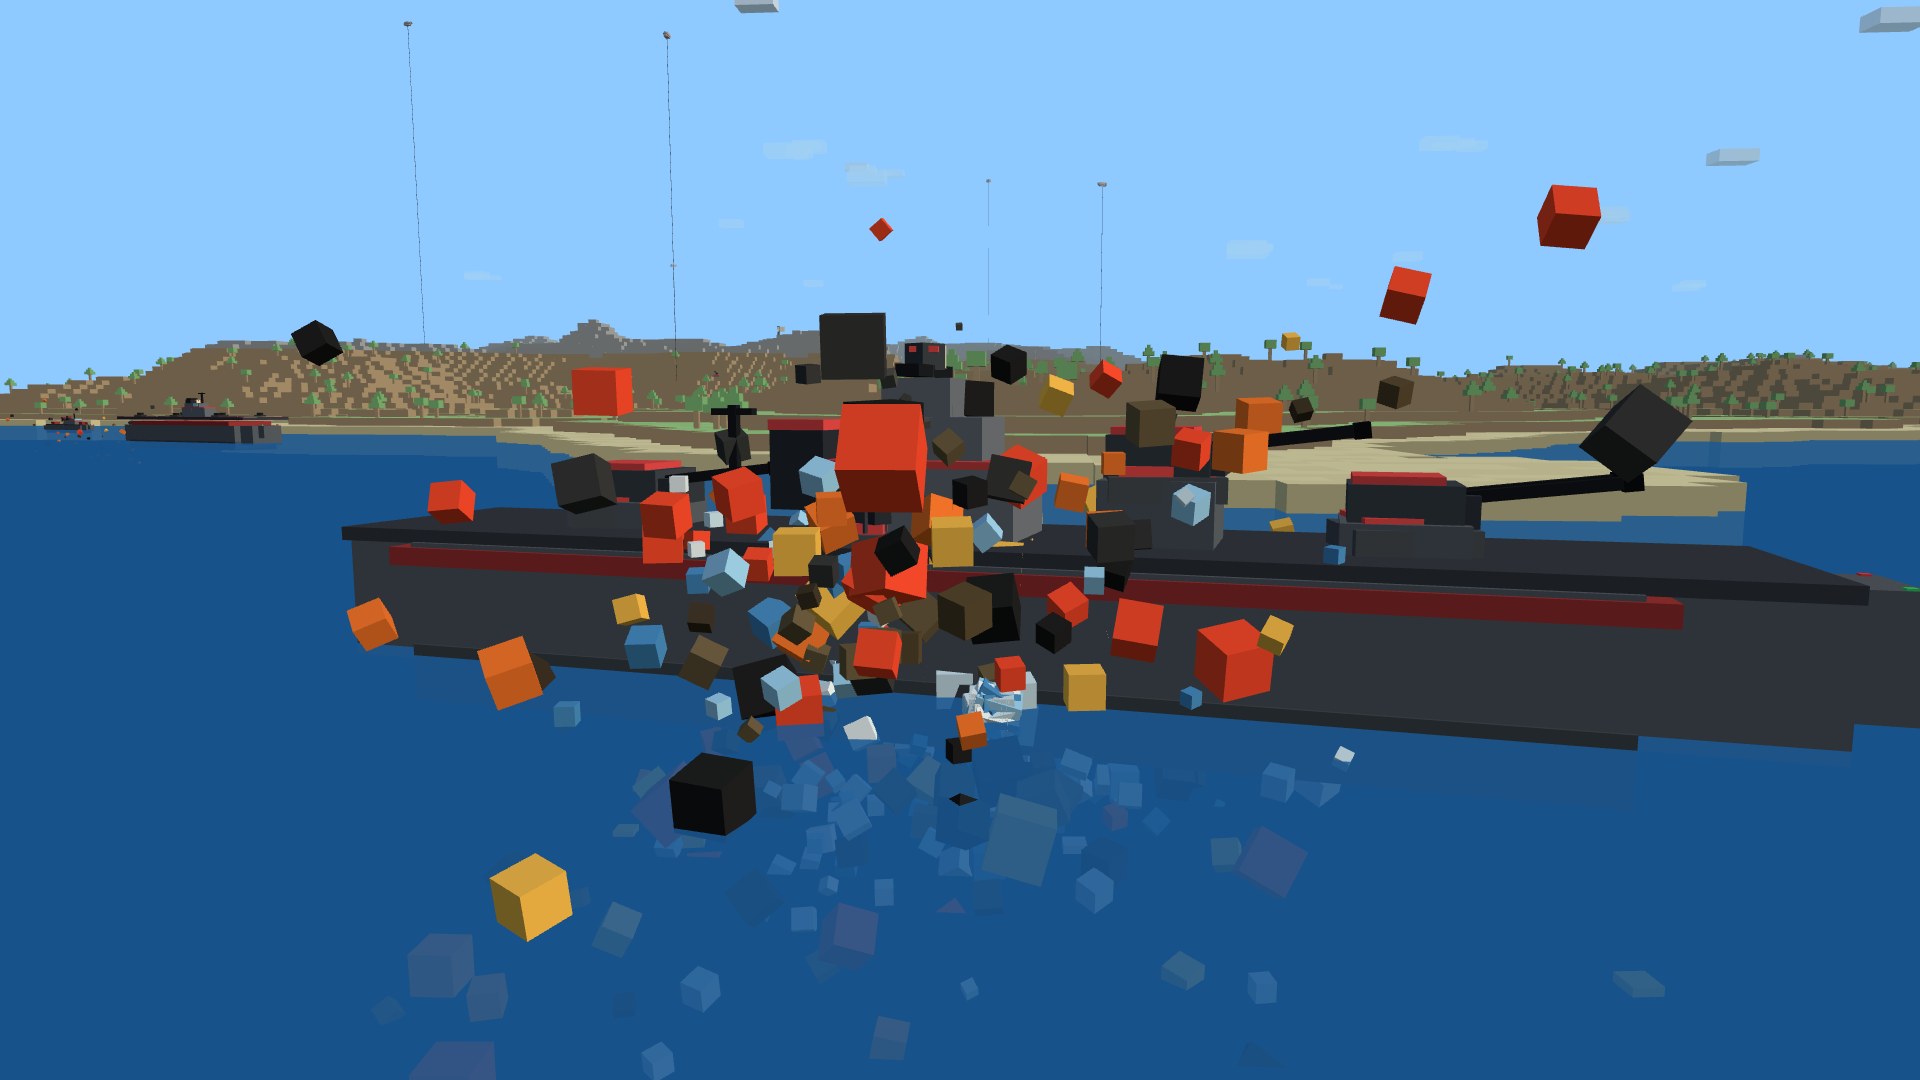
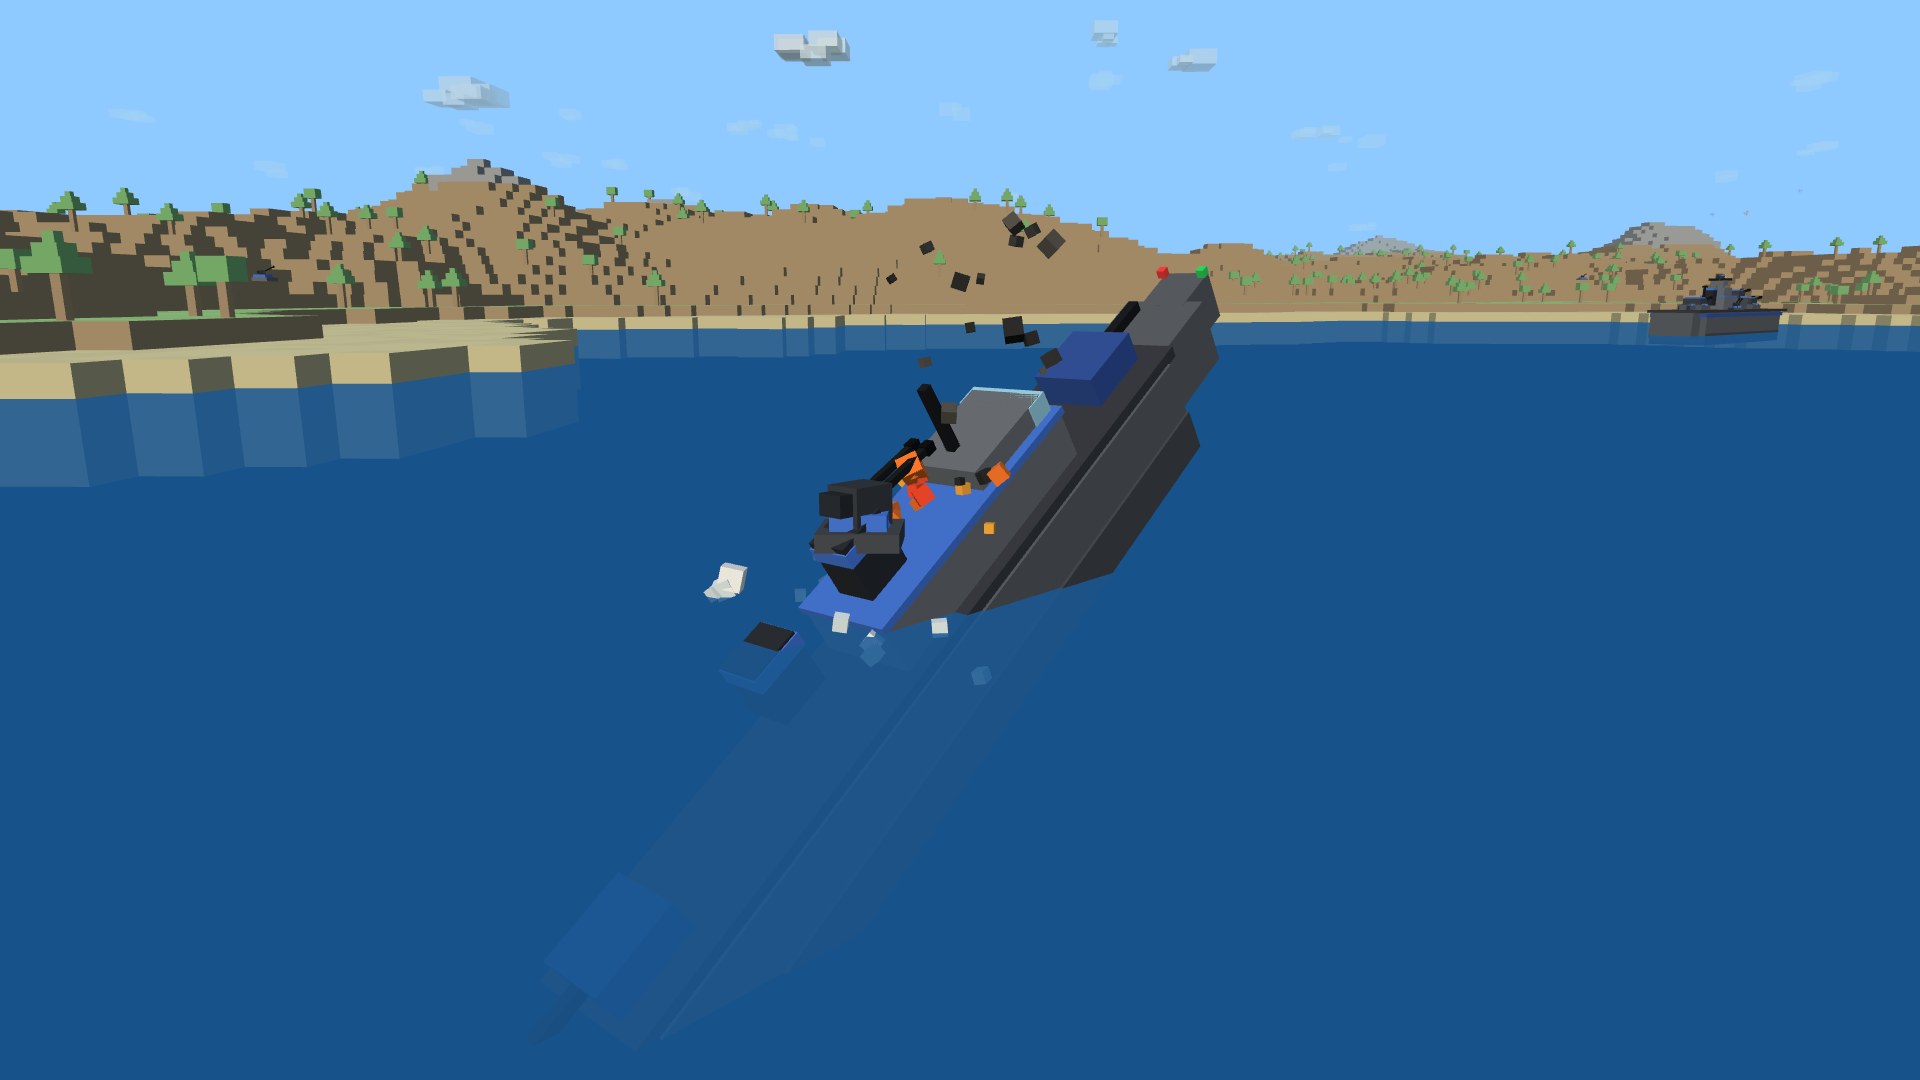
Every hull is sinkable. Torpedoes must be dropped low and slow or they break up on entry; a good fish runs straight just under the surface behind a wake everyone can see. One sinks a destroyer; a sunk ship takes its guns and gunners down with it and refloats minutes later.
The fleet runs on supplies too. Supply ships are the convoys' seagoing cousins: 134-metre Liberty ships steaming an open-water lane to the carrier, funnels smoking so you can spot them a long way off. Every one that delivers rebuilds your downed guns faster — so escort your sealift and sink theirs with bombs, rockets, or a fish.
The ground war
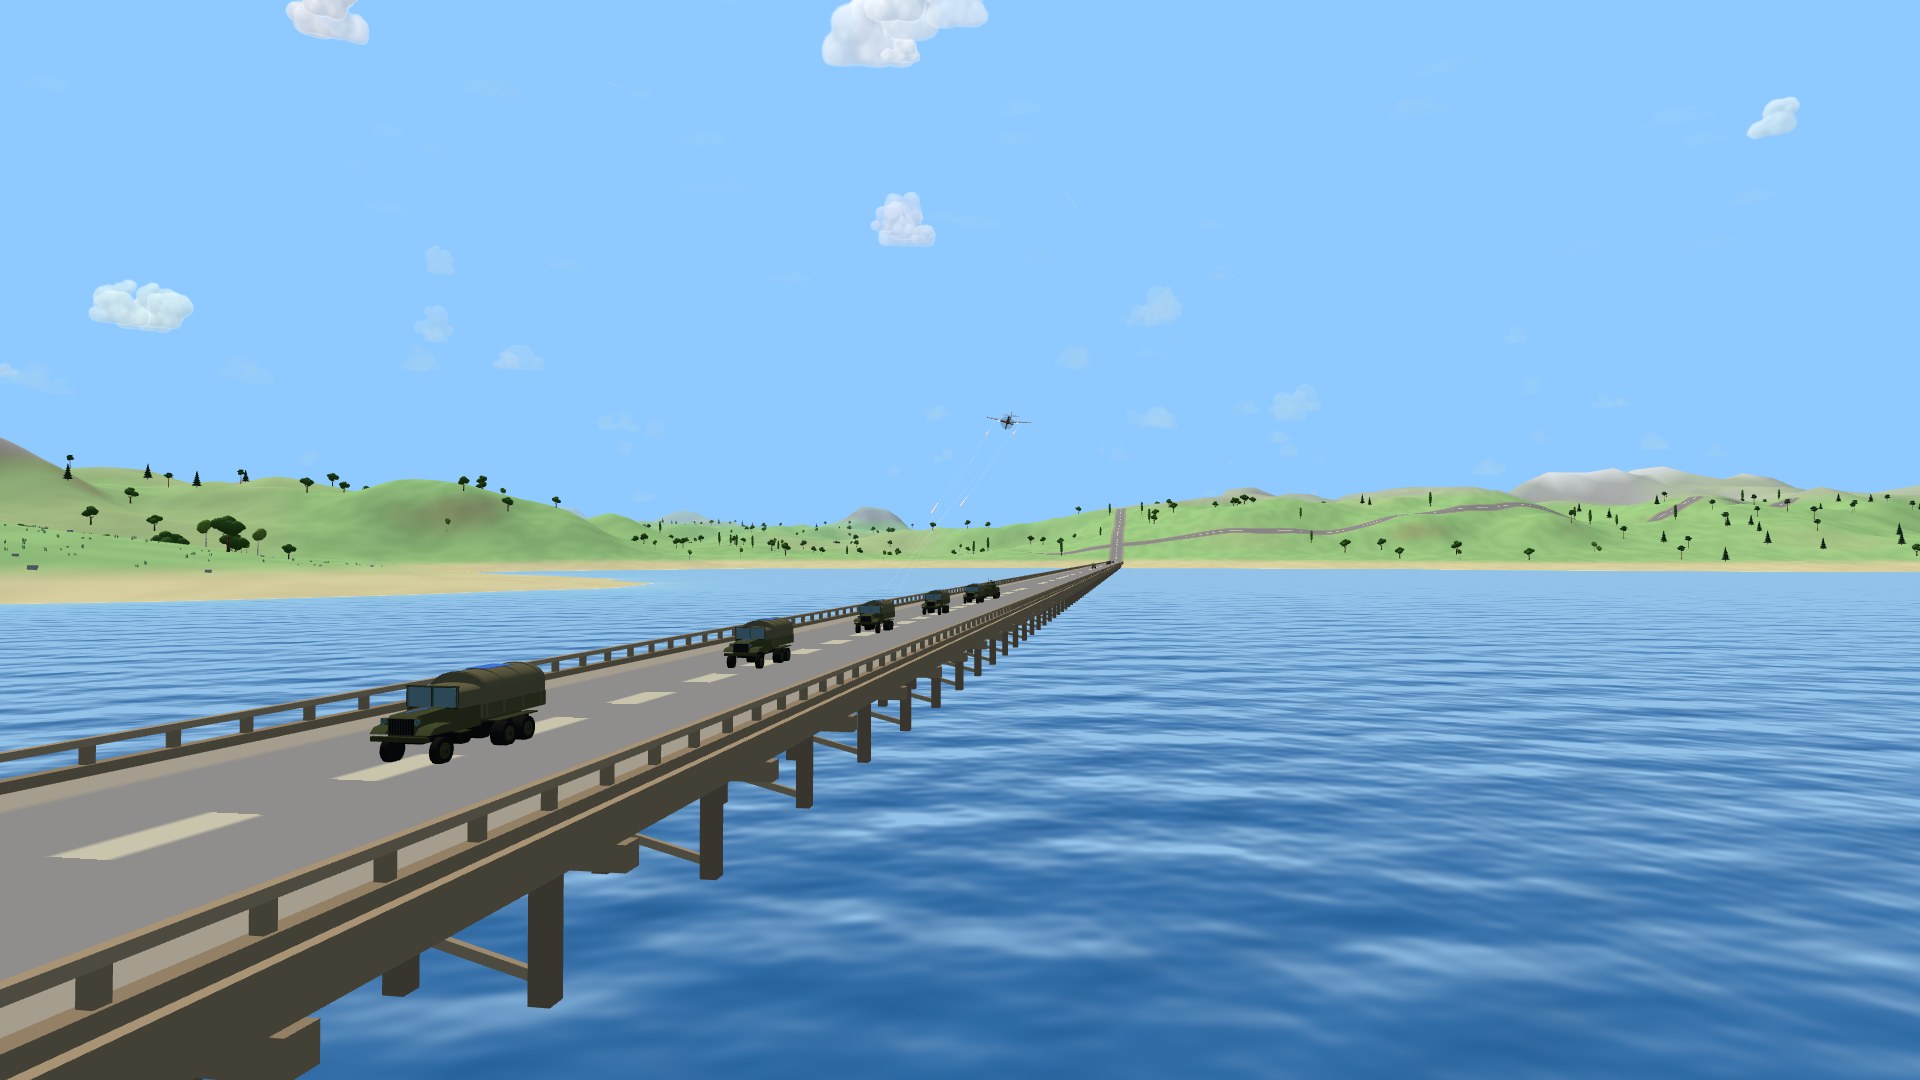
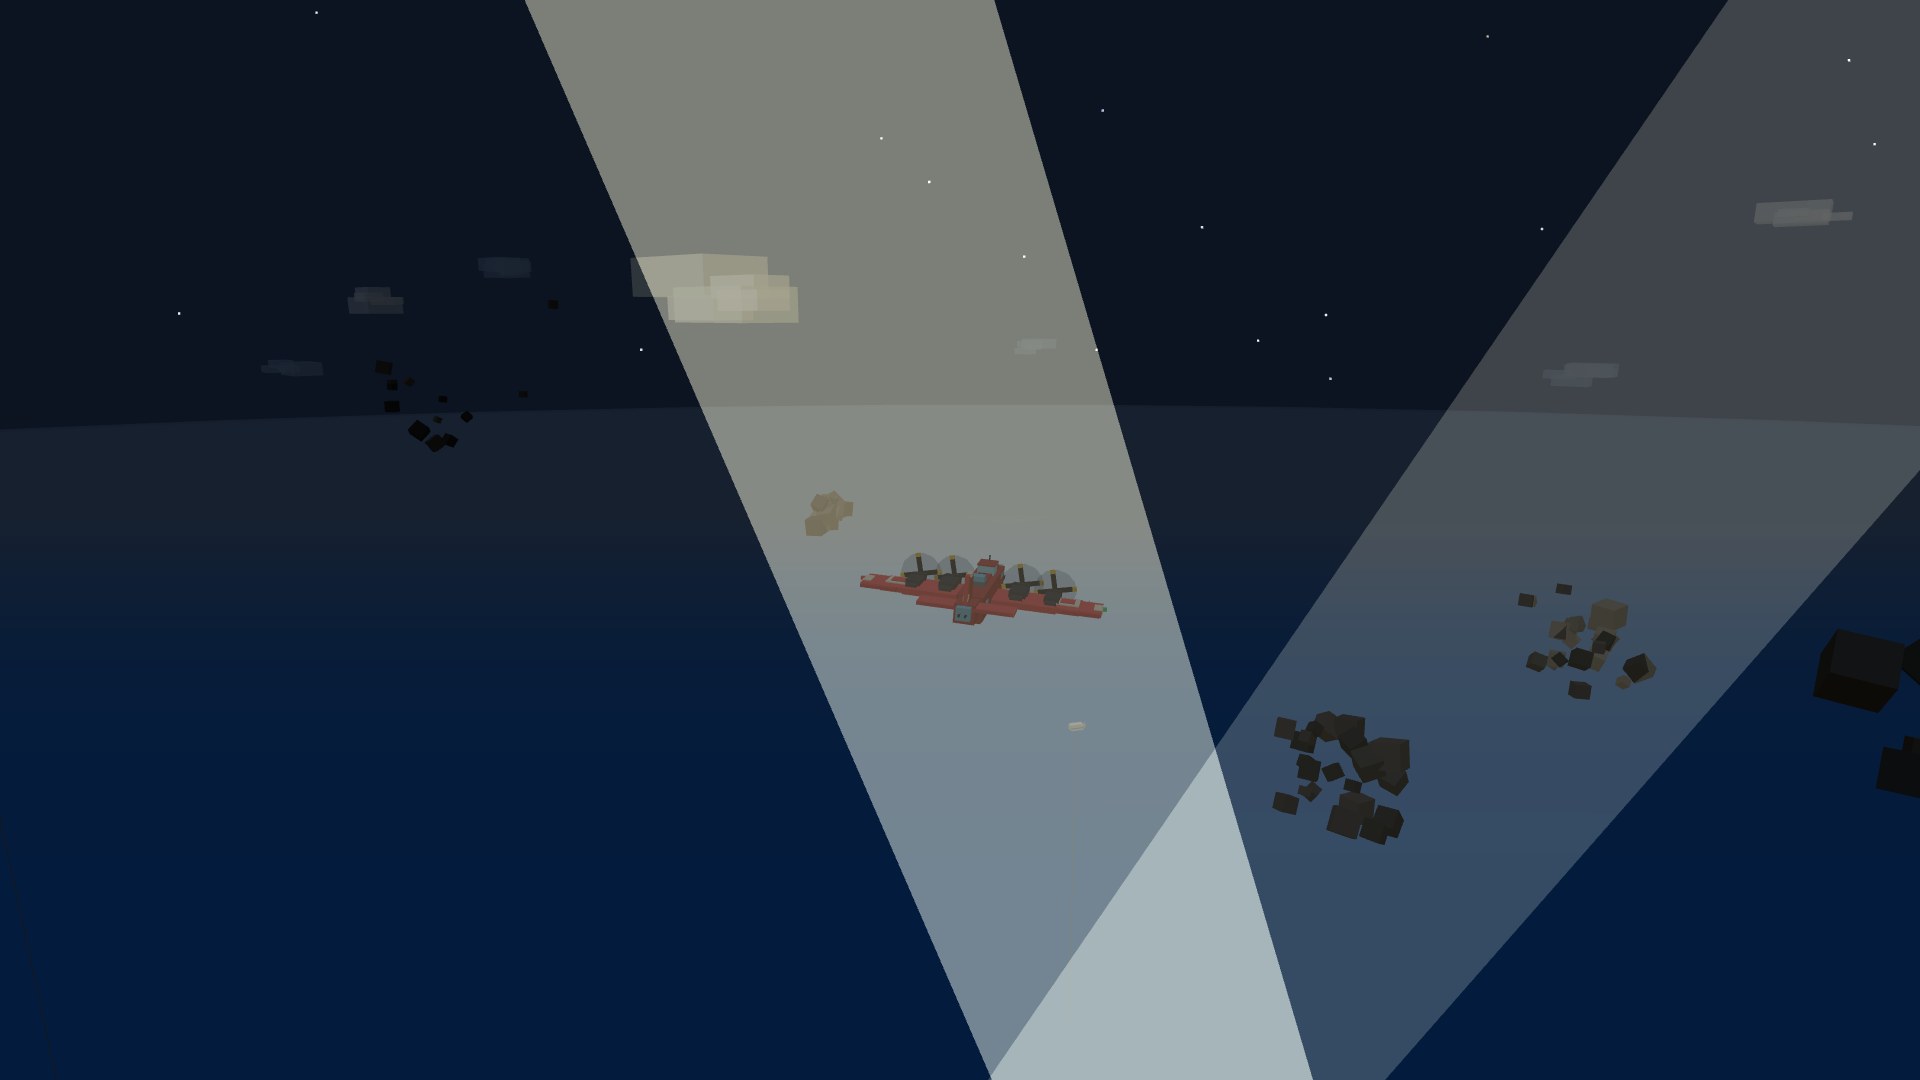
Forward territory hides shore installations — radar stations and fuel depots worth big points and painted on the gunner's chart. Supply convoys roll the base-to-base highway; every truck that survives the run scores and rebuilds your downed guns faster, so strafe theirs and escort yours. Rounds also roll wind with their weather: bombs drift downwind (watch the minimap wind sock), though the battleship's computer corrects automatically. And after dark, searchlights sweep the sky: every gun is half blind at night unless a beam cones the target — a lit plane is visible to everything on the map.
A living world
The world
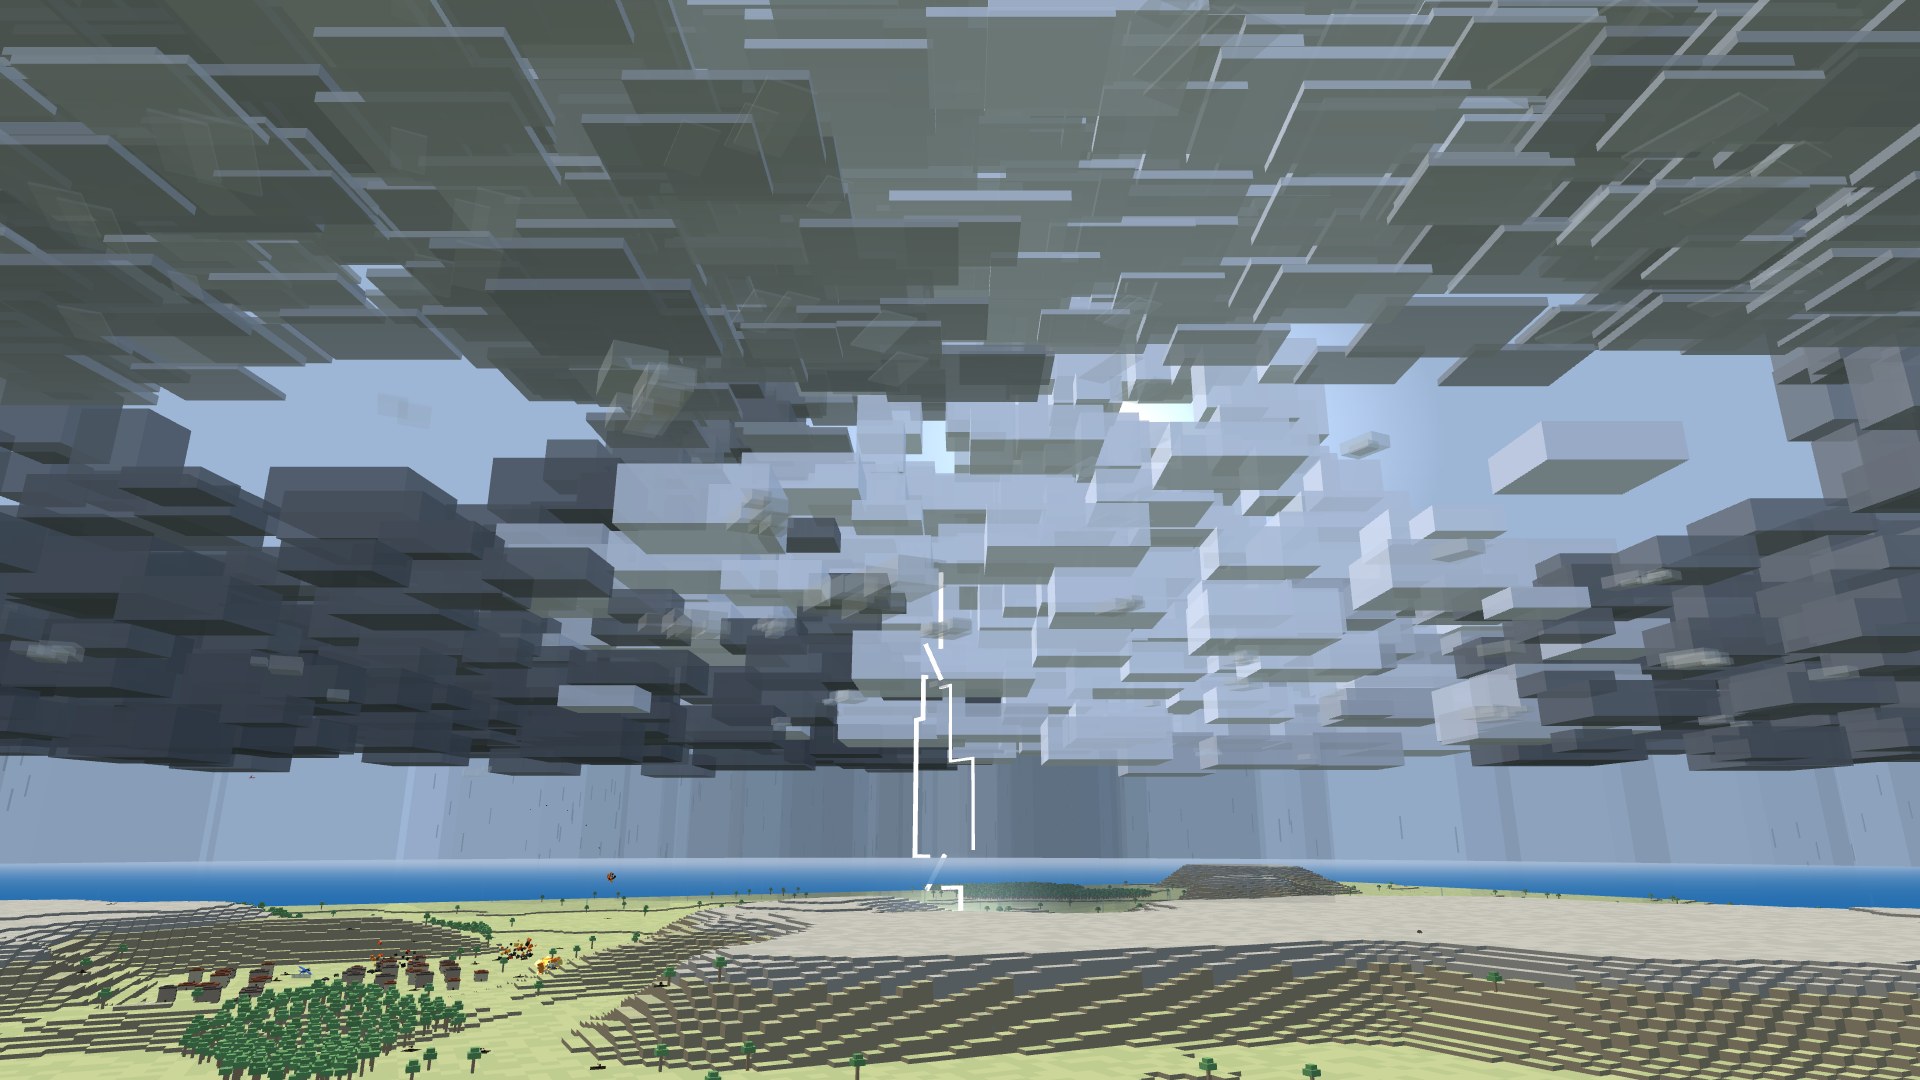
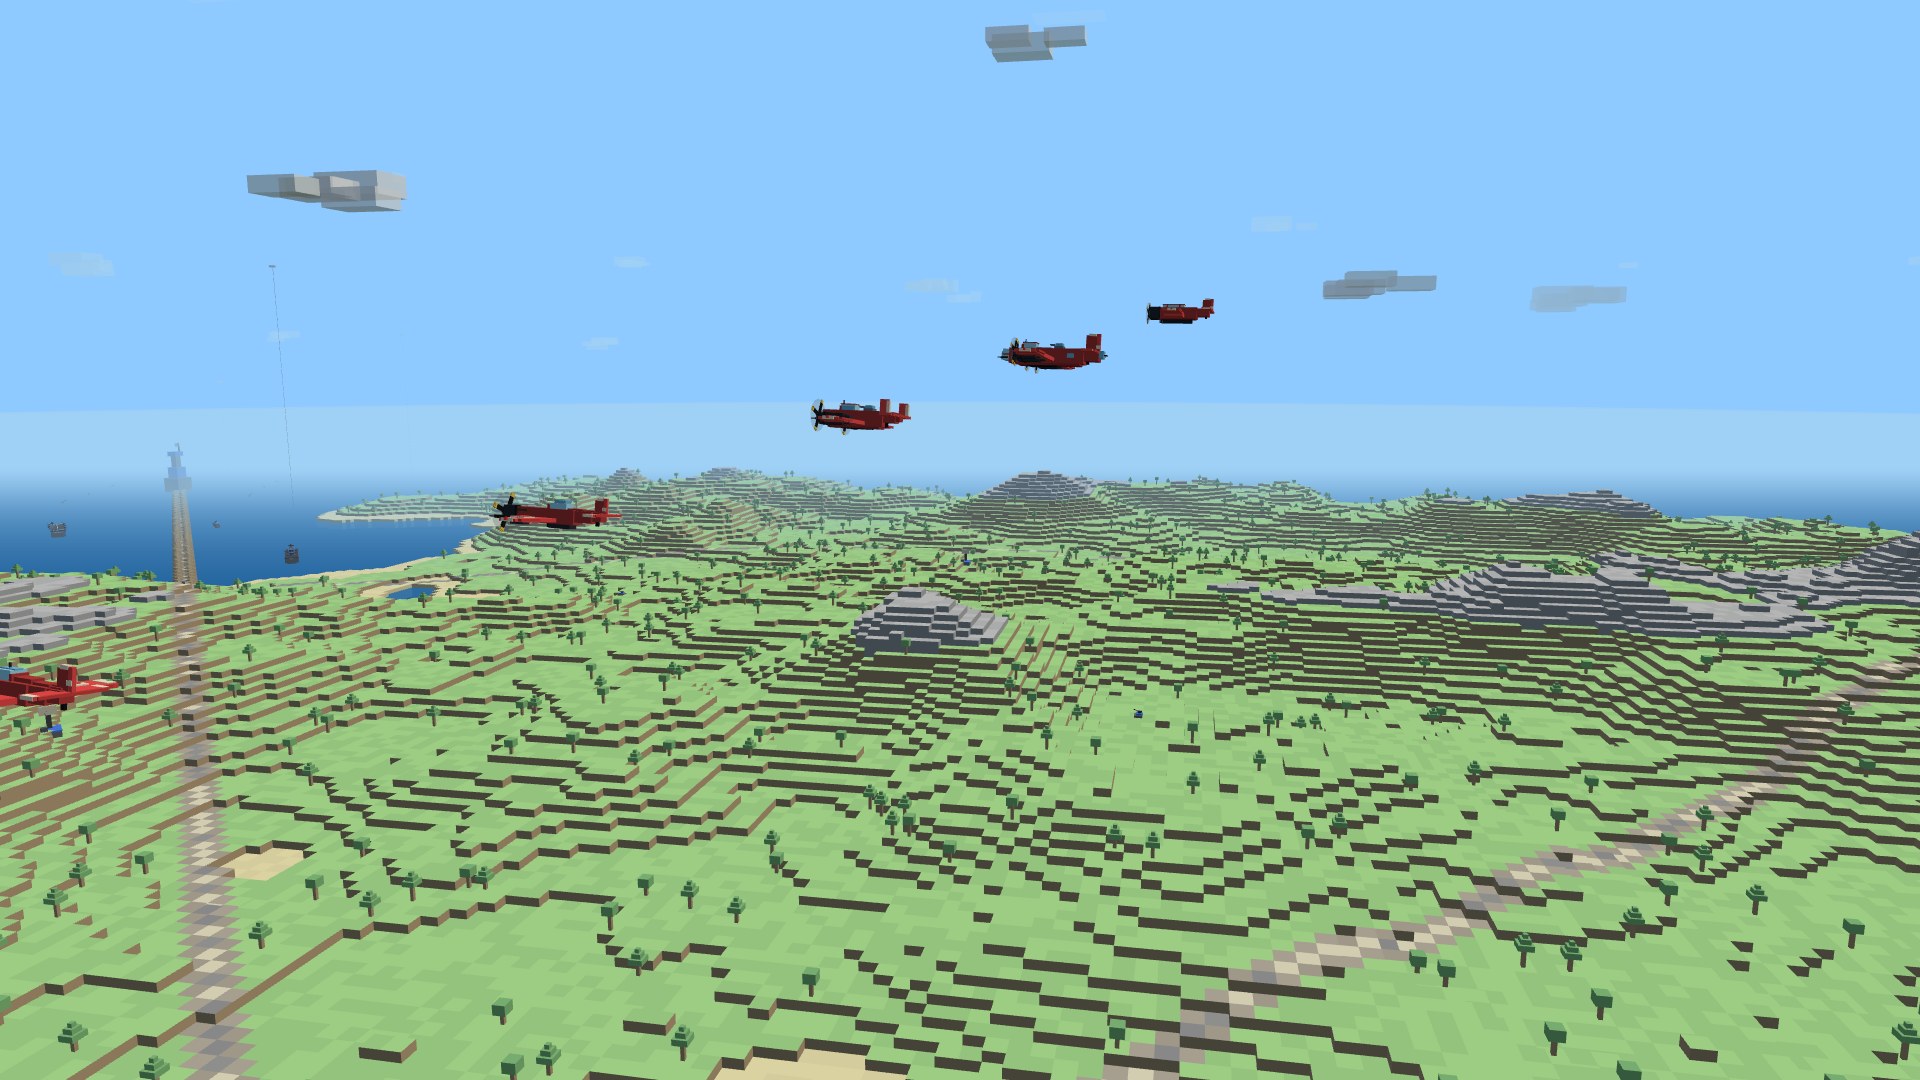
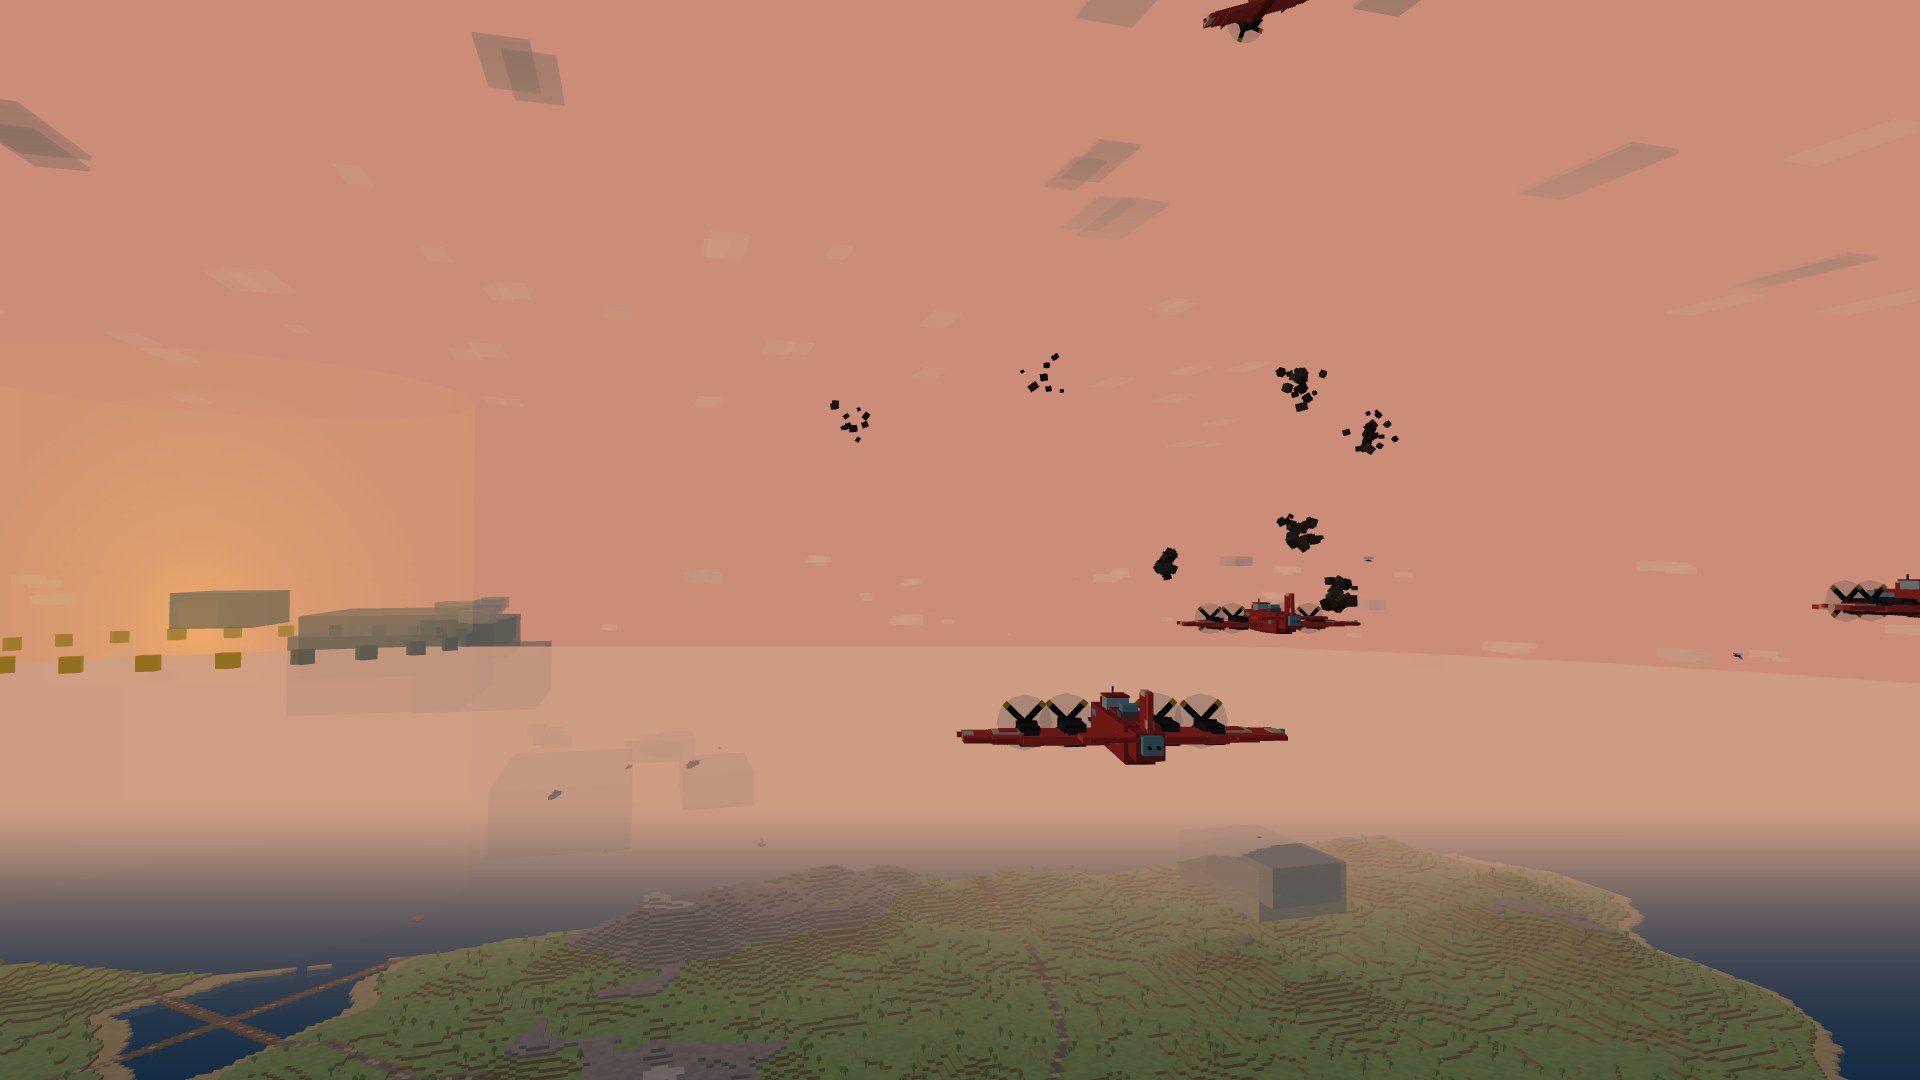
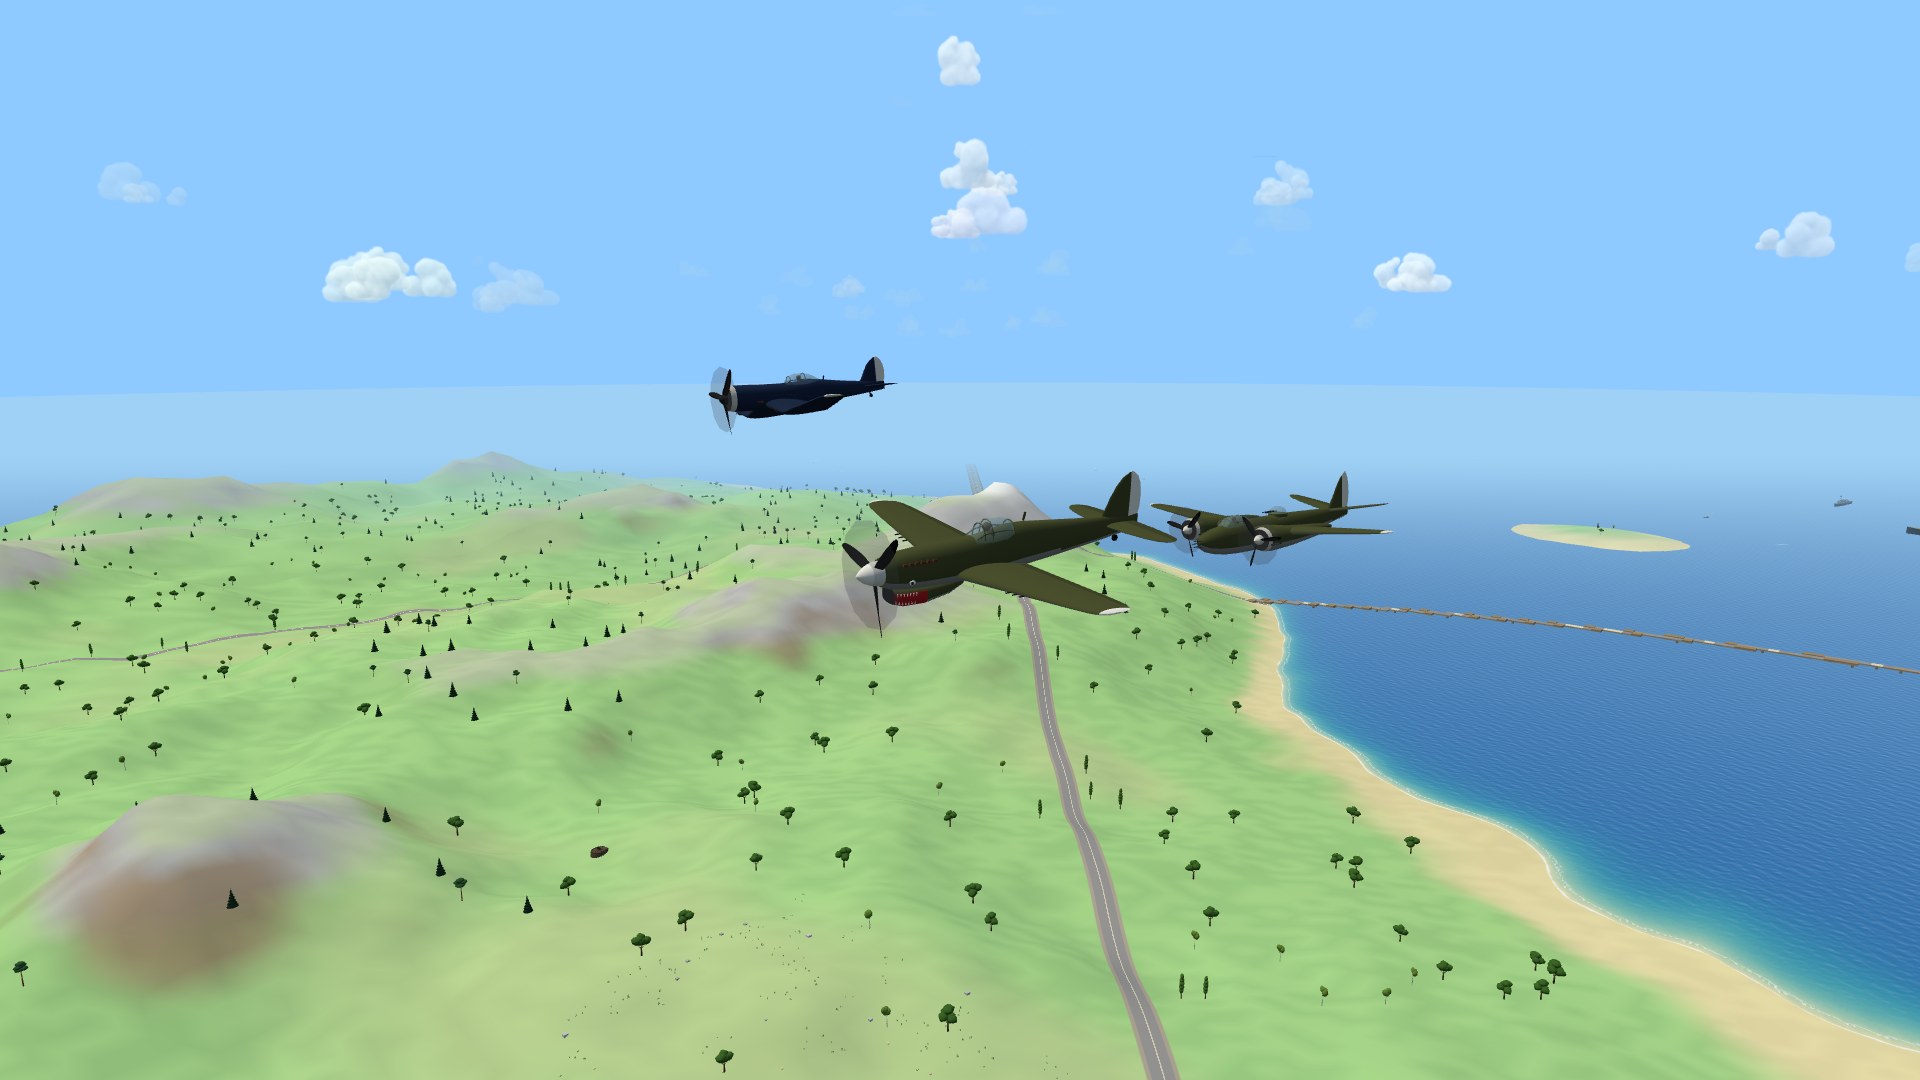
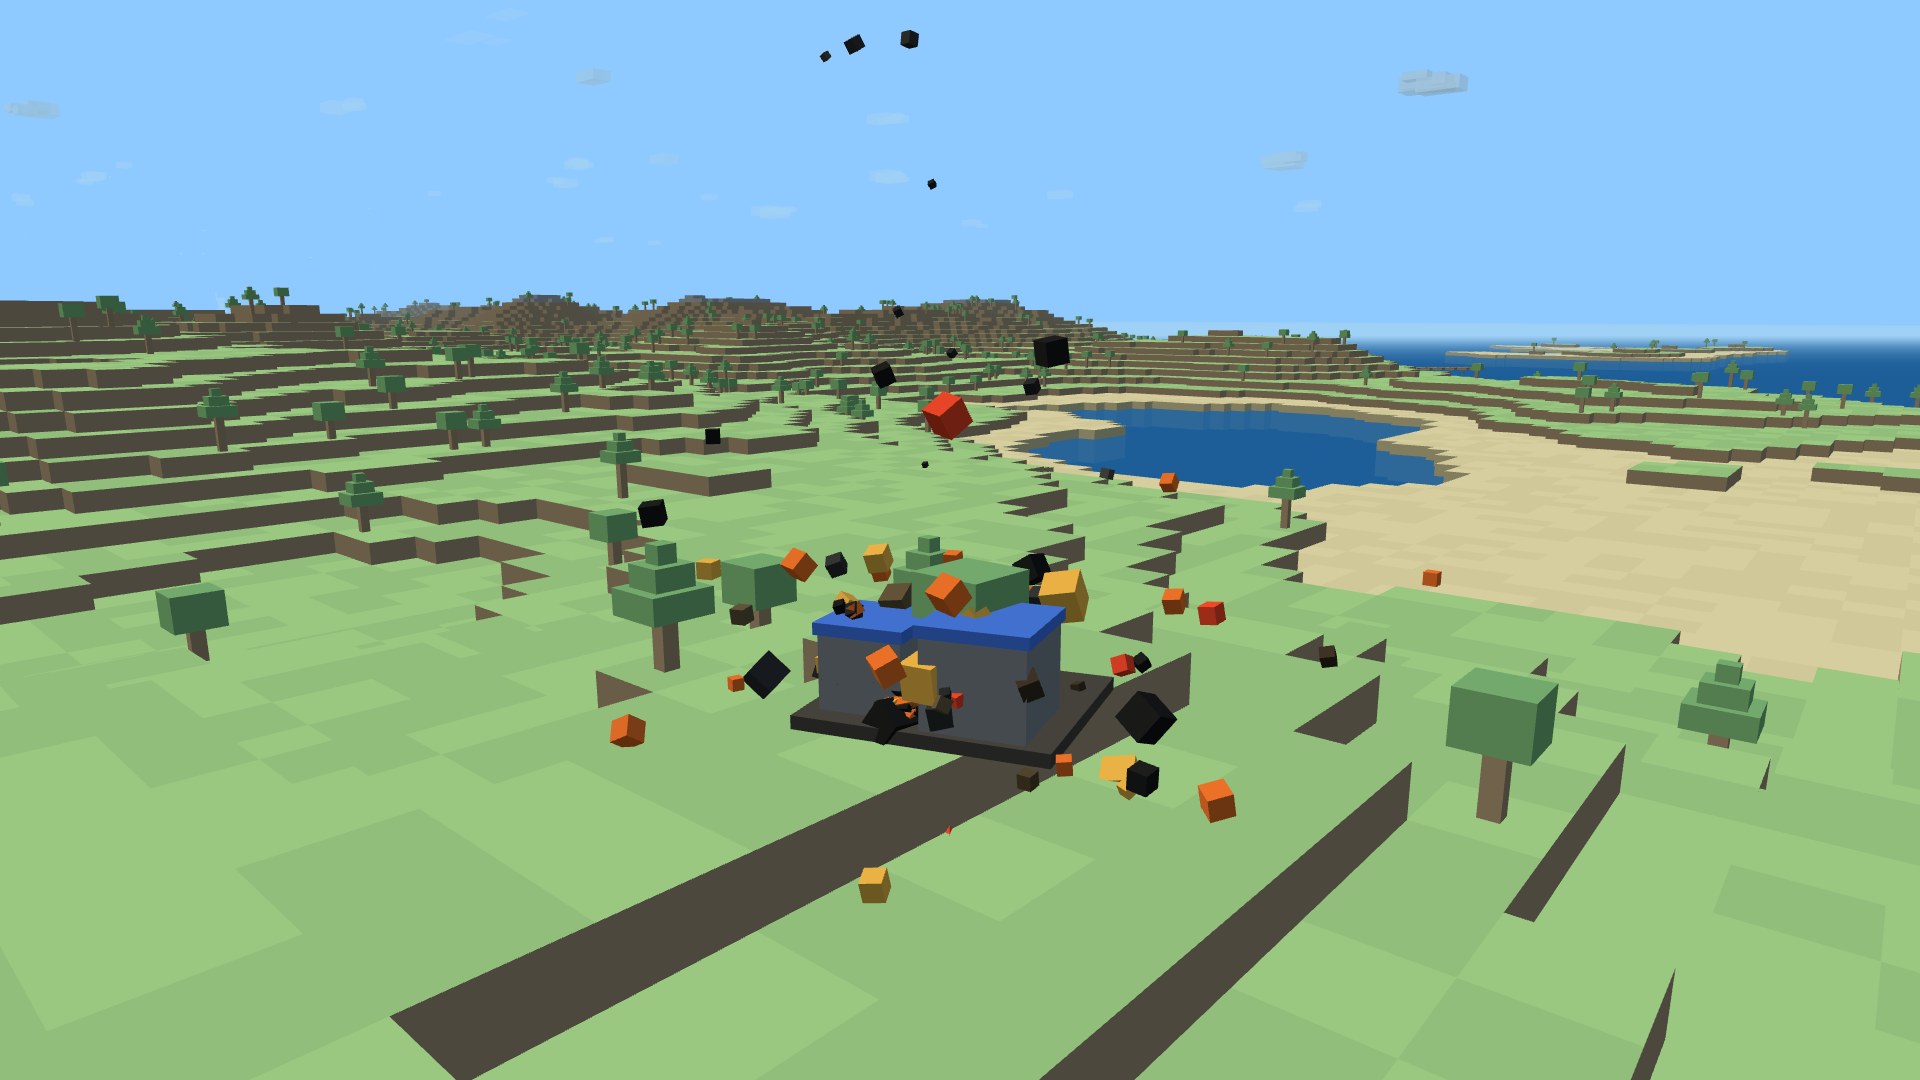
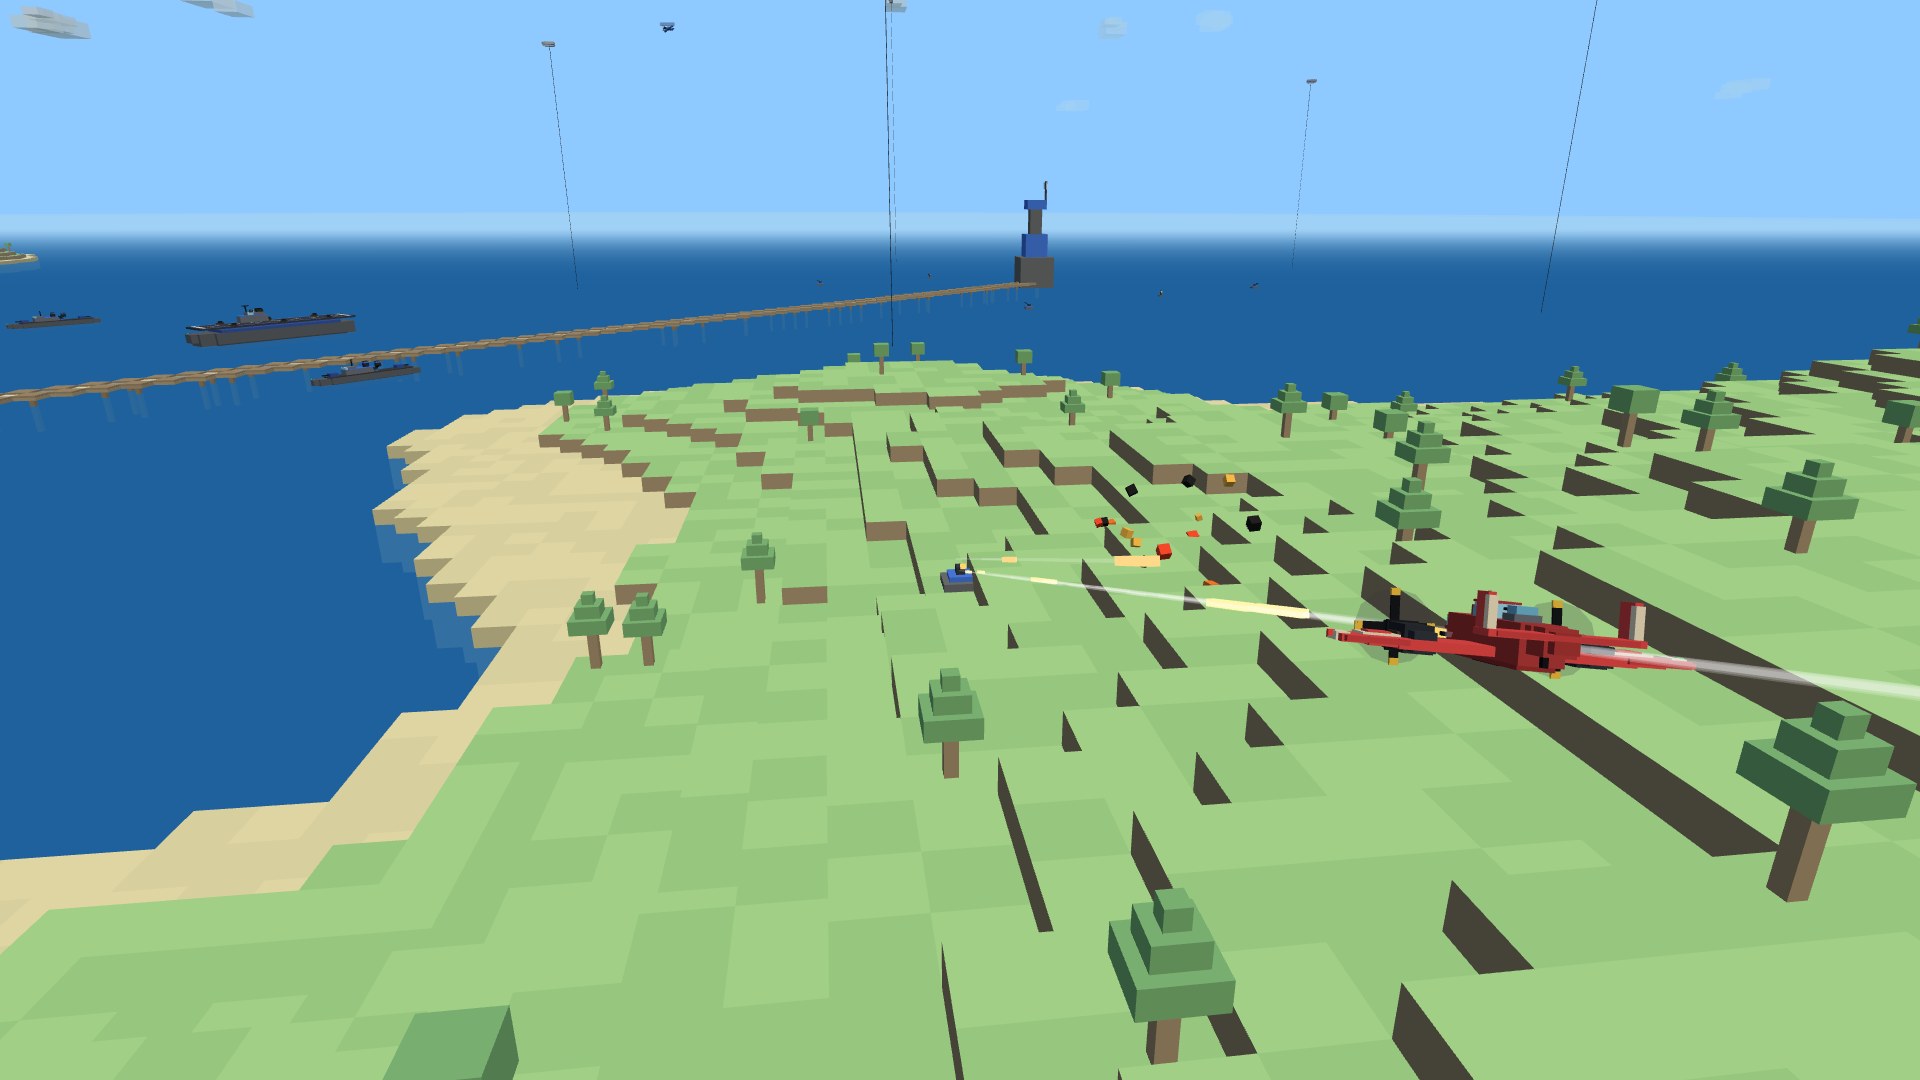
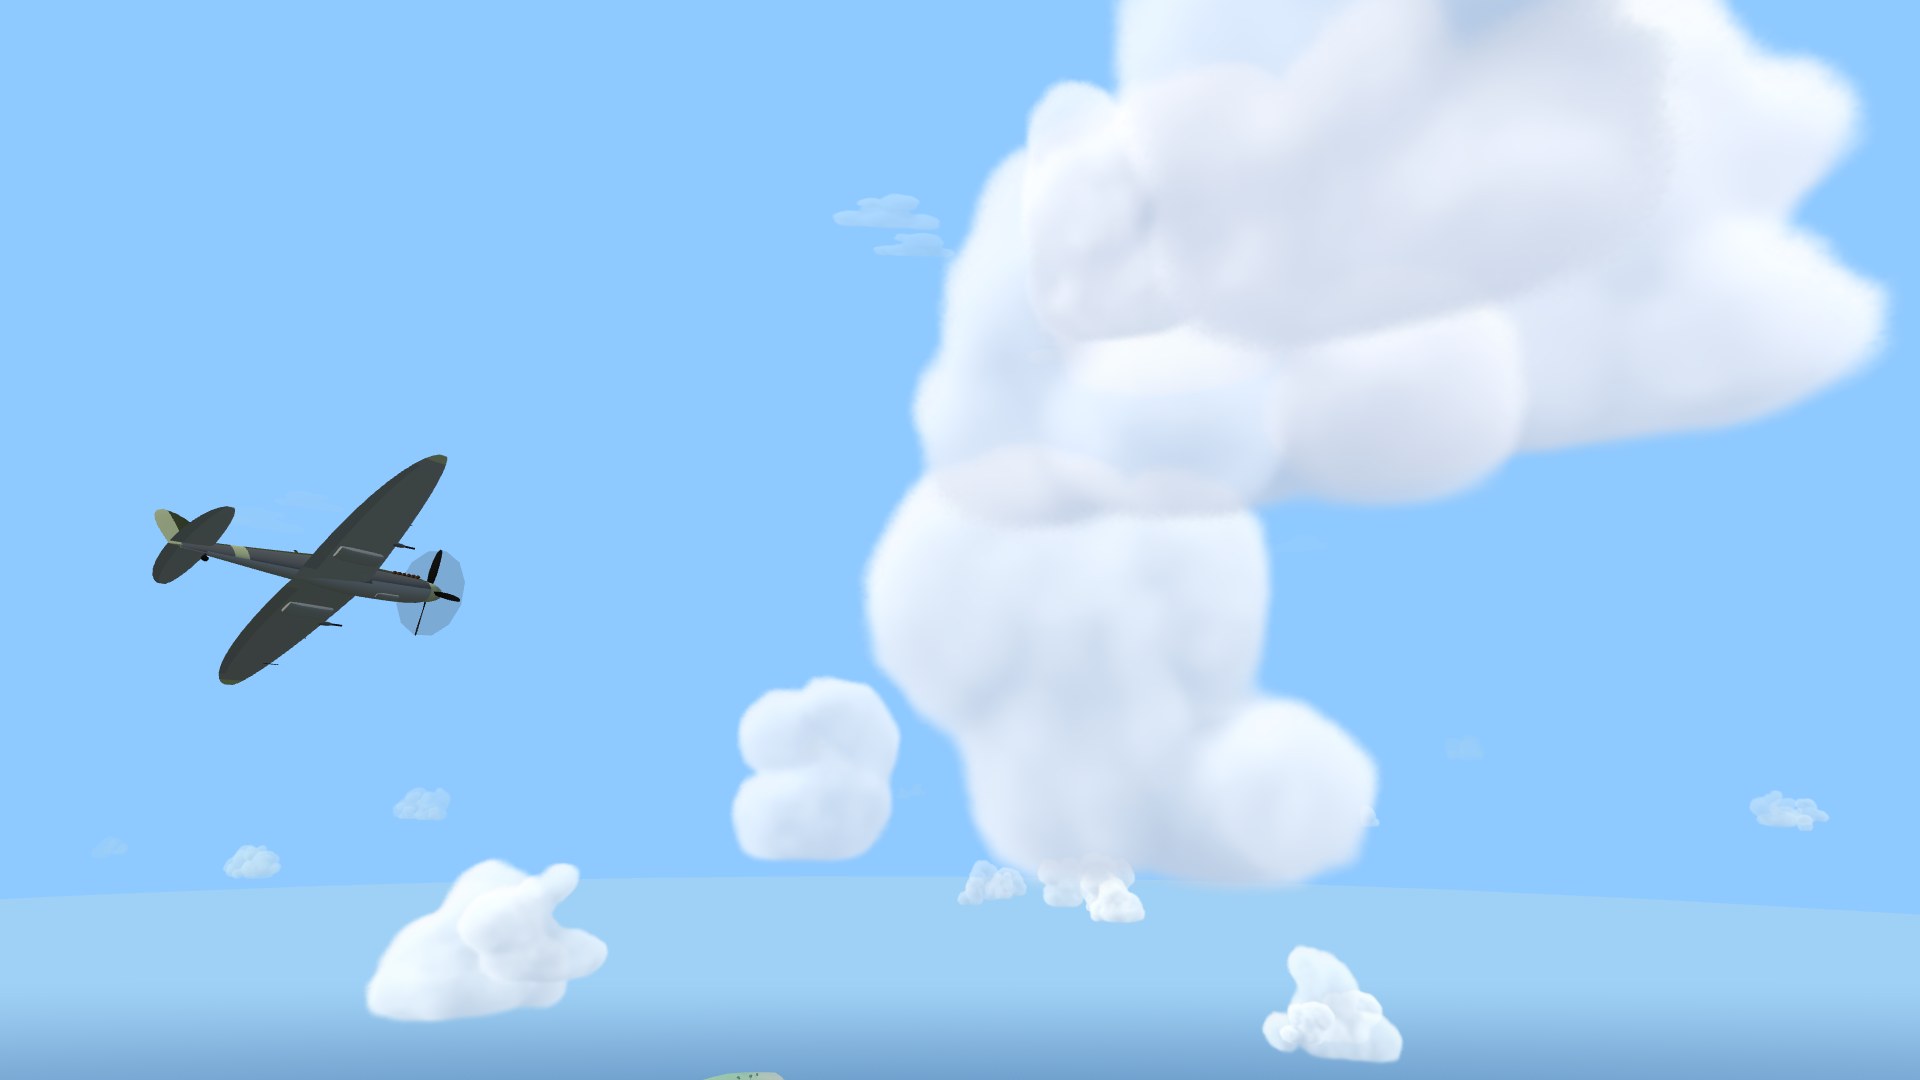
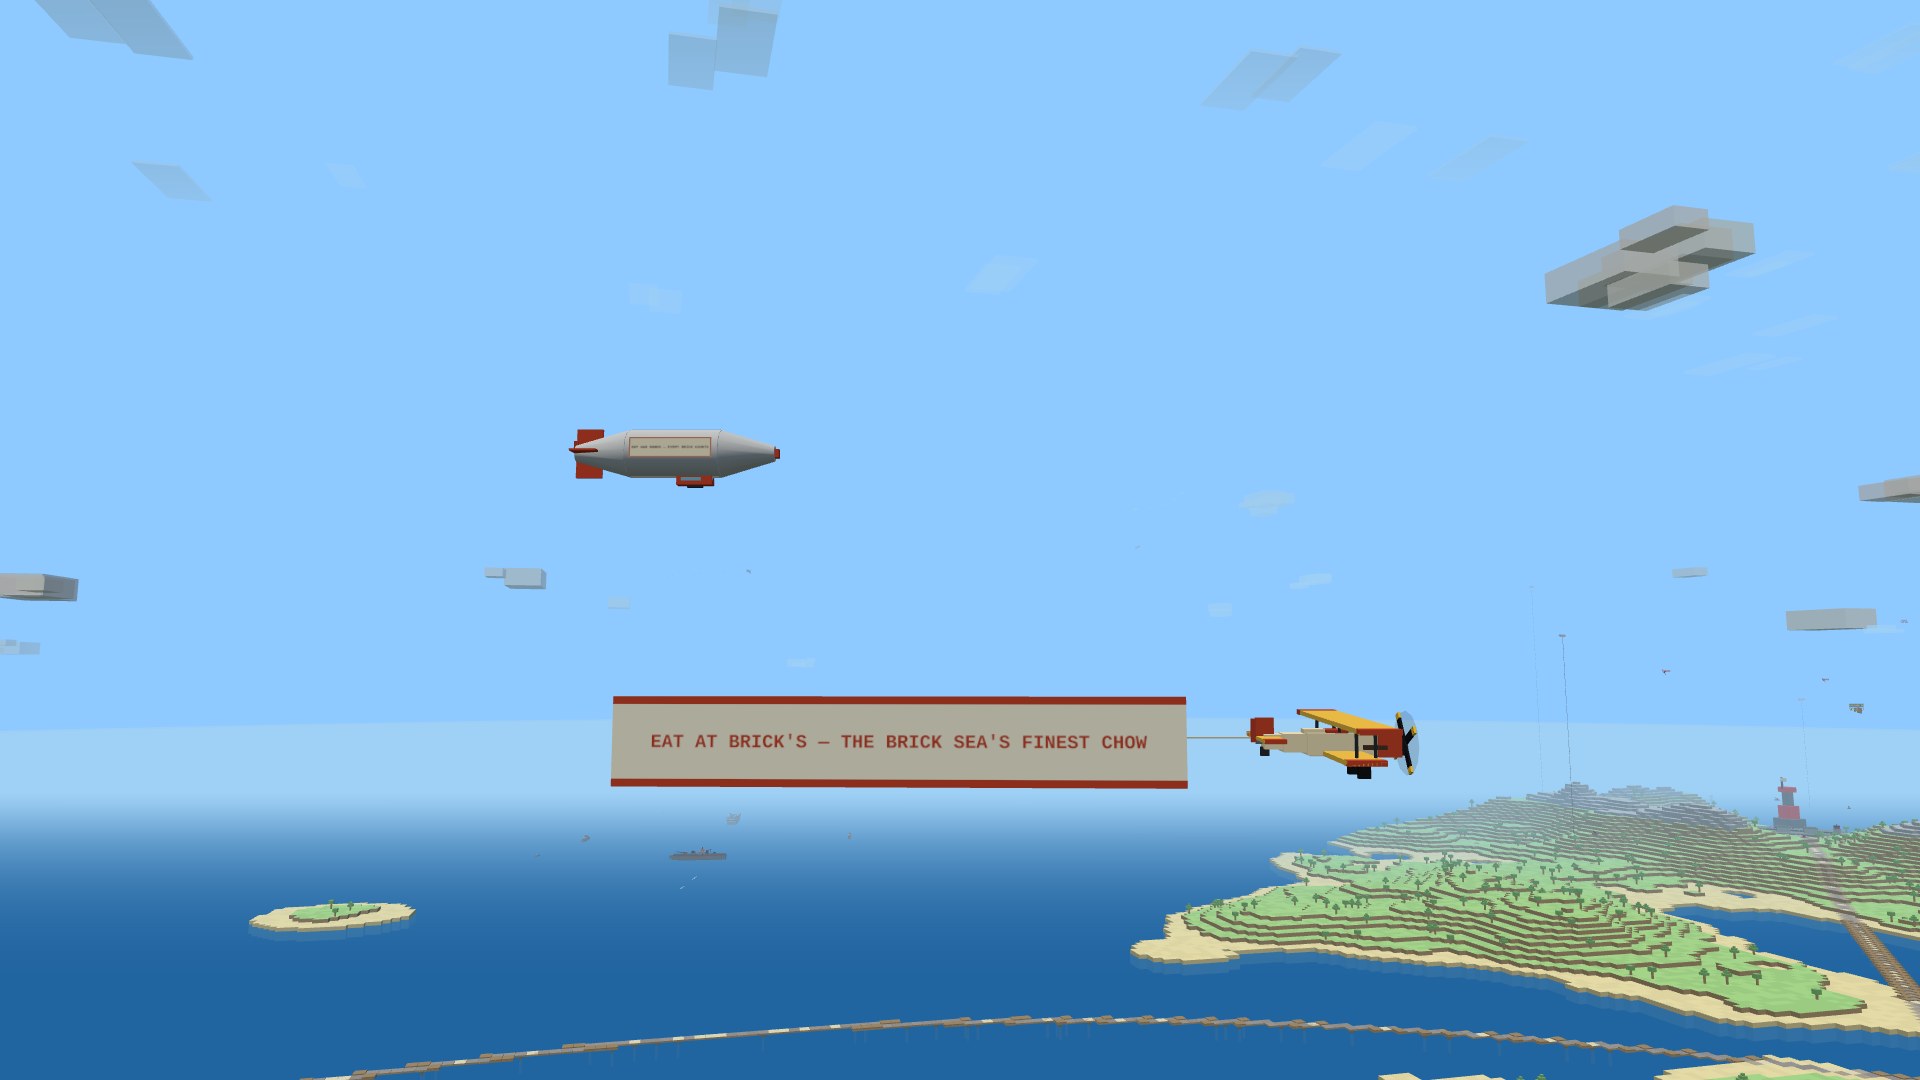
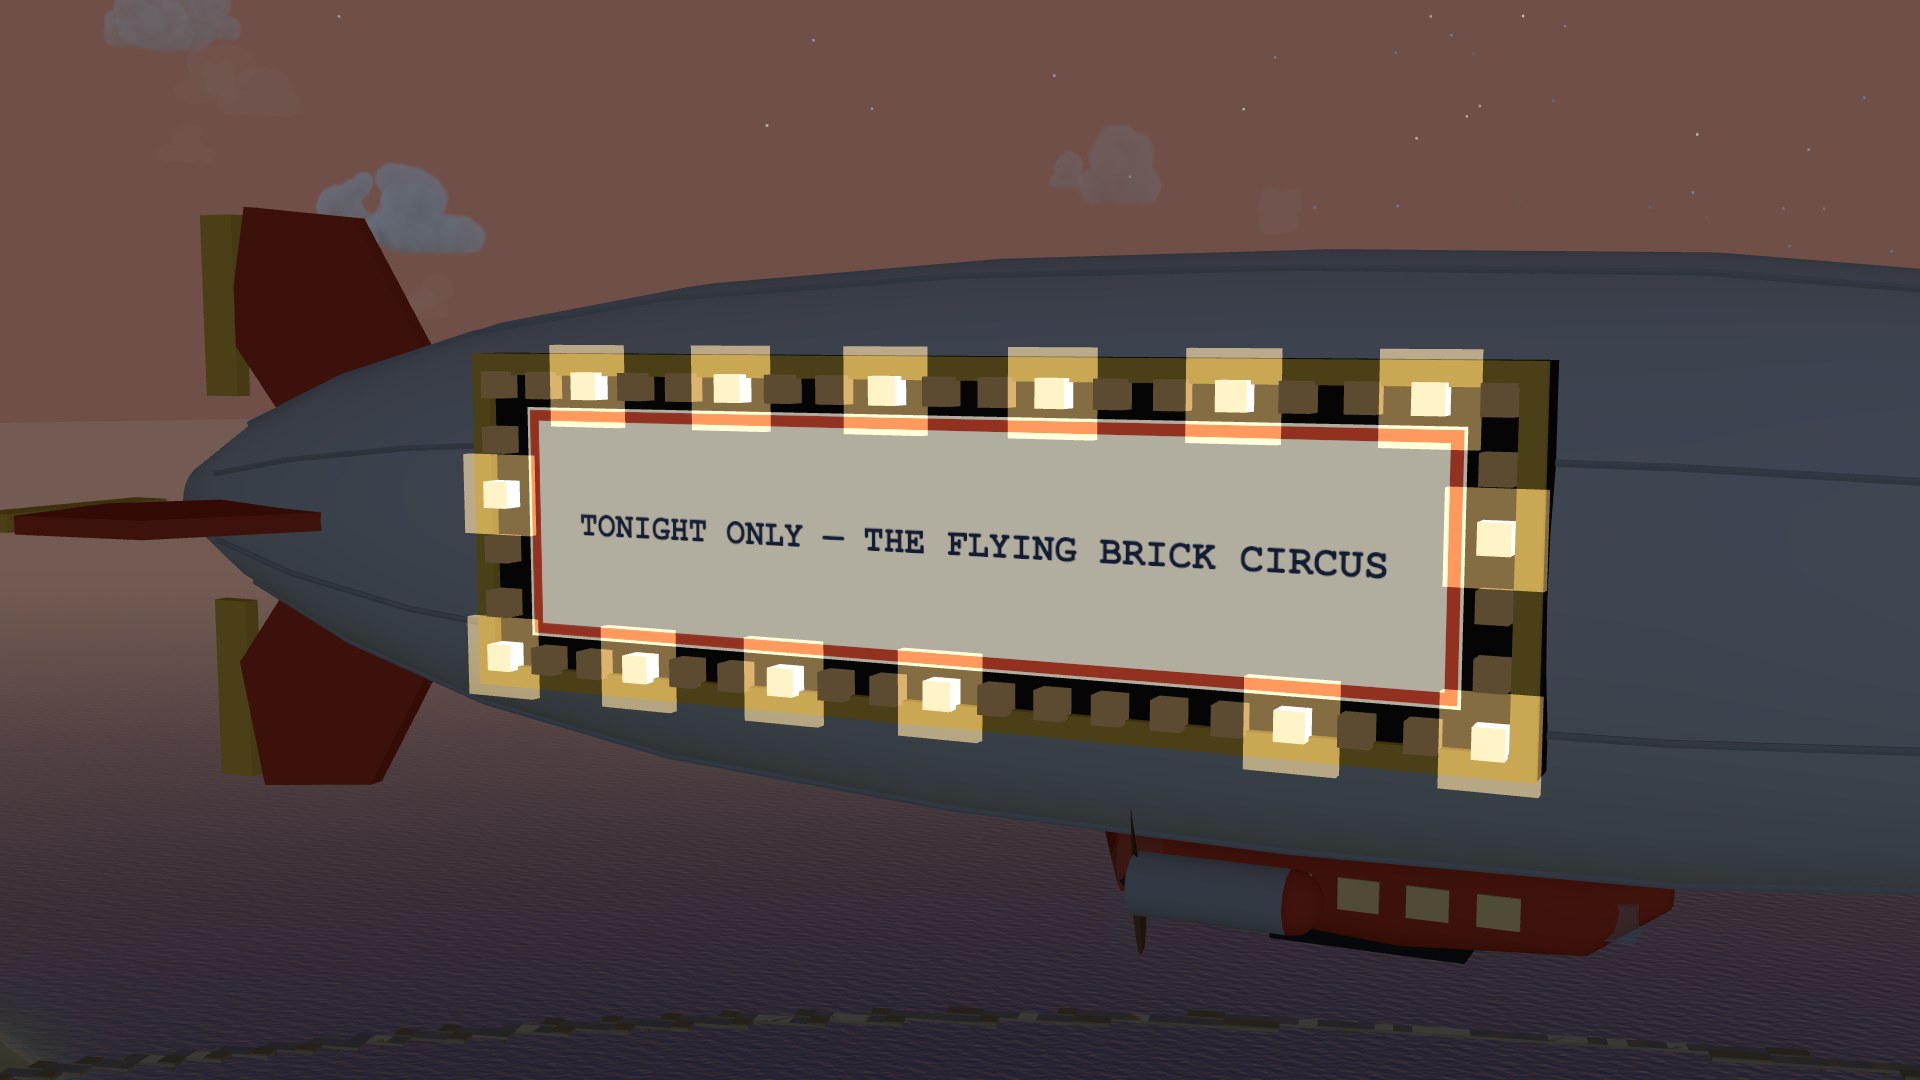
A charming, blocky world of rolling hills and beaches stretches across the Brick Sea, kept lively by charmingly-named bot pilots that fill empty seats, dogfight for real, run home smoking when shot up, and contest the ring when their team falls behind. Rounds roll random weather — clear skies strung with fat cumulus, a golden haze, or a storm that pulls the fog into knife-fight range — all riding a shared day/night cycle where the moon, stars, and Milky Way come out after dark.
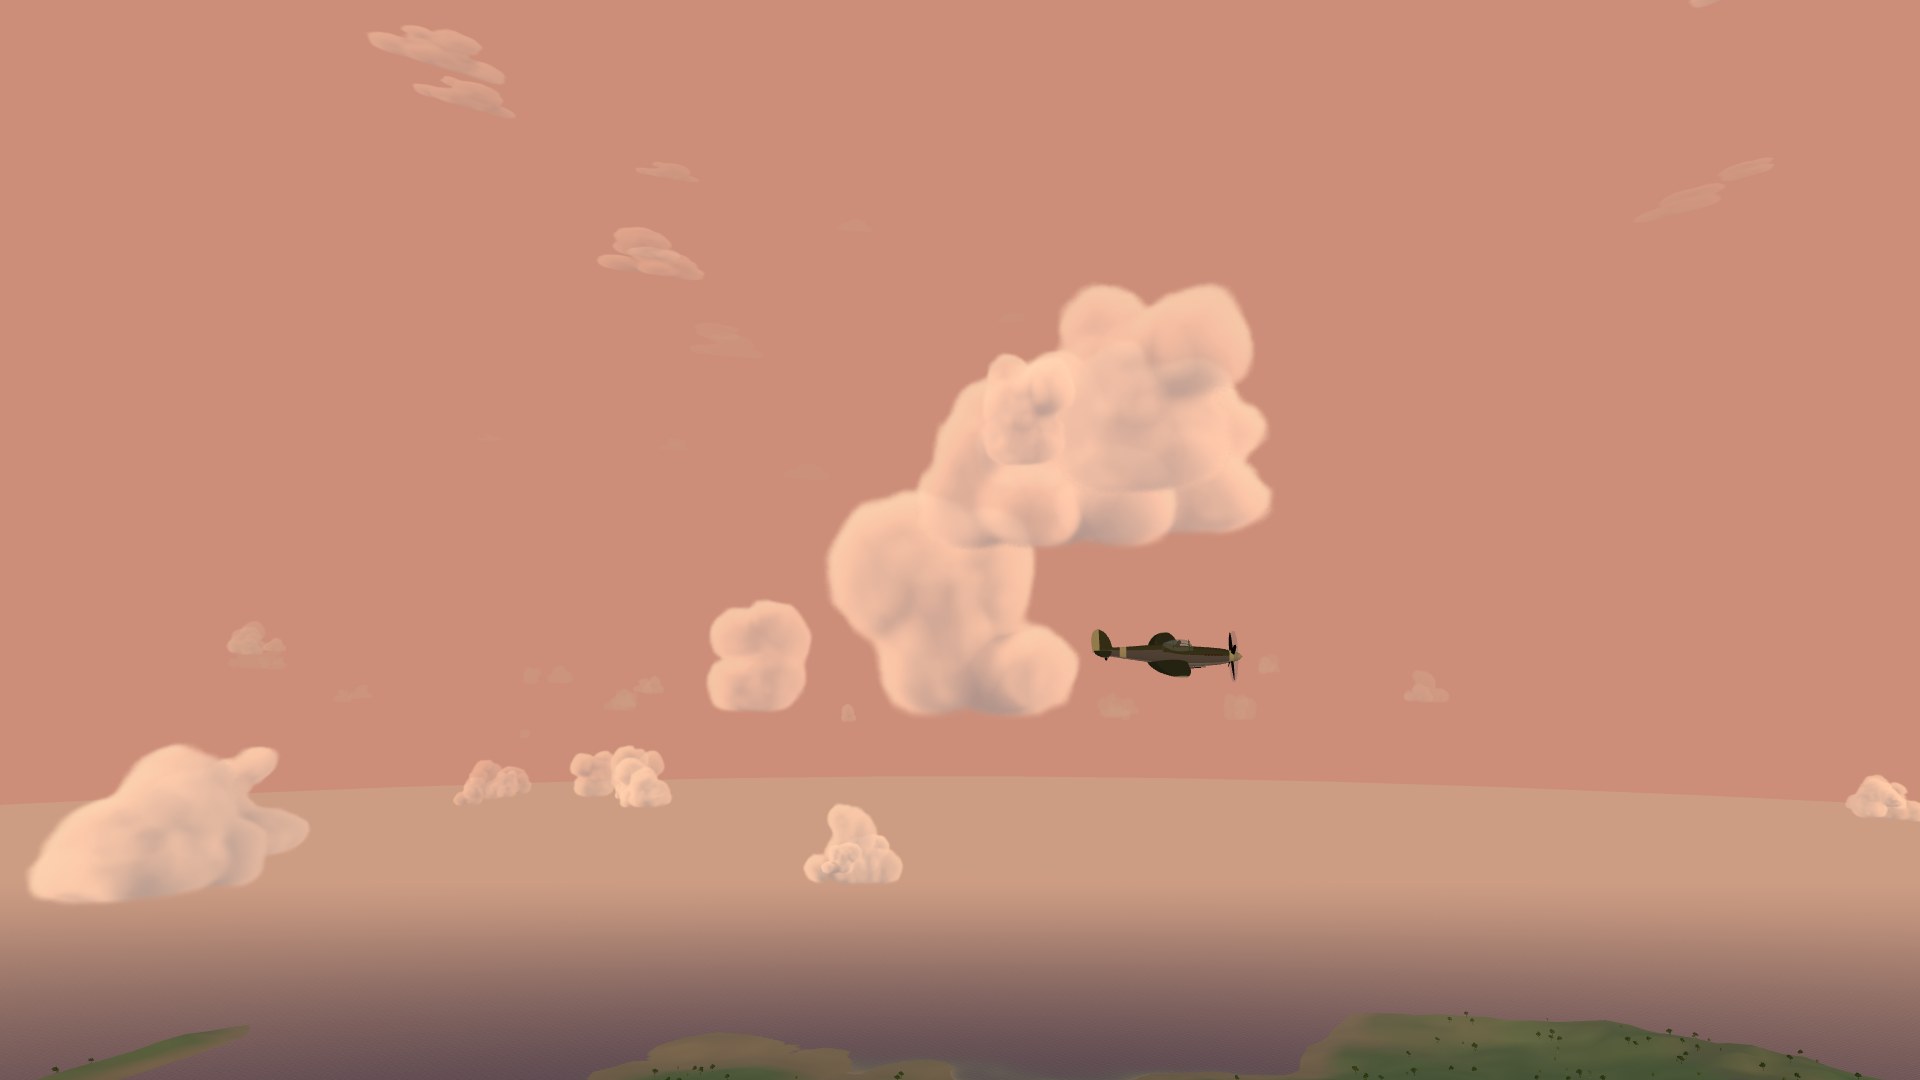
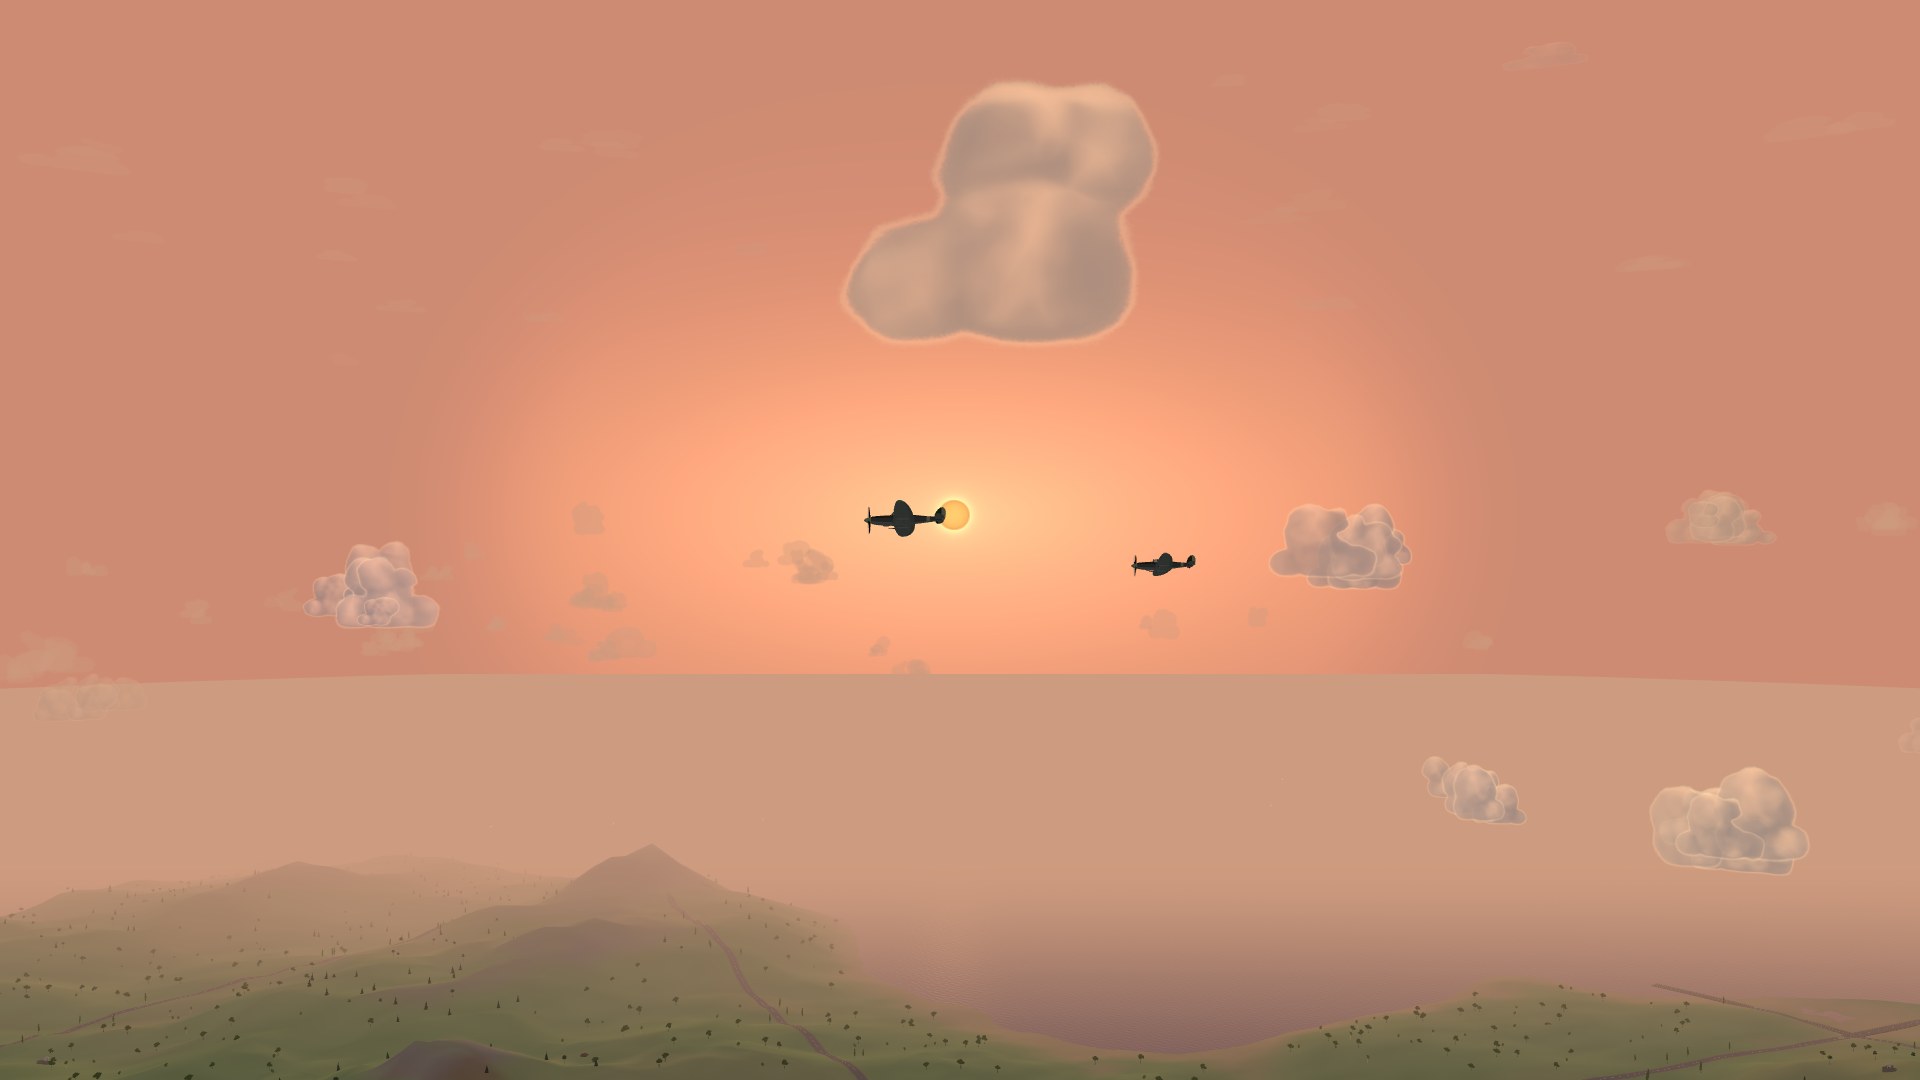
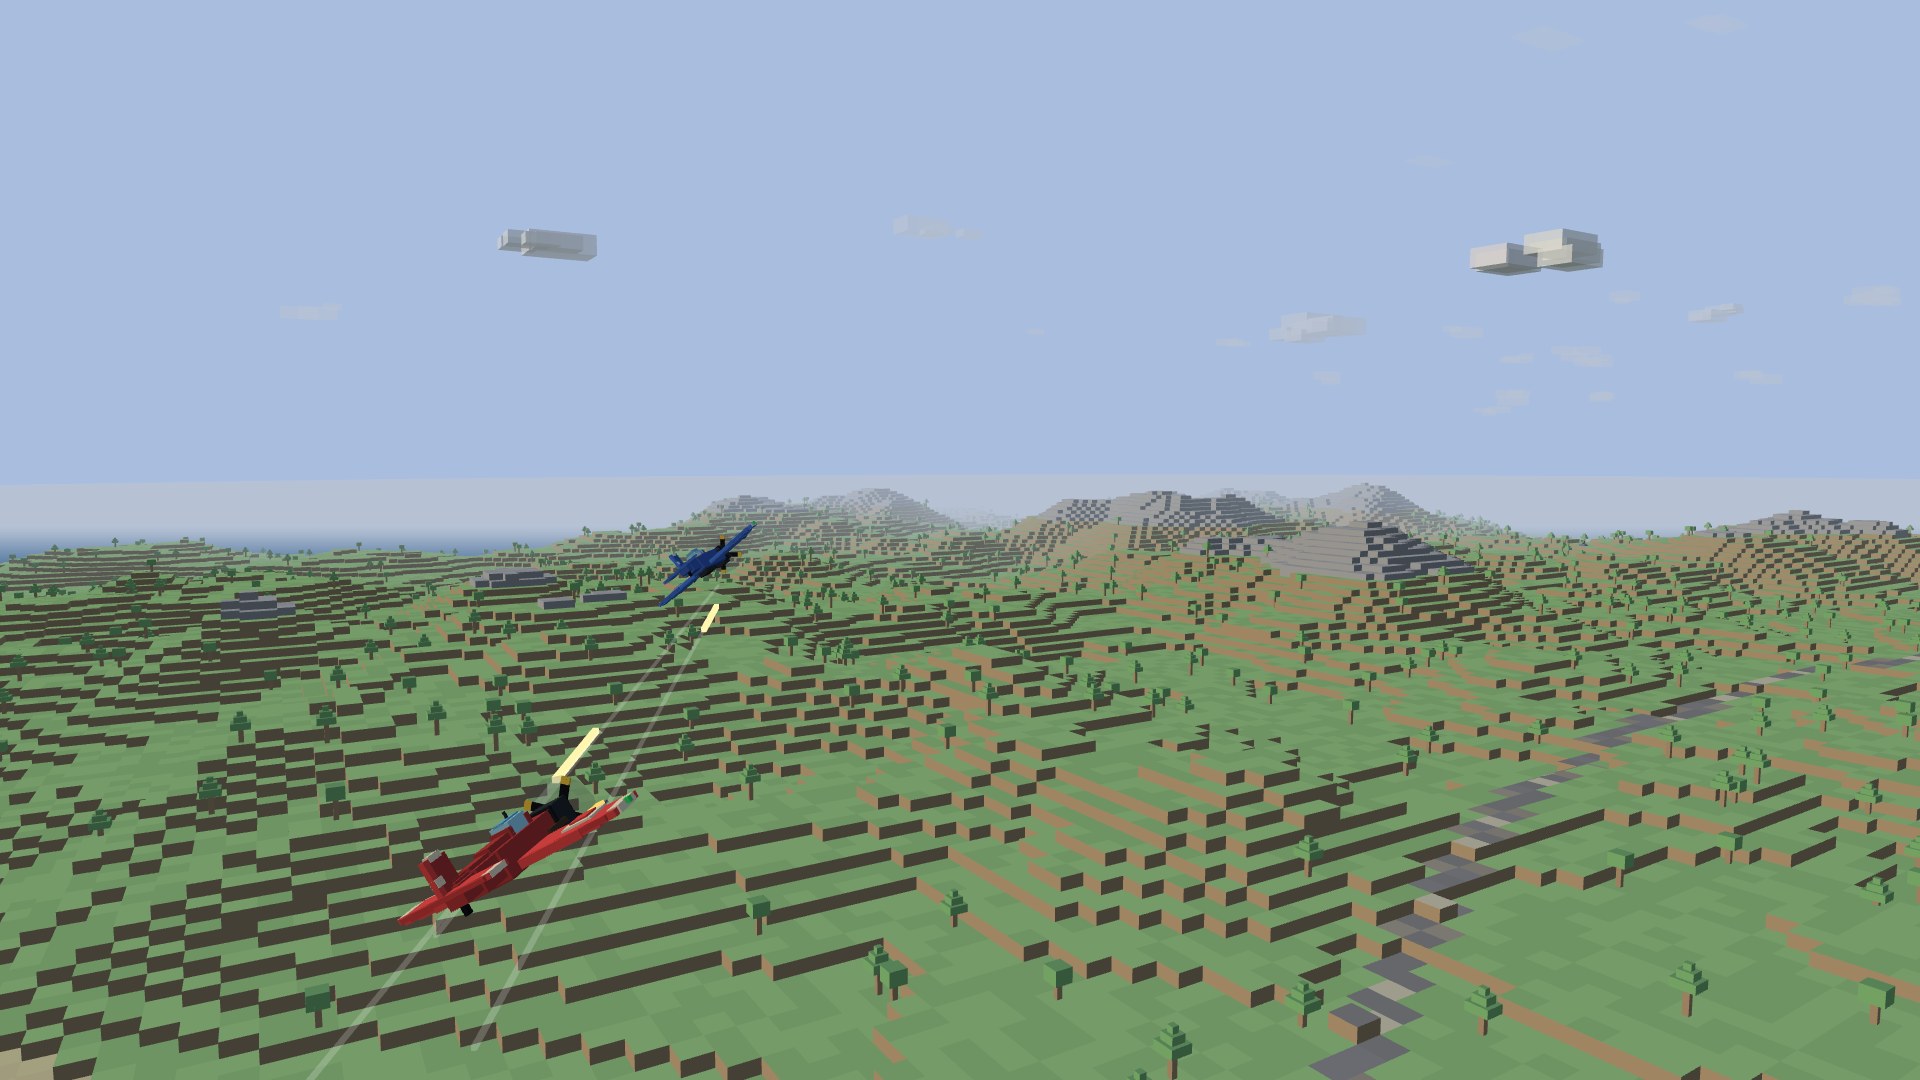
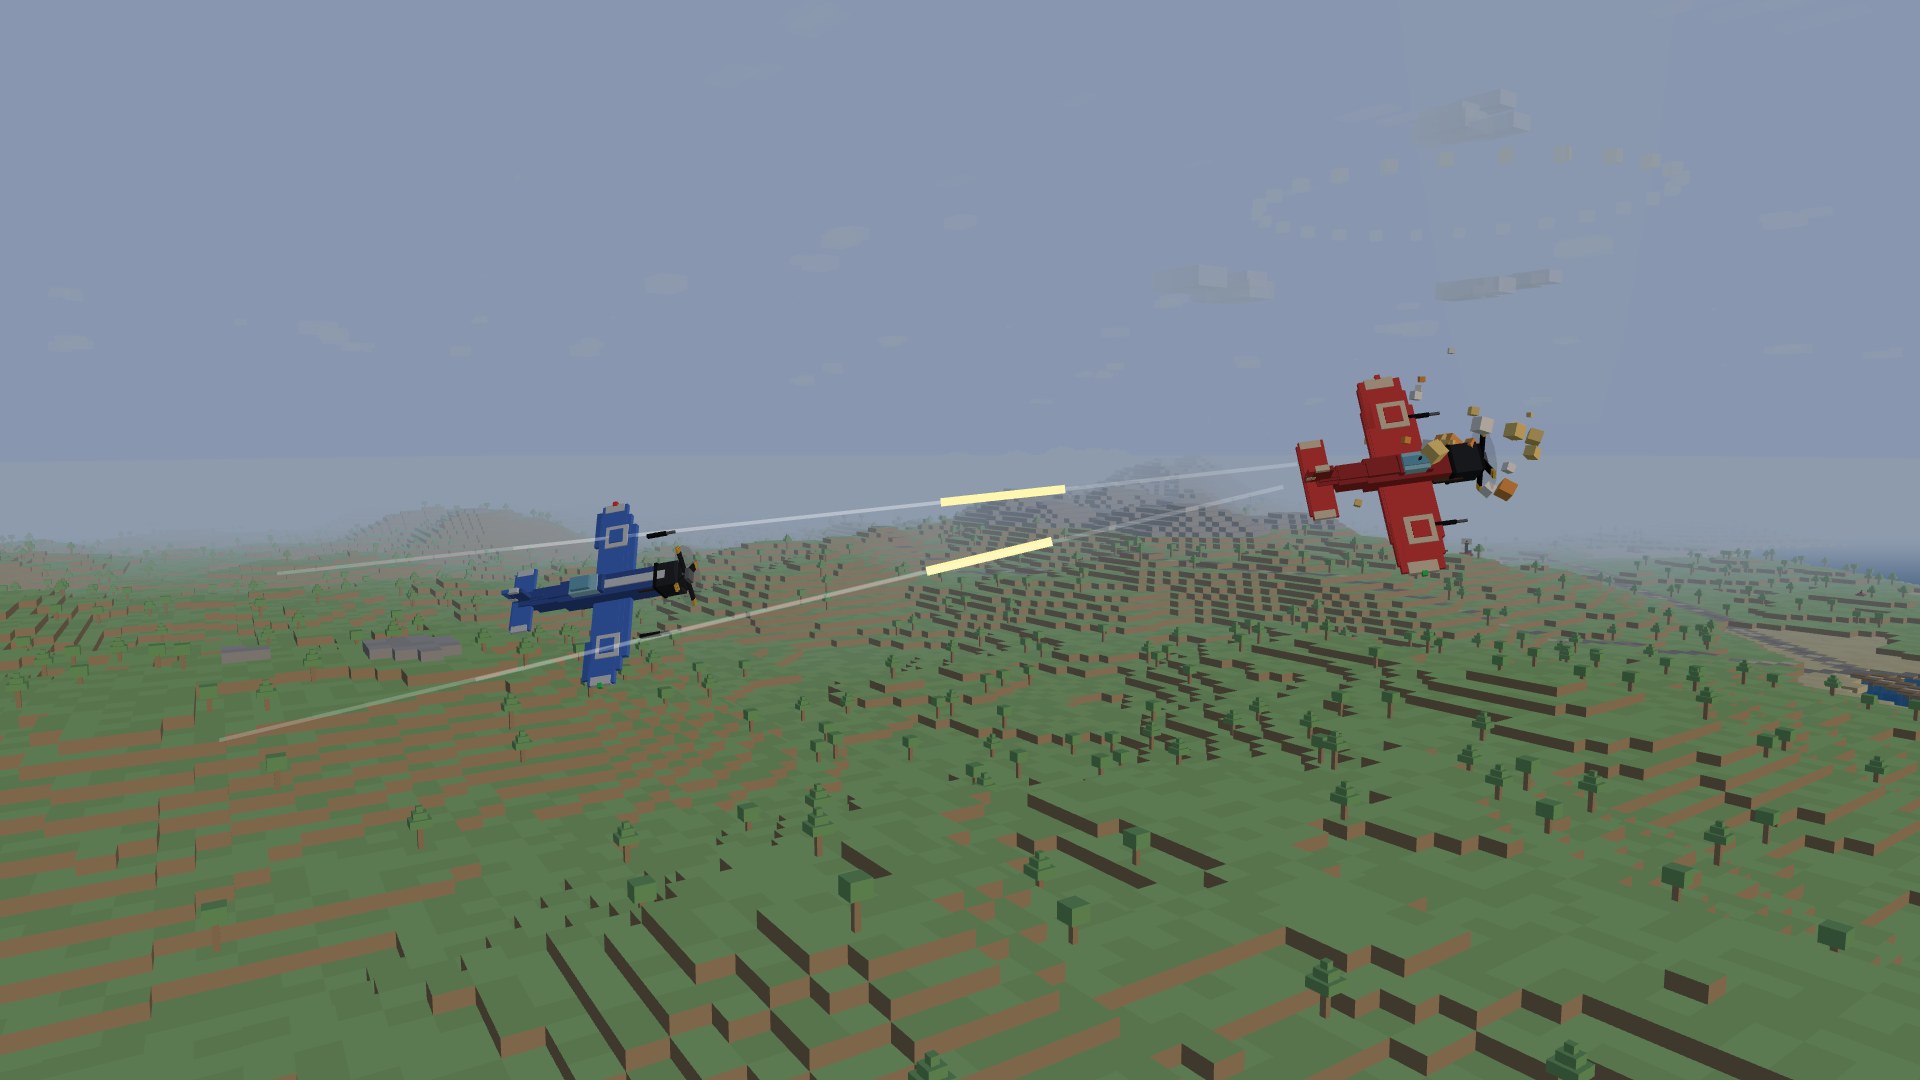
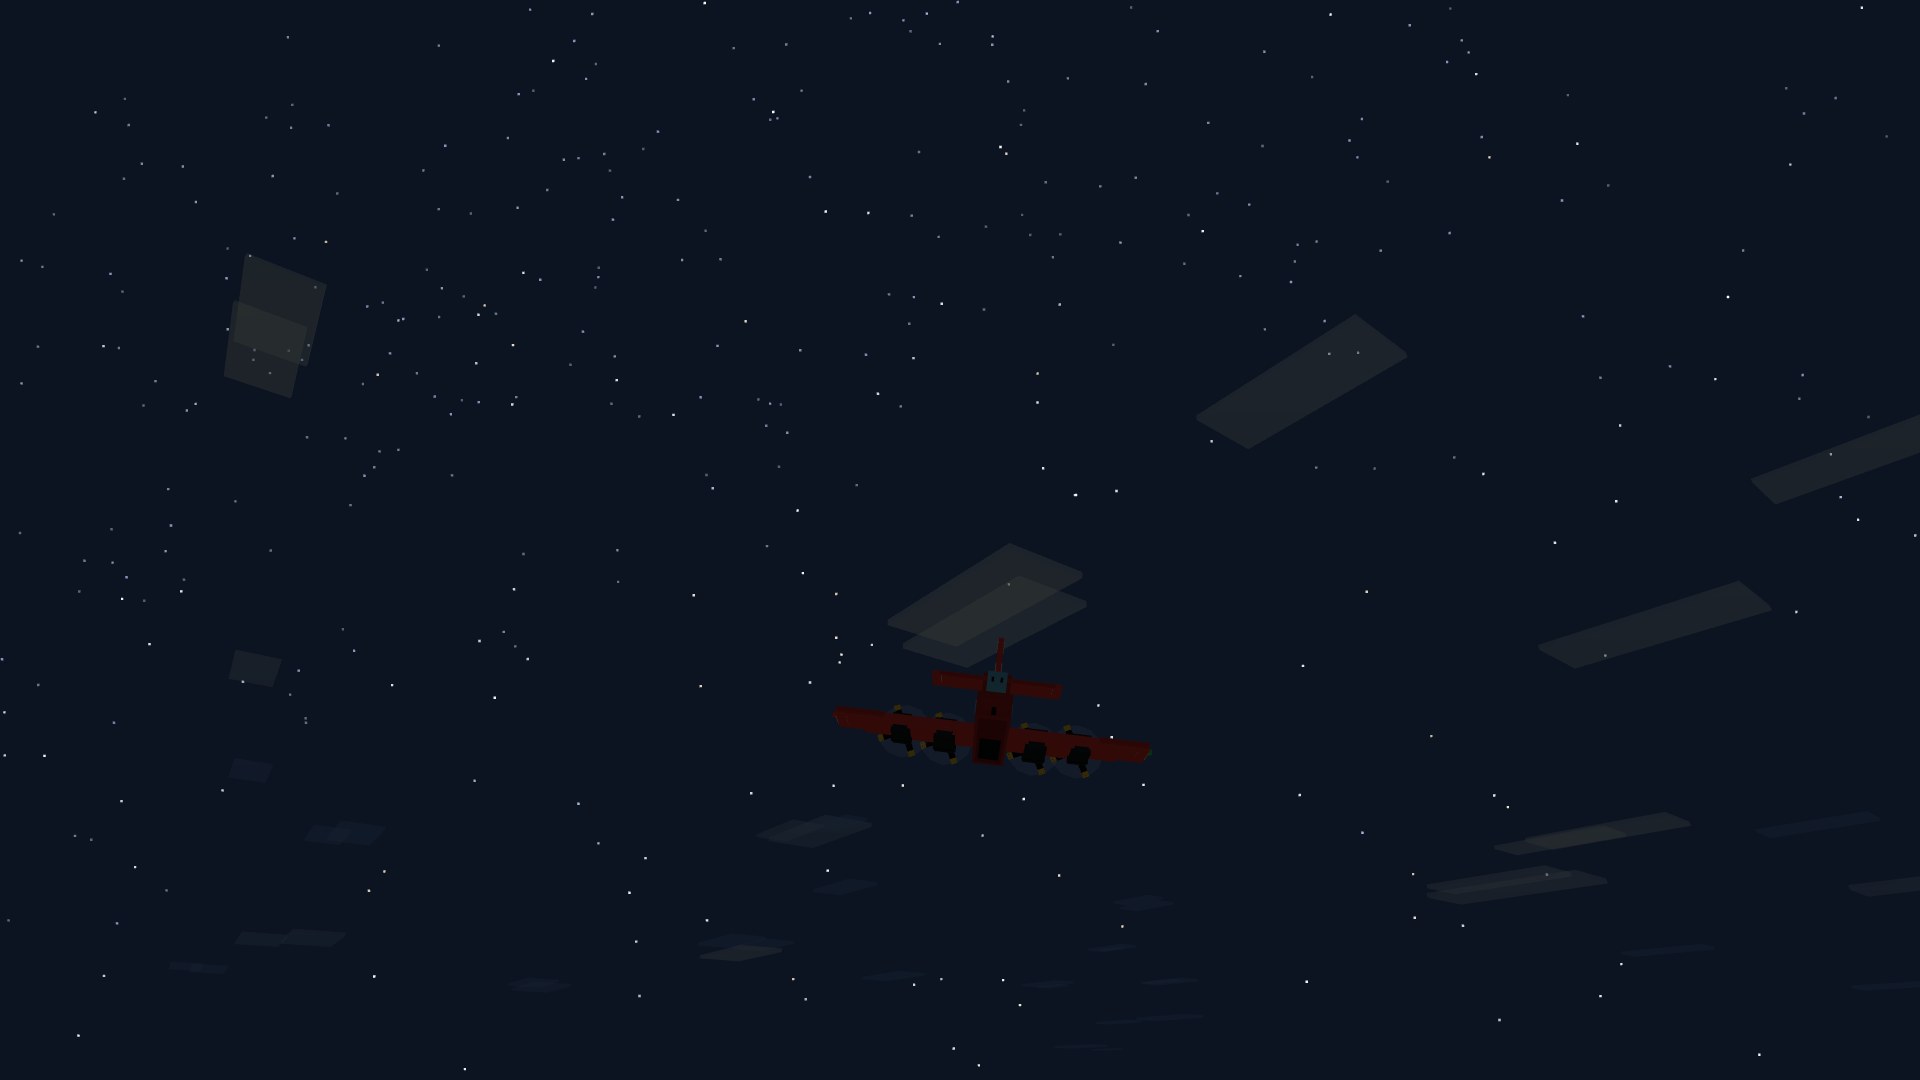
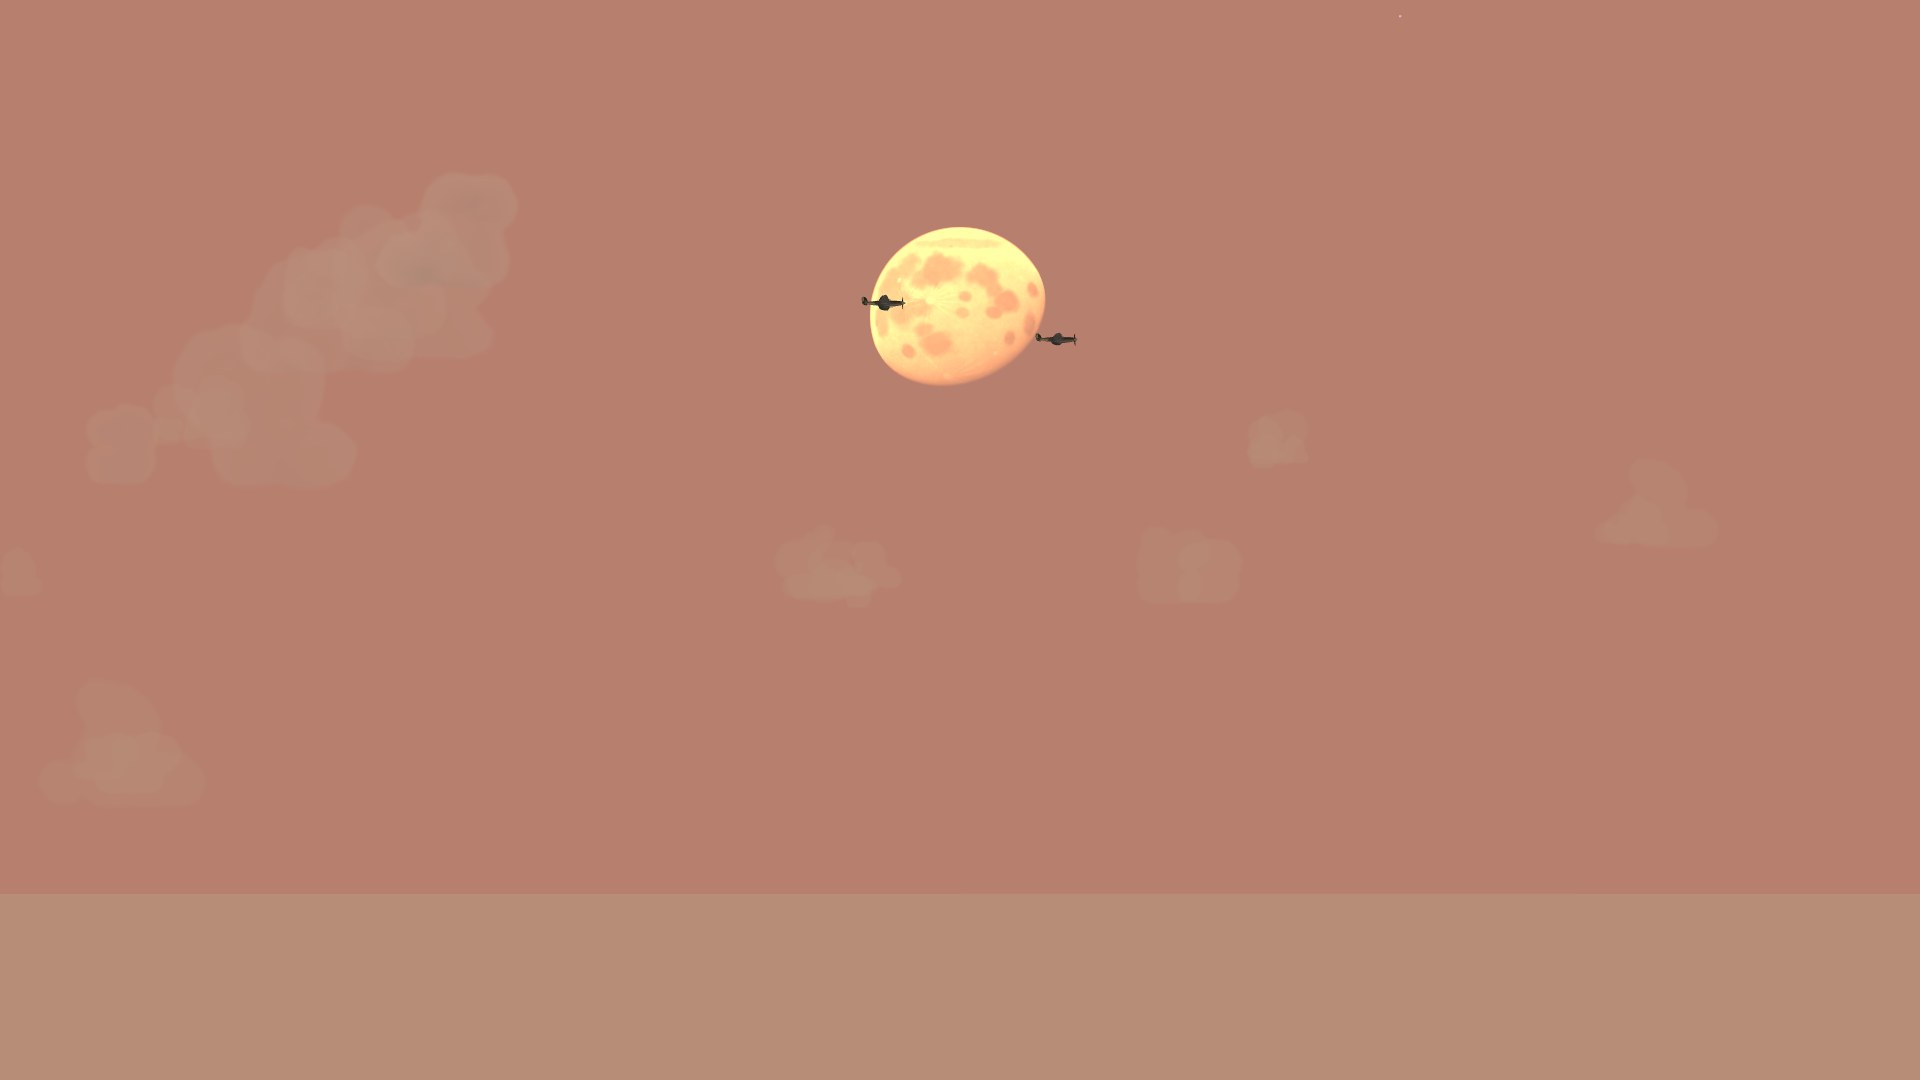
The towns are towns — cottages and barns, brick houses and half-timbered townhouses, shops, apartment blocks, a town hall, and a church steeple in every town to steer by — and the woods are woods: oak and birch groves, spruce and pine blocks, poplars out on the steppe. Out on the islands, poplars line the roads, oaks and birches dot the meadows, and pines climb the hills toward the scree. On a desktop, Settings → High-fidelity graphics lights it all like a diorama: a real sky with the sun in it, burning orange at dusk, sun shadows under planes, roofs and treelines, and a soft glow on tracers, motors, star shells, fire and the sun. It applies on reload; phones keep the classic look they were tuned for.
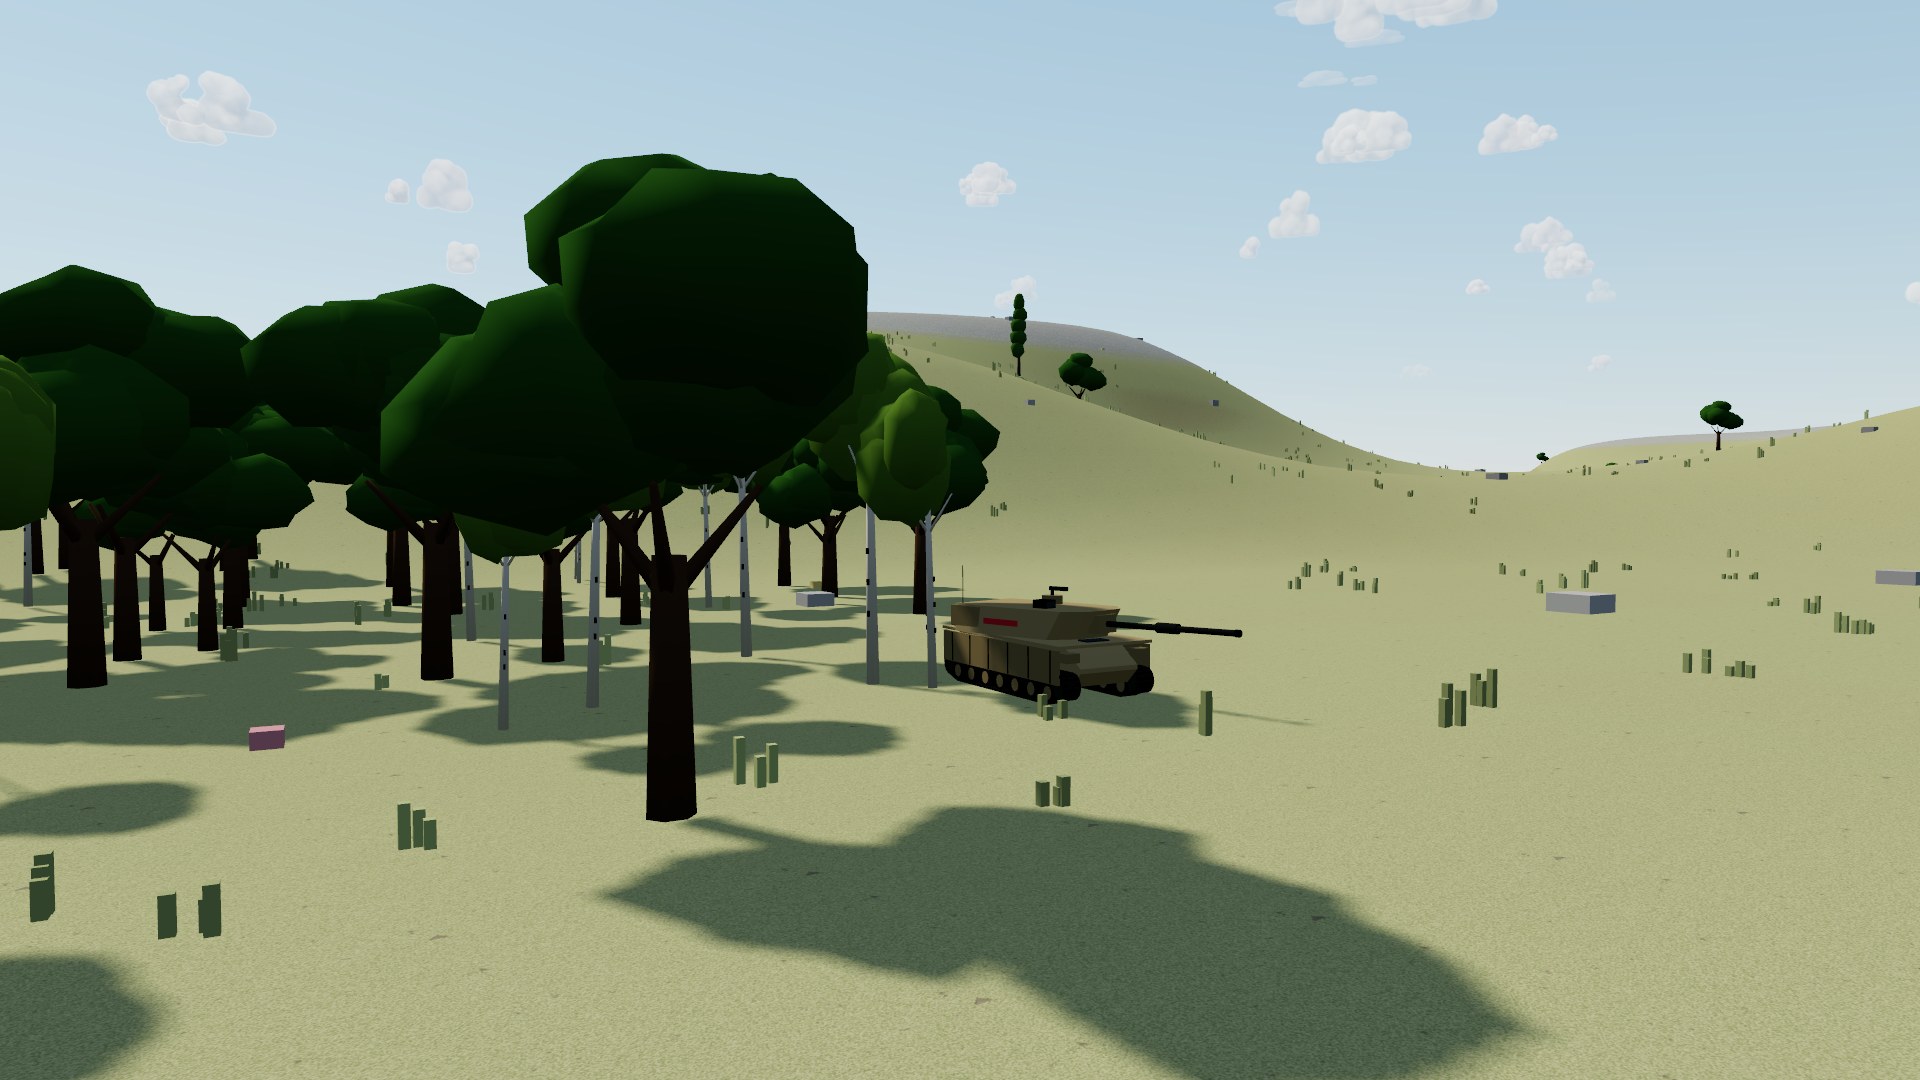
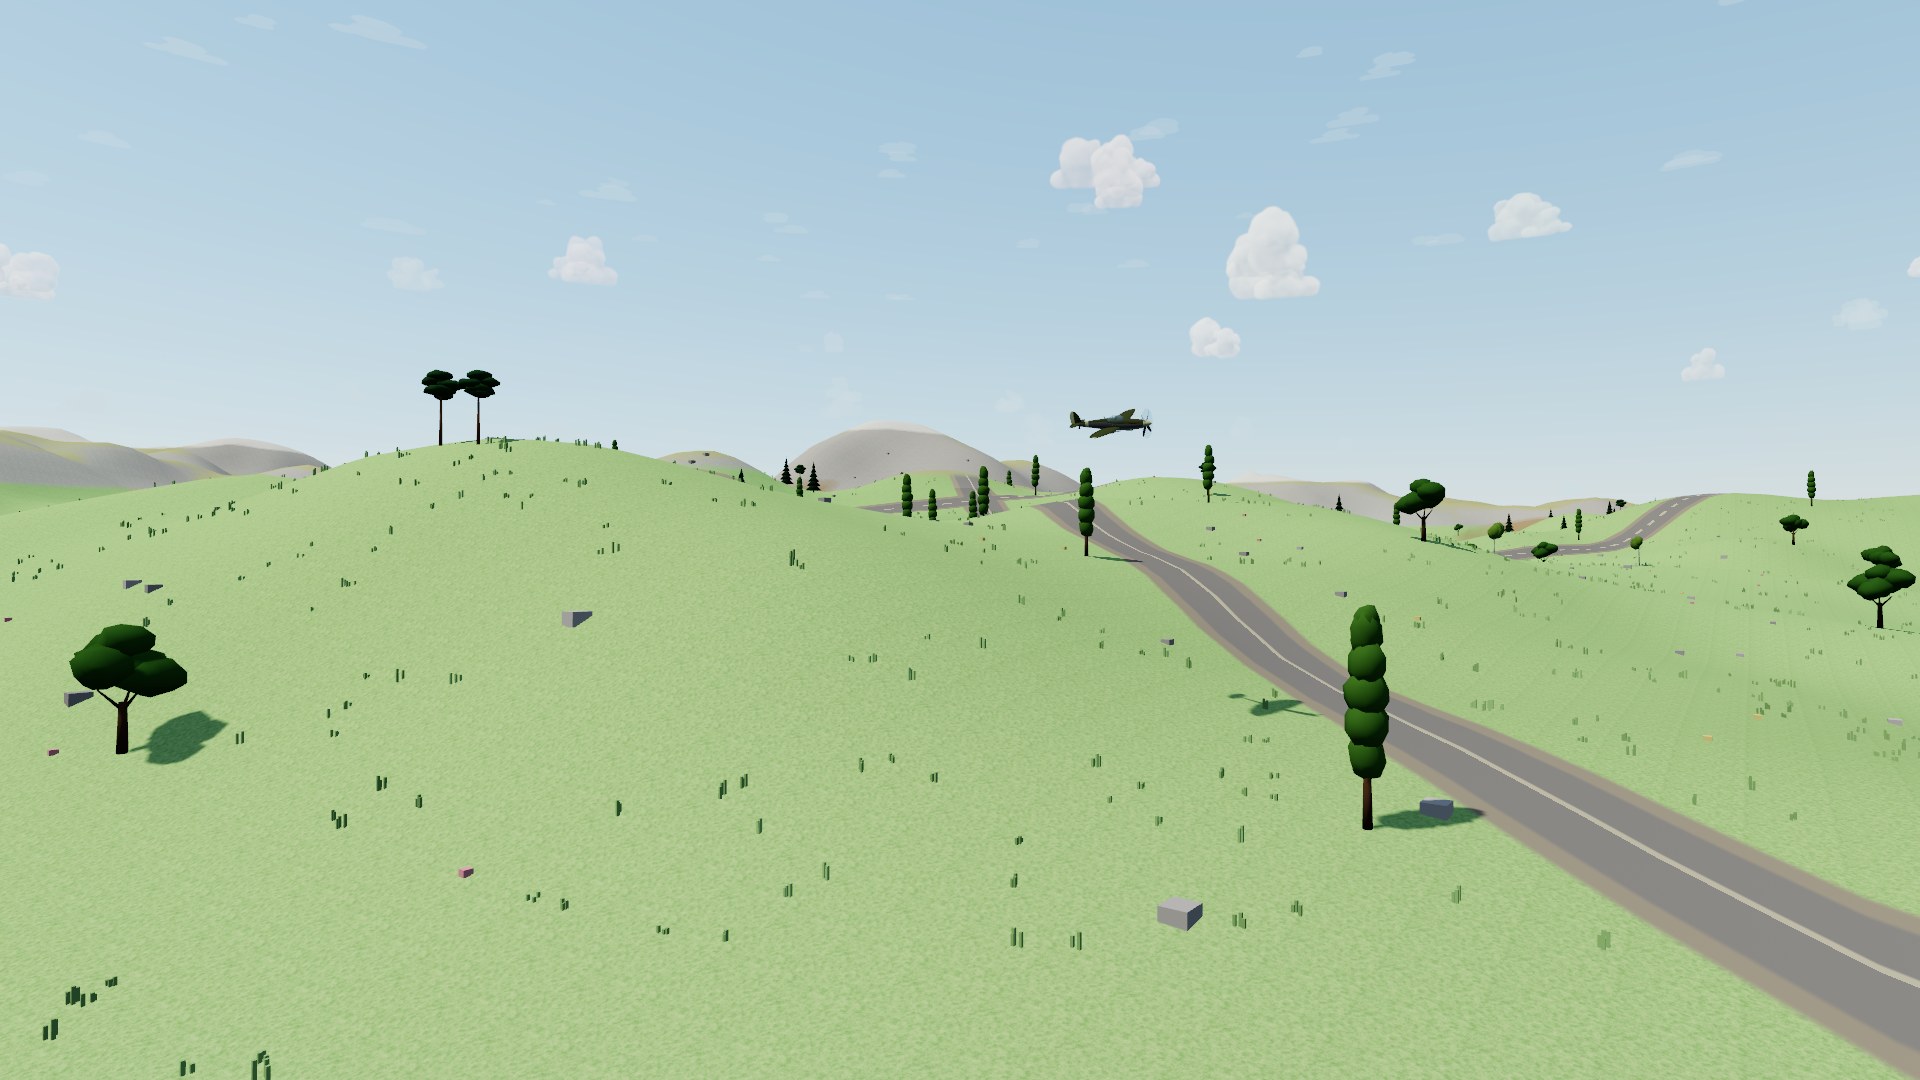
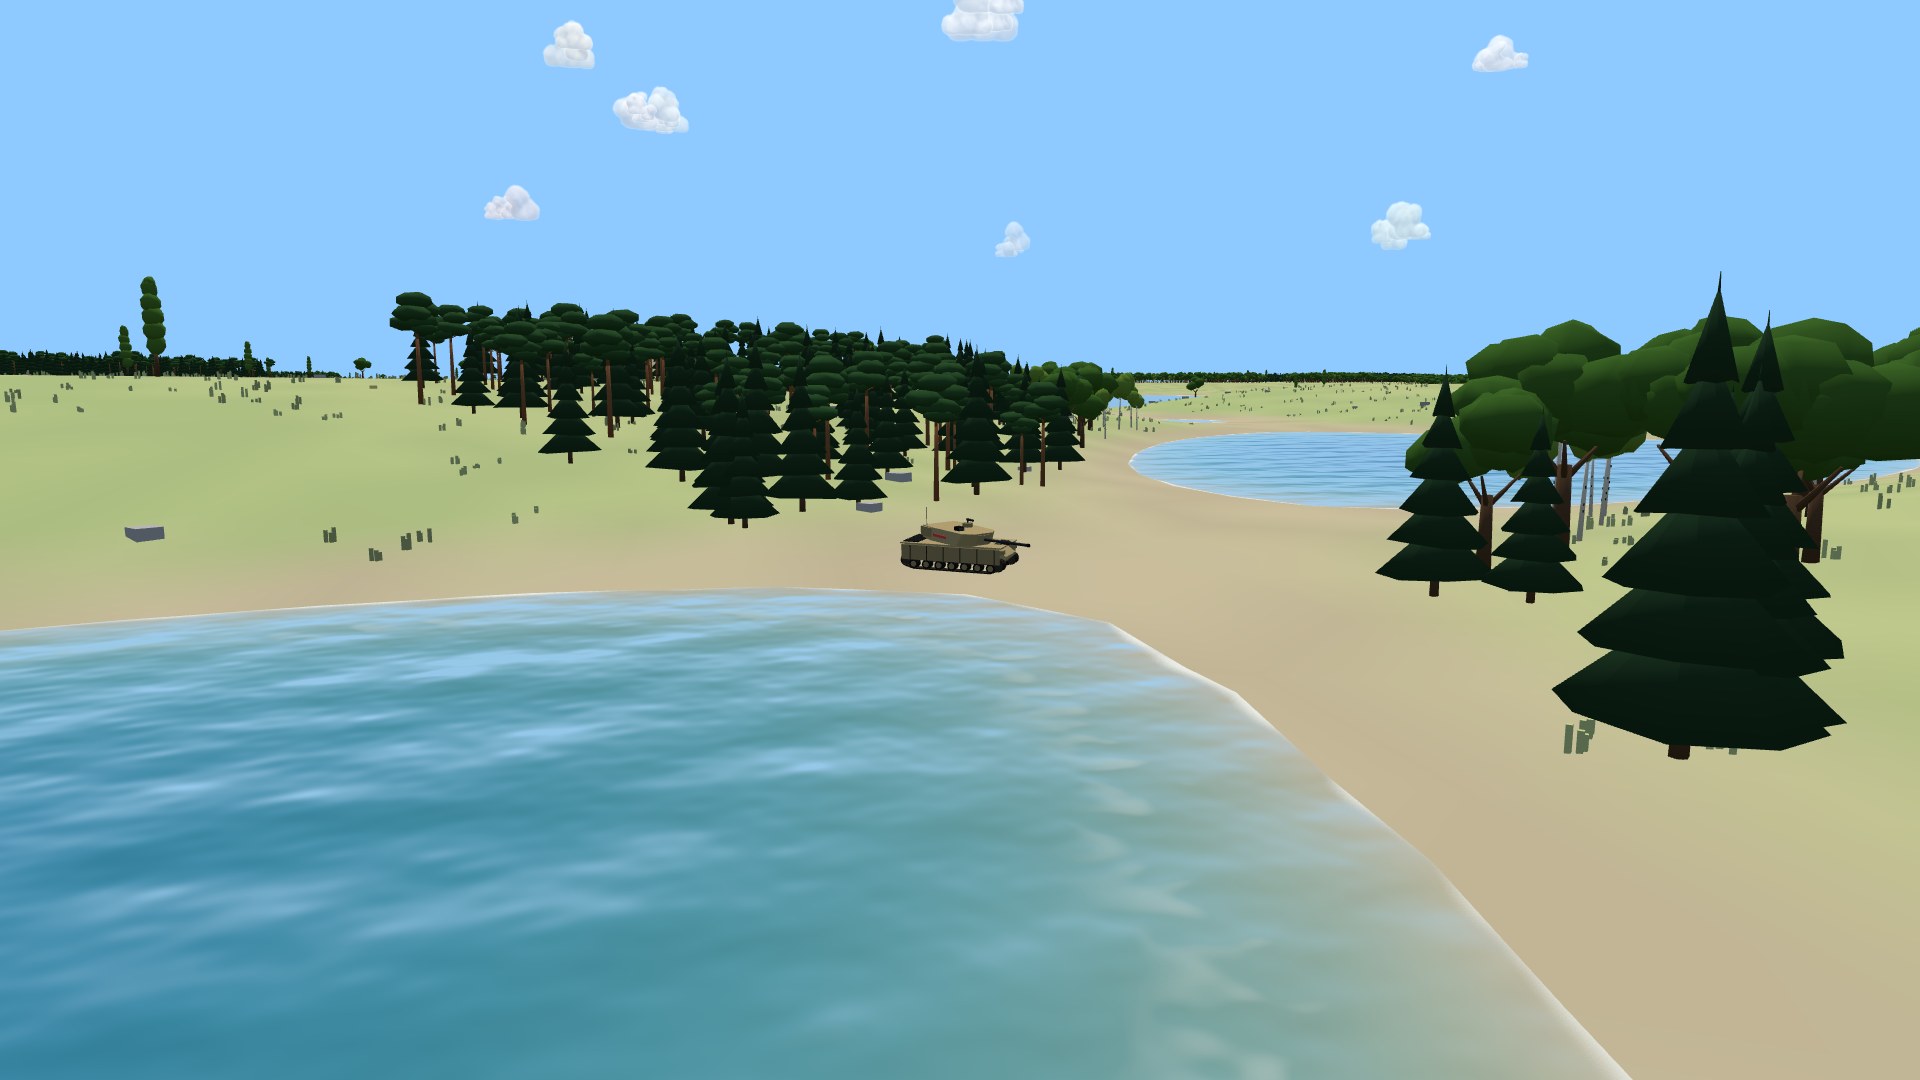
The ground is smooth country: rolling hills, ridges, valleys and beaches instead of stepped blocks, and the ground you see is exactly the ground a shell bursts on and a tank drives over. Hulls pitch up the grades and roll across the slopes; an Abrams backed off behind a crest really is hull-down. With High-fidelity graphics on, it's painted as well — meadow and sun-bleached steppe, packed earth, scree on the steep slopes, snow on the peaks, and the roads winding over it all.
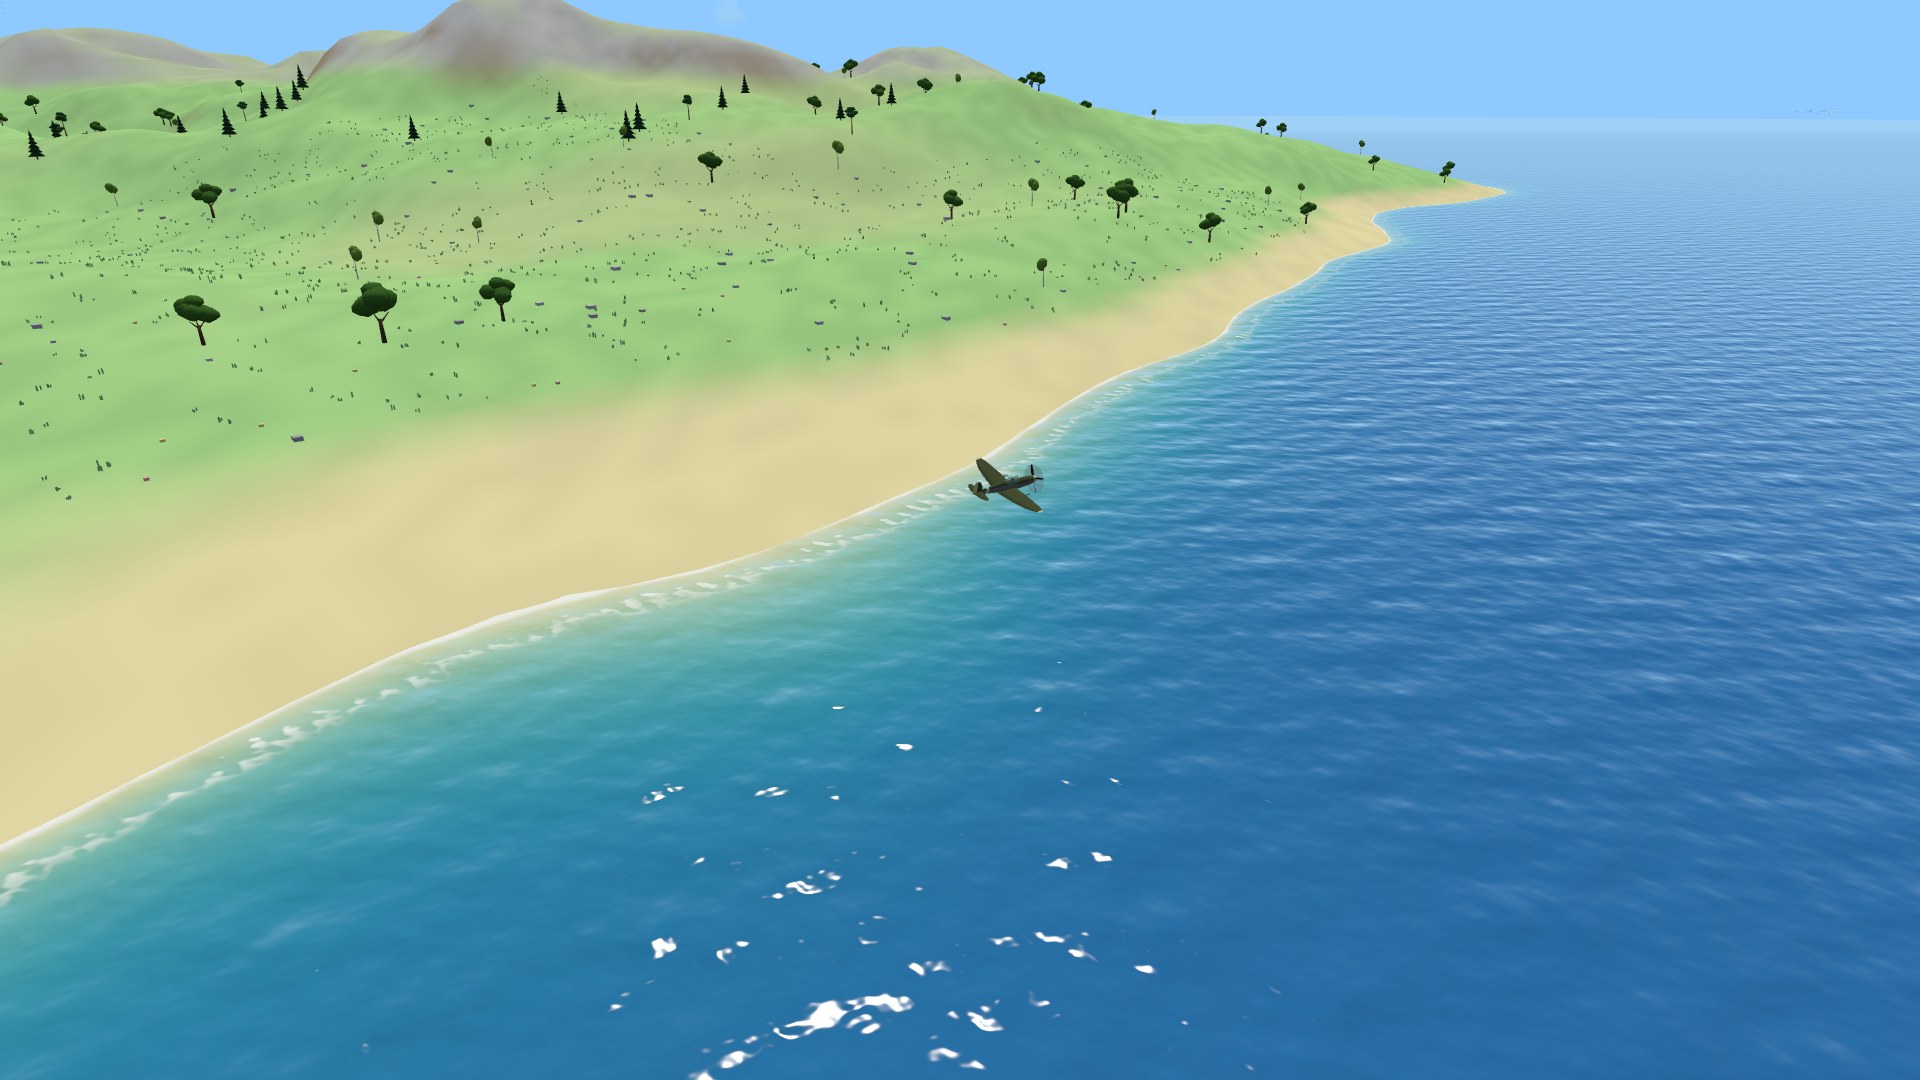
And the sea has a bottom. Beaches shelve into clear shallows — sand, then turquoise, then teal, then the deep blue — so you can read the coast from the colour of the water, and a line of surf rolls in on every shore while the steppe's lakes lap quietly at theirs. A light swell runs with the round's wind and catches the light: a glint off every ripple by day, a road of glitter toward the sun at golden hour, the moon's trail after dark. Out toward the horizon the sea takes the colour of the sky.
The island is a place
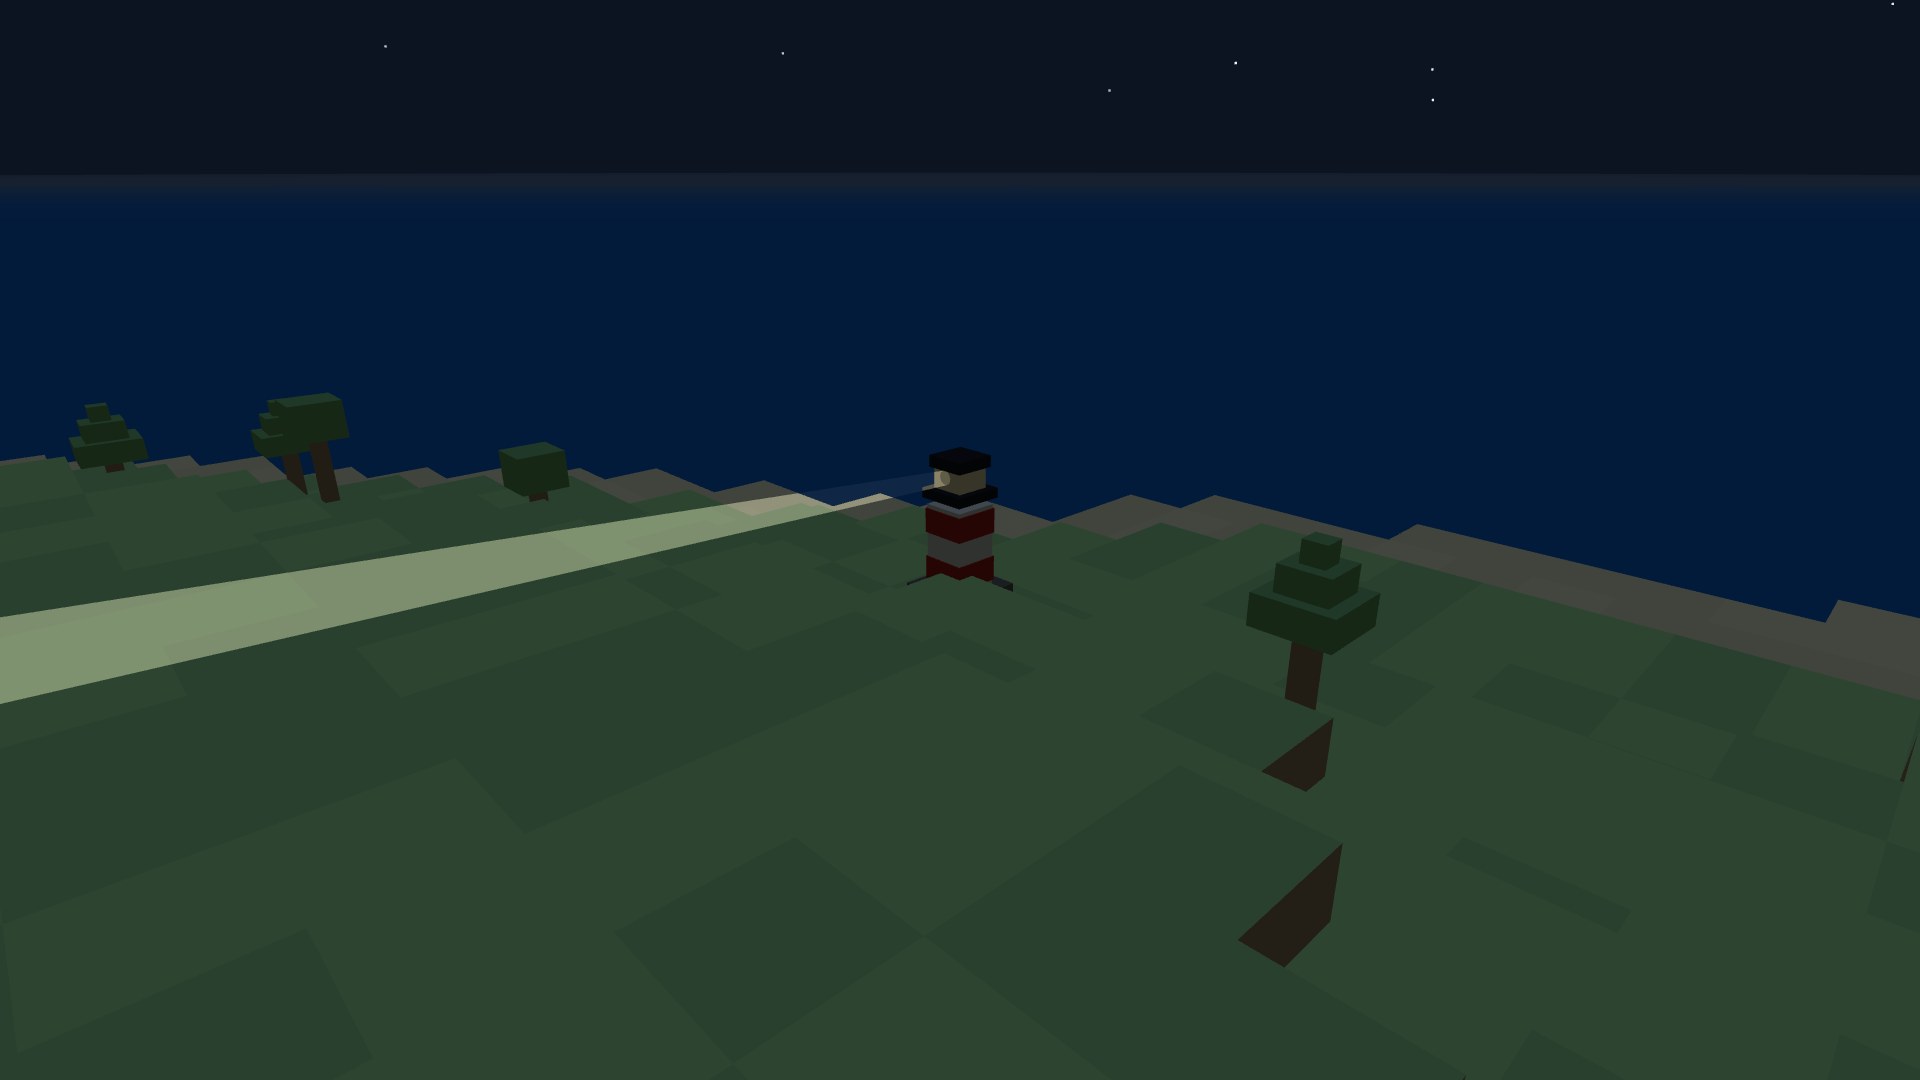
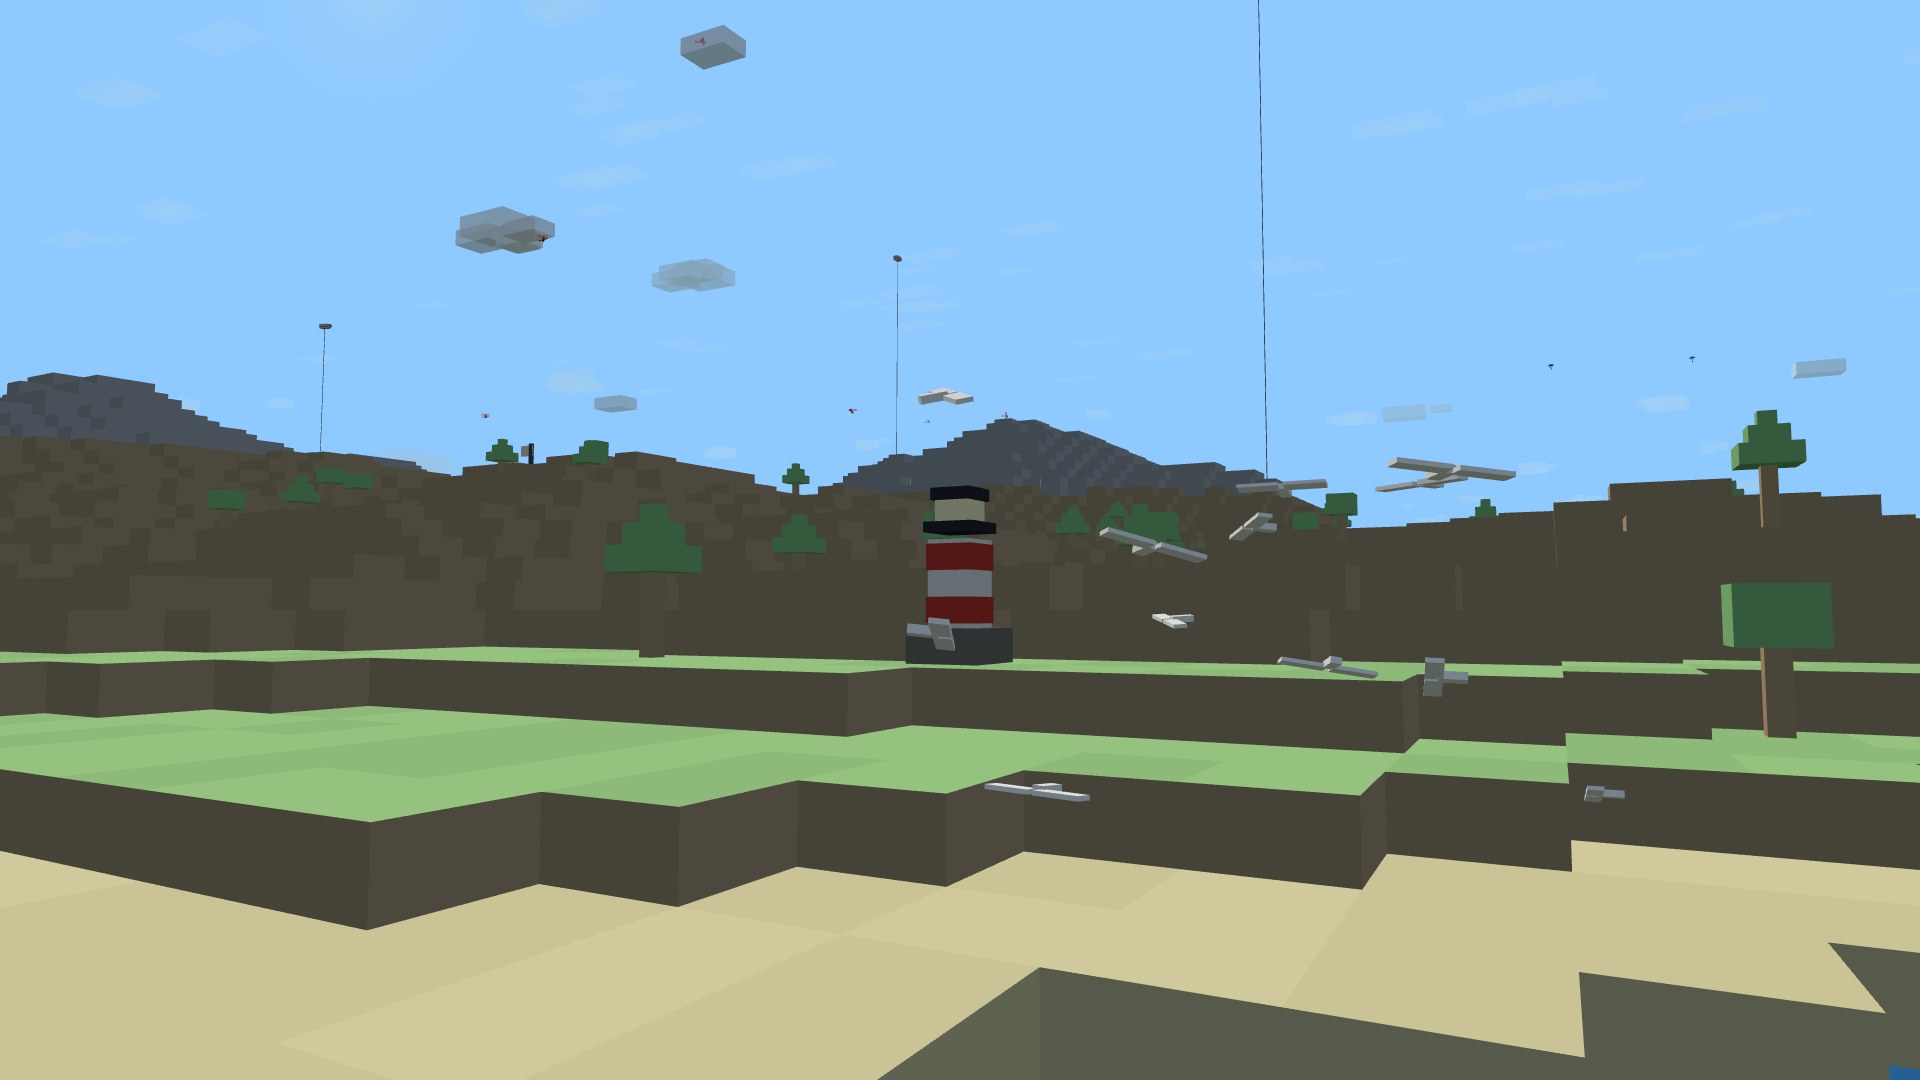
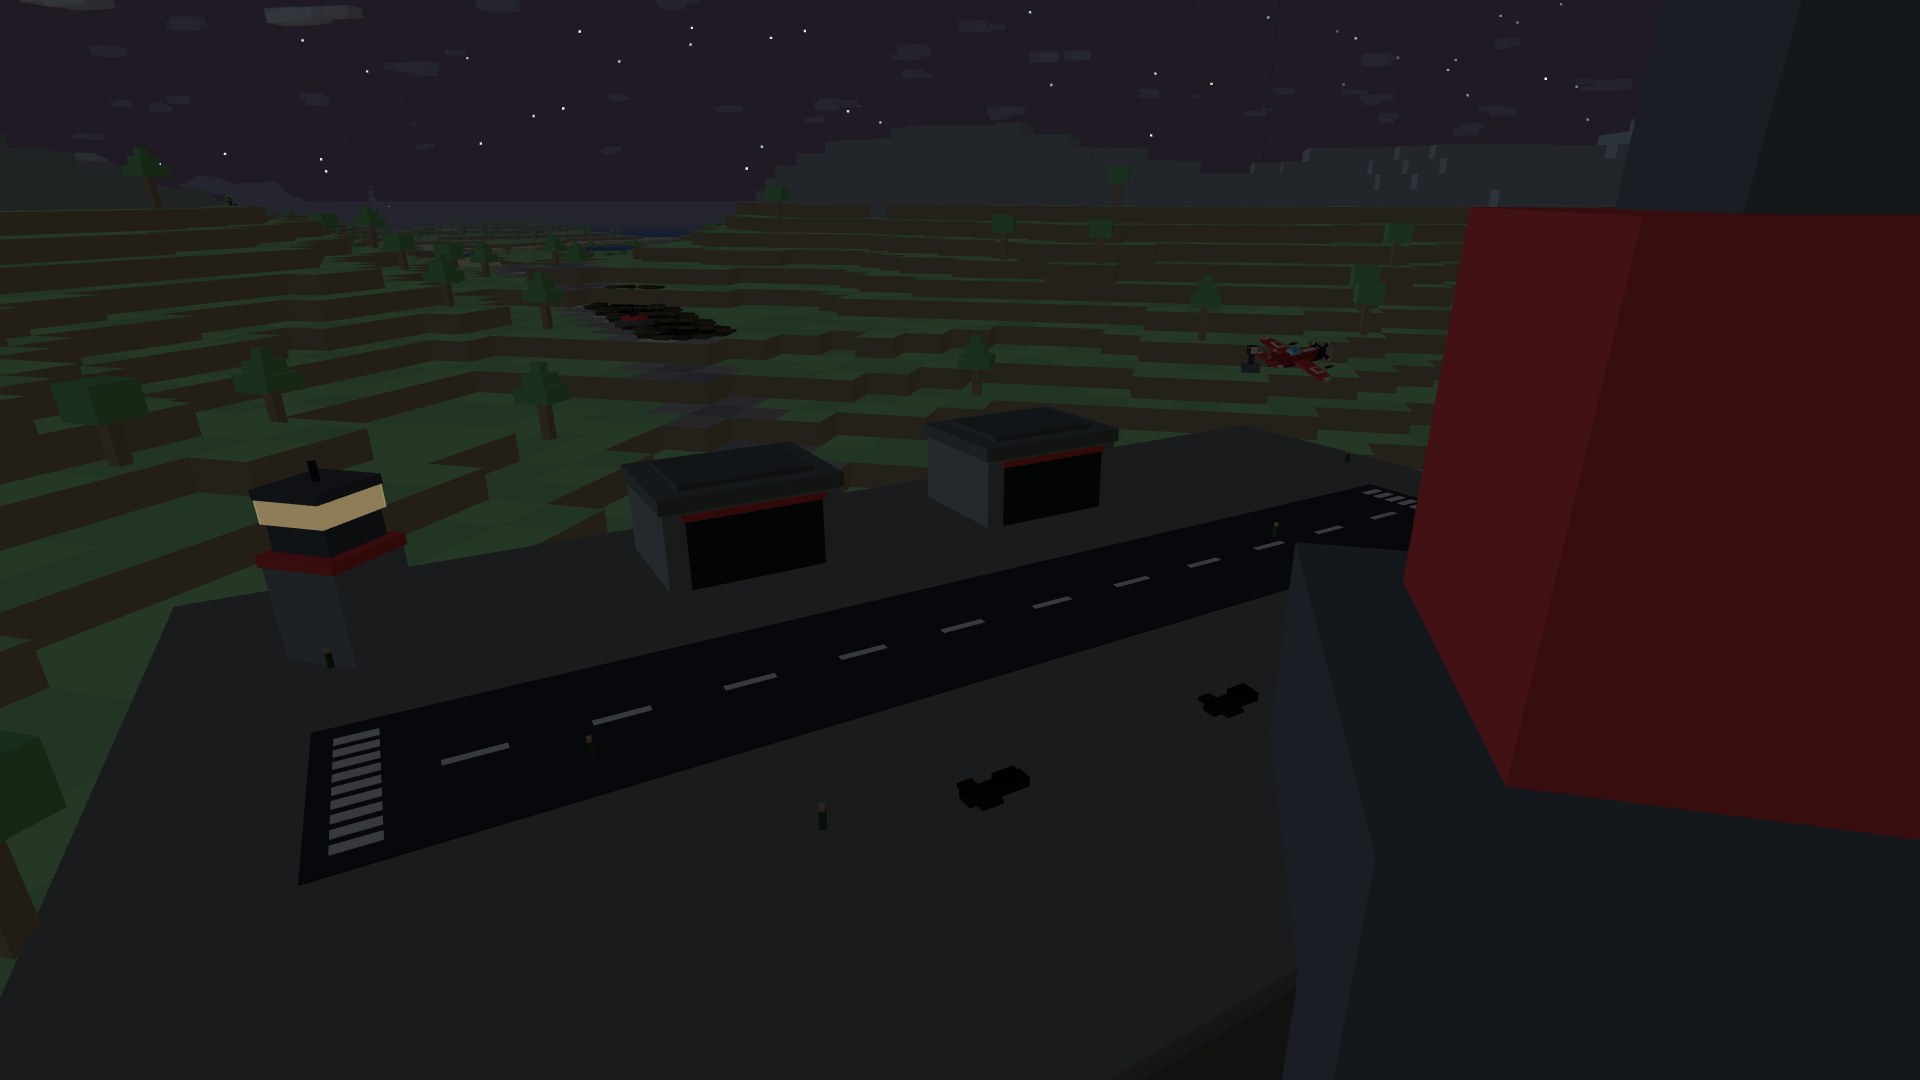
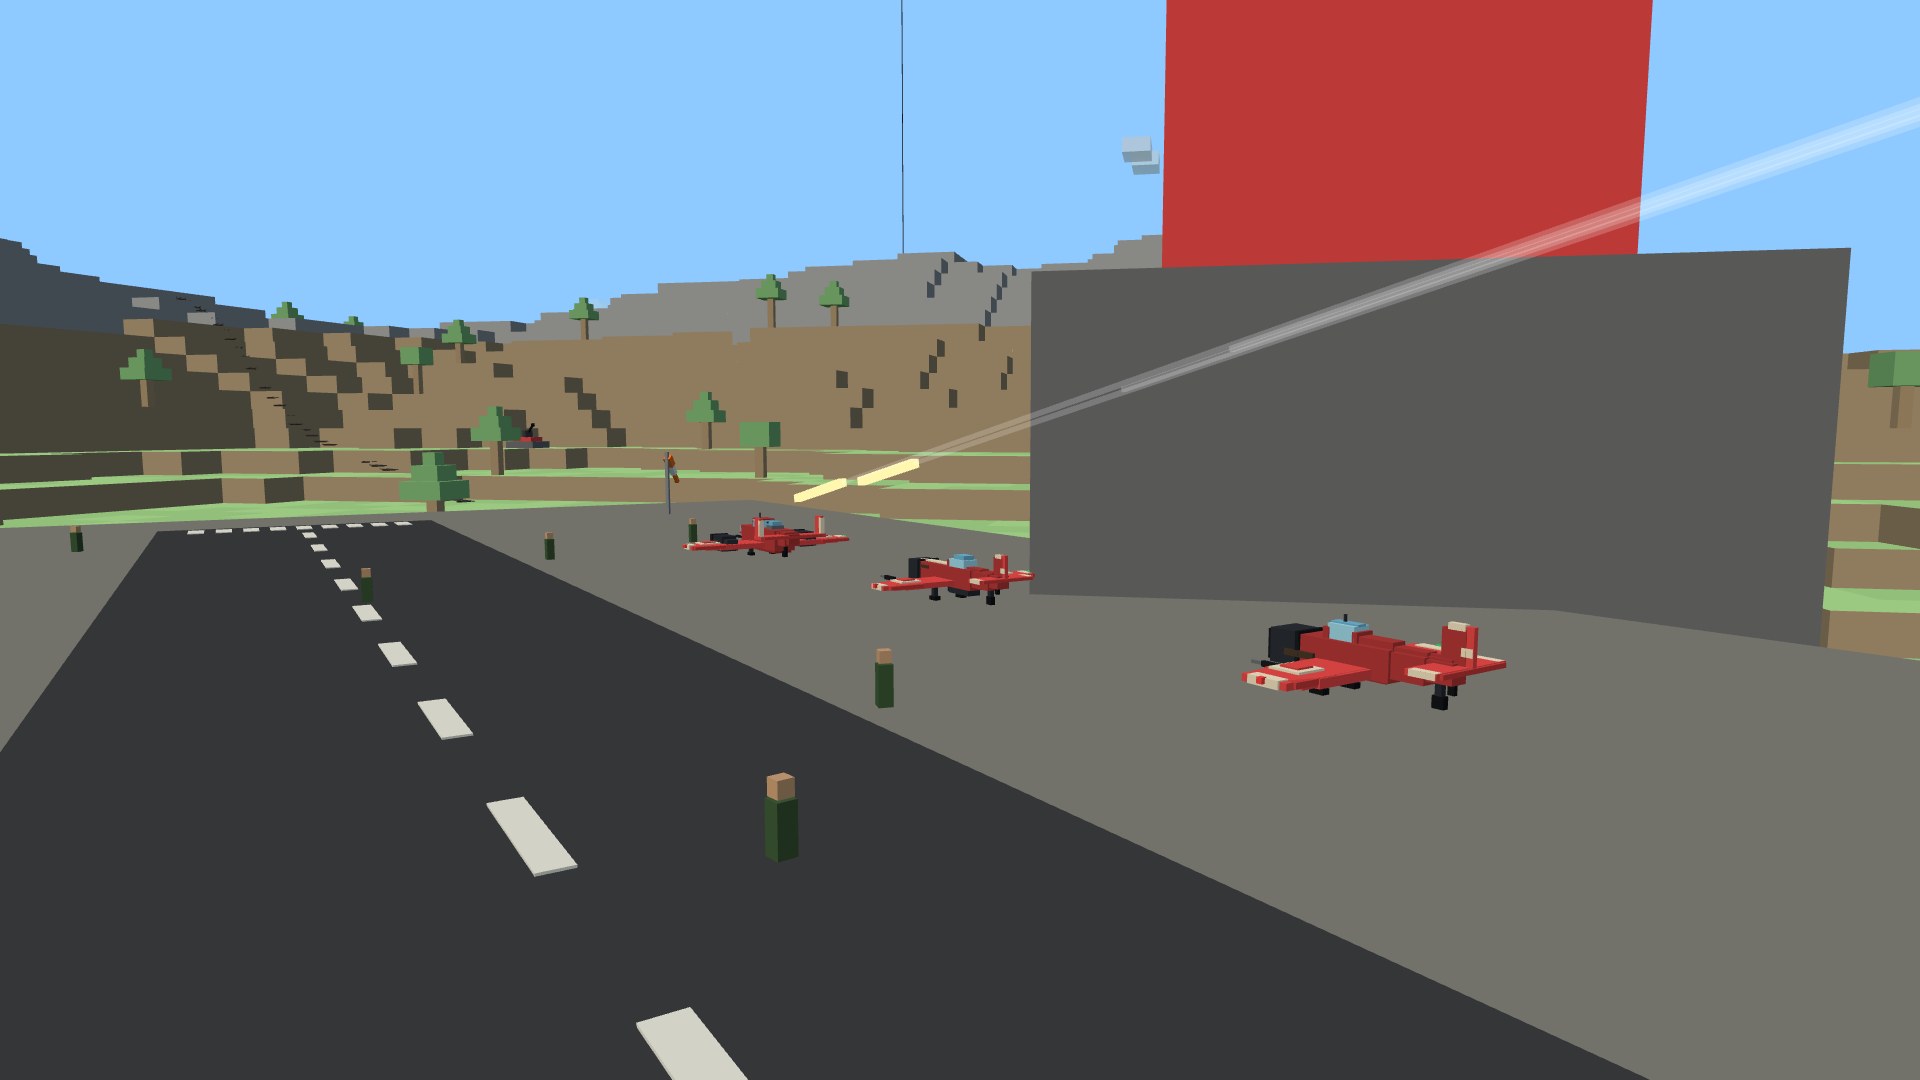
The war isn't the only thing on the island. Fishing boats putter neutral lanes, a striped lighthouse sweeps its beam over the black water at night, gulls burst off the shore when you buzz them, and a whale rolls once in a rare while. None of it shoots or scores — it just makes low, slow flying worth doing. And your home field is a proper station: a graded apron with a marked runway, arched hangars wearing the team band, barracks, quonset huts, a water tower, an ammunition bunker and pillboxes, ground crew that scatter when you buzz the strip, a windsock showing the round's real wind, a control tower that lights up at dusk, and the enemy's parked reserve fighters dug into earth revetments — worth a low, dangerous strafing pass through their flak.
The battlefield remembers
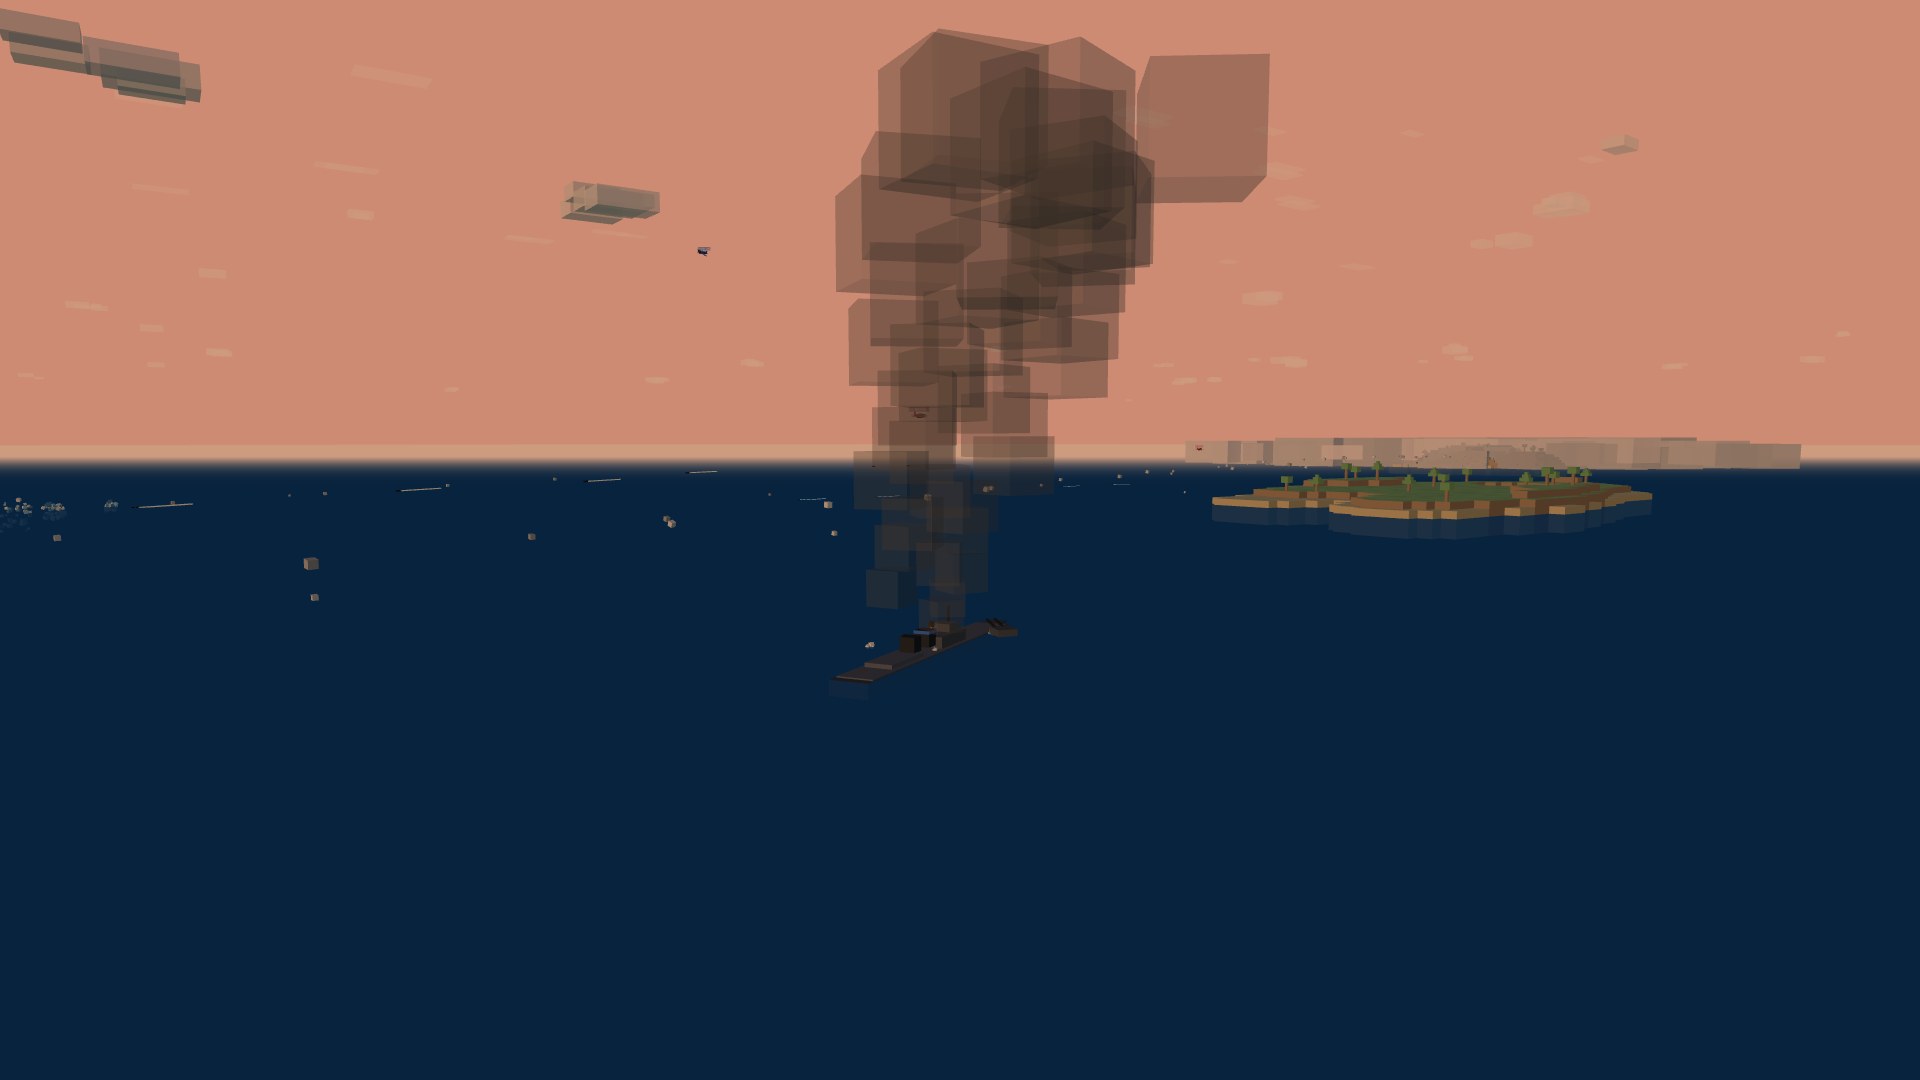
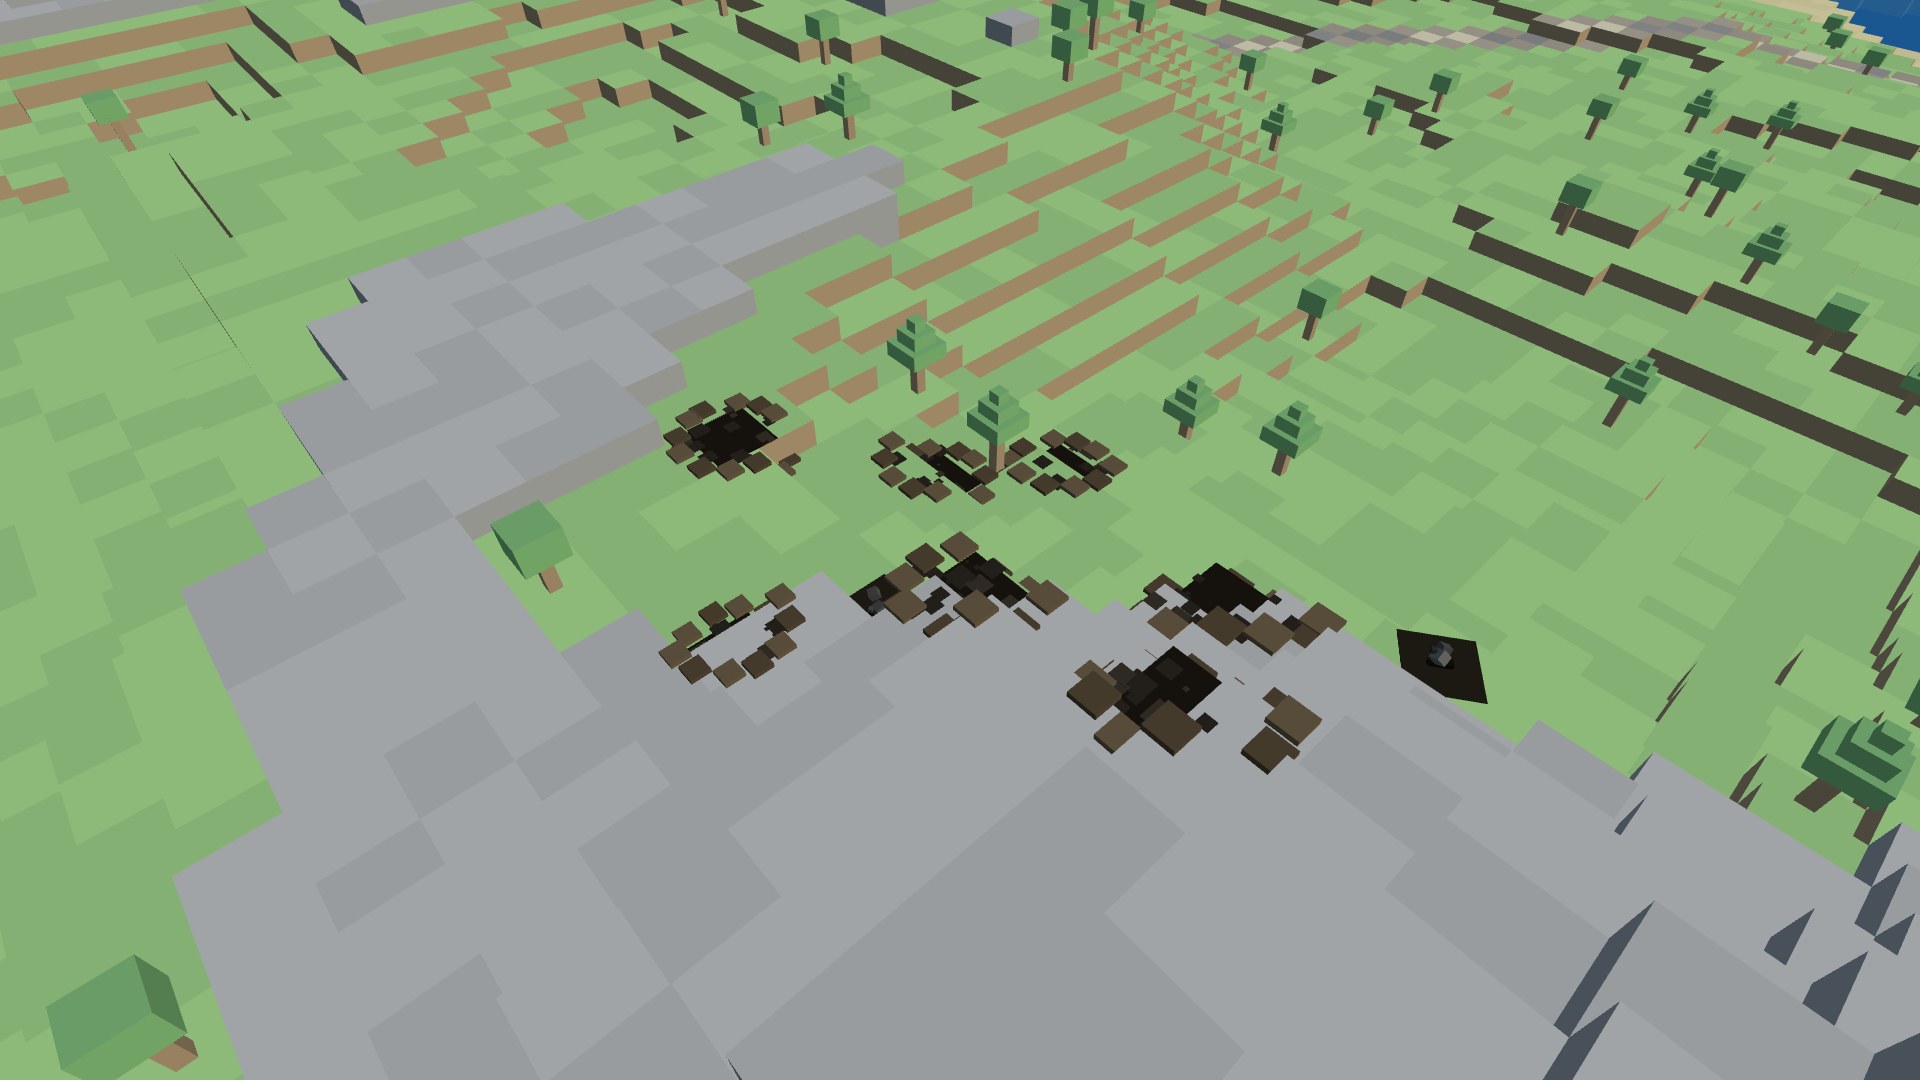
Nothing that happens on the ground gets swept away. Bomb strikes leave dark craters pocking the fields, a crash site keeps a charred skeleton and a smoke column burning for the rest of the round, and a sunk ship leaves an oil slick drifting on the sea. Fly the front line at round-end and the ground itself reads like a story of everything that happened on it — and it all sits on top of the terrain, which never changes, so what you fly over is exactly what the server collides against.
Play & progress
On your phone
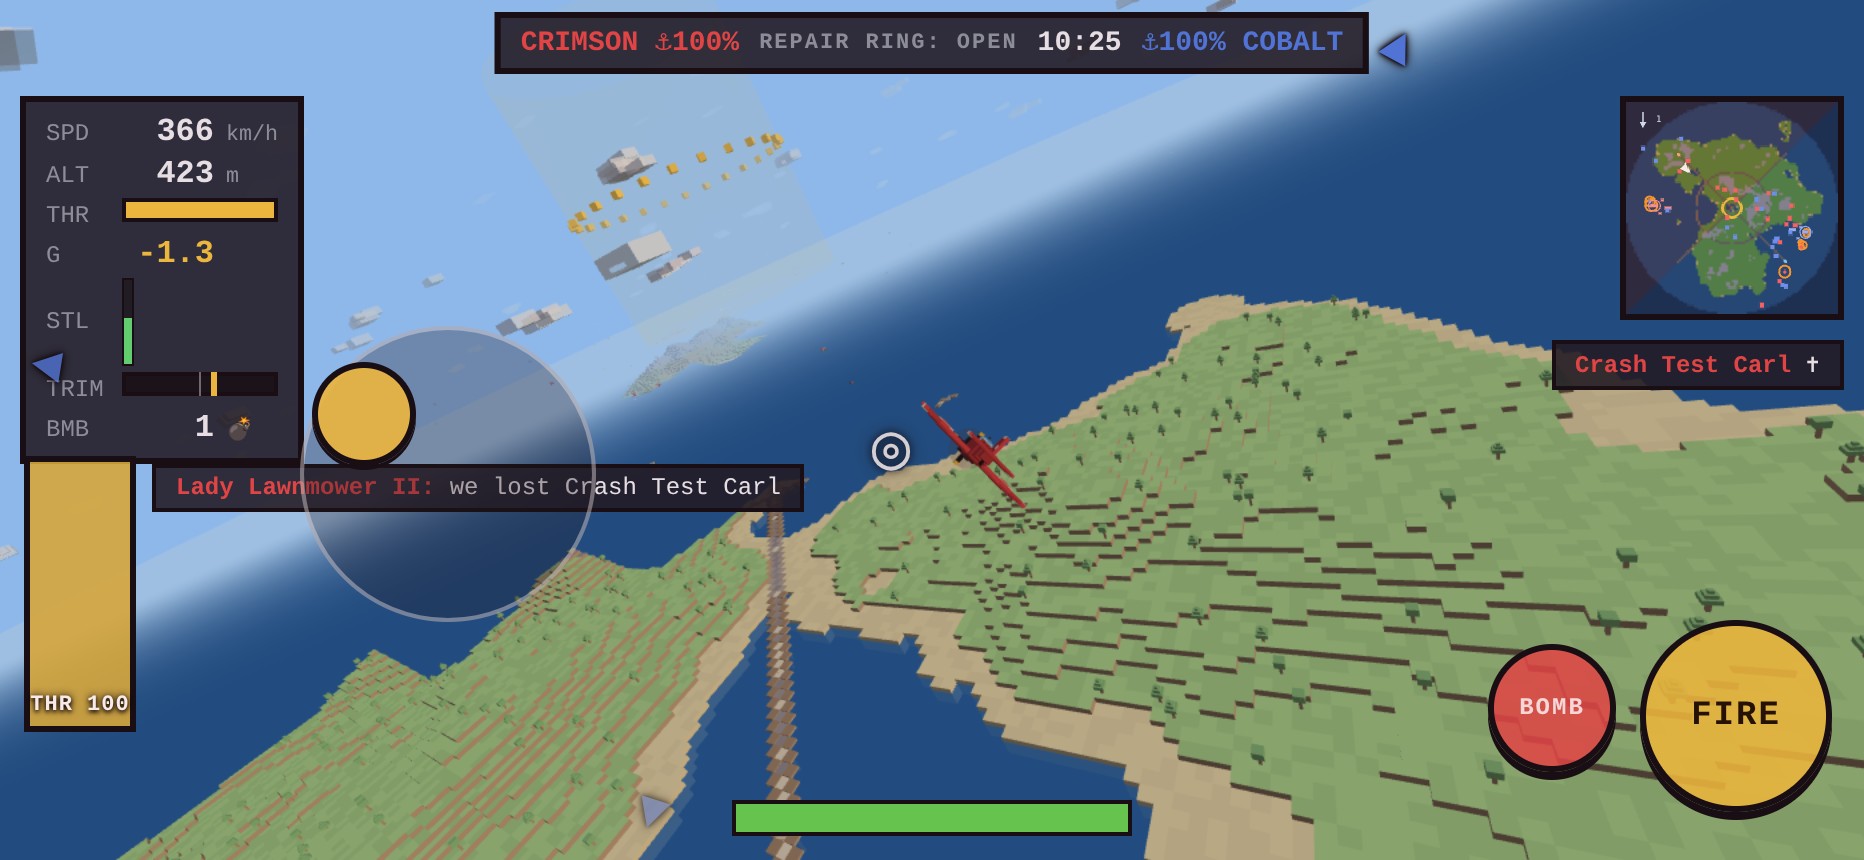
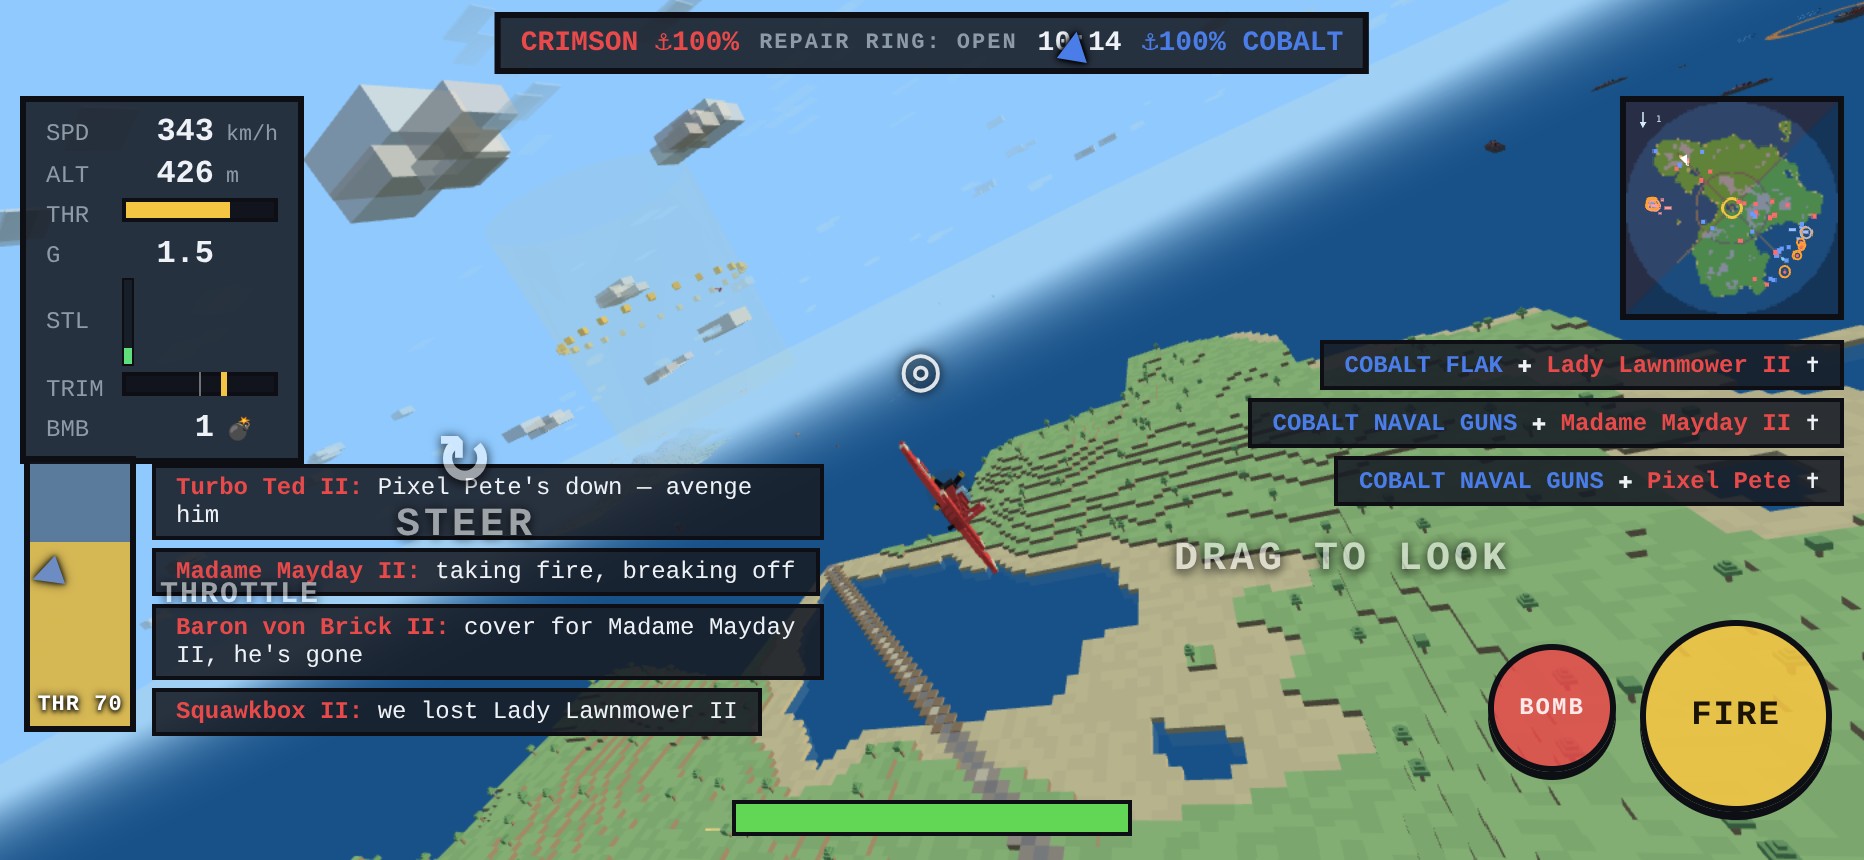
The whole war fits in two thumbs. Your left thumb is a dynamic stick — press anywhere on the left half and it anchors under your thumb, steering the same aim cursor mouse players fly with. A flight instructor rides along: haul the stick all the way over and it commands the plane's best sustained turn instead of snapping you into a stall, so full deflection finally means “turn as hard as you safely can.” The right half is look; the left-edge slider is throttle with full and idle detents; let the stick go and the instructor eases you back to straight-and-level on its own — hold off a moment longer and the autopilot latches to keep it there hands-free, until you grab the stick again. A PULL UP warning flashes before the ground does, off-screen bandit markers hug the edges pointing at the fight you can't see, and a first-flight coach labels every control the first time you spawn.
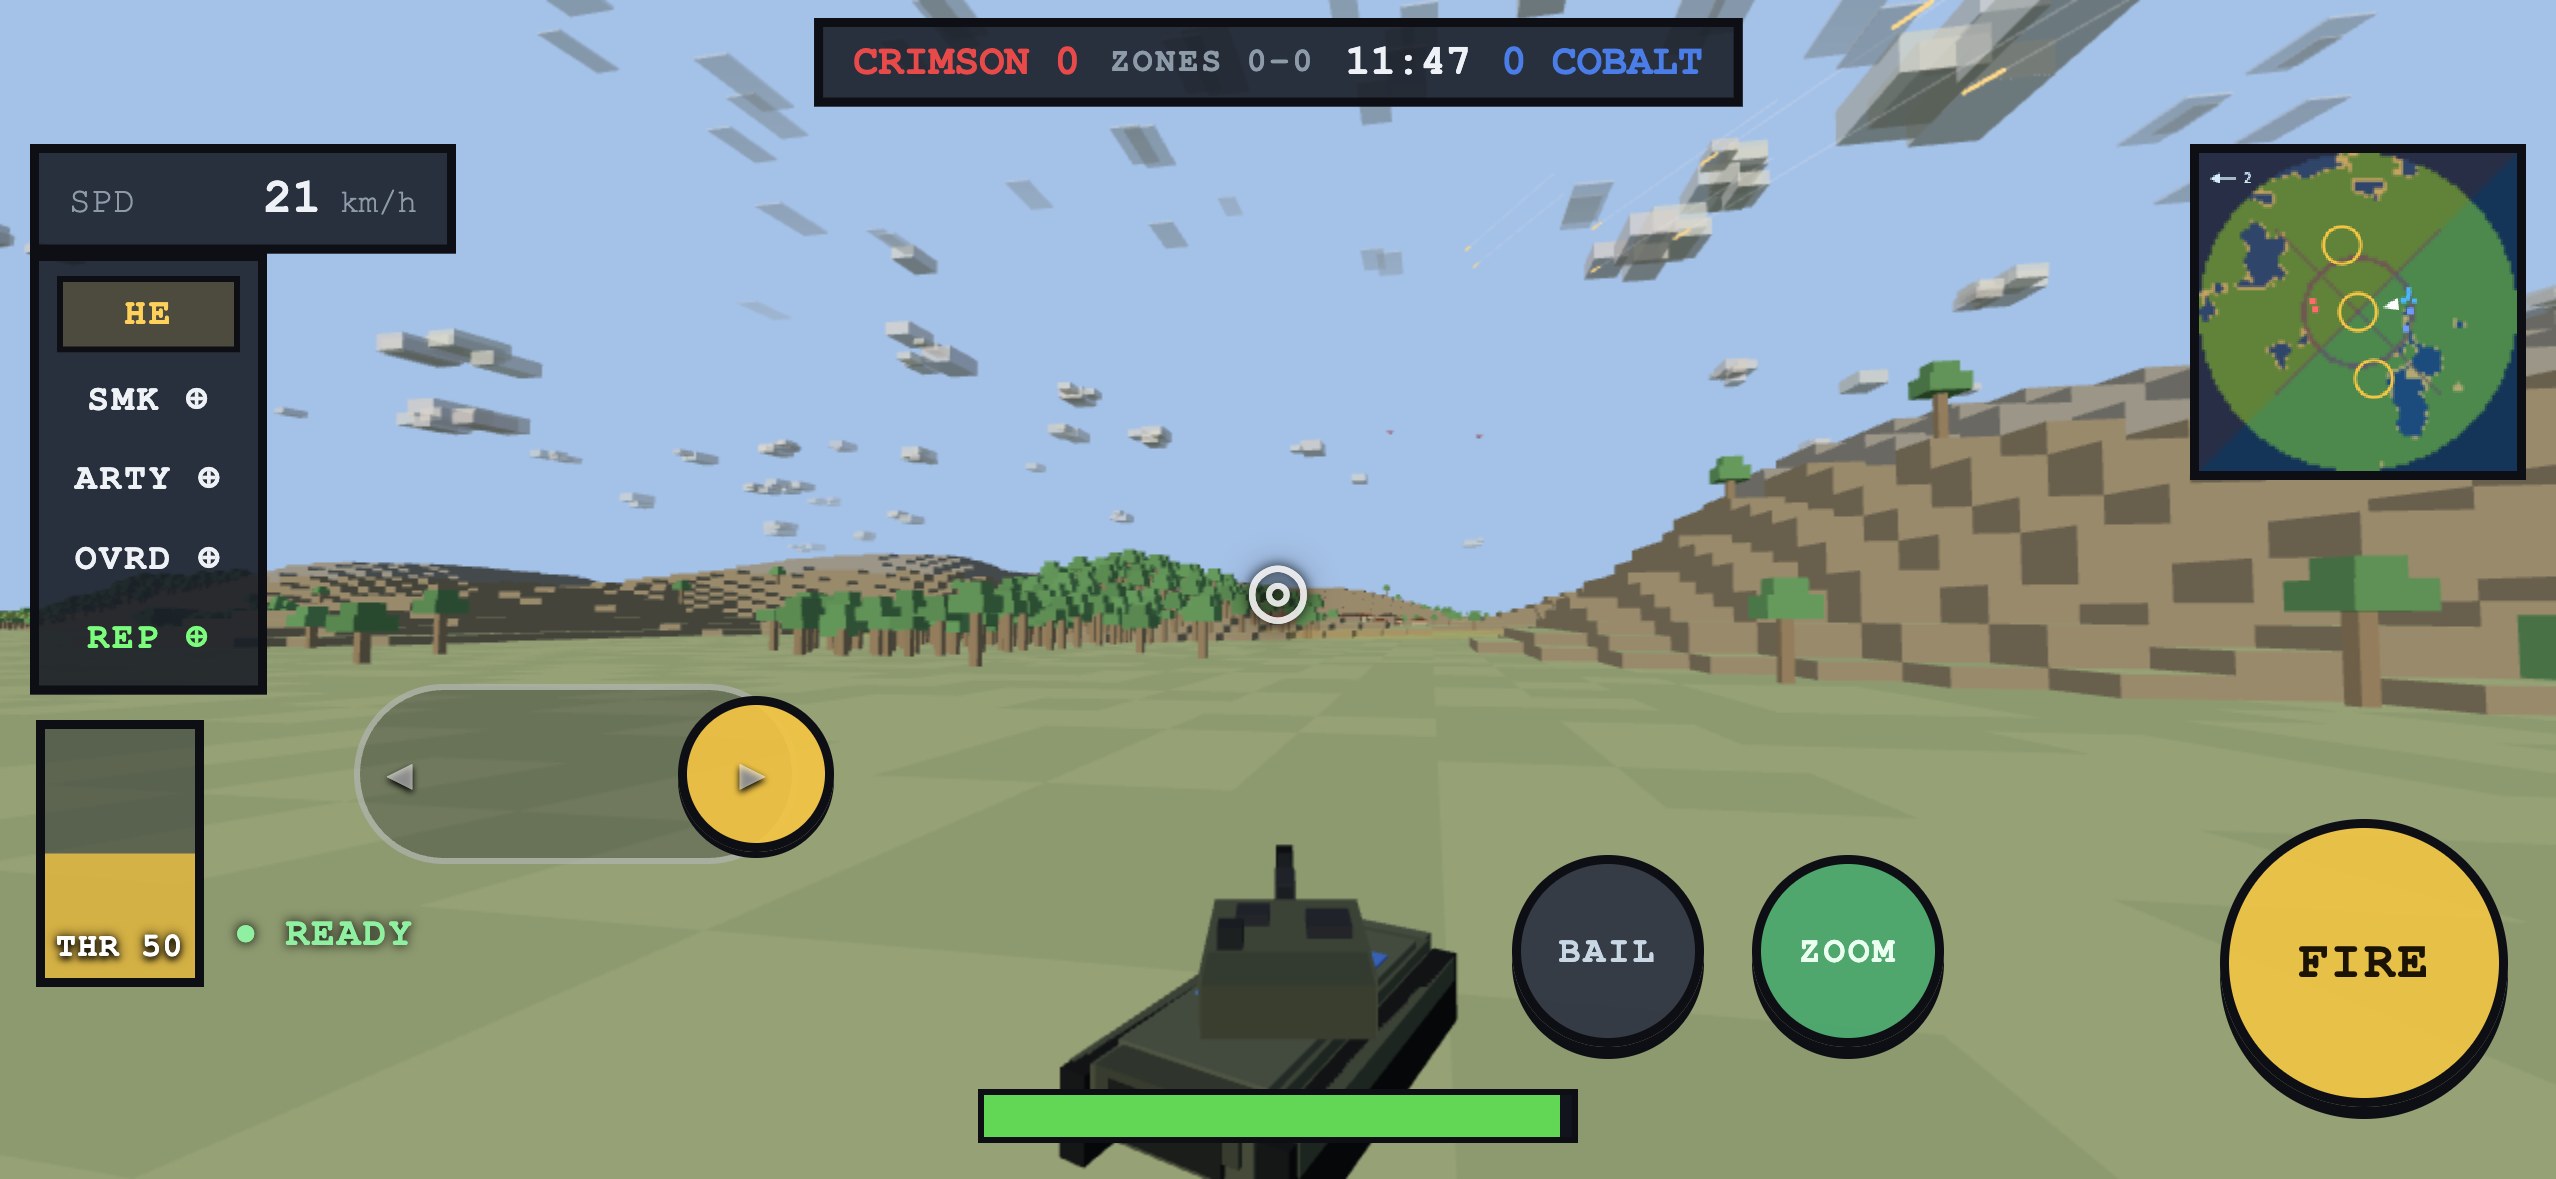
Crew a tank or a warship and the thumbs split the job the way every tank game taught them to. The stick becomes a tiller: it draws as a sideways rail and turns the hull like A/D, a small push for a correction, all the way over for the hardest turn your tracks or rudder can manage. A drag on the right half lays the gun: the sight follows your thumb and stops where it stops, so you can lift it for FIRE and keep the aim. The left-edge lever still drives, and on a tank its bottom quarter is reverse.
Hall of fame
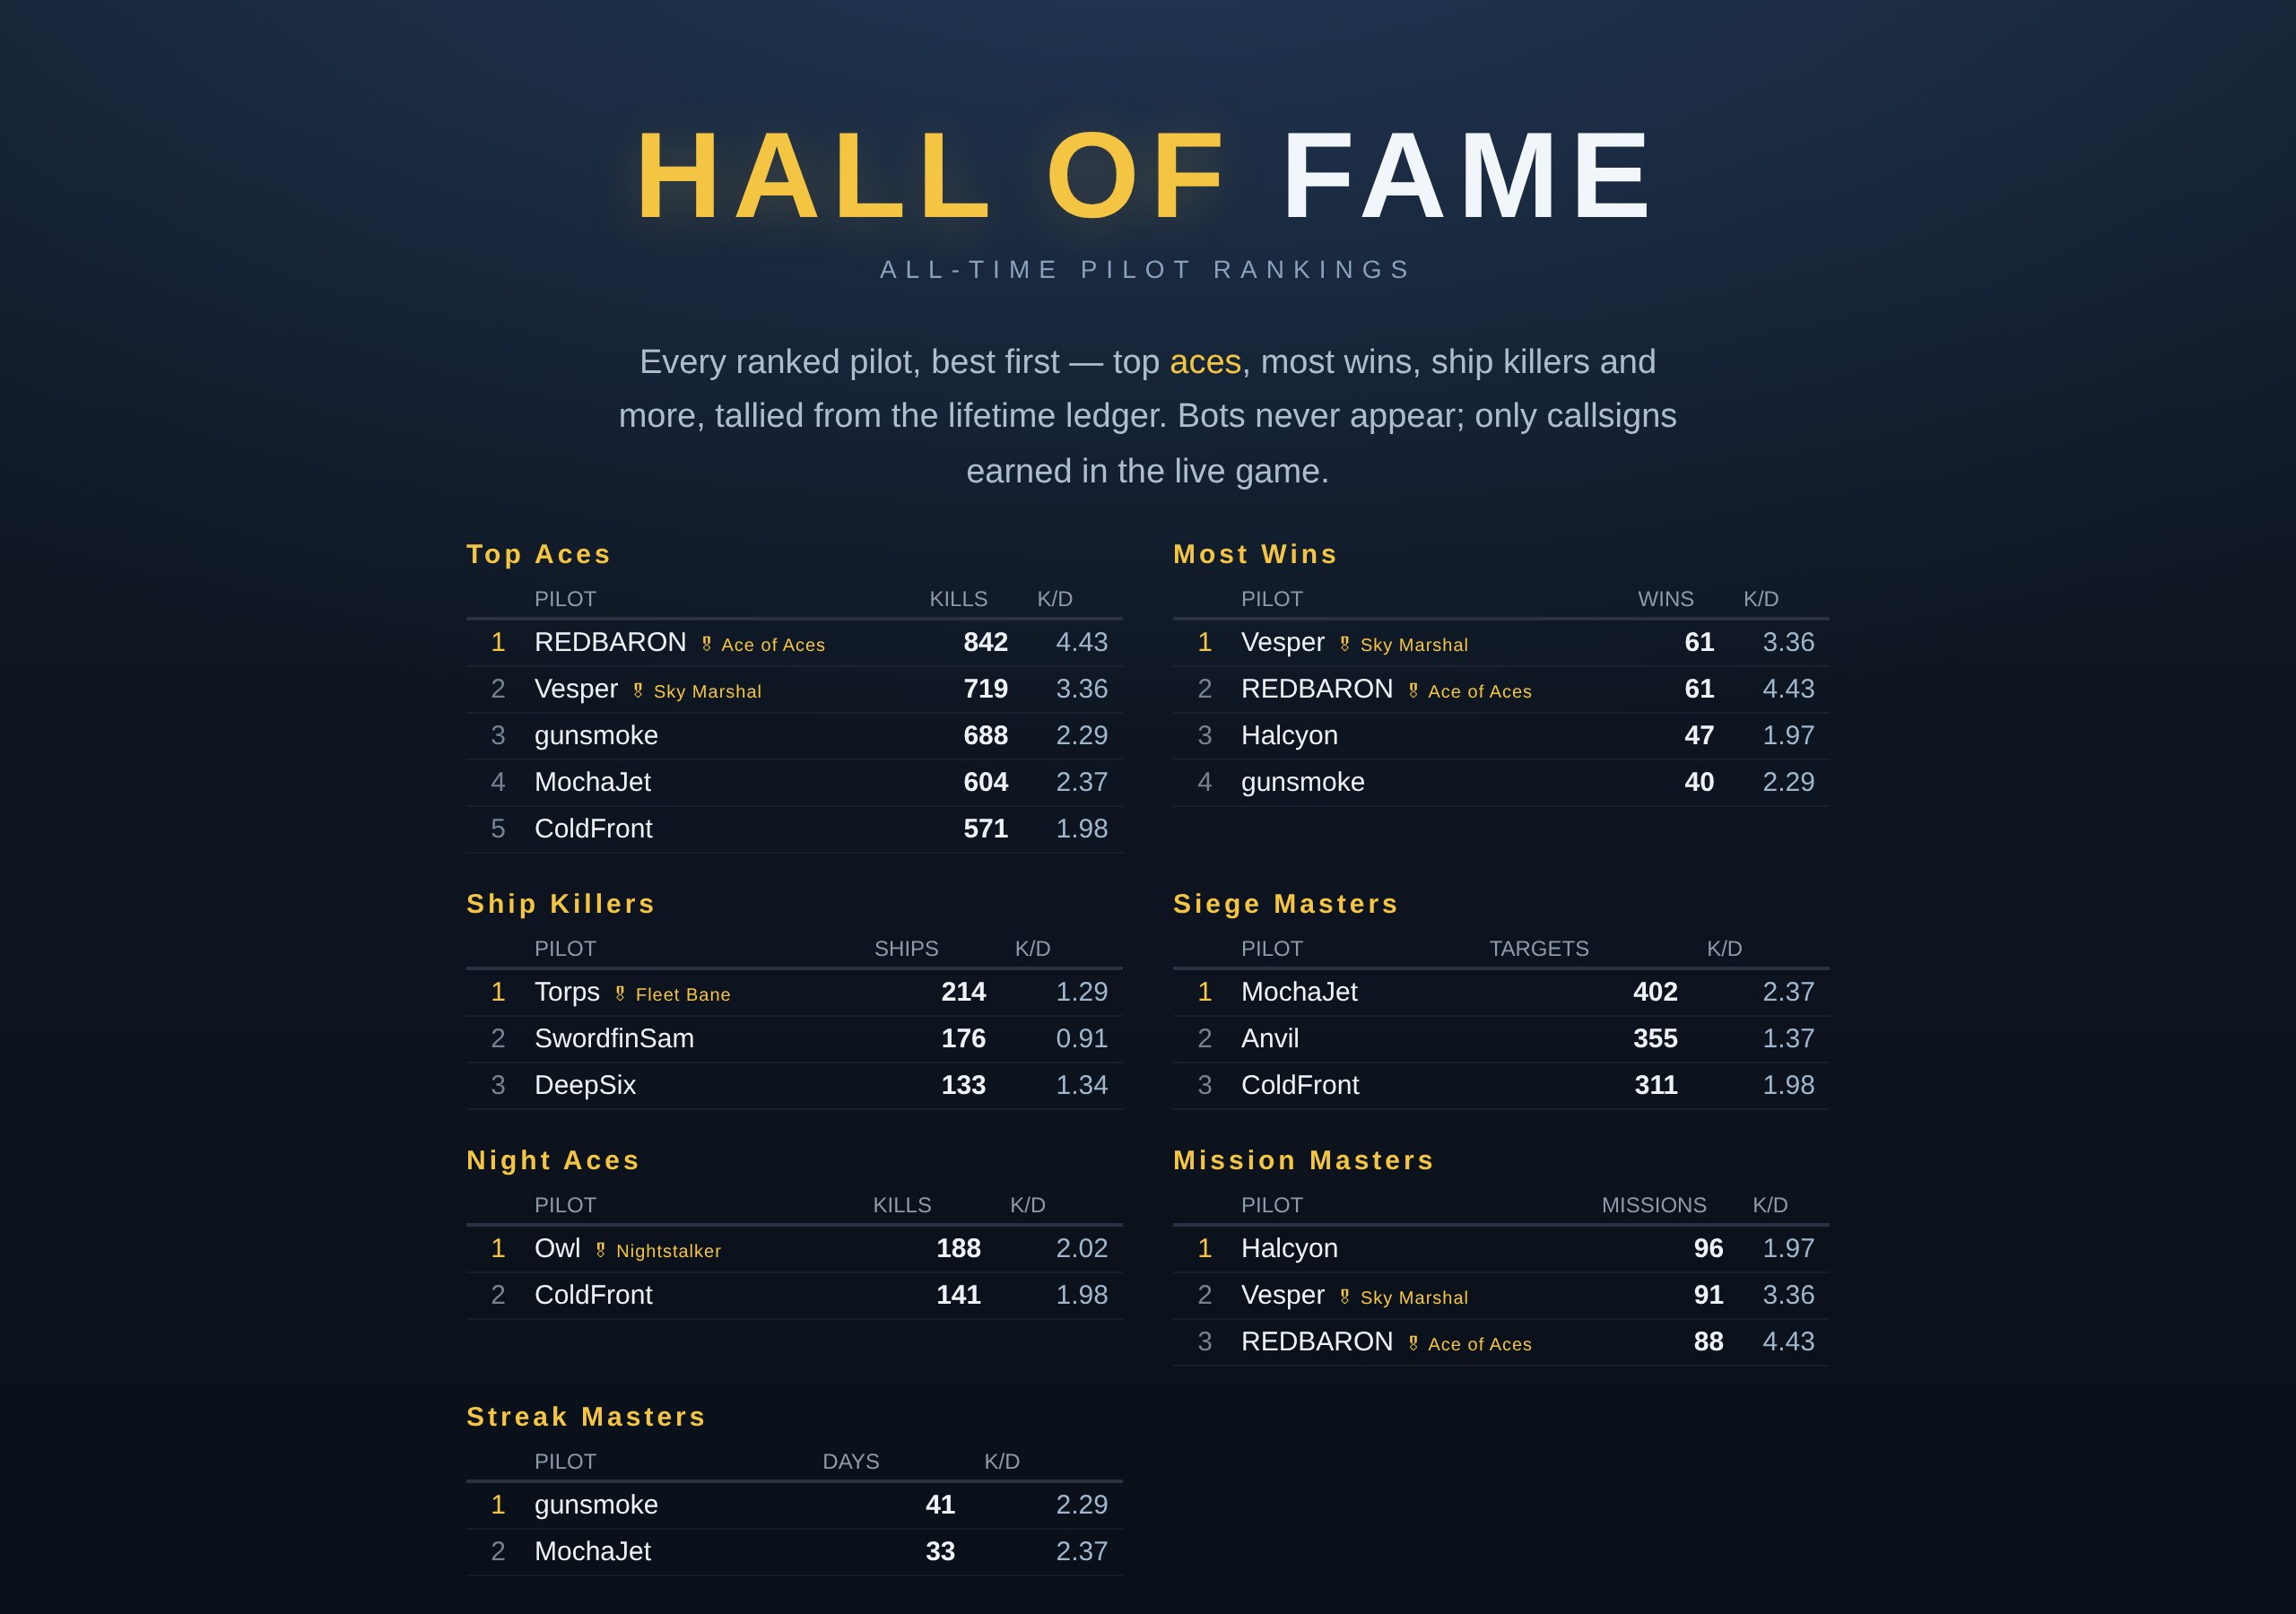
Every kill, win, sunk ship and cleared mission is tallied against your callsign for good, and the best of all time hang in the Hall of Fame — now its own page at /leaderboard, not a pop-up you crack open on the join screen. Seven boards, best first: top aces, most wins, ship killers, siege masters, night aces, mission masters and the longest daily streaks — each pilot's most prestigious career medal riding beside their name. Bots never have a token, so they never appear; the only names on the wall are ones earned in the live game.
Wear your career
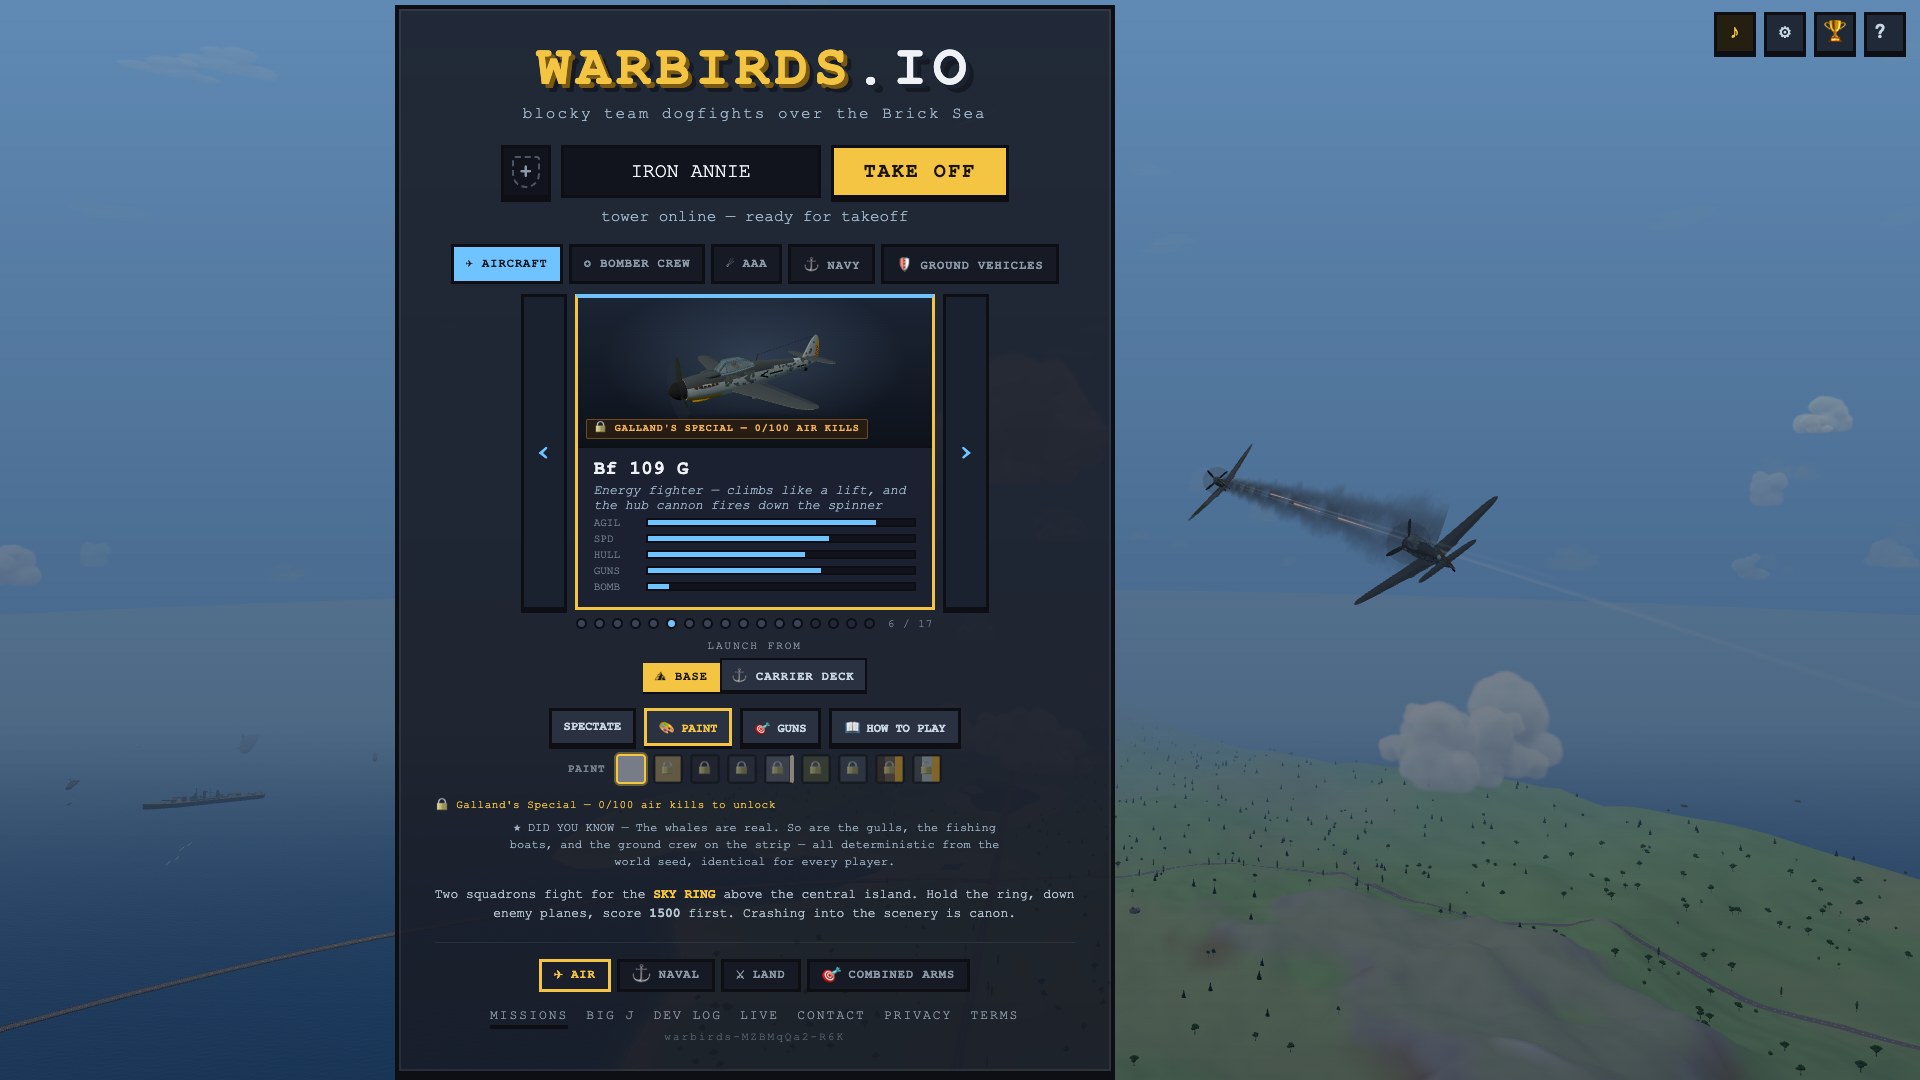
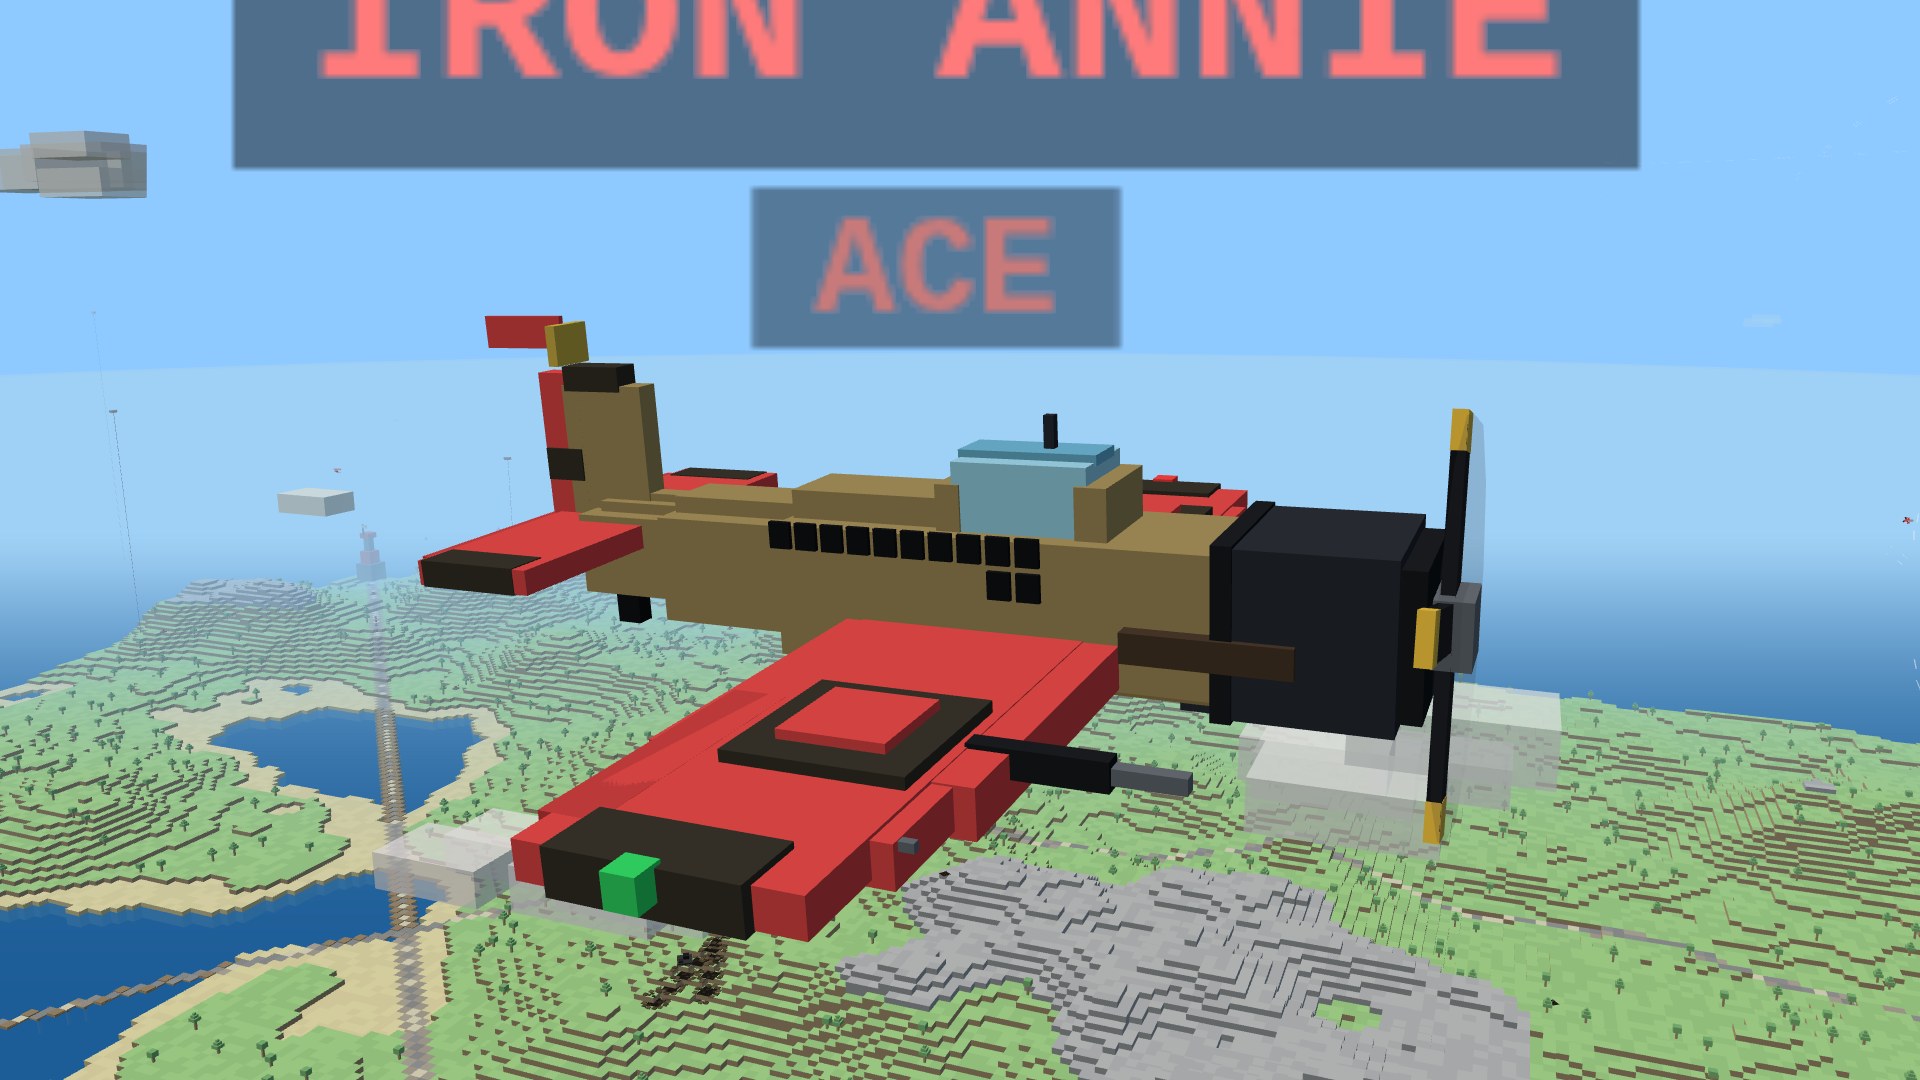
Your record used to be invisible — a 500-kill veteran flew a plane that looked exactly like a first-timer's. Not anymore. The hangar has a PAINT SHOP of earnable schemes, unlocked by the same career counters that hand out medals: sand Duneworn for siege work, near-black Midnight Reaper for night kills, victory stripes at 50. As you rack up kills in a round, kill-mark stencils stack up under your cockpit, so a pilot on a tear visibly wears the streak. And a career ace flies marked: a gold spinner cap, a fin pennant, and the ACE title under the callsign — but only up close, so it's a reward you notice after the merge, never a beacon before it. No paint says which side you fly for; the Crimson or Cobalt tile over your callsign does, so friend-or-foe reads at any range whatever you've earned.

Fly under a unit insignia (new)
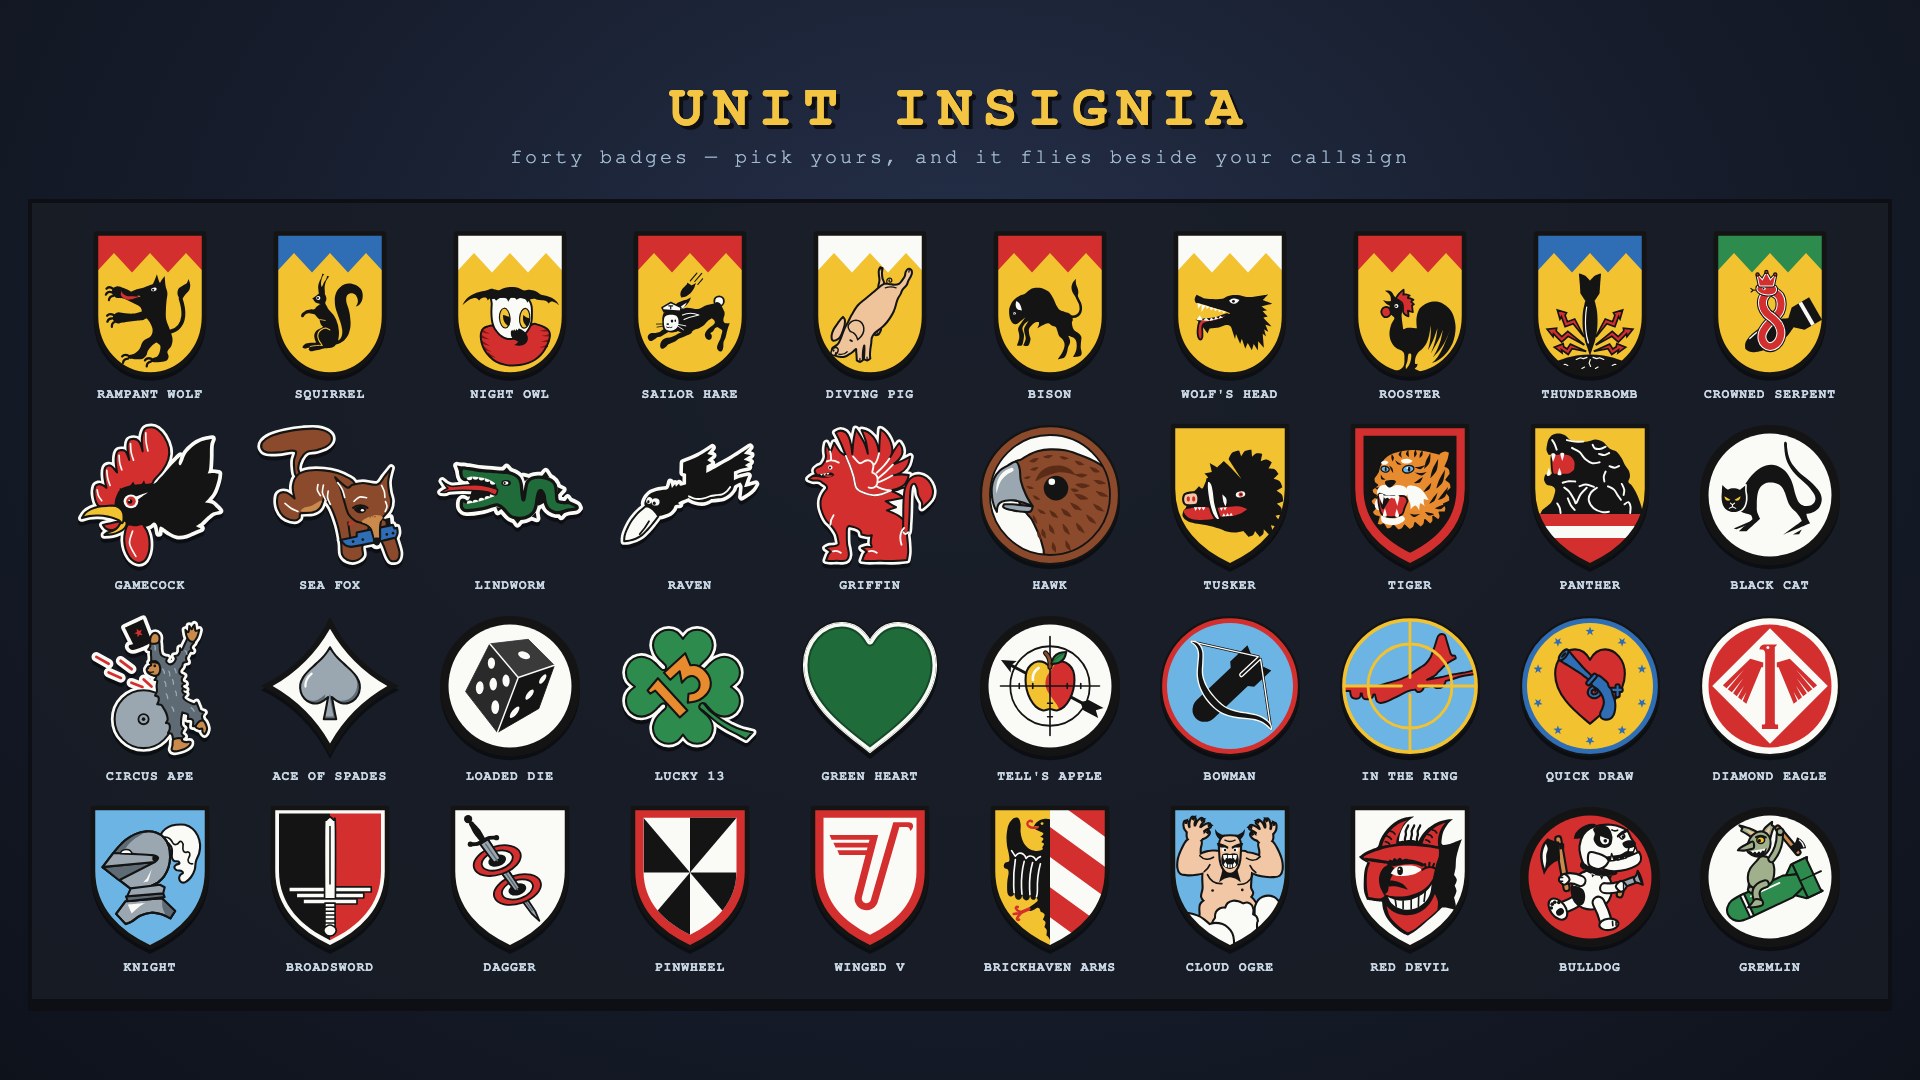
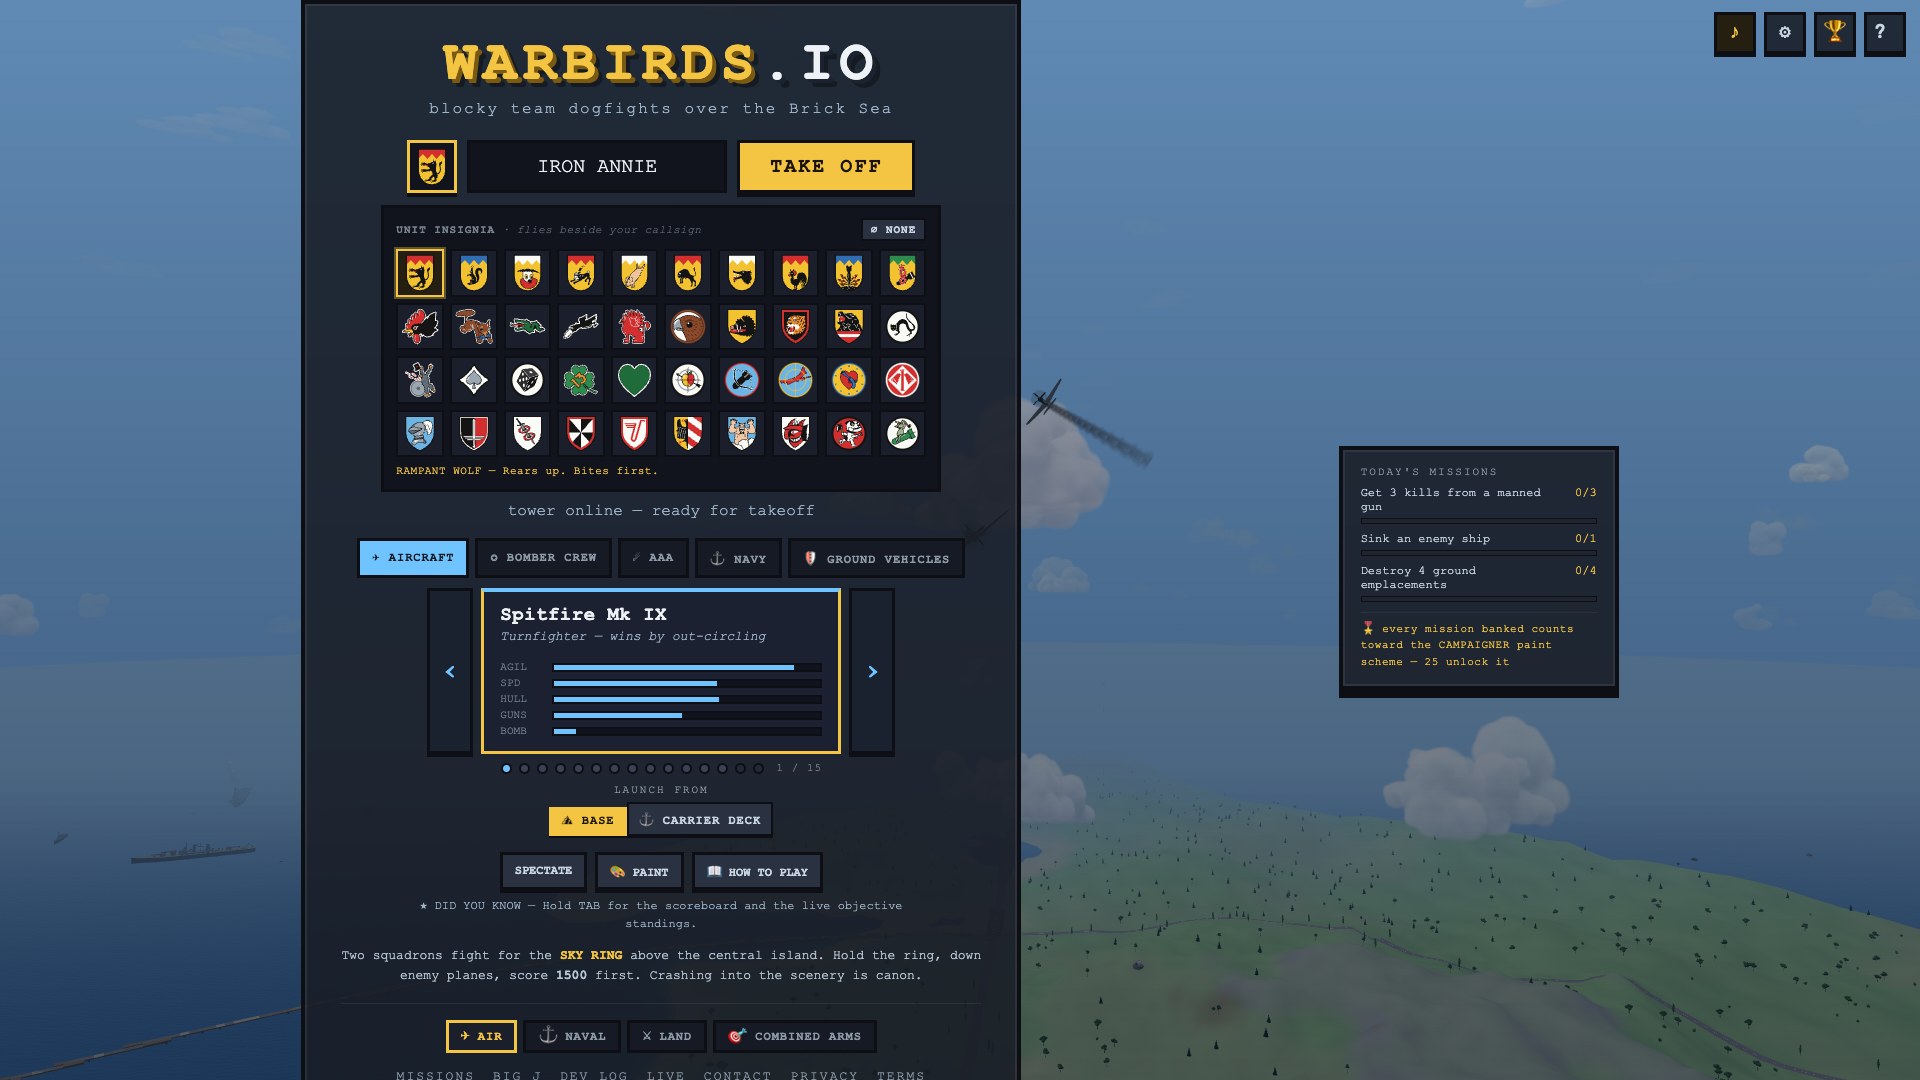
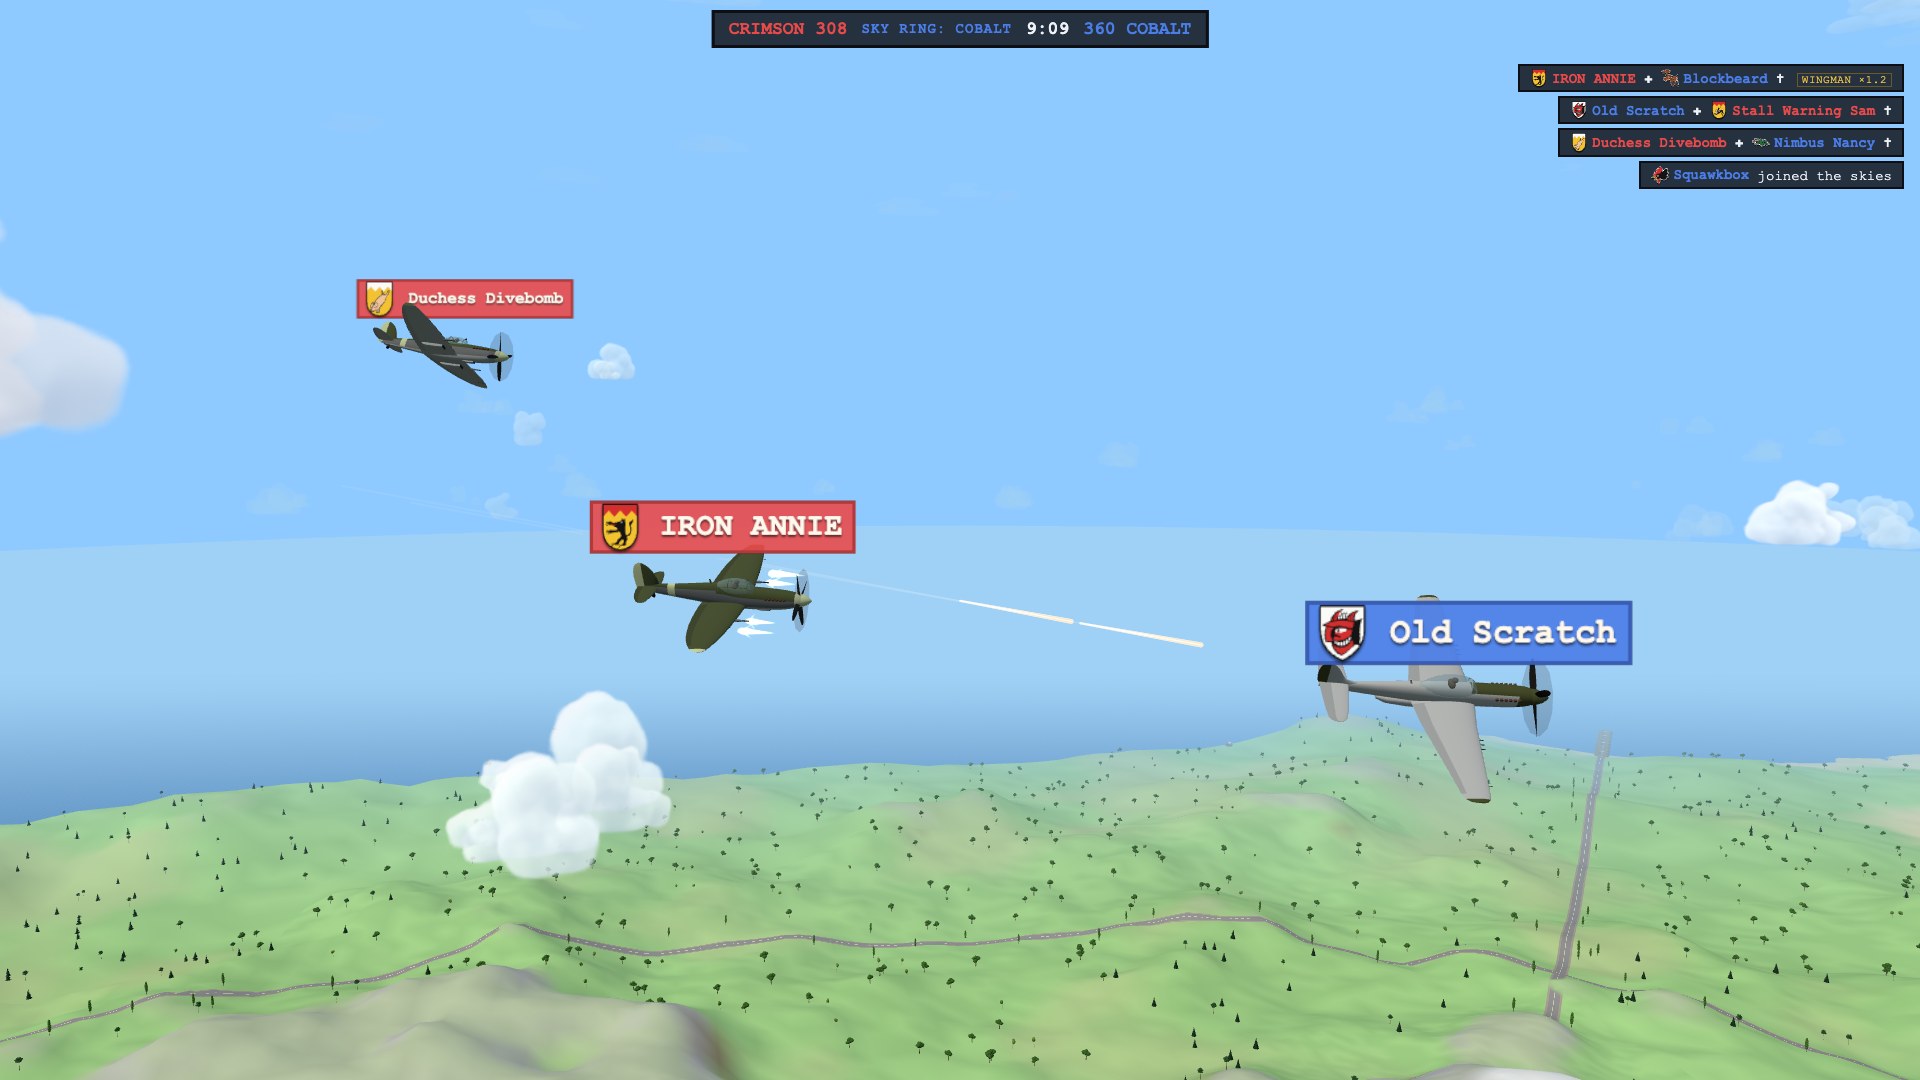
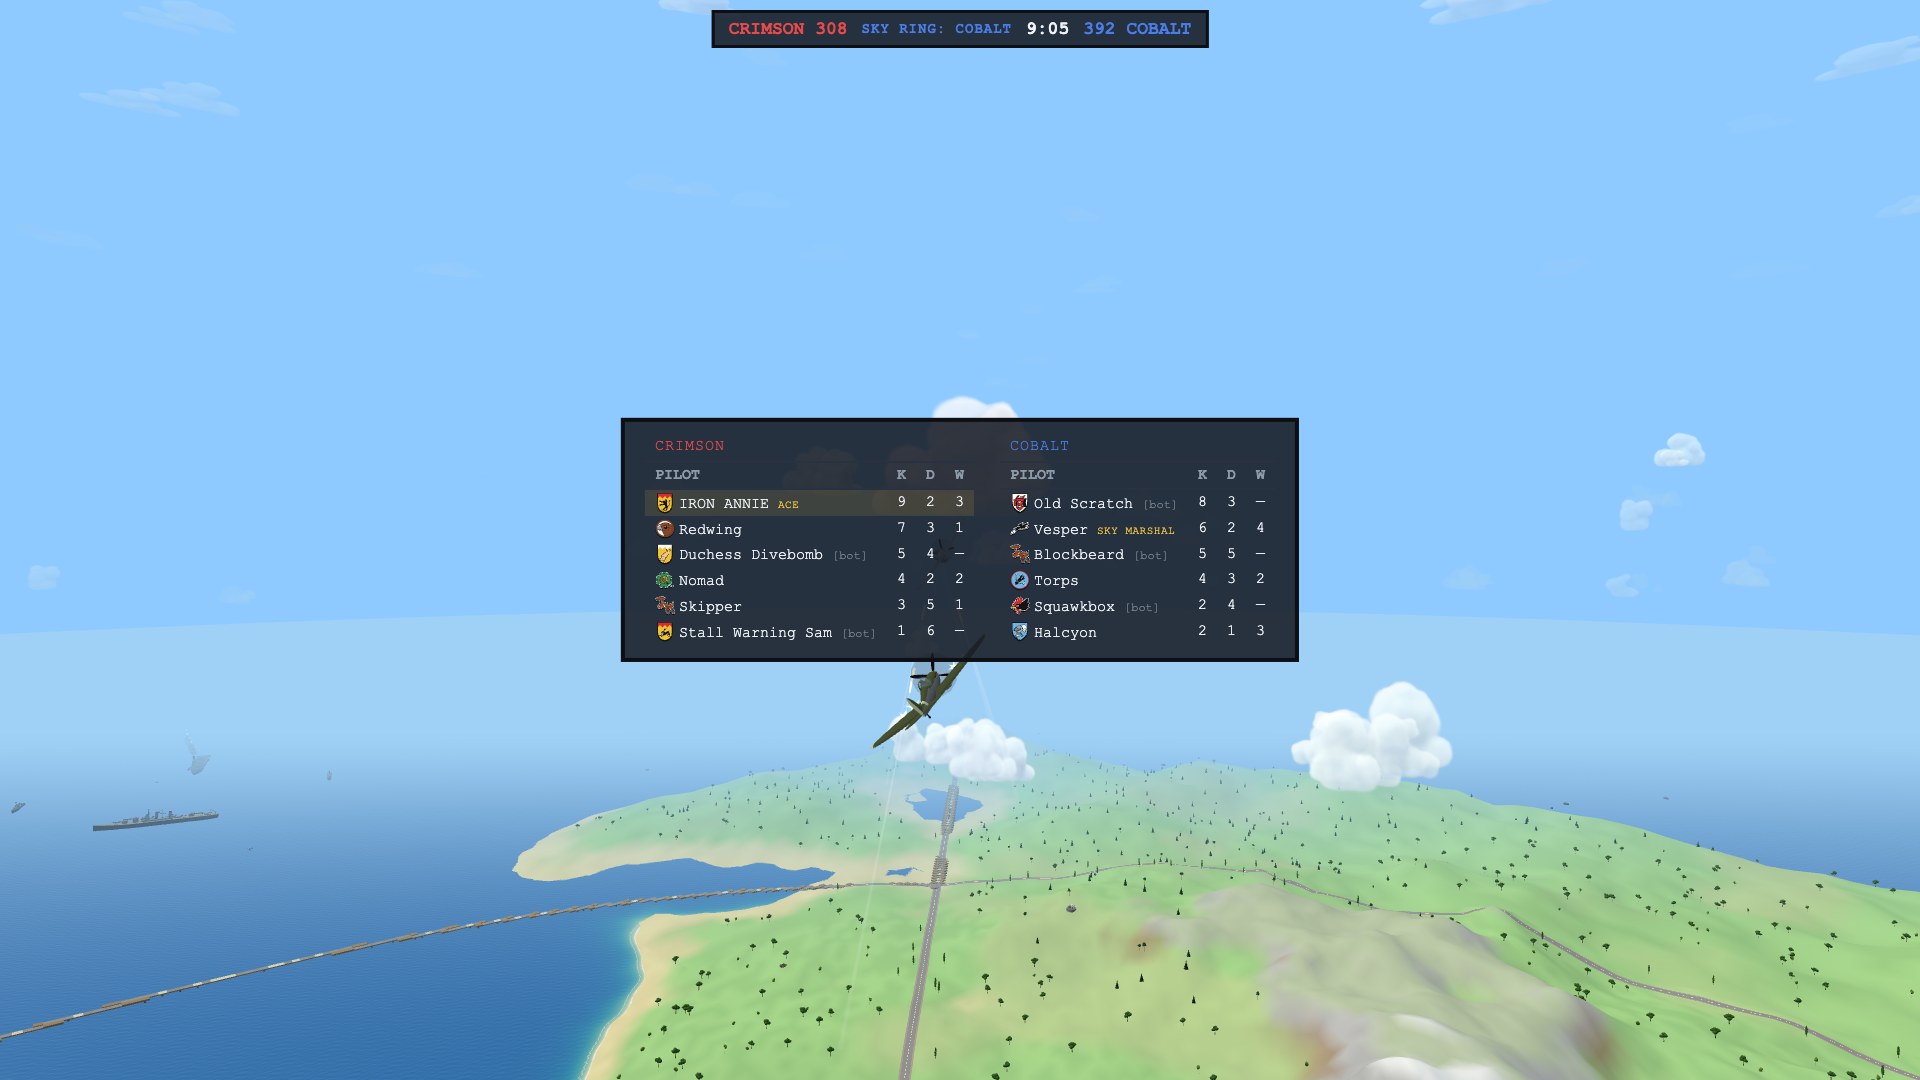
The fliers of the 1930s and 40s painted squadron badges on their cowlings and tails, and now you can fly under one. Tap the shield beside your callsign in the hangar and pick from forty unit insignia, each with a name and a motto: the Rampant Wolf rearing under its zig-zag chief, the Diving Pig (pigs do fly, straight down), the Sea Fox with a ship in its jaws, the Ace of Spades, Lucky 13, the Cloud Ogre rising out of the white. No locks: every badge is yours from the first sortie. It flies in front of your name everywhere it appears: the nameplate over your plane, the kill feed, chat, the scoreboard, the killcam's shot down by, the round's TOP GUNS, the Hall of Fame, and your pilot page, where it sits big above your callsign like the patch on a service record. Swap it mid-sortie and everyone's view of you changes on the spot. The bots fly under badges that suit them: Cumulus Carl comes out of the clouds, and Duchess Divebomb, of course, flies the pig.
Every callsign gets a page
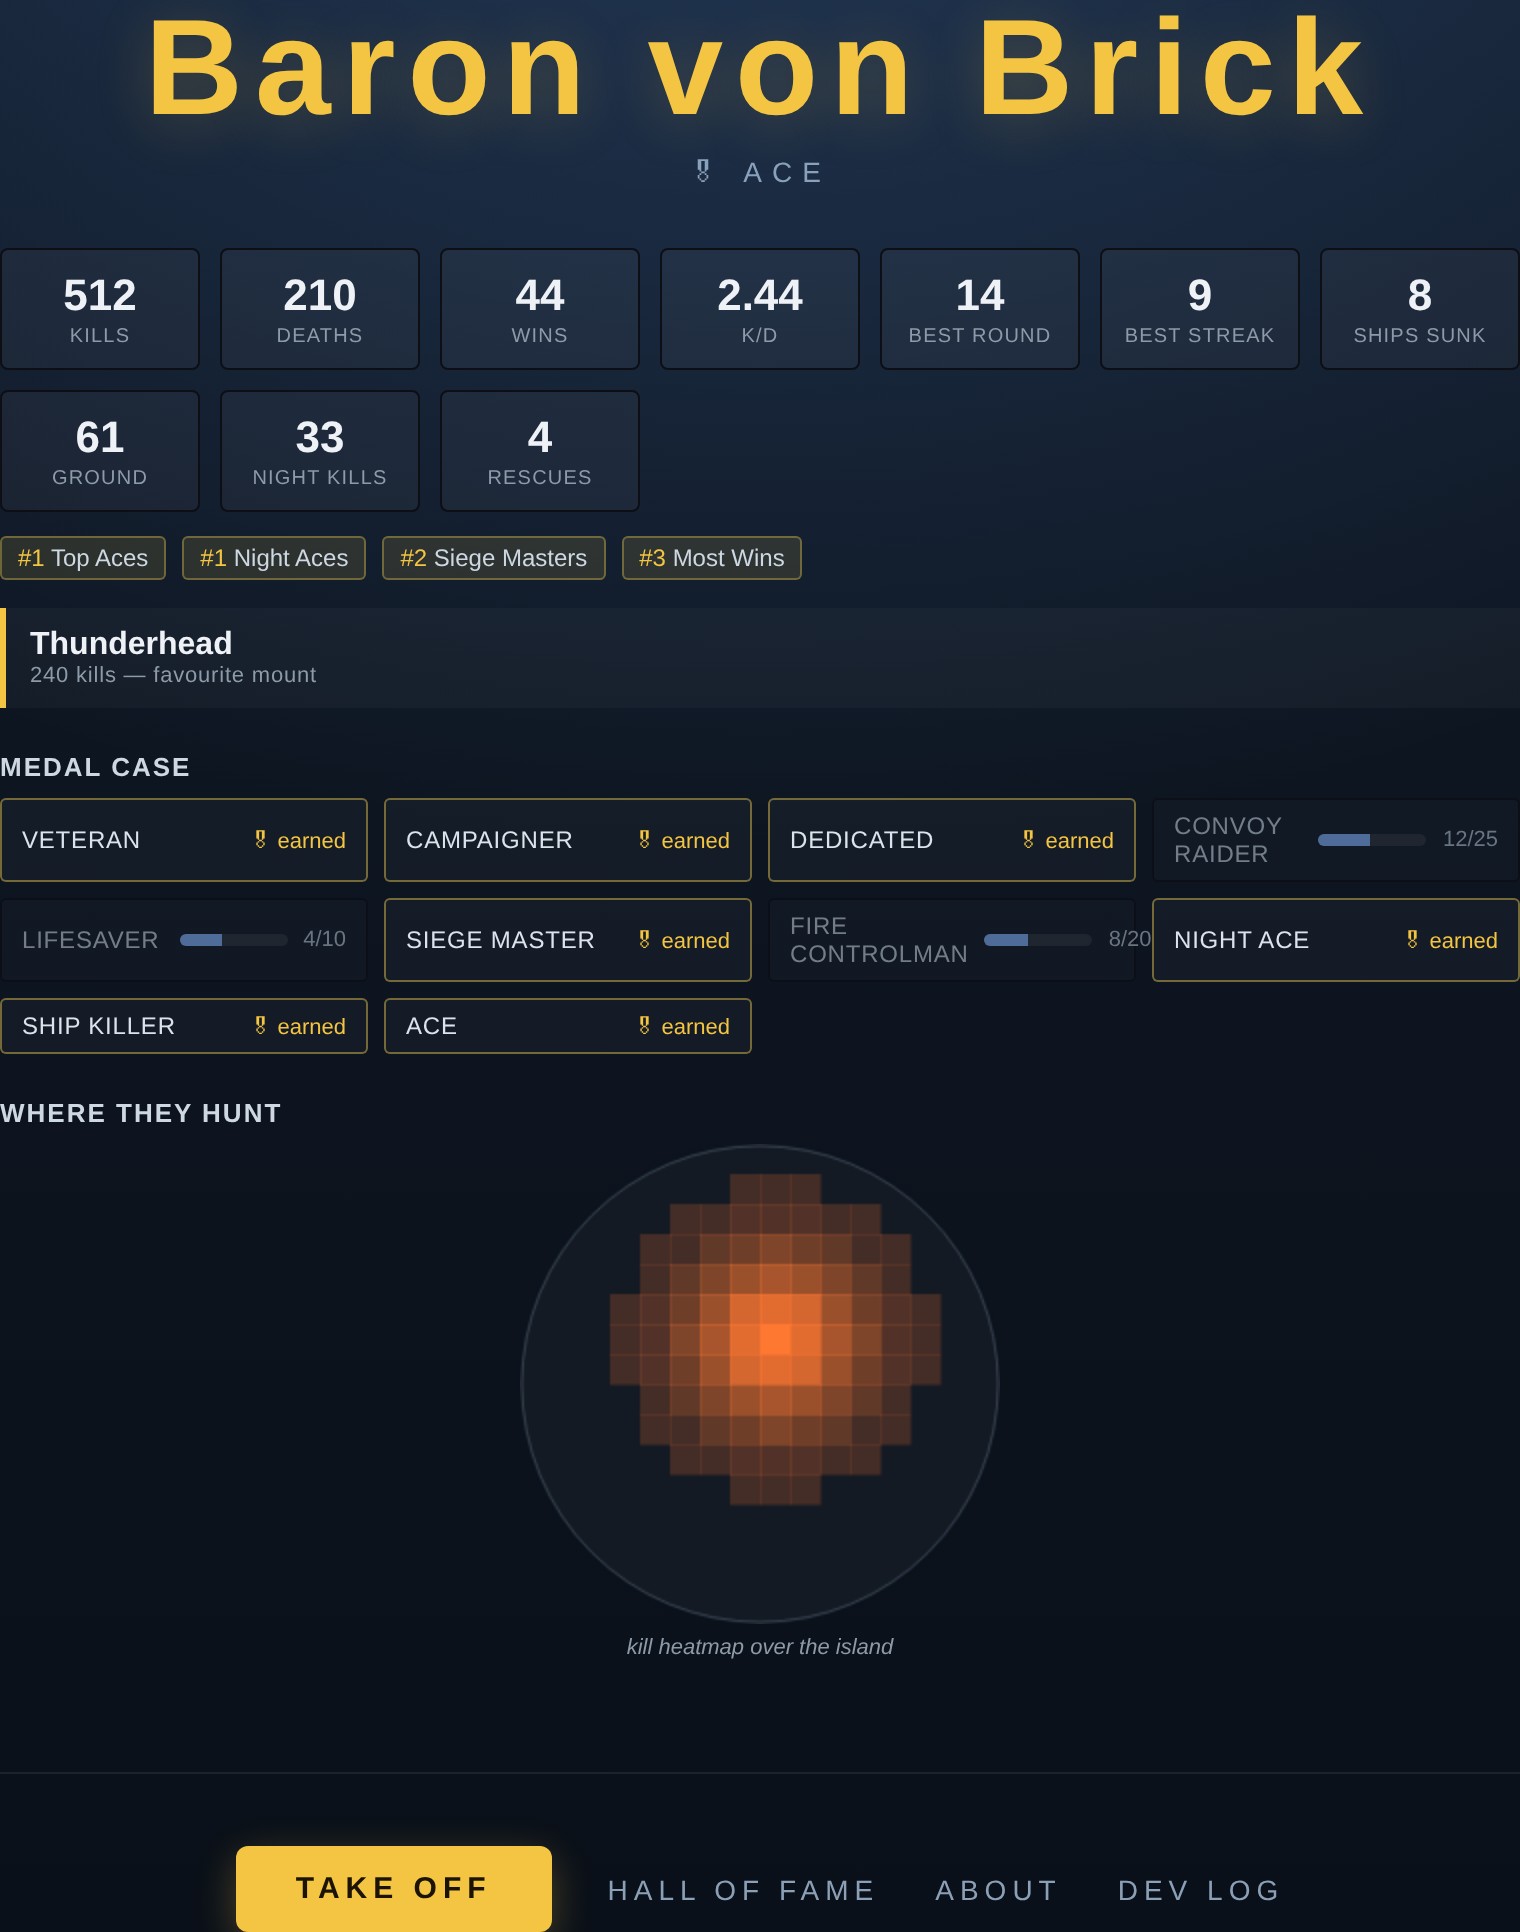
Your career finally has a home you can link to. Every pilot has a shareable page at warbirds.io/pilot/<callsign> — the thing you paste in chat after a good night. It lays out the whole record: the medal case with progress bars ticking toward the ribbons you haven't earned yet, K/D/W and best-round and best-streak tiles, your leaderboard ranks, your favourite mount (the plane you've scored the most kills in), and a kill heatmap showing where on the island you actually hunt. Click any name on the Hall of Fame to open theirs. It's all built from the public ledger — no private identity token ever appears in a URL or on the page.
Big J: a battleship you can walk
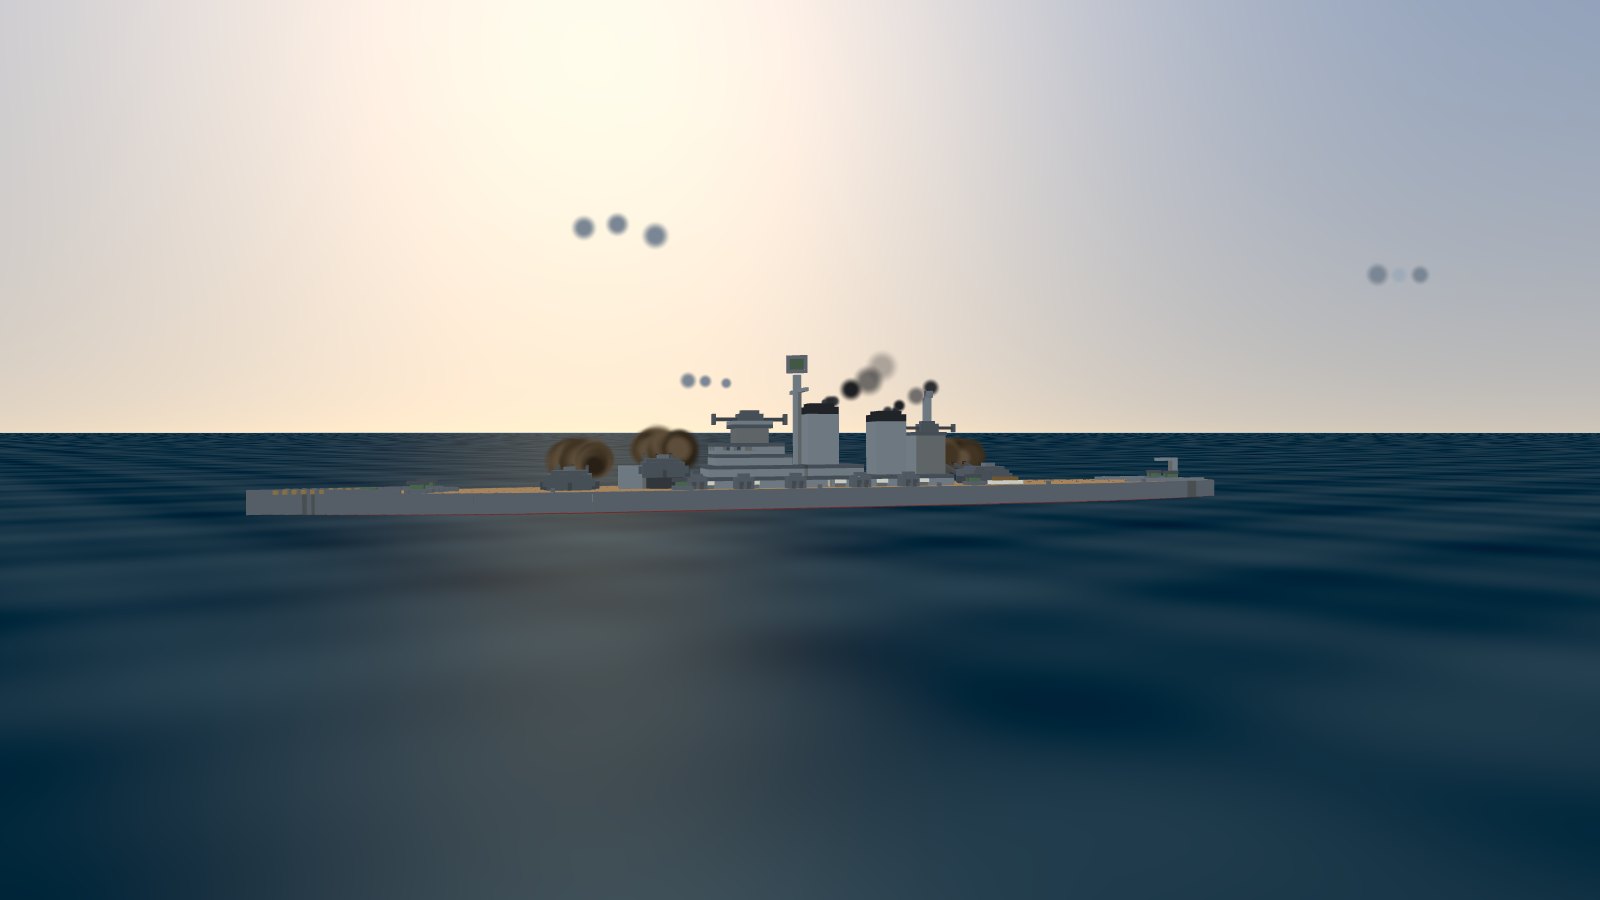
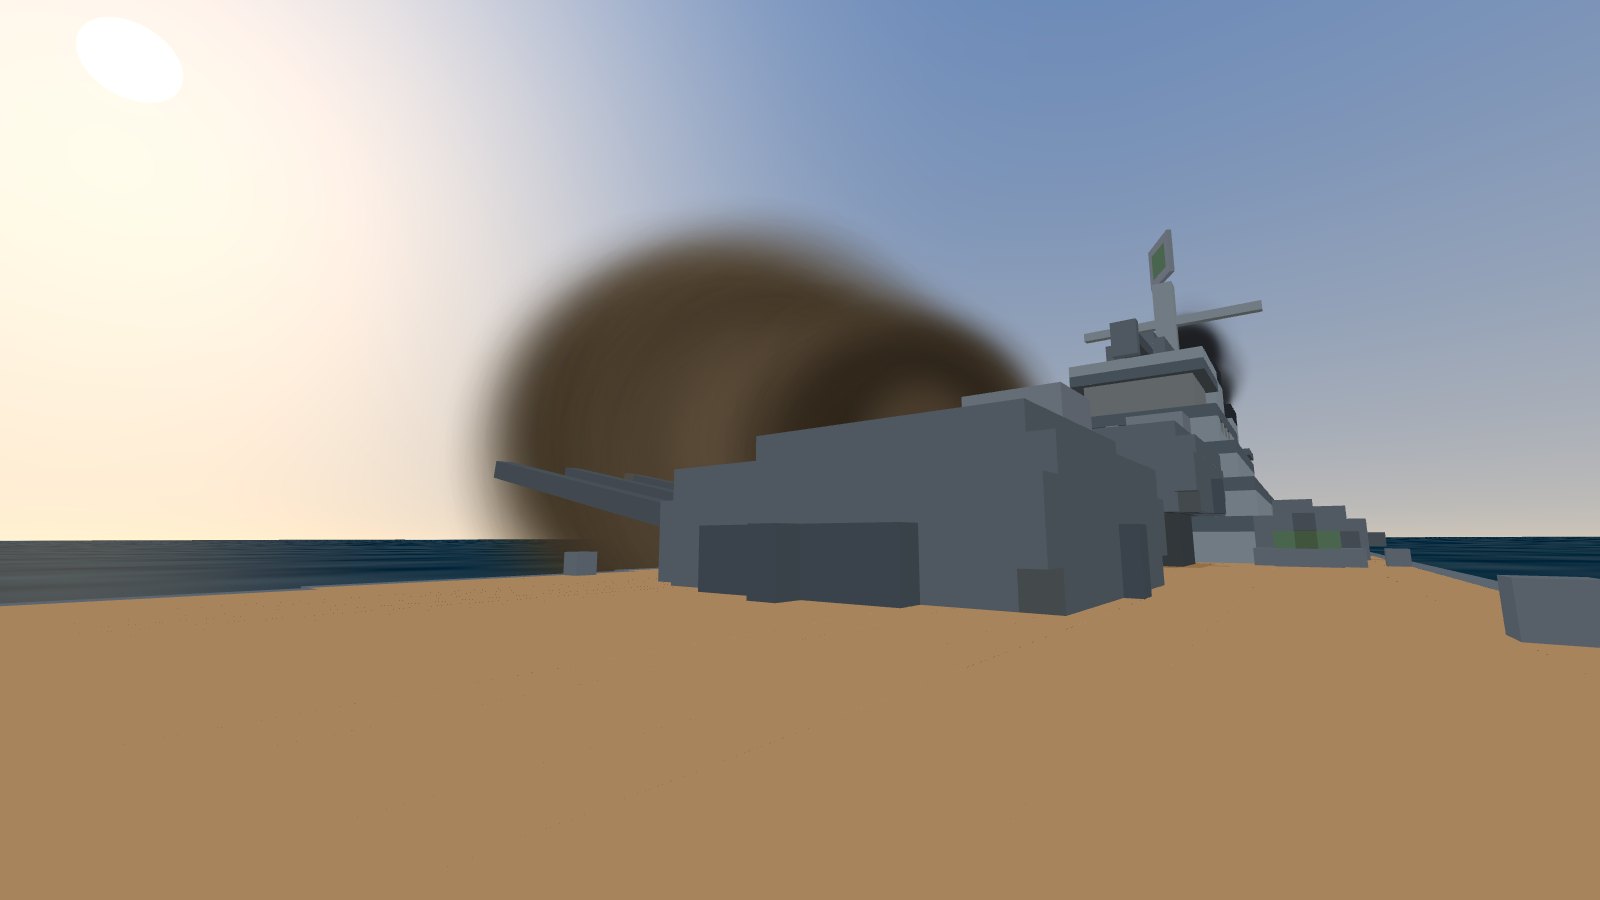
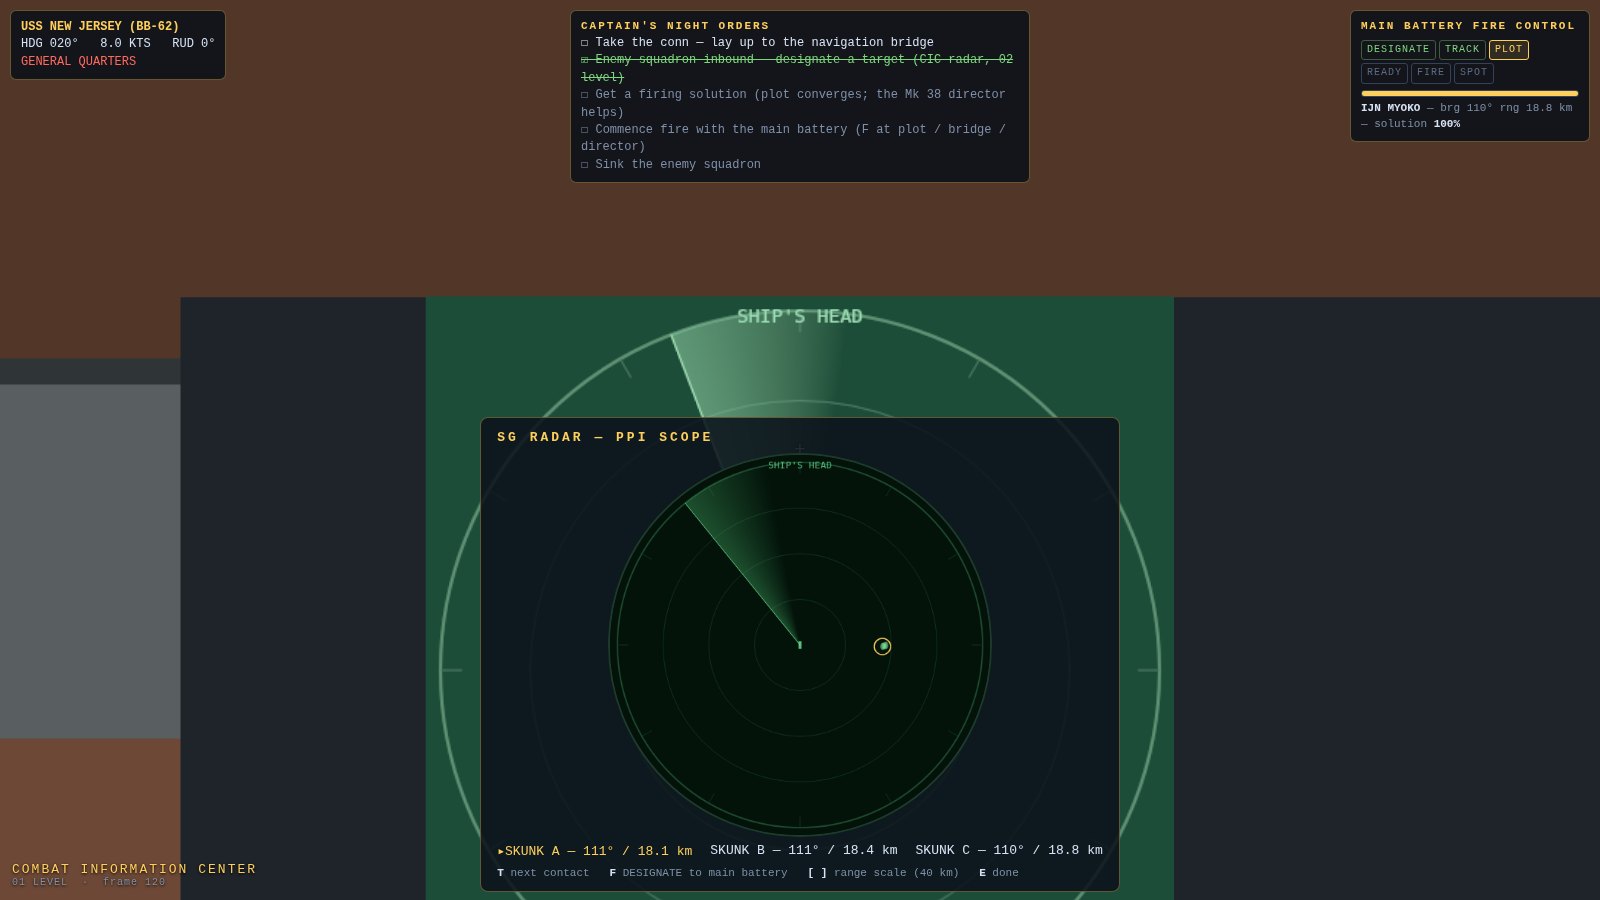
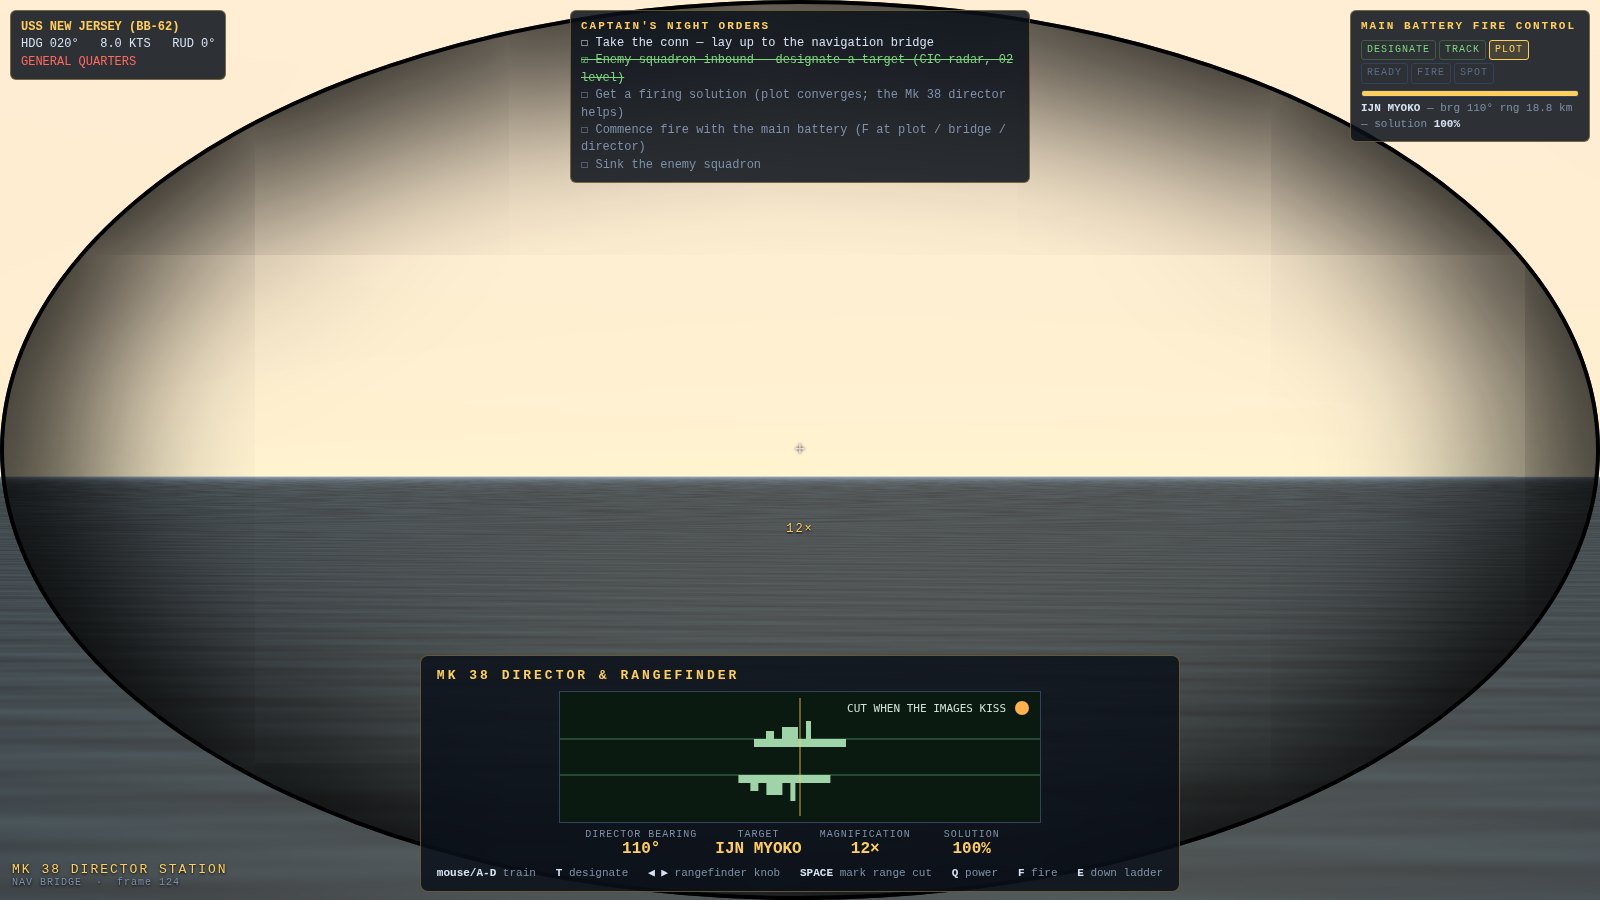
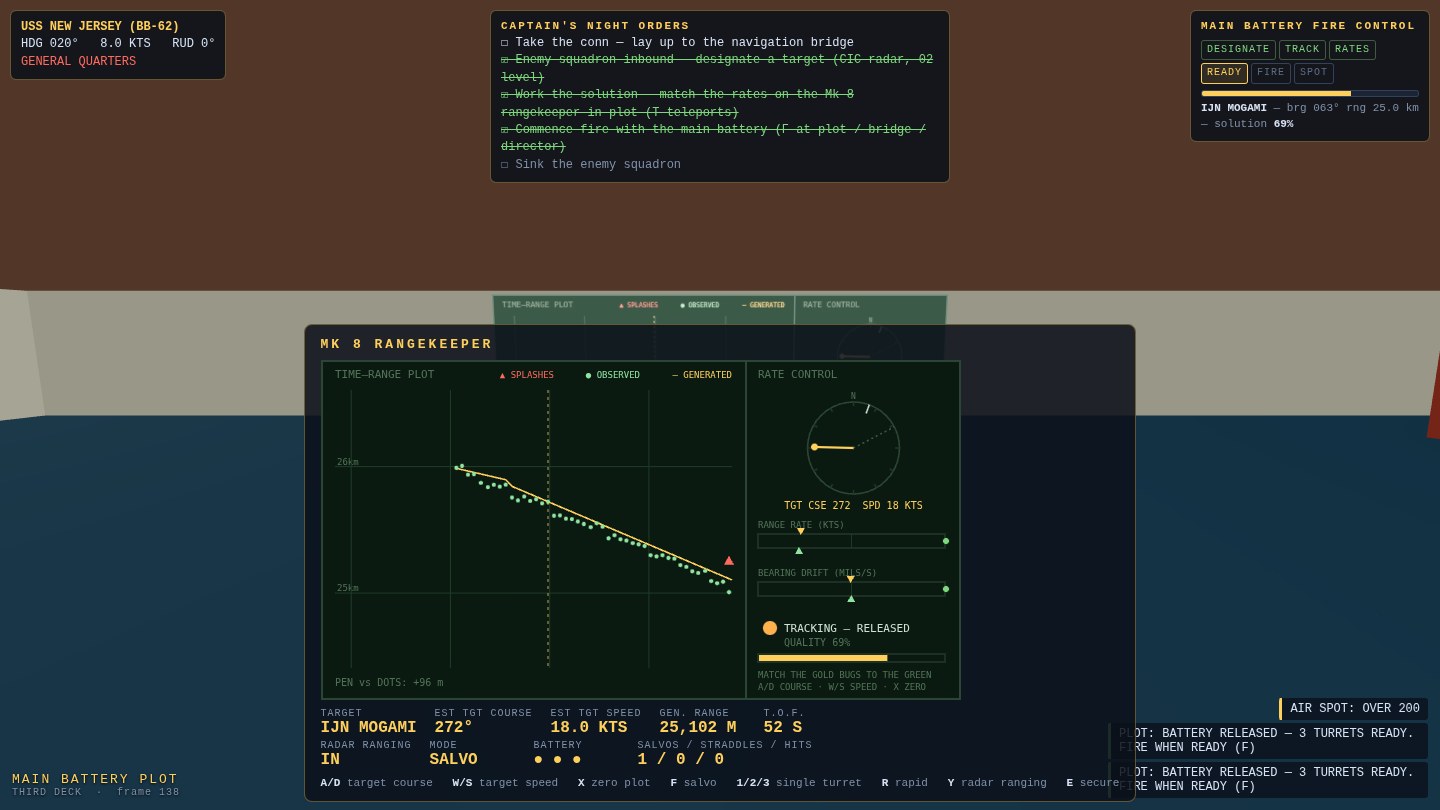
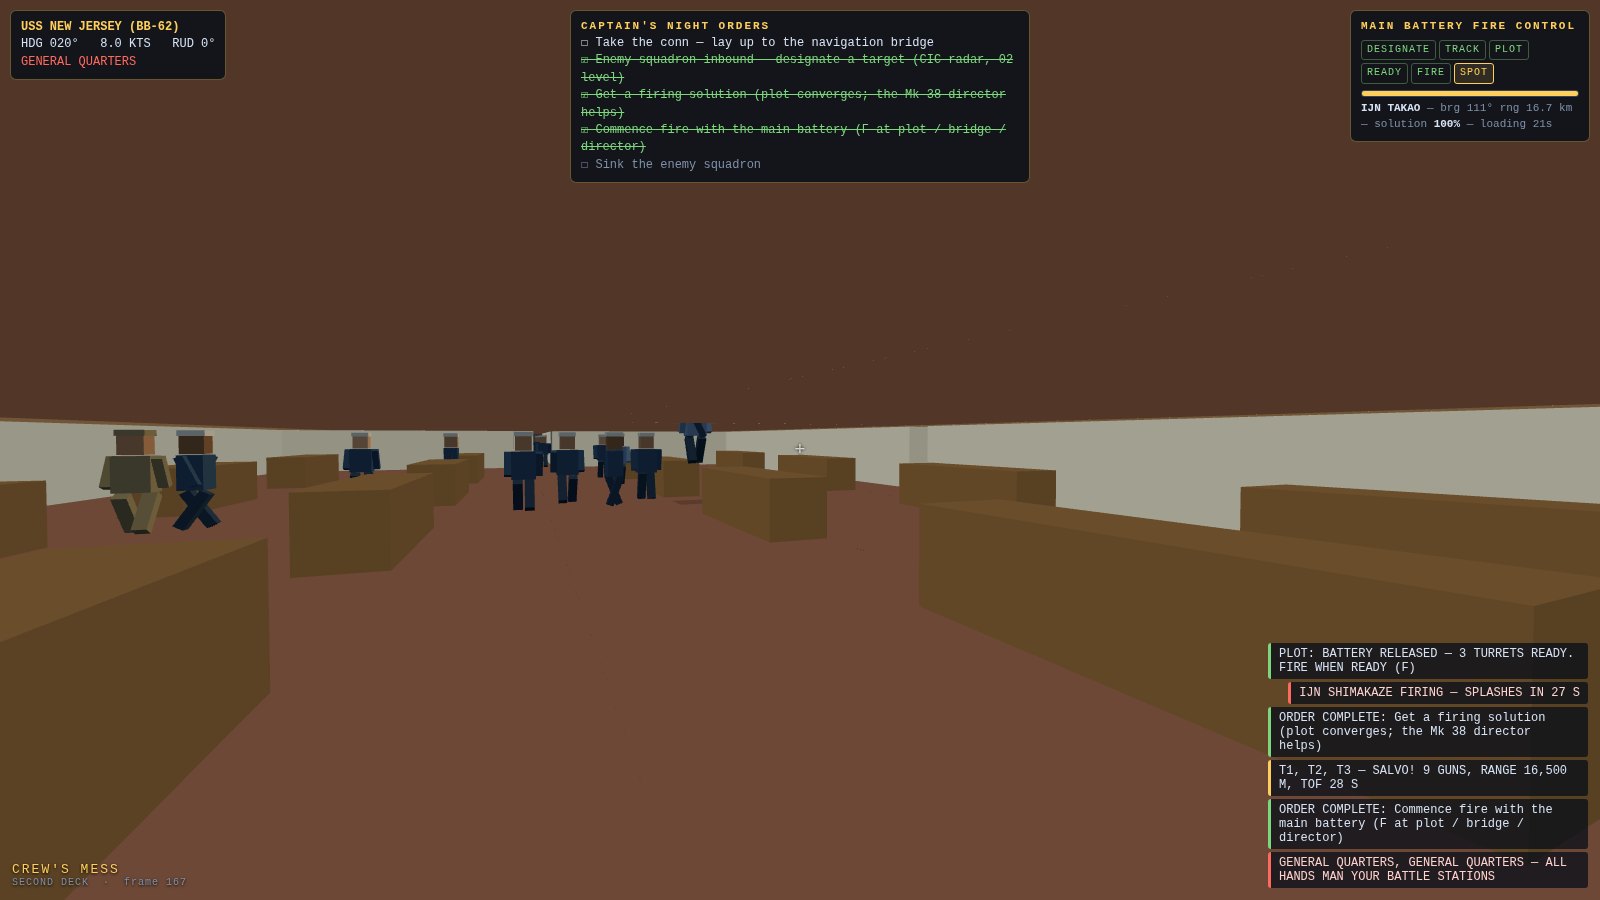
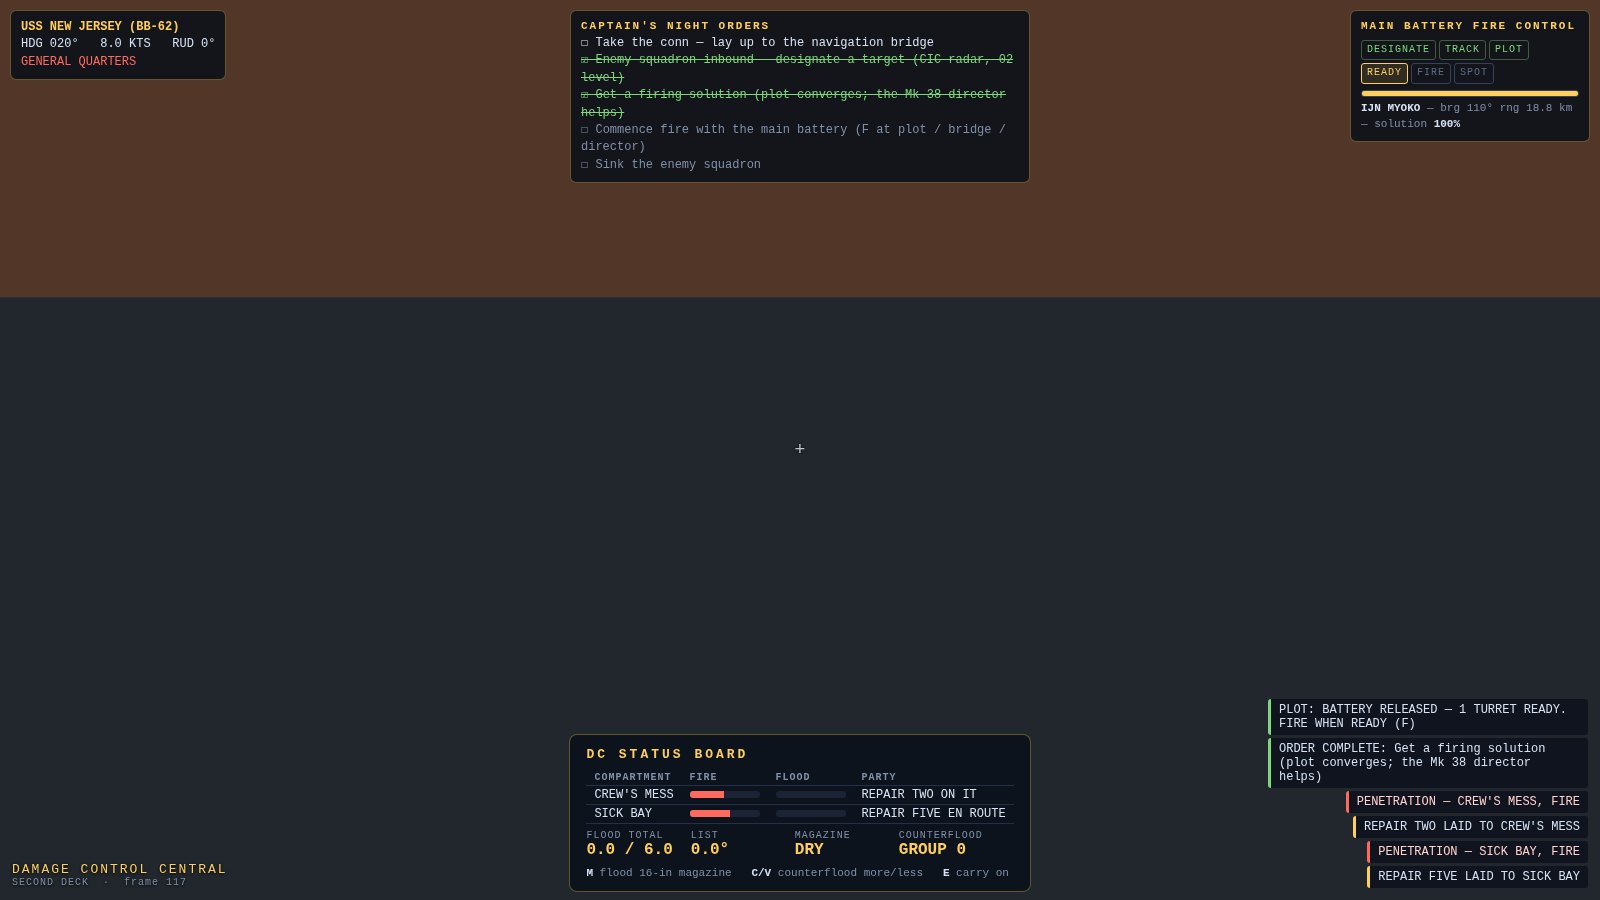
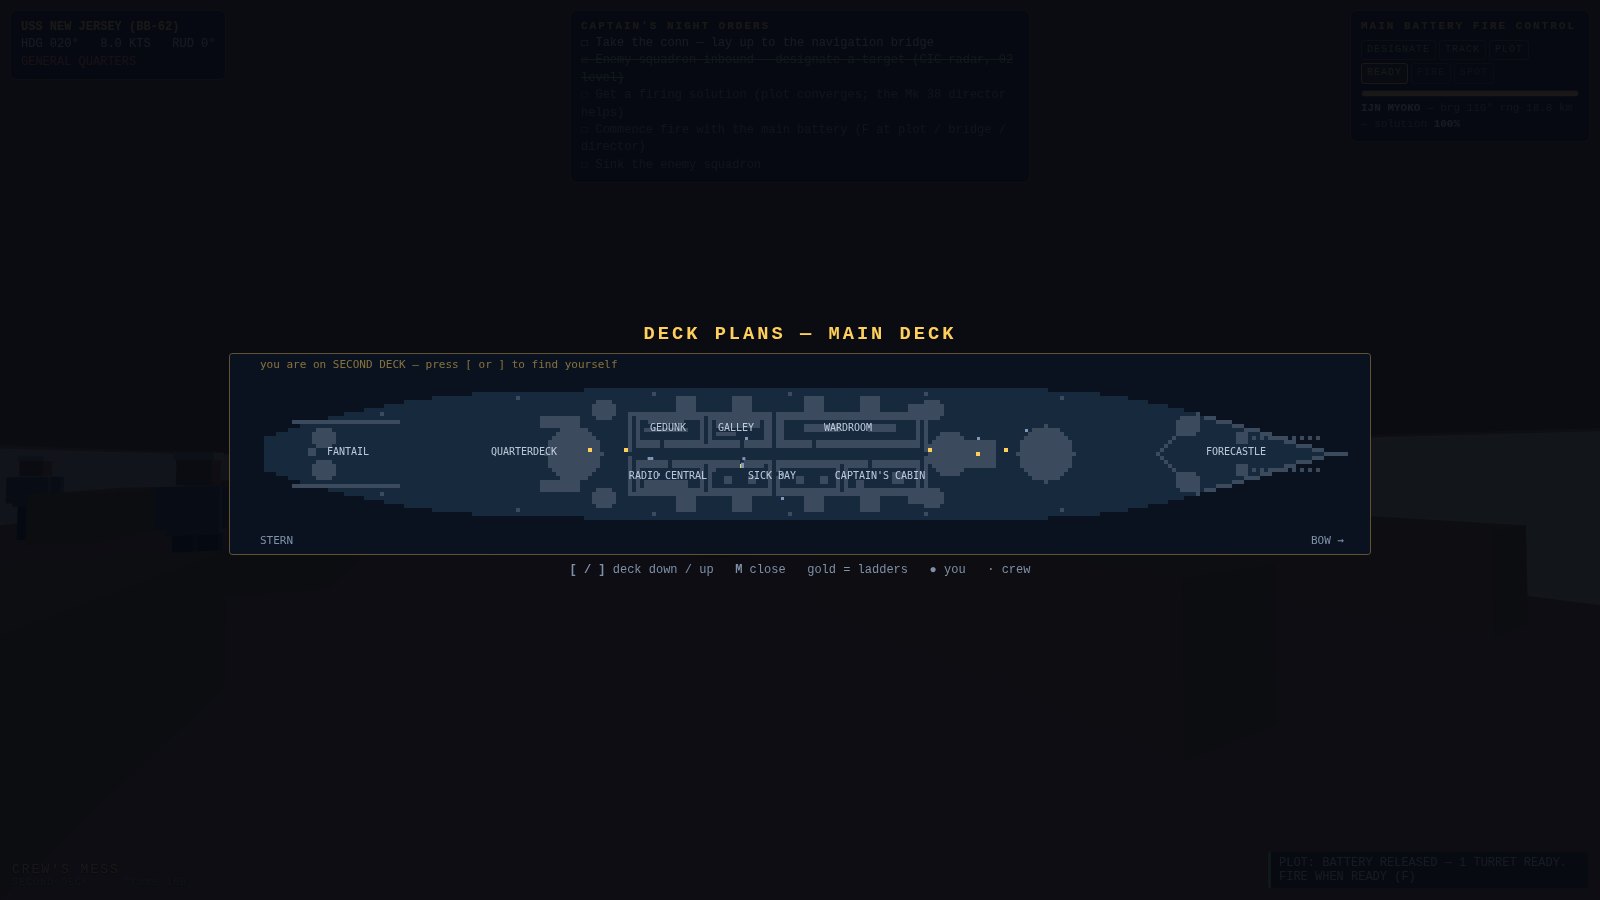
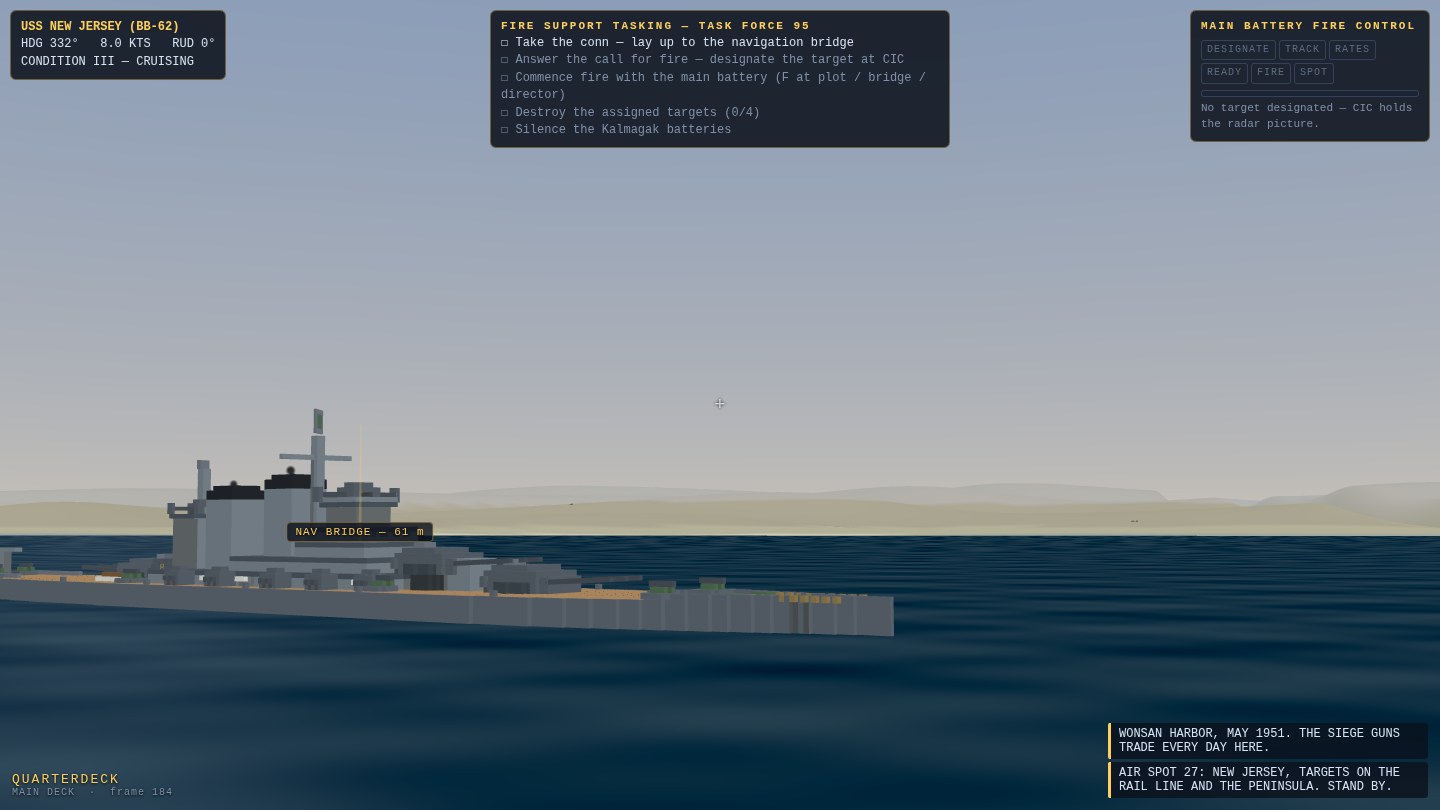
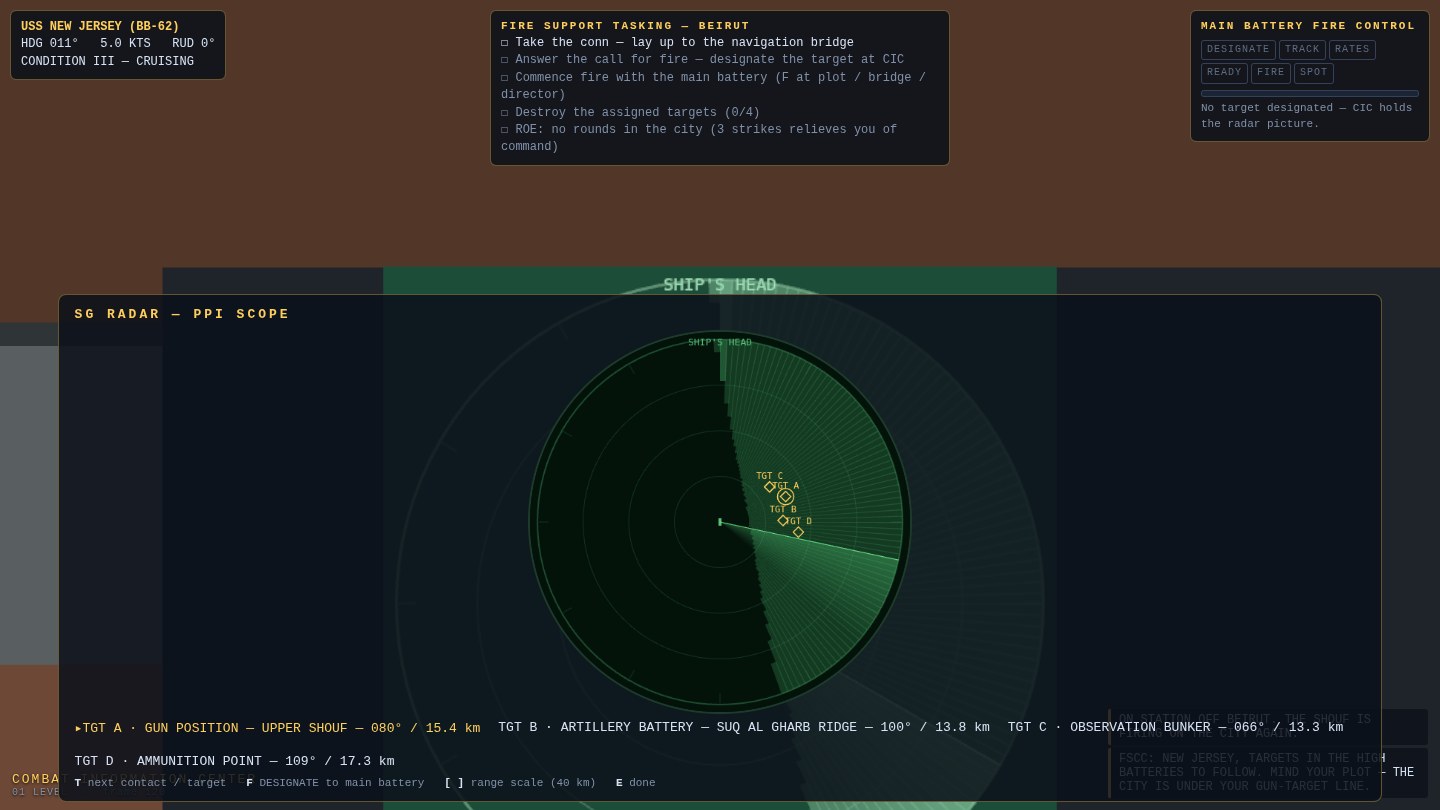
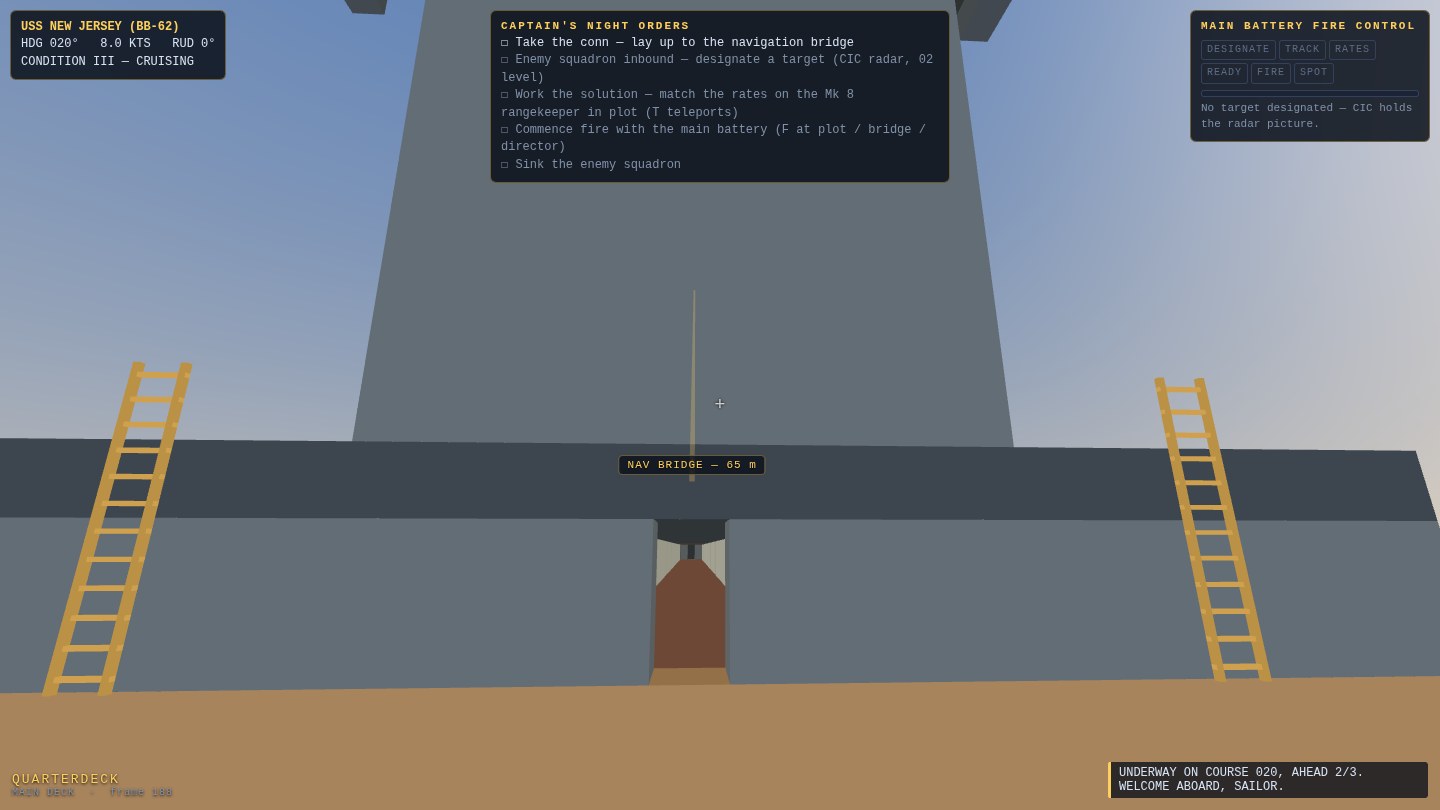
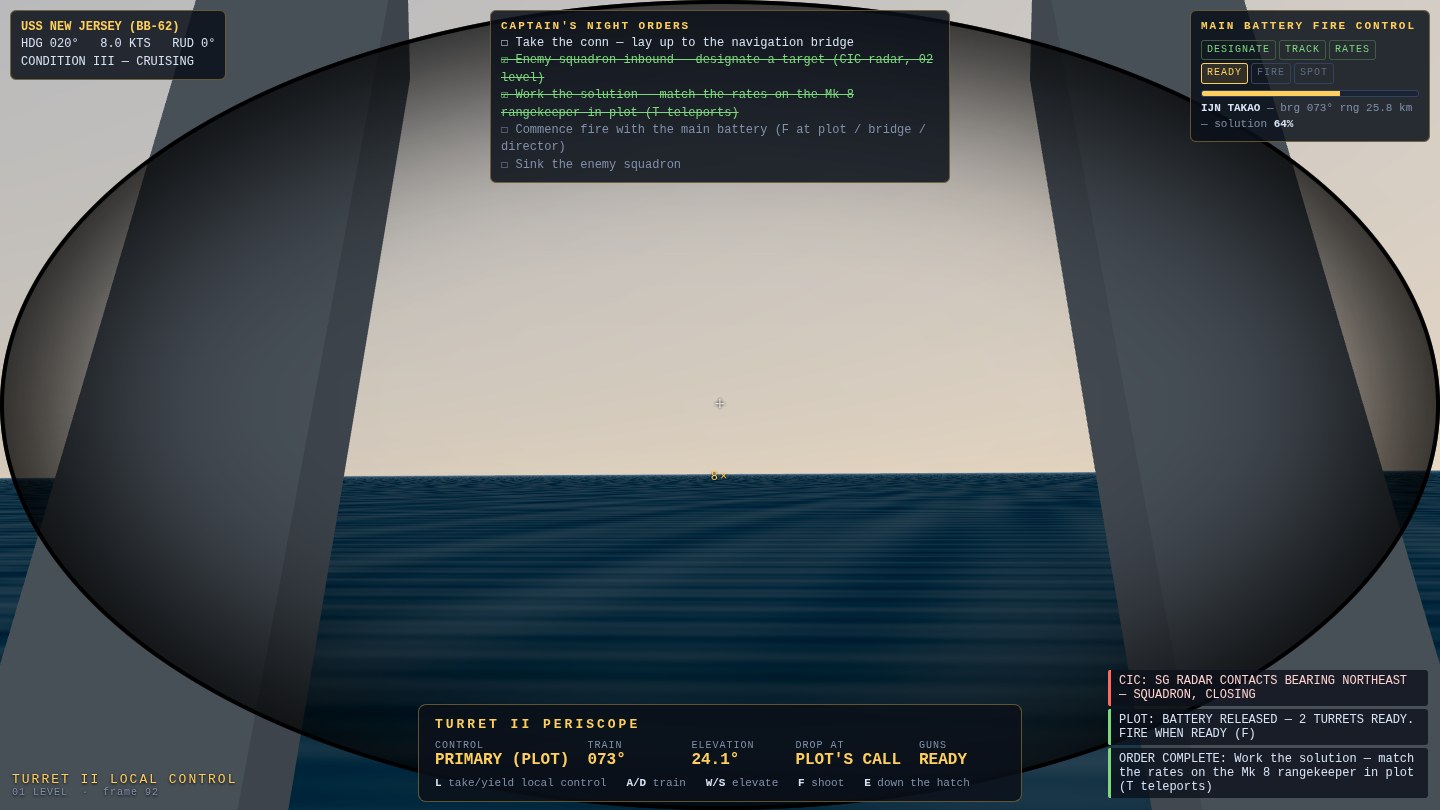
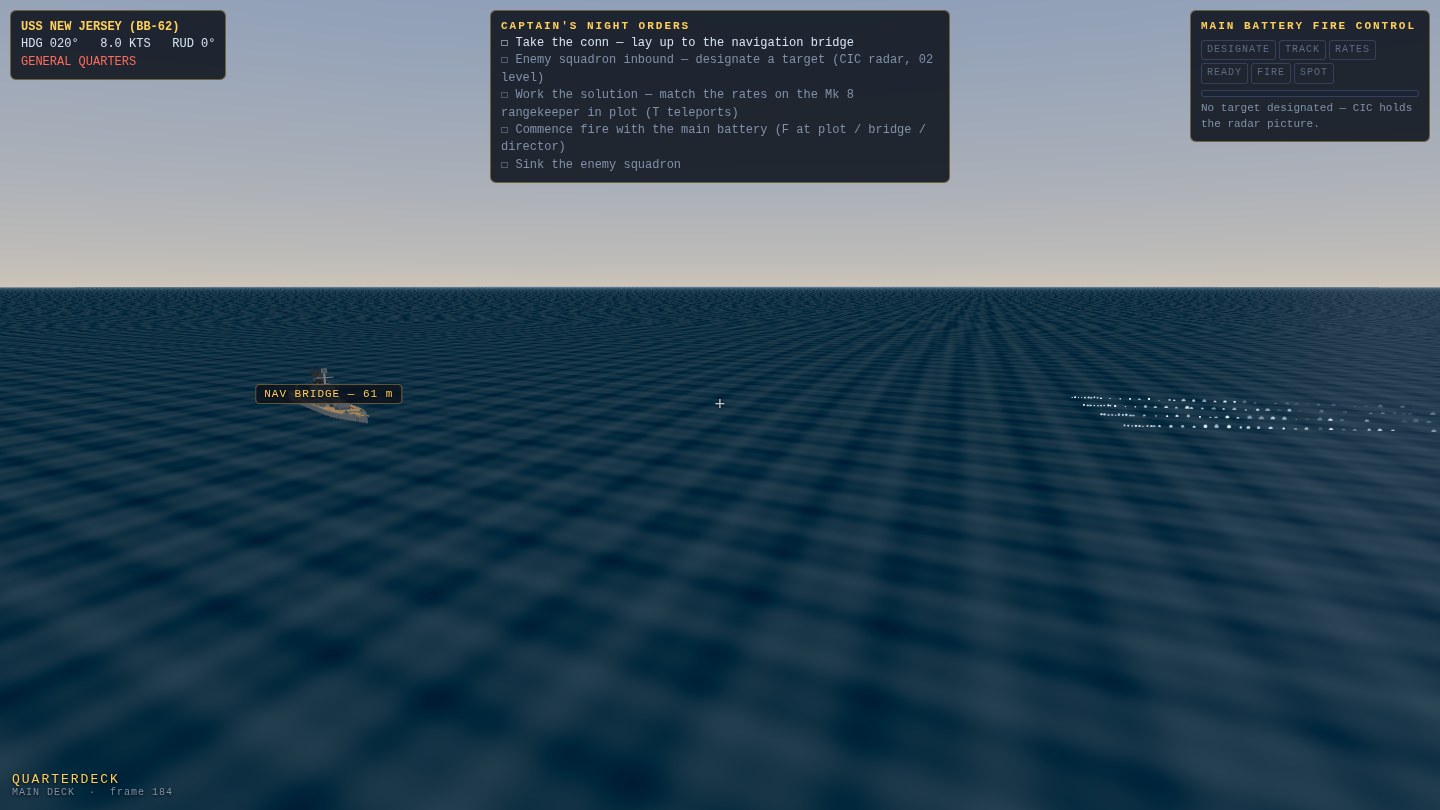
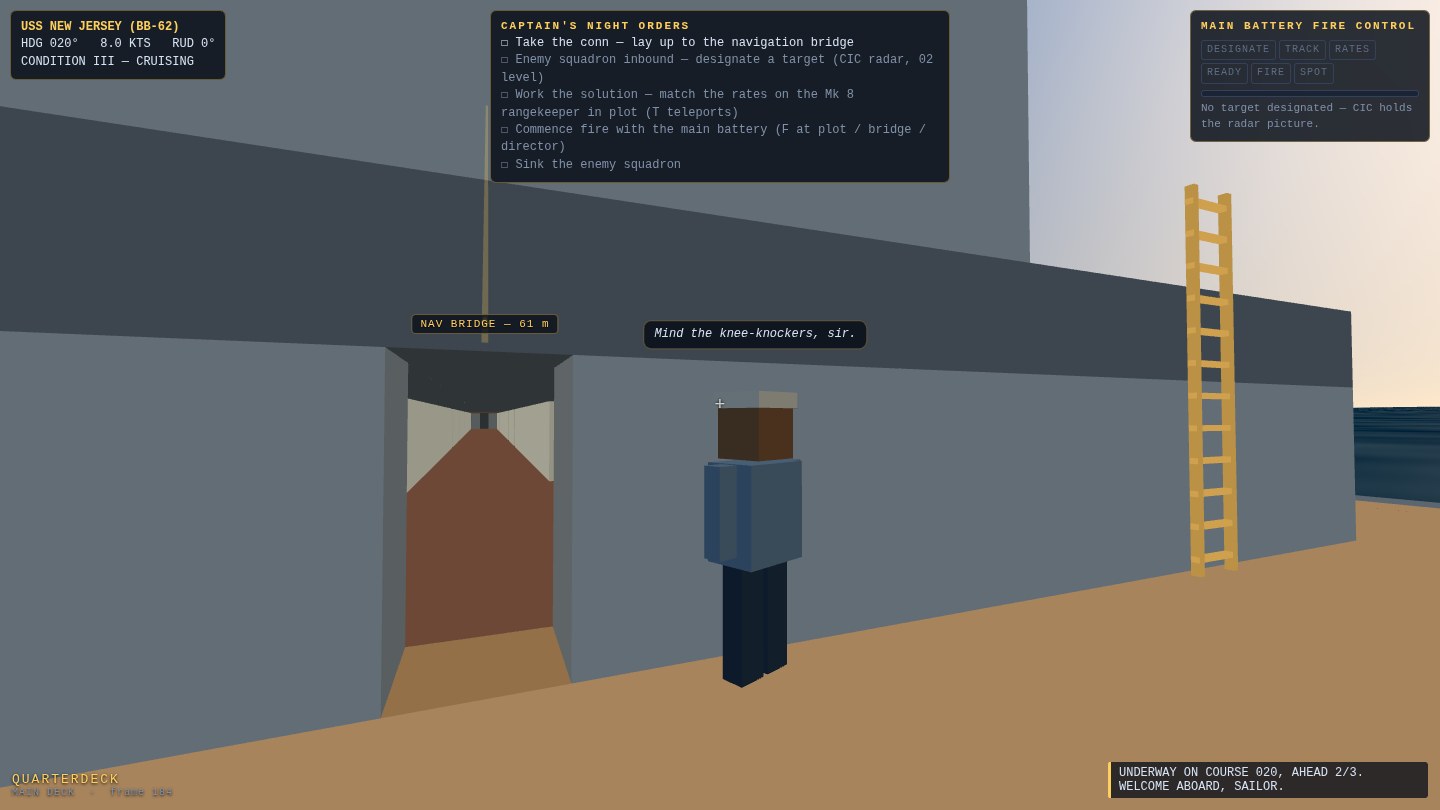
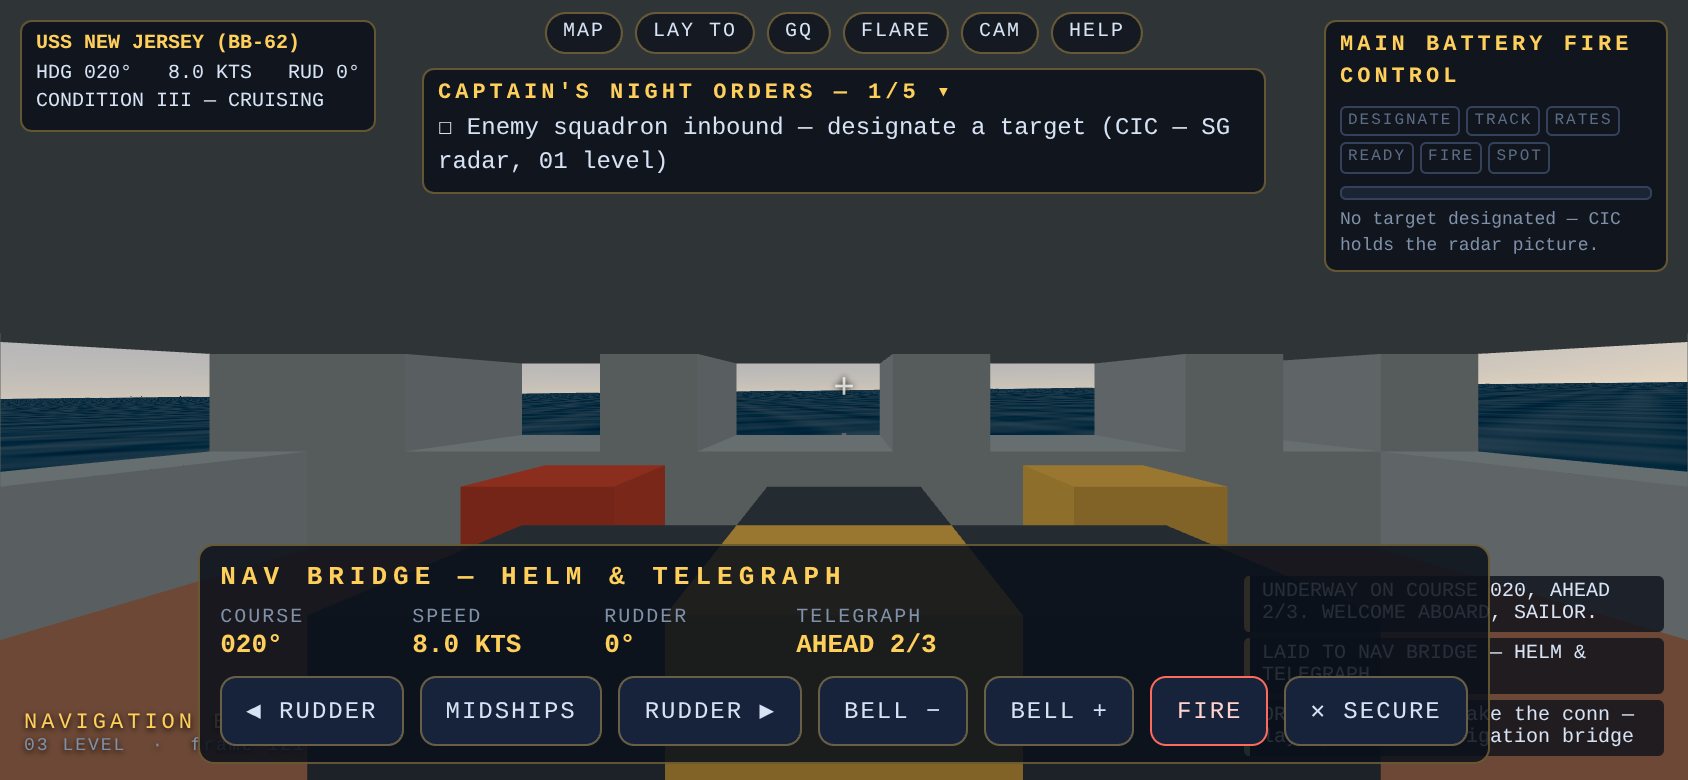
A separate, standalone game at /battleship: the USS New Jersey, Iowa-class, rebuilt in voxels at 1:1 scale — 270 meters of her, and you're aboard on foot. Climb from the engine room to the Mk 38 director, and fight her: pick up the enemy squadron on the SG radar in CIC, track from the director, take rangefinder cuts, and work the Mk 8 rangekeeper in plot until the solution is yours — the full designate → track → rates → ready → fire → spot state machine, driving nine real 16-inch ballistic arcs over the horizon. Sailors walk her passageways, repair parties run to casualties, armor shrugs what it historically shrugged, and a magazine fire is exactly the emergency it sounds like.
Big J: her real wars
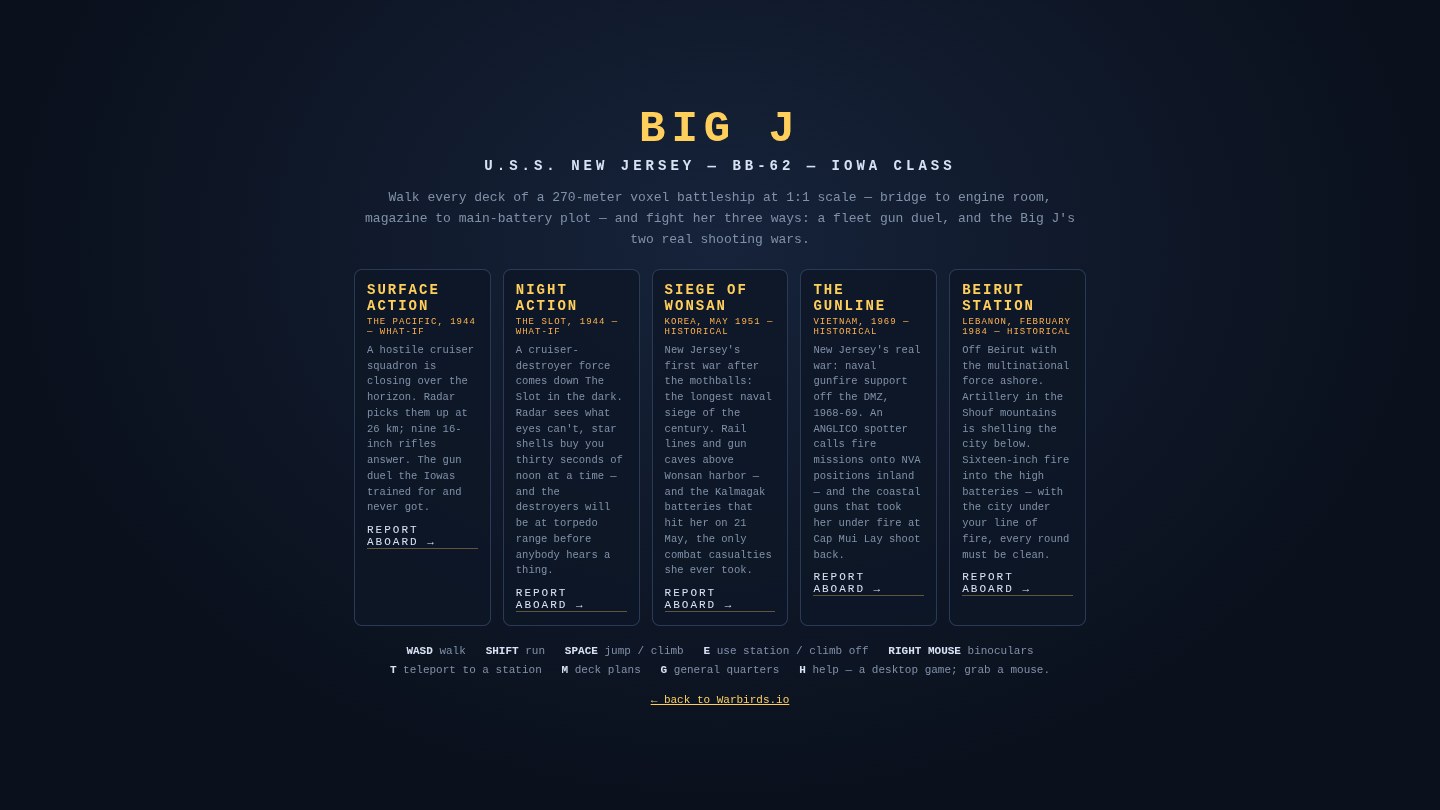
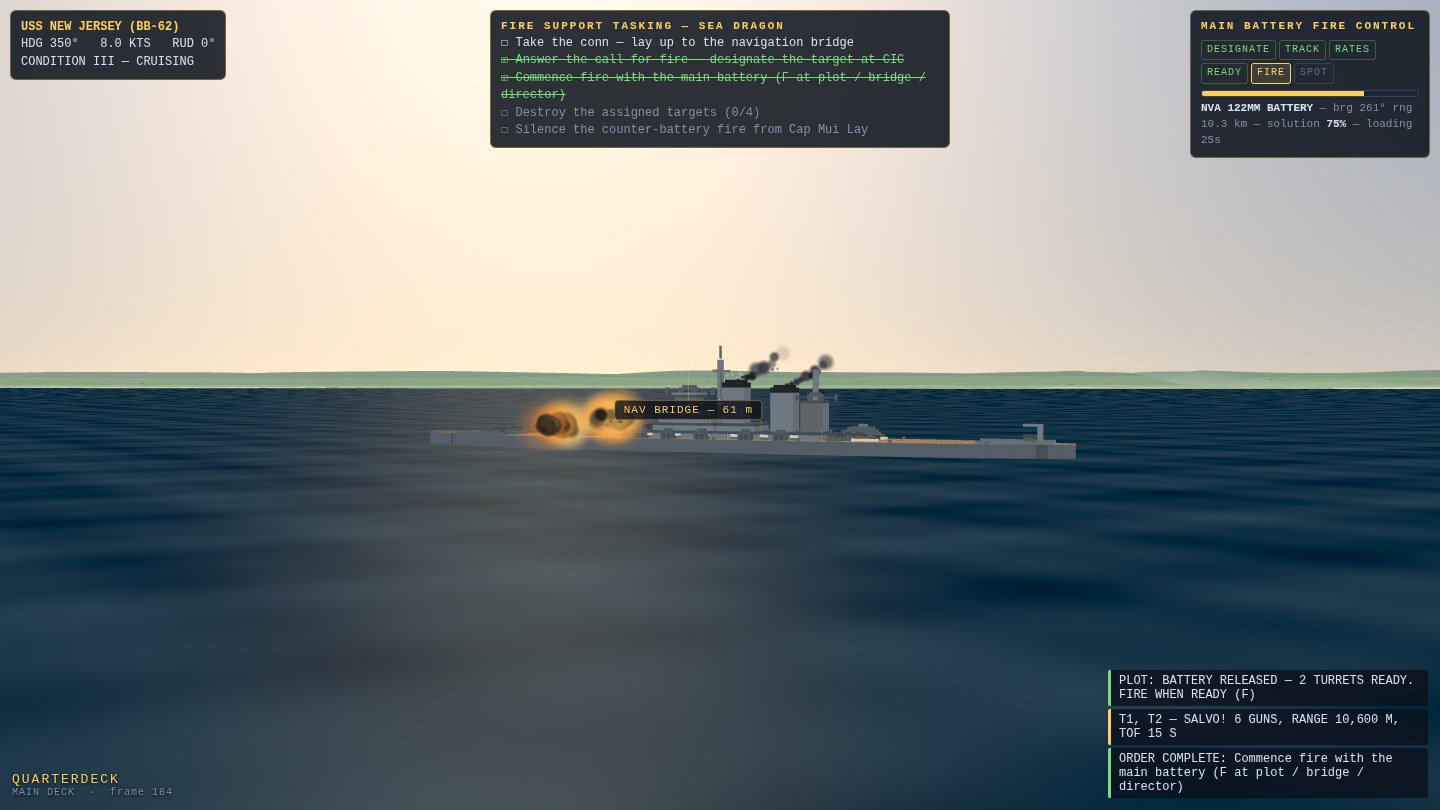
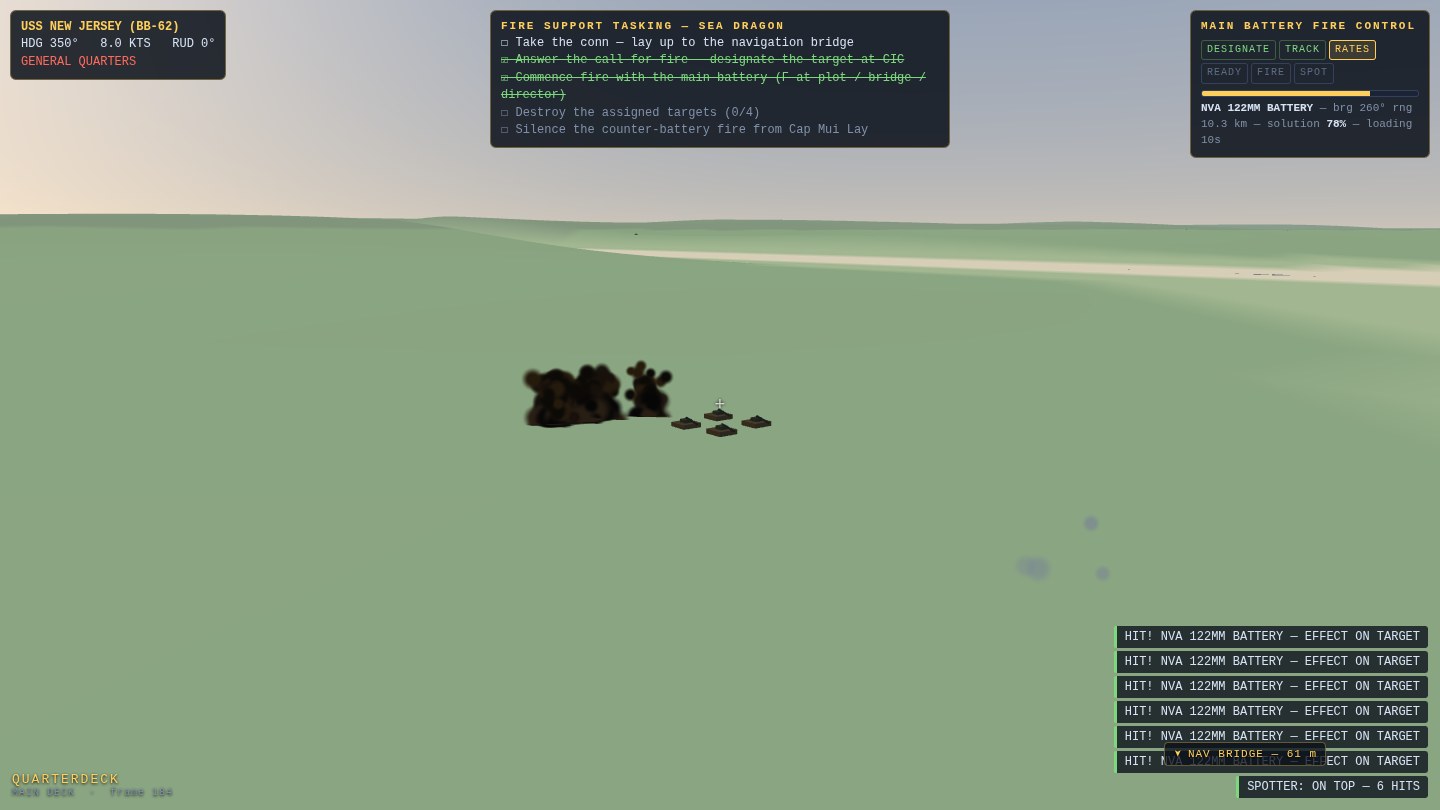
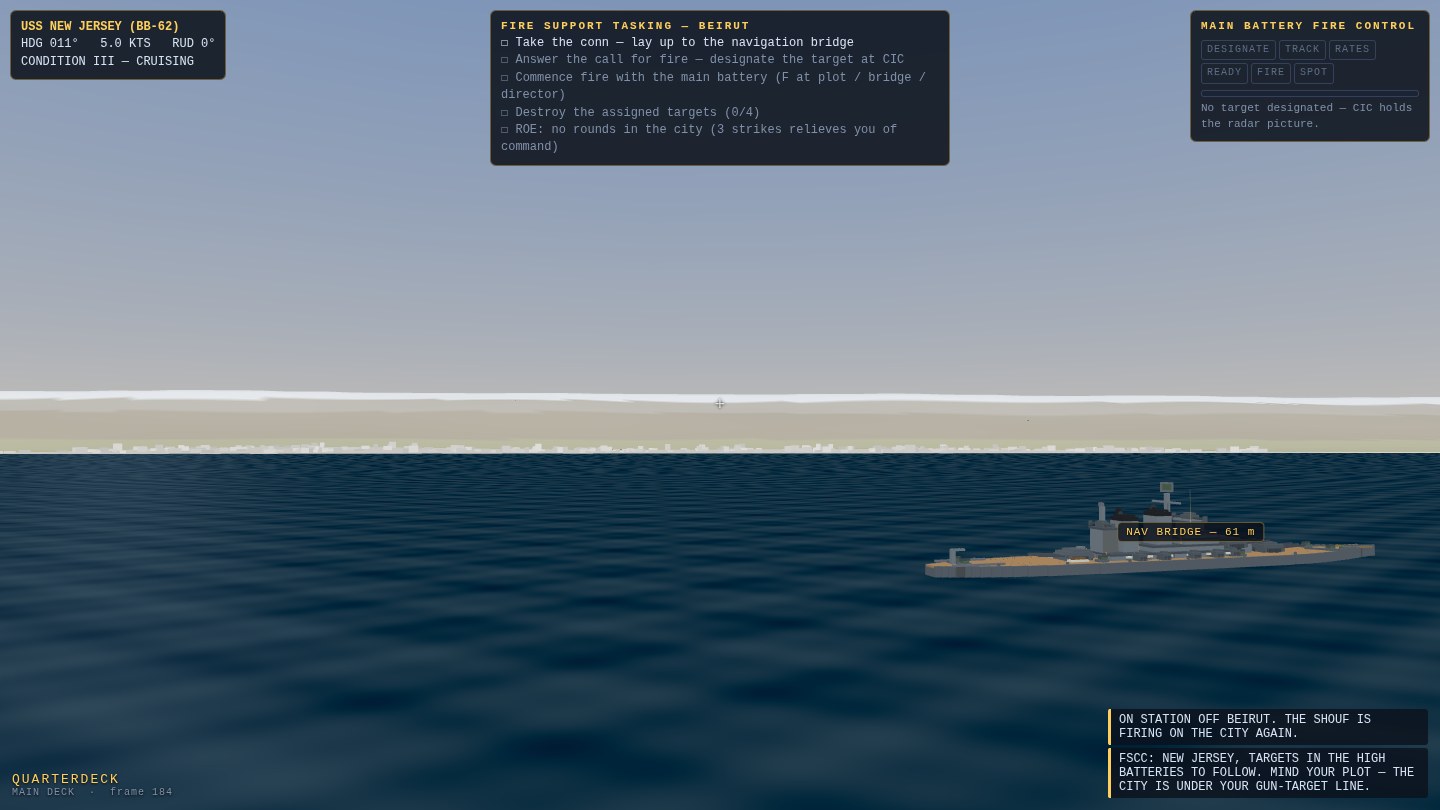
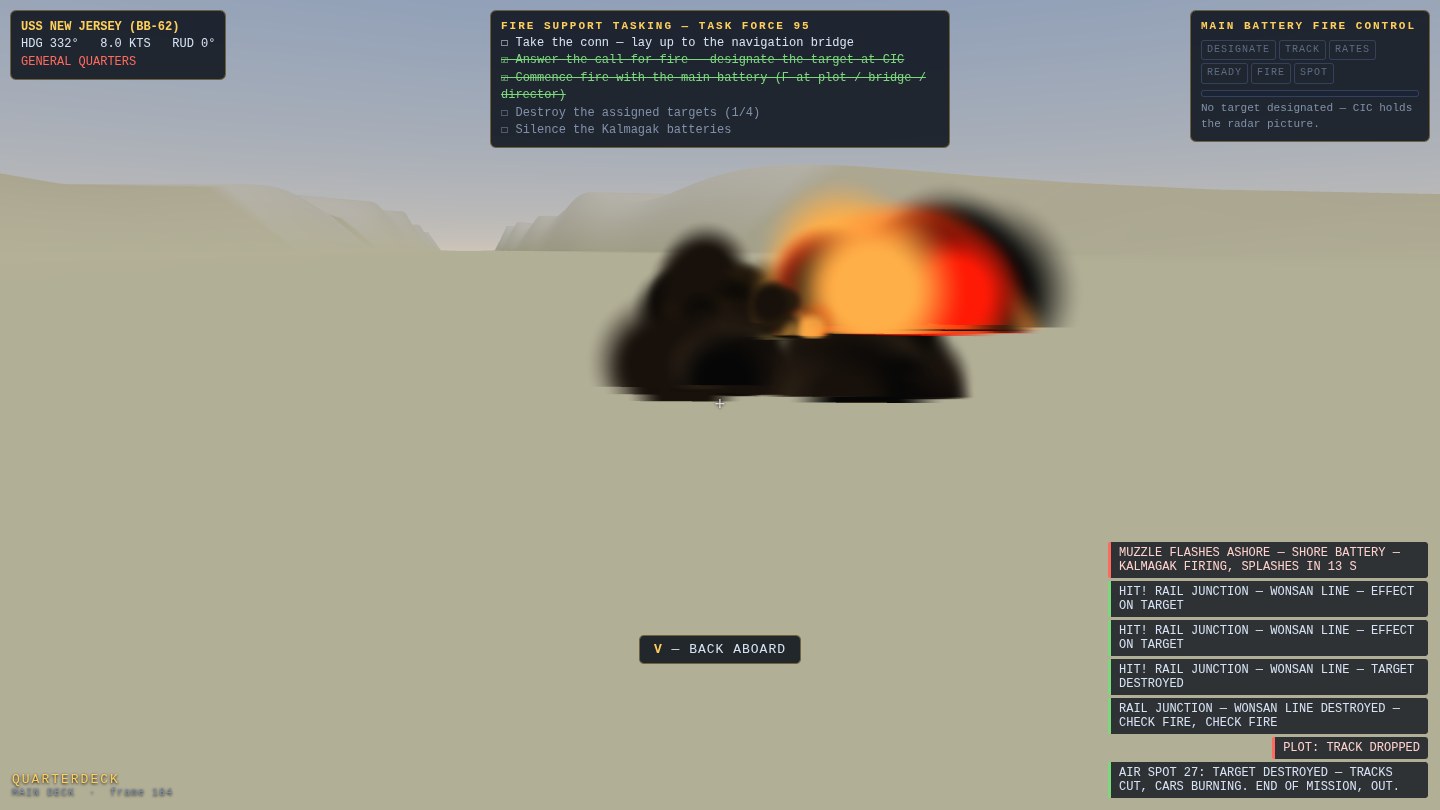
The Big J now opens on a mission select: alongside the what-if 1944 gun duel are the New Jersey's actual shooting wars, all fought against the shore. Siege of Wonsan (Korea, May 1951) is her first war back from mothballs and the longest naval siege of the century — rail lines and gun caves above the harbor, and the Kalmagak batteries that really hit her on 21 May, the only combat casualties she ever took. The Gunline (Vietnam, 1969) puts you on naval gunfire support off the DMZ — an ANGLICO spotter calls fire missions over the net, the targets plot on the CIC scope as gold diamonds, and the coastal guns at Cap Mui Lay shoot back, as they really did. Beirut Station (February 1984) sends 16-inch fire into artillery positions 900 meters up the Shouf — the fire control solves the shell's angle of fall to drop rounds on mountaintops, and with the city under your gun-target line, three rounds astray relieve you of command. The land is an analytic heightfield shared by the terrain mesh, the radar's landmass paint and the shell impacts — so the burst you see through the director's optics is exactly where the ballistics put it. Getting around got honest too: ladders are now visible brass rails-and-rungs (they used to be climbable but invisible — voxel-mesher fine print), a gold objective beacon marks every order through the steel, and T teleports you straight to any battle station — or any compartment — when you'd rather fight than commute.
Big J: rate control — the solution is yours now
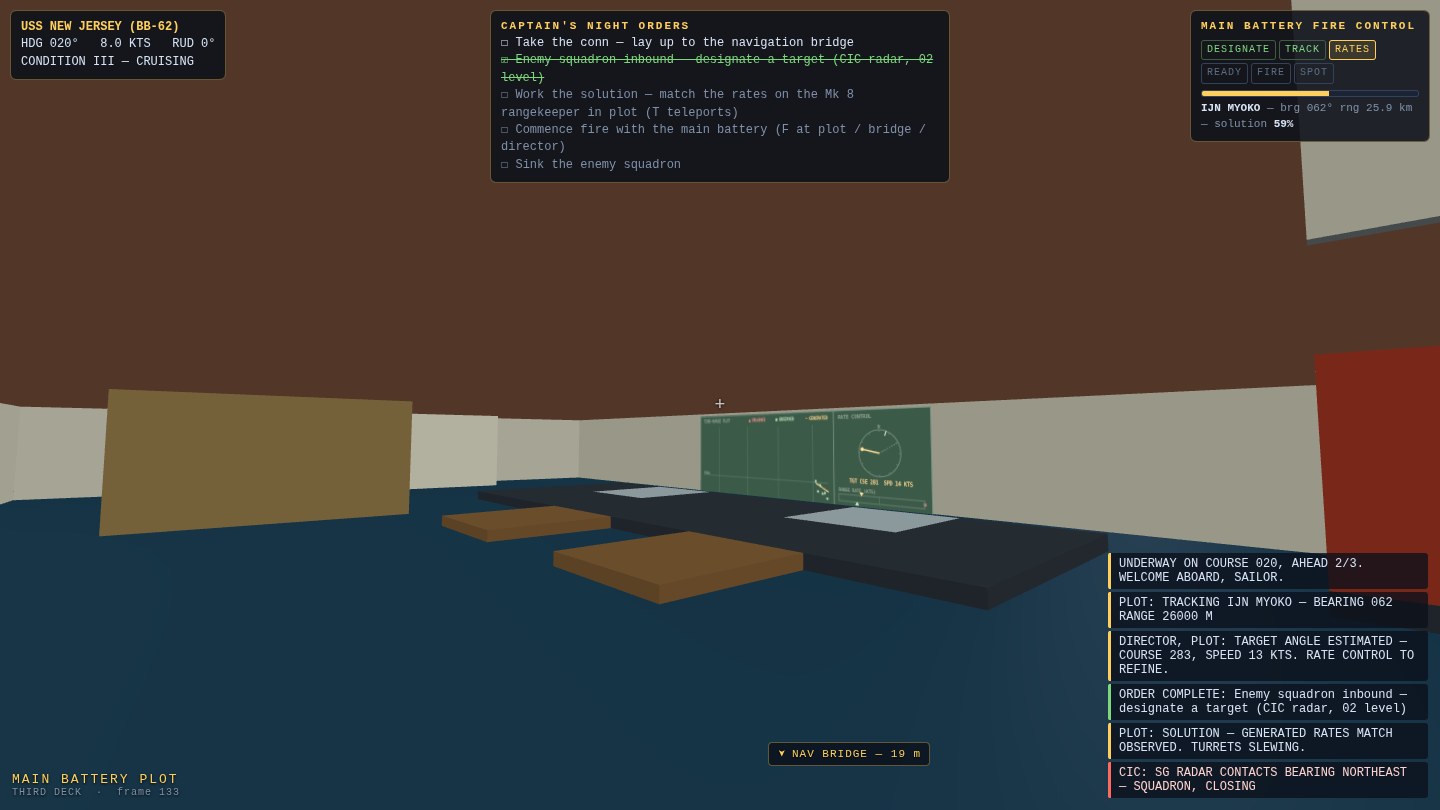
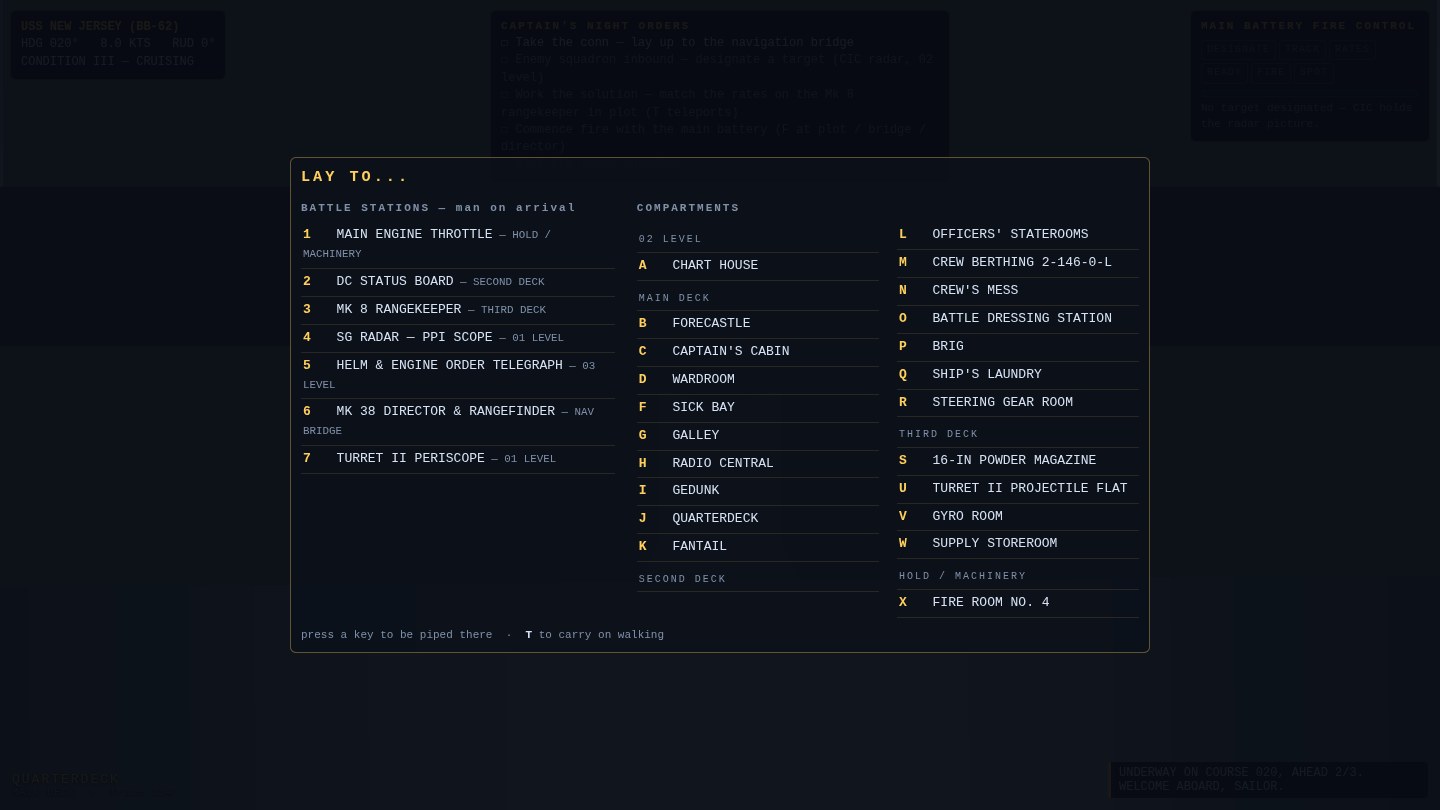
The rangekeeper used to solve itself: designate a target and a percentage crawled to READY on its own. That's not how a Mk 8 worked, and it wasn't much of a game either. Now the plot runs on rate control, the real method: the rangekeeper dead-reckons the target from your estimated target course and speed, and shows you generated-versus-observed on a live time-range plotter and a pair of needle-matching rate meters. Only one course/speed combination makes both rates agree — find it and that's the solution, in the doctrine's own words. Guess wrong and the shells physically go where your estimate says: a 15-knot rate error at a 40-second time of flight is a 300-meter miss. The fire-control team works the knobs on their own if you stay topside — but a human on the rangekeeper is faster and sharper, which is exactly how the Navy saw it too. Getting there stopped being the hard part: T now lists every battle station and every compartment, by deck, one key each. And the two views that used to stare into steel — the turret periscope and the plot desk — got real sightlines: the periscope eye now rides the turret roof, and plot faces its own glowing plotting board on the bulkhead.
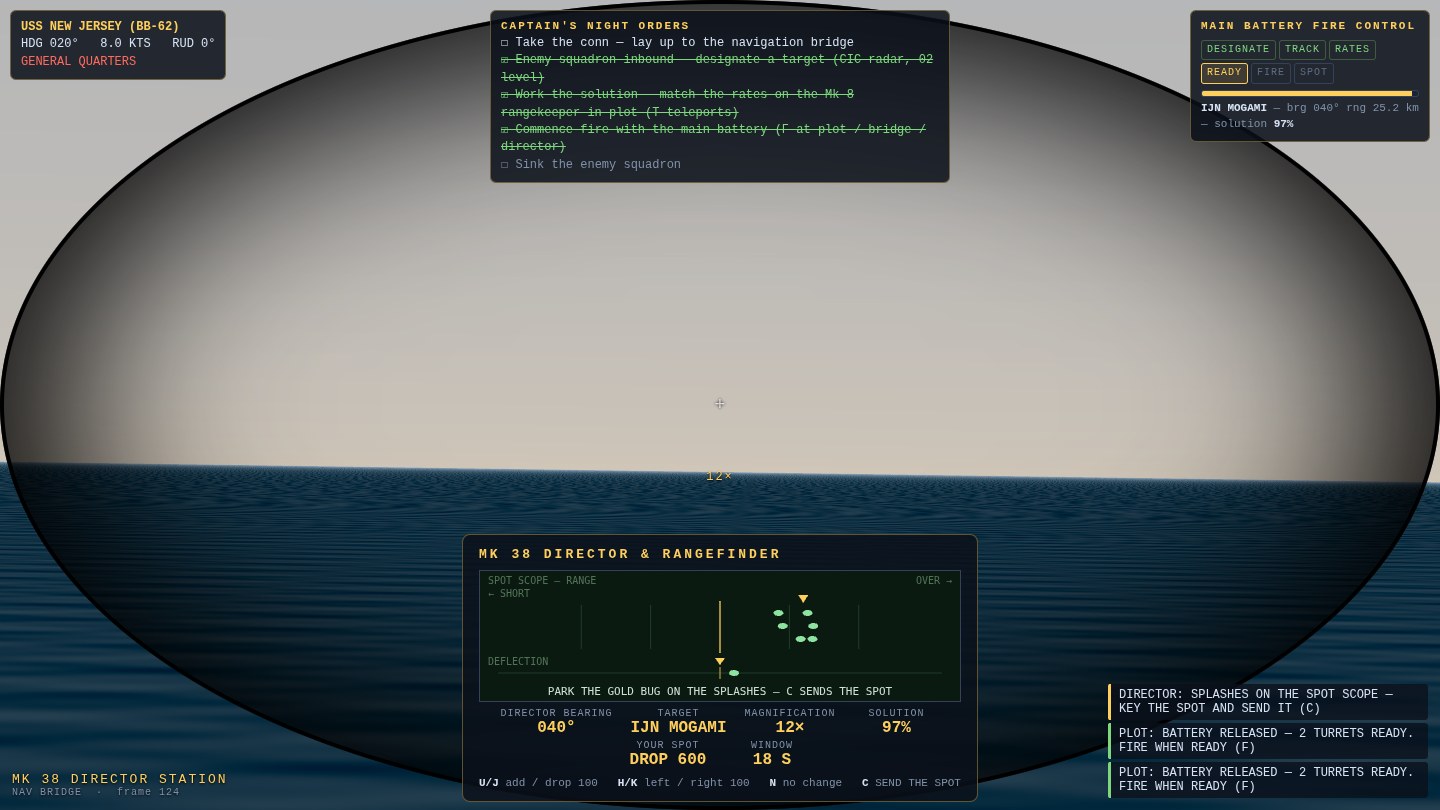
Two more pieces close the gunnery loop. V rides the salvo out: a chase camera on your own 16-inch round, time compressing through the cruise so the 40-second arc stays watchable, ending on the burst before it puts you back aboard. And when you're in the director as the salvo lands, the correction is your call, not the air spotter's: the splashes come up as pips on the Mk 8 spot scope (crisp with the radar in, scattered without it), you park the gold bug on the group — U/J add/drop, H/K left/right, in hundreds, the traditional deflection-then-range order — and C sends it to plot. A good call cancels the miss almost entirely; sit on your hands and the weaker air-spot correction goes in when the window passes. The plot even holds its rate corrections while a salvo is being observed, because pyramiding spots is exactly the sin the gunnery manuals warn about.
Big J: night quarters
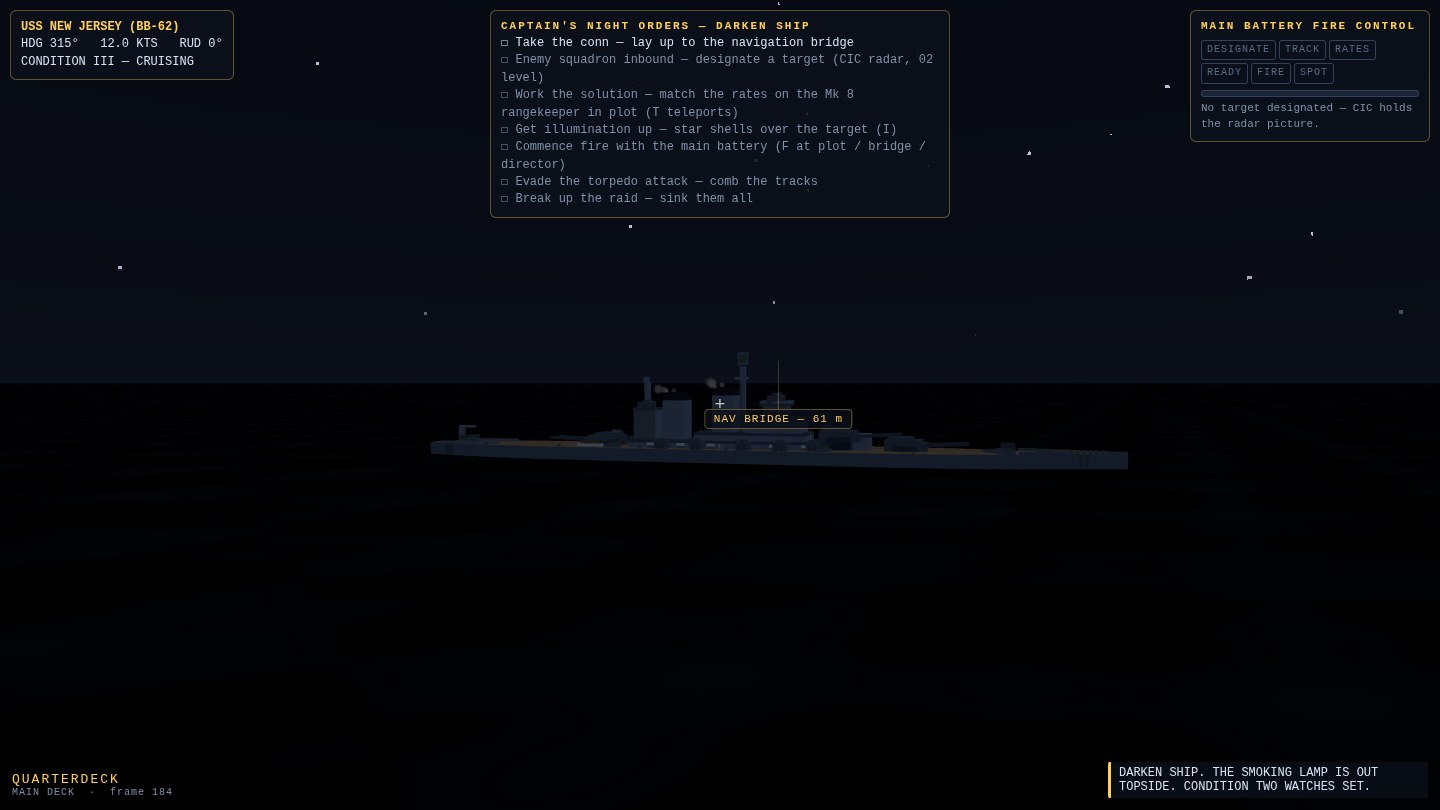
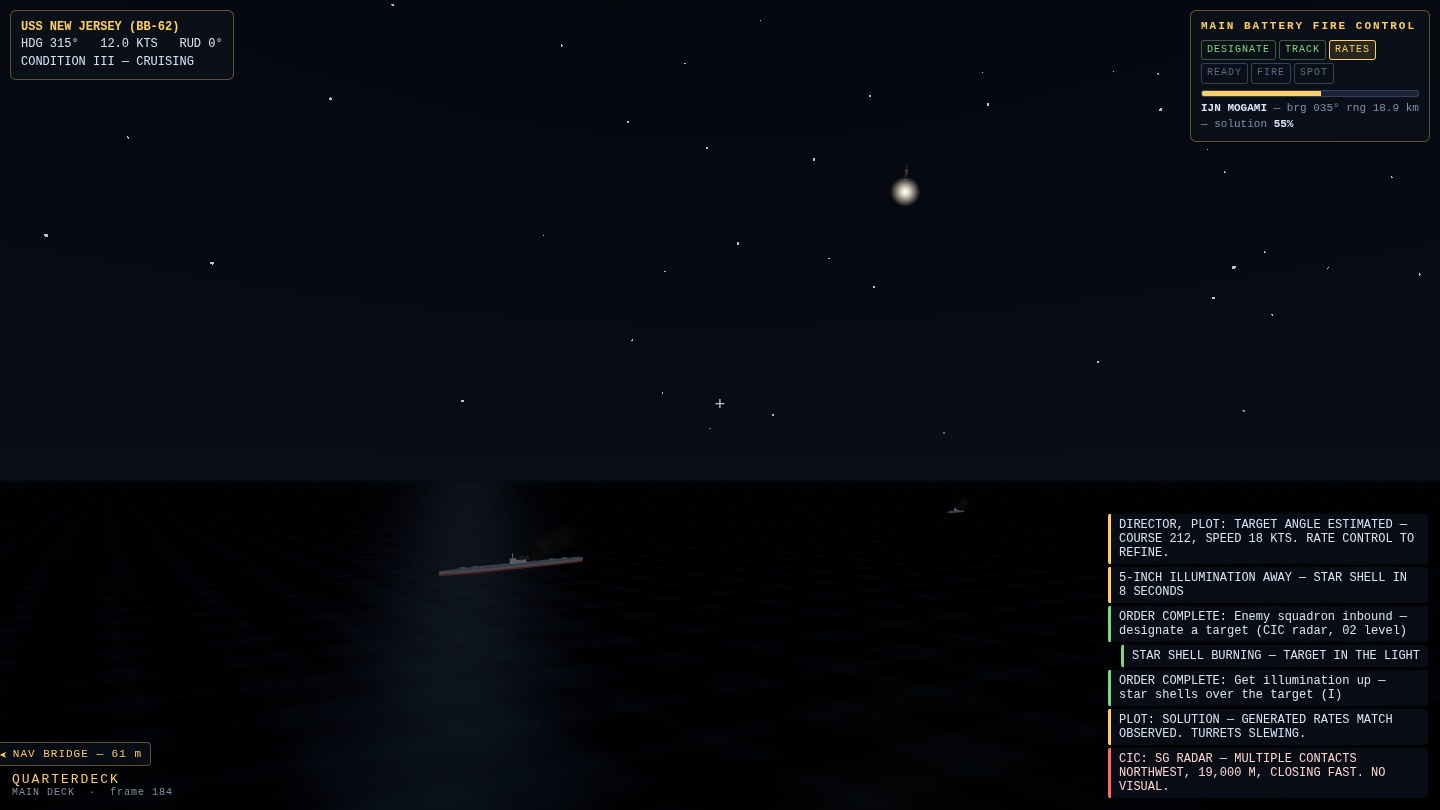
NIGHT ACTION is the fifth mission card and the reason the SG radar exists: a cruiser-destroyer force coming down The Slot in the dark, the sky a starfield, the sea black, and the enemy nothing but gun flashes until you do something about it. That something is I — 5-inch star shells, burst deliberately beyond the target so the hull silhouettes, exactly per doctrine. Radar tracks in the dark; the director's optics don't — no illumination, no optical designation, no rangefinder cuts, no spotting bonus. Meanwhile the destroyers do what destroyers do at night: press inside 7 km and put a spread of Long Lance torpedoes in the water. The lookouts call the wakes inside 2,500 m, and after that it's rudder work — turn into the spread and comb the tracks, or learn how good the torpedo defense system is (sometimes it holds; mostly it's major flooding and a long night in DC Central). Torpedo runs happen in the day actions too.
The ship also found her voice — without a single synthesized word. Walk up to a sailor and he says something in text, over his head, with a little sound-powered-phone murmur underneath: mess-deck gossip, engine-room pride, and genuinely useful hints ("plot's begging for rates, sir"). The 1MC runs the ship's day between actions — sweepers, mail call, the smoking lamp — and when it calls chow, the crew actually files to the mess deck. And every mission now ends with a gunnery grade: accuracy, dispatch, and the state you brought her home in, scored against the ship's records kept in your browser. The Battle Efficiency "E" is something to defend.
Big J: in a pocket
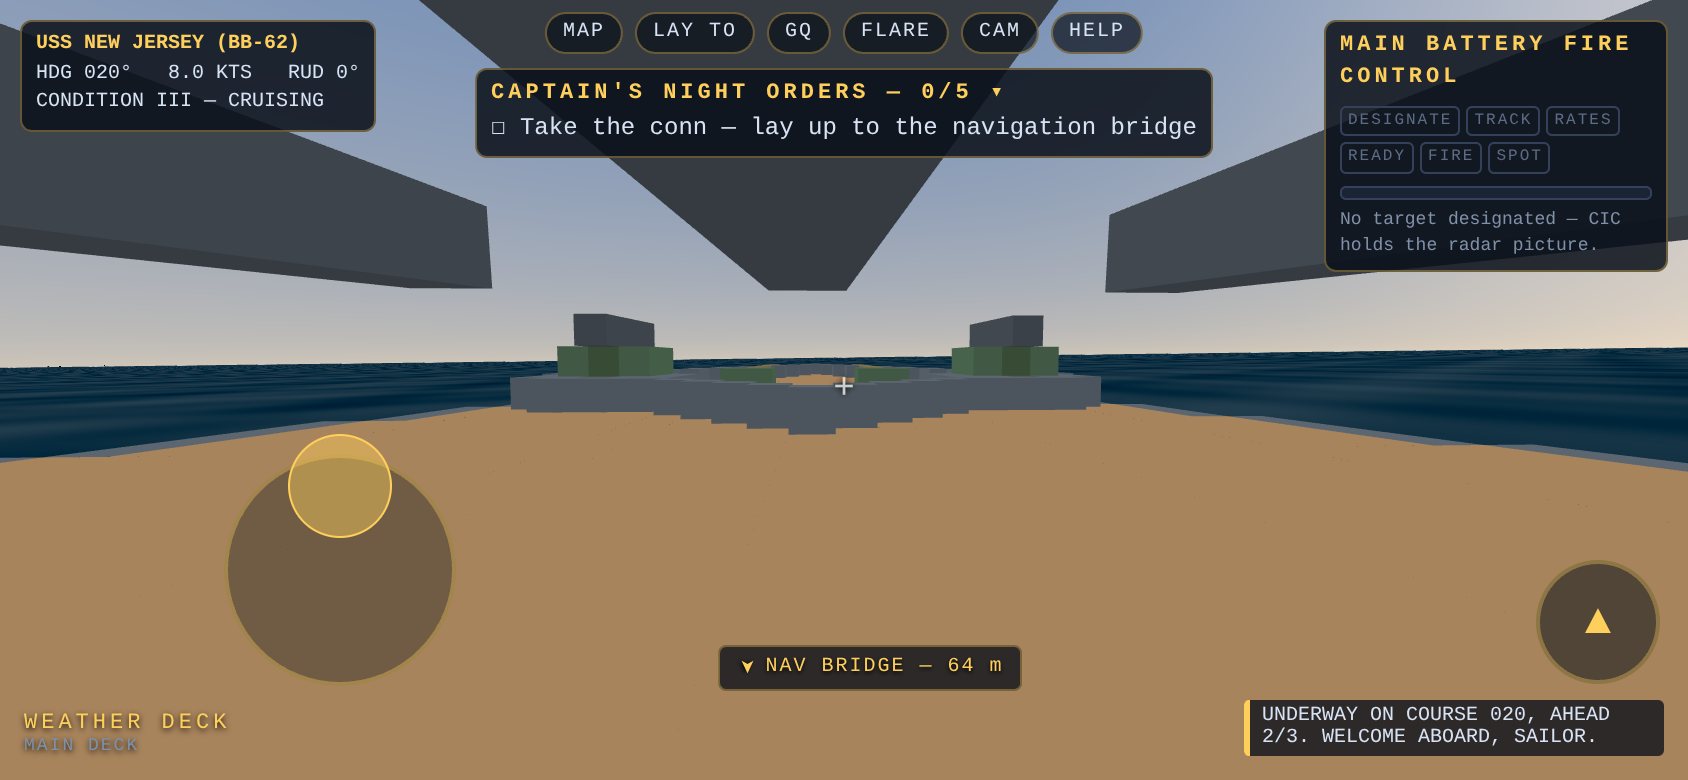
The battleship's title card used to end with a shrug — “a desktop game; grab a mouse” — and now it doesn't, because the whole ship fights from a phone. The design rule was gestures over furniture: a joystick fades in wherever your left thumb lands and walks the deck in true analog, the right thumb drags to look, and the binoculars are a pinch — the one gesture every phone hand tries first. The contextual gold prompt is the only action button aboard: tap it to man a station, hold it to fight a fire or take a ladder down. Every manned console — helm, CIC, plot, director, turret, DC Central — rows its keyboard as real buttons wired into the same handlers, the director slews under your finger, and every 16-inch salvo is a haptic thump in your palm. Starting a mission goes fullscreen and locks landscape; the Big J fights broadside-on.
Controls
Partners: Kovo